For weeks I’ve been looking forward to making some DIY coasters for our living room. We’ve really needed them and I thought it would be a fun, simple craft project to make them instead of just buying them.
Note, this post contains some affiliate links. For more info see my disclosures here.
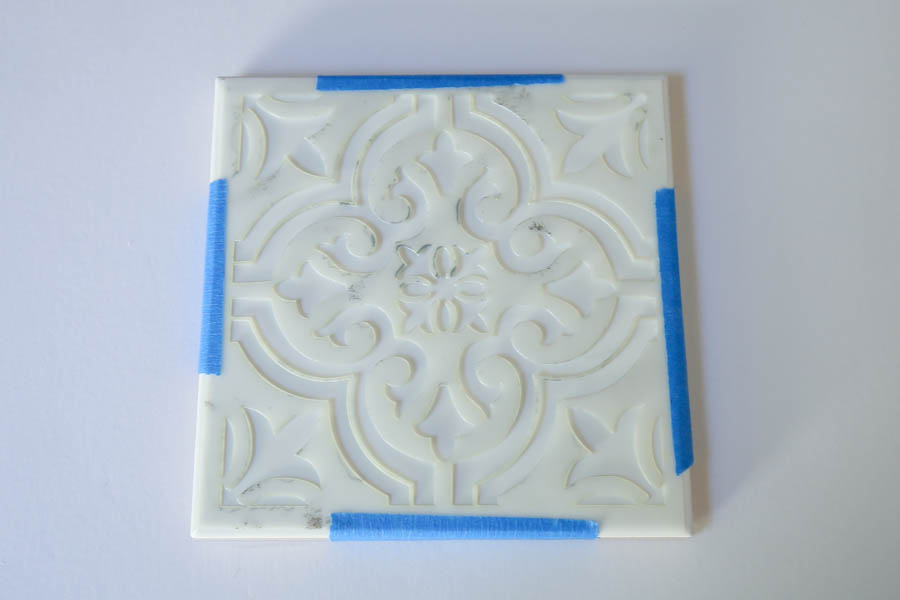
I decided to use white, ceramic tiles (similar here) and use a tile stencil (similar here) on them with black, waterproof paint.
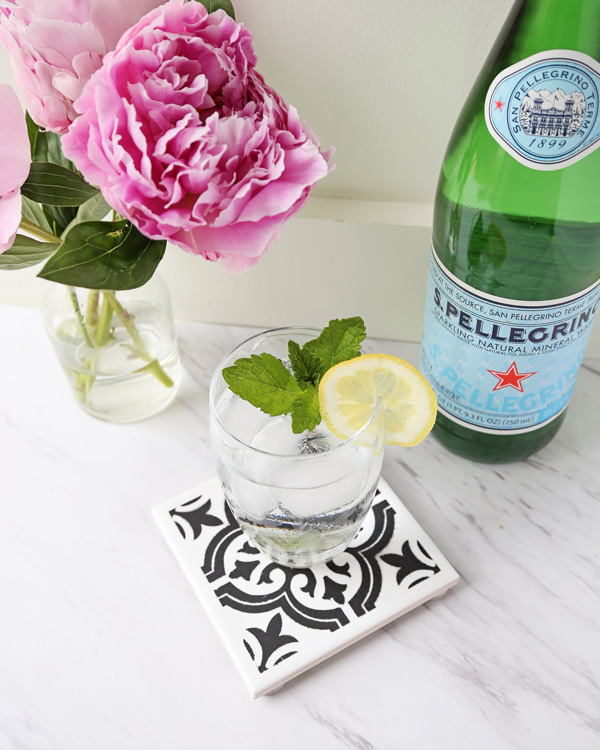
Look how cute they turned out….
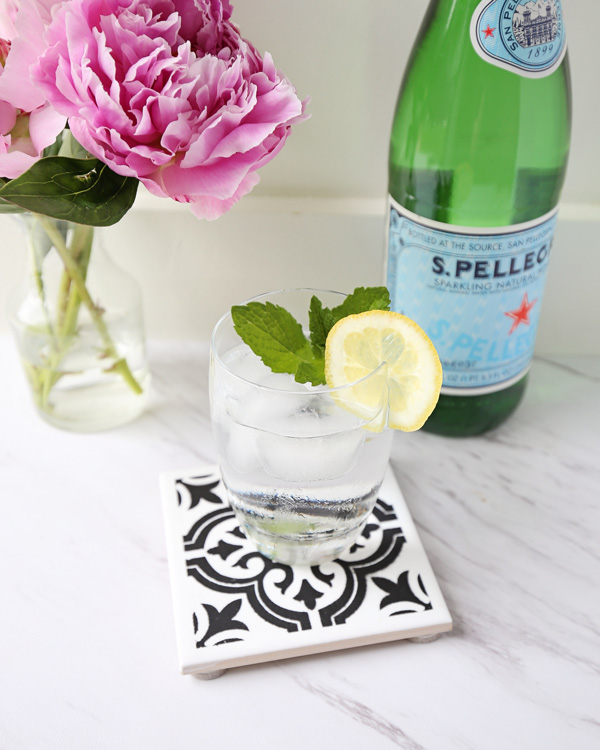
Oh but wait, if you look a little closer, they didn’t exactly turn out, see that paint bleed through? Oh and they were really frustrating to make and took me six different attempts to try to perfect (and the one shown in the photos is the best one I could make). I’m deeming this DIY project a fail! It didn’t even get the chance to become a Pinterest fail for others haha!

I really thought these coasters were going to be a breeze to make… At first, I taped the stencil to the tile and used a roller with very little paint on it. This is the main method recommended for stencil painting tiles. The result was horrible bleed through under the stencil. I don’t even have a picture because it was so bad!
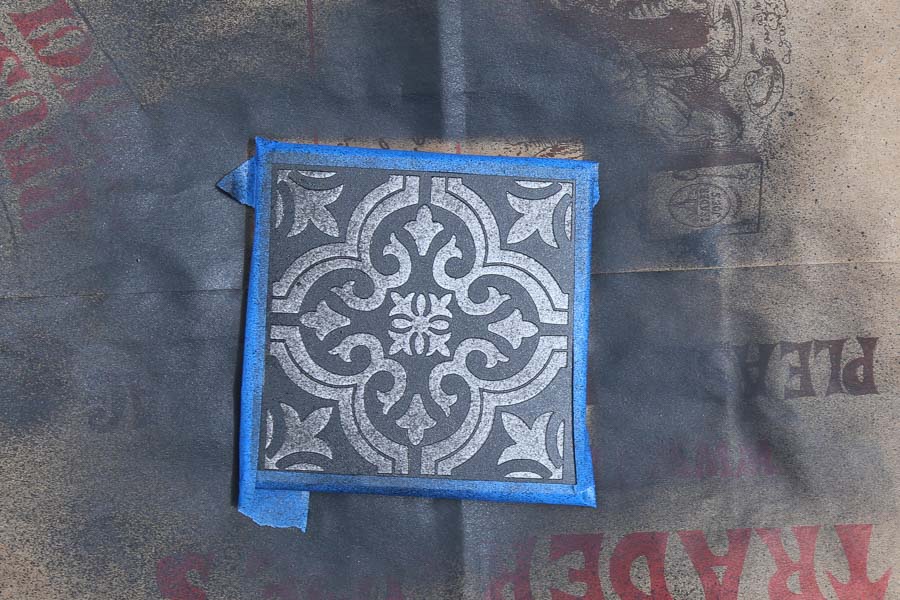
The stencil was lifting up to much with the first transfer method, so I ran out to the craft store and bought some spray adhesive. I sprayed the adhesive on the stencil which worked well for holding the stencil in place. Then, I used my tried and true method of using multiple light coats of spray paint.
This second method with the adhesive and spray paint worked the best. However, after trying it multiple times on 4 different tiles, I still kept getting bleed through. It was driving me nuts!
Finally, I tried using the stencil with the adhesive and a stiff paint brush with paint. That method failed too… I was so bummed because if there was no bleed through, these DIY tile coasters would be adorable and just what I wanted!
Part of my job as a blogger is to provide content that’s helpful and easy to follow. That’s why I tried so many methods for these DIY coasters. I wanted to find the easiest and best method to make these cute coasters.
This isn’t my first DIY project fail. In fact I’ve had a lot of them, they usually just don’t ever make it to the blog or get talked about much if at all. But, I wanted to share this “fail” because it’s pretty common for most people, even bloggers and content creators who always seem to keep putting out perfect content or projects. What you don’t often see is all the project attempts and fails that happen behind the scenes. Anyways, I thought it would be fun and interesting to share this perspective!
I’ve already thought of at least 2 other methods to try for making these darn DIY coasters since I’m one of those people who doesn’t want to give up. But at this point, I need to stop myself because I’ve already spent more money trying to make these coasters than they would have cost me to just buy in the first place ha!
How about you?! Have you ever had a DIY project fail, where it ended up costing you more money to DIY than it would of been to just buy it?!
Follow along on Instagram and Pinterest for my latest projects, fun updates, and sneak peeks!
Liz
Thursday 28th of June 2018
I have done plenty of stencil and there is a trick to it. You have to use a high density roll. Also after puting paint you have to roll it on a paper towel to get most of it off. Then you roll on the stencil. Is important to not press it because it will bleed. Roll it several times gently until covered. See the cutting stencils videos.
Angela Marie Made
Friday 29th of June 2018
Thanks Liz for the tips!! I will have to try a better roller next time :)