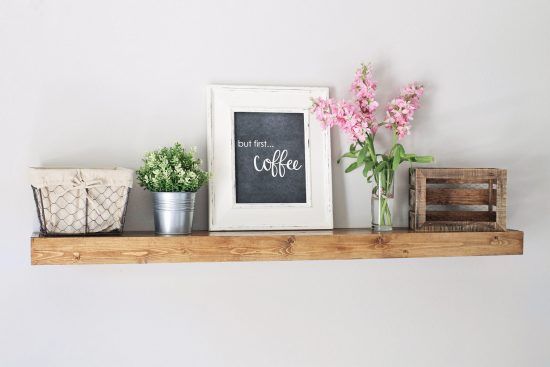
When brainstorming ideas for my office wall decor, a floating wood shelf came to mind for my frames and other decor. It would also work well for adding some rustic charm which I love. I definitely had to have one!
Originally, I was thinking of buying one, because a shelf shouldn’t be that expensive right? But, of course they were more $ than I wanted to spend and the less expensive ones all looked like fake wood. After lots of research on the best way to build a floating shelf, I decided to go with these build plans from Shanty-2-Chic, but modify them some so they’d be more apartment wall friendly and also not as thick/big.
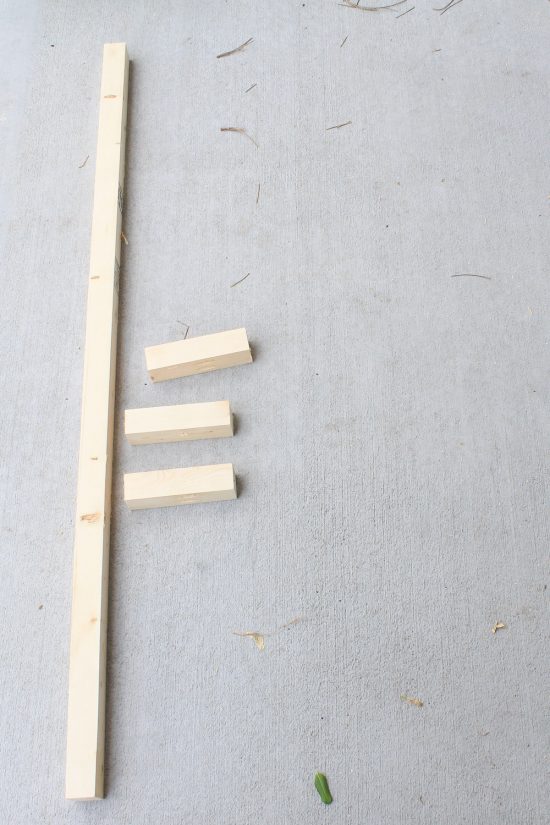
Here are the wood sizes and cuts I started with in order to make a floating shelf that measures 49.5″ long x 2.5″ high x 7.25″ wide:
- One 2×2 @ 48″ long and three 2×2 @ 5.75″
- One 1×8 @ 48″ long
- One 1/4″ thick plywood sheet @ 48″ long x 7.25″ wide
- One 1×3 @ 49.5″ long and two 1×3 @ 7.25″
Note, this post contains some affiliate links. For more information see my disclosures here.

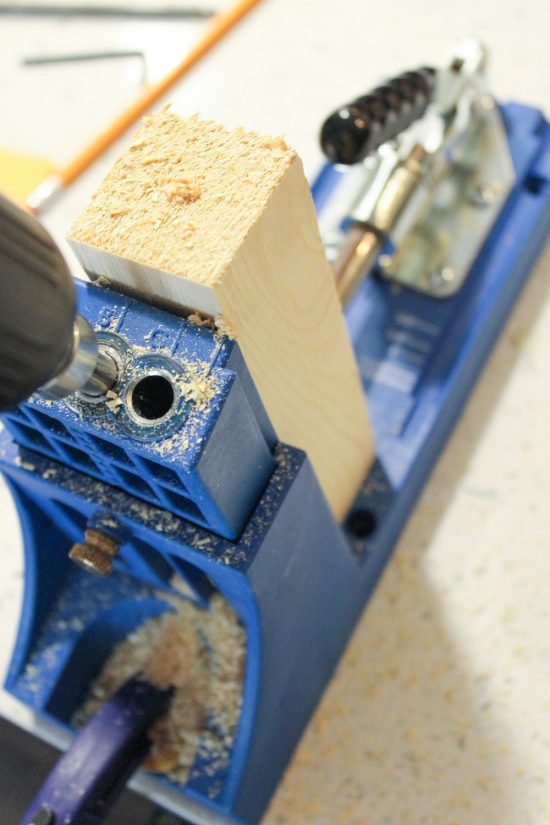
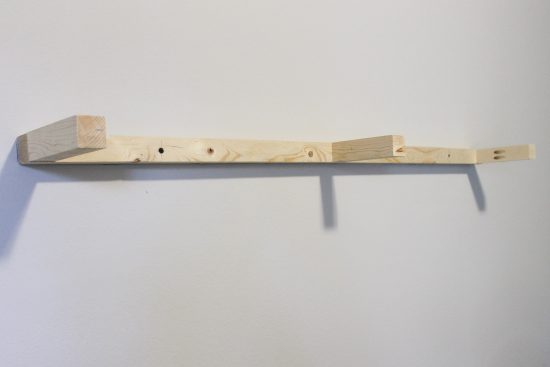
First, using my kreg jig, I drilled two pocket holes into my three 2×2 @5.75″ pieces. Then, I attached them to my 2×2 @48″ to create the floating shelf support brace.
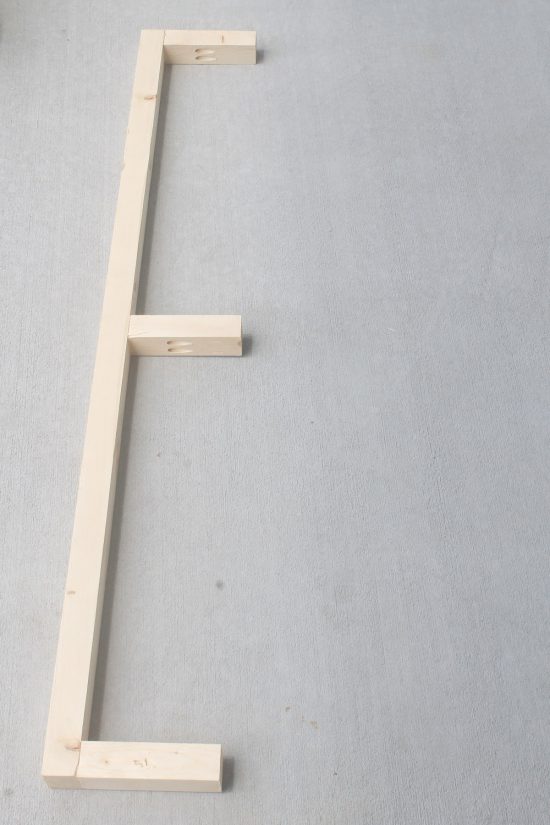
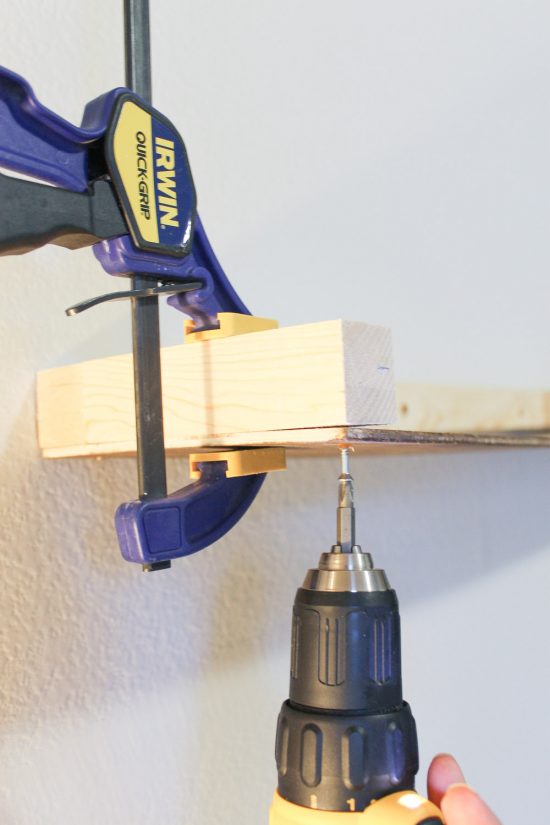
The shelf support brace was added to the wall with 3″ long screws (we drilled pilot holes first through the wood).
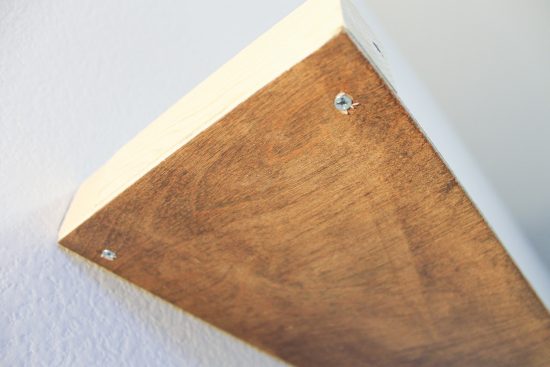
Before assembling all of the remaining wood, I stained the parts of the wood that would show on the shelf. I didn’t want to risk getting any stain on the walls since we are renting! I used Minwax Weathered Oak and then Provincial for the stain finish and sealed it with a satin poly finish.
I attached the bottom plywood piece first with screws. I used screws instead of nailing it because I want to easily be able to remove the shelf when we move.
📩 Want to Save This?
After adding the bottom, I attached the top pieces and then the side and front pieces with 1.25″ brad nails and my brad nailer.
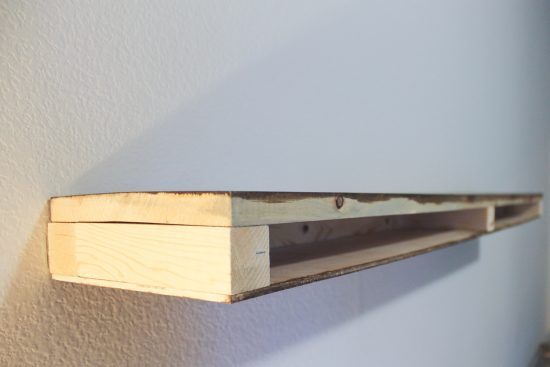
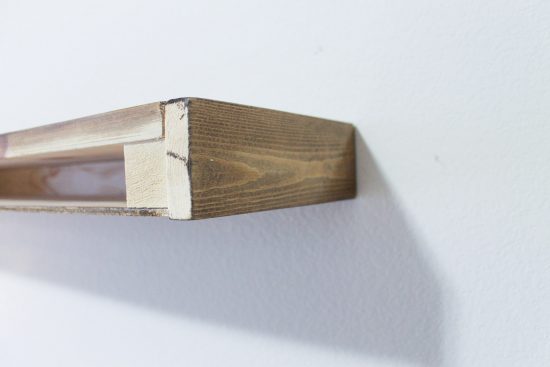
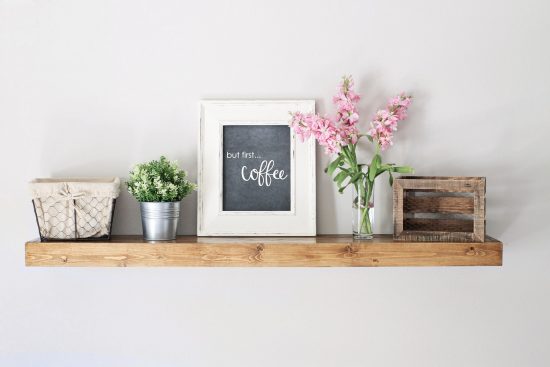
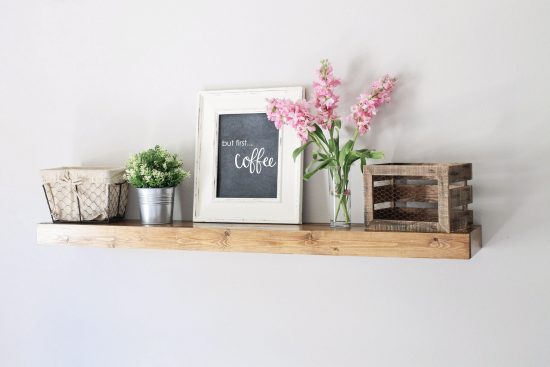
Overall, it was a pretty simple build and I love the end result!
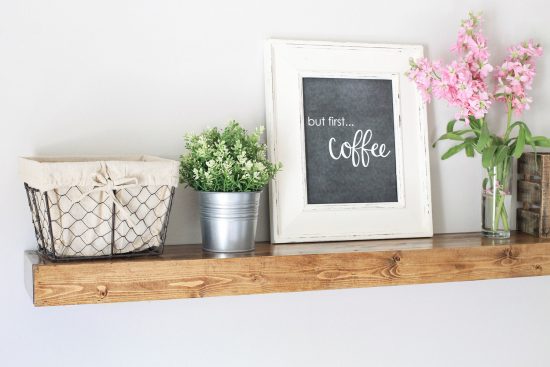
But first Coffee chalkboard Printable available in the shop here!
What do you think of my floating shelf DIY for the office?! If you want to see more office wall decor DIY ideas, you can check out my DIY wood sign (with a free printable too).
Also, if you’d like to see how to make floating shelves with brackets instead, check out my DIY floating shelf brackets post
My full office makeover reveal is coming soon, stay tuned!!! Be sure to follow along on Instagram and Pinterest for my latest projects, fun updates, and sneak peeks!
Sara
Tuesday 6th of July 2021
What type of wood is on the bottom? On the directions is mentions a 1/8... what does this mean?
Thanks.
Angela Marie Made
Tuesday 13th of July 2021
It's 1/4" sanded plywood.
Jessica
Sunday 14th of February 2021
Love these! I’ve seen the frame done with 2x4s instead of 2x2s, would that make the shelf any sturdier? Or about the same?
Angela Marie Made
Monday 15th of February 2021
2x4's would be sturdier but also more bulky, it's definitely up to you. Ours have held up great!
Kim
Wednesday 21st of August 2019
Love all of these designs. The only thing missing from here is the "print" option....
Angela Marie Made
Friday 23rd of August 2019
Thanks! Are you referring to a print option for the shelf tutorial or something else?
Adriana
Friday 26th of July 2019
Love this shelf build. Thank you for the detailed instructions!
Angela Marie Made
Tuesday 30th of July 2019
You're welcome Adriana!