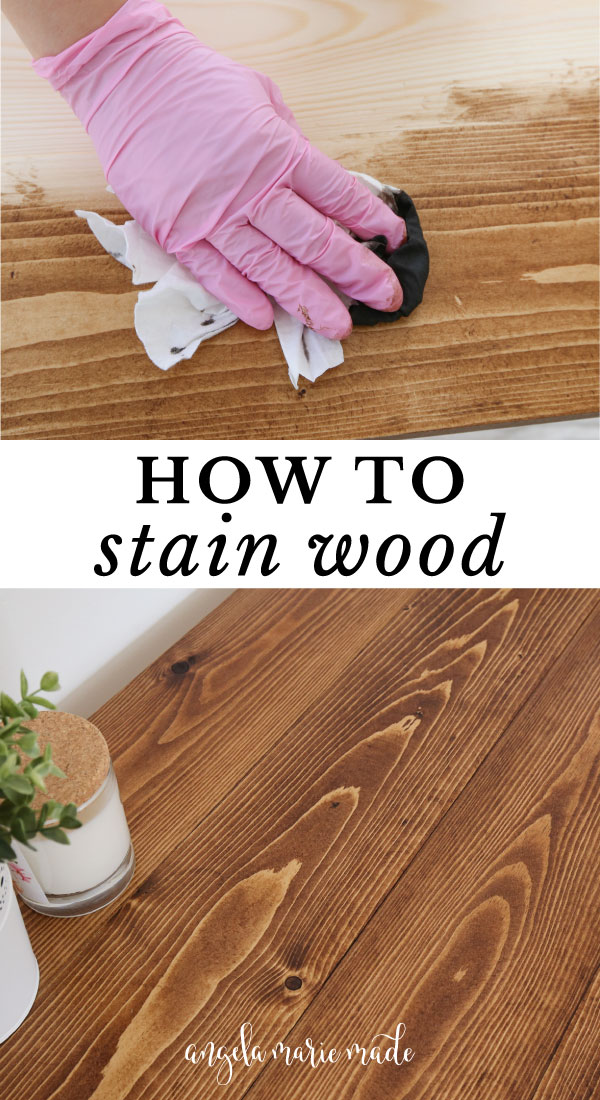
Learn how to stain wood for a beautiful finish and easy tips on how to apply wood stain!
When I first started learning how to build furniture, I really didn’t know how to properly finish a piece and how to stain wood. I remember my very first build, a 4ft. chalkboard, I was so excited about it that I didn’t even sand the wood before I stained it!
Fortunately, with stain, it hides a lot of imperfections! As I continued with my DIY furniture building over the years and after staining over 20 DIY farm tables, I learned a lot through trial and error on the best ways to stain wood.
Today I am sharing my process on how I stain wood and what I have found works best. I hope it helps if you are wanting to easily learn how to stain wood! I’ll be staining our simple and easy DIY desk in my tutorial below!
Note, if you are staining birch plywood, check out my how to stain birch plywood tutorial for specific steps about staining birch!
Want to Save for Later?! PIN IT here:
Note, this post contains some affiliate links. For more info see my disclosures here.
How to Stain Wood:
Supplies Needed:
- Orbital palm sander
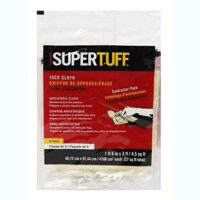
- Tack cloth
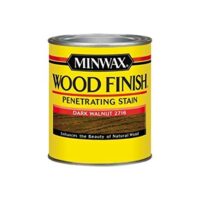
- Wood Stain
- Pre-stain wood conditioner
- Gloves (Rubber, Nitrile, or Chemical resistant)
- Lint free rags
- Foam brushes (optional)
Video Tutorial:
Subscribe to my YouTube Channel here!
1. Sand the wood
The key to a beautiful finish is all in the preparation of the wood, mainly the sanding!
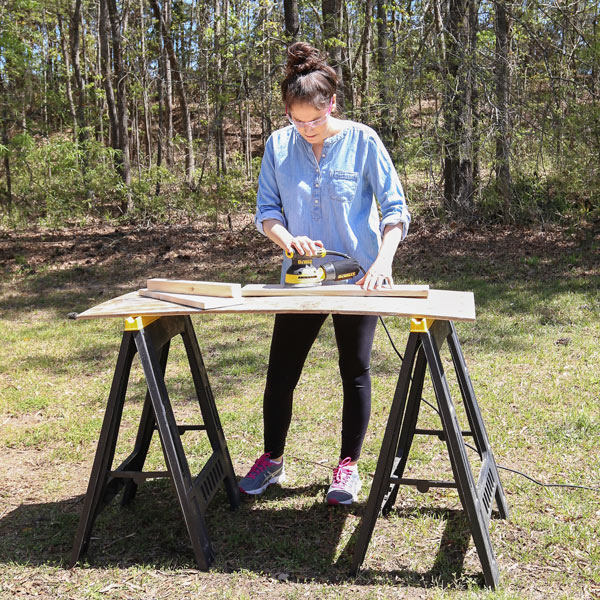
Now I will admit, I really don’t like sanding! Getting covered in saw dust is no fun, but it is one of the most important preparation steps to creating a beautiful finish, so I deal with it!
For a detailed step by step to sanding, check out my how to sand wood beginner’s guide.
Always wear saftey glasses or goggles because sawdust in the eyes is annoying as I have experienced first hand. You should also wear a face mask/sanding respirator too.
For most projects, I recommend an orbital palm sander. For really light projects, a sanding block will work and when extreme amounts of sanding are needed, a belt sander will be most helpful to start with on the project.
It’s best to start with 80 grit sand paper to sand your whole project and this usually takes the longest amount of time as it really gets all the rough stuff off of the wood.
As you move up in the grit number of sand paper, the smoother the finish will be on your project piece, and the less material is removed. I usually start with 80 grit, then use 120 or 150 grit, and finish sanding with 220 grit for a very smooth finish on the wood.
I really like hook and loop sanding discs for my orbital sander, they stick right on the sander and remove very easily. Just make sure to line up the holes correctly to avoid extra scratches!
In the photo below, you can see the difference sanding makes in the finish of the wood!
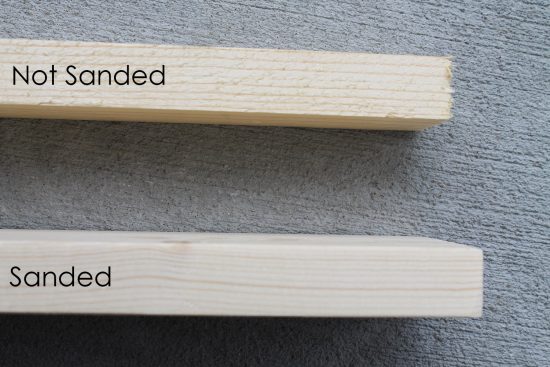
Again if you need more details on the sanding process, sanding tools, tips, or are wondering why you need to sand the wood before staining be sure to check out my beginner’s guide to how to sand wood!
2. How to prep wood for stain
The next step is preparing the wood for stain!
A. Remove the saw dust from the wood
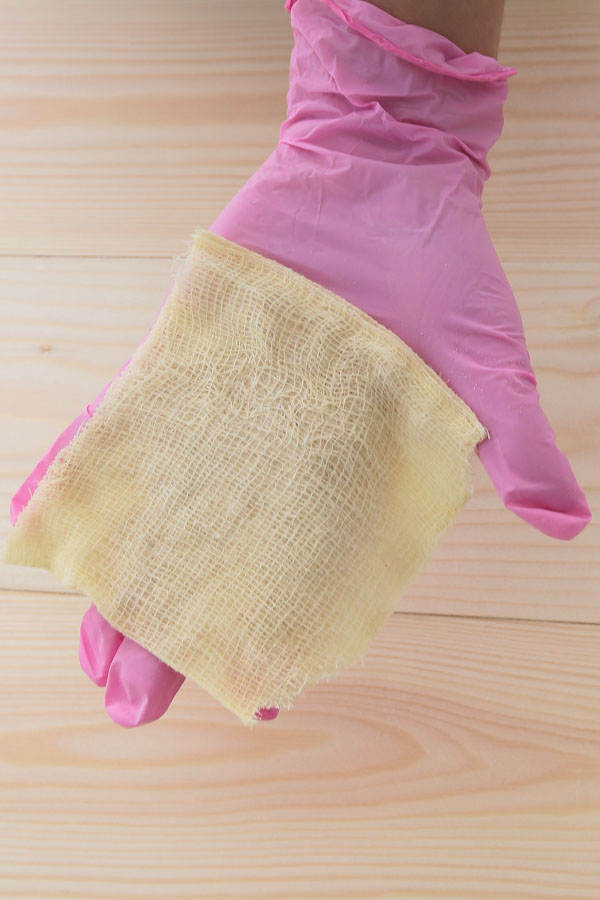
The final preparation step is to remove the saw dust from your wood. There are many ways to do this like using a shop vac, a damp cloth, etc. My favorite way is to use a soft bristled brush or broom and sweep off the saw dust, then to remove the rest of it I always wipe down my wood with tack cloth.
Tack cloth is sticky so I like to wear gloves when cutting/handling it, but it works wonderfully for removing the saw dust and you don’t need to use a lot of it, so it lasts awhile!
B. Use a pre-stain wood conditioner
After all the saw dust is removed, the next key step is using a pre-stain wood conditioner (when you are going to be using an oil based stain and you can use this kind for water based stains).
This can easily be applied to the wood with a lint free rag. Follow the directions on the can, but basically you apply this to your clean wood surface and let it sit 5 – 10 minutes before applying your stain.
It’s better to apply it more generously than sparingly!
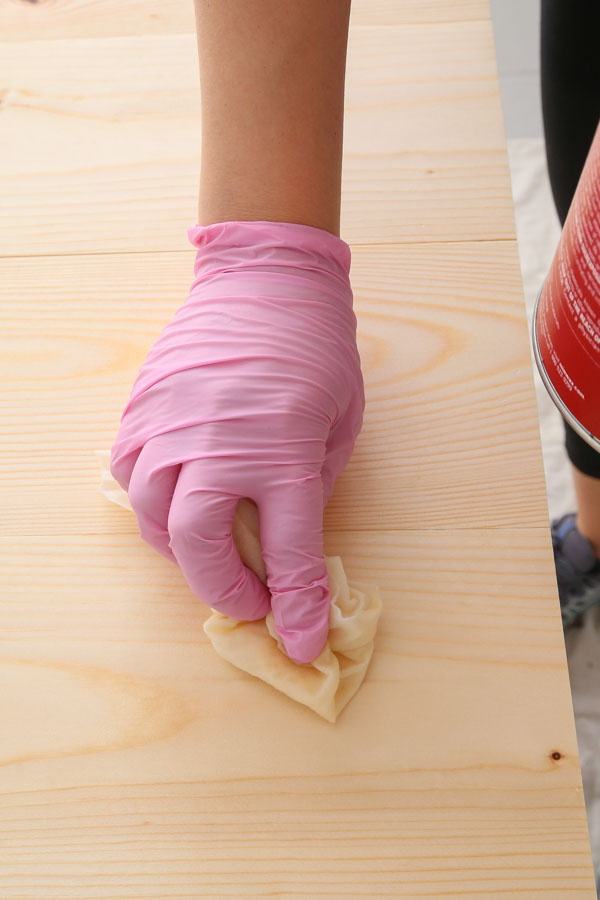
This wood conditioner makes a HUGE difference in the final look of my furniture finishes! It prevents blotching and streaking on the wood surface.
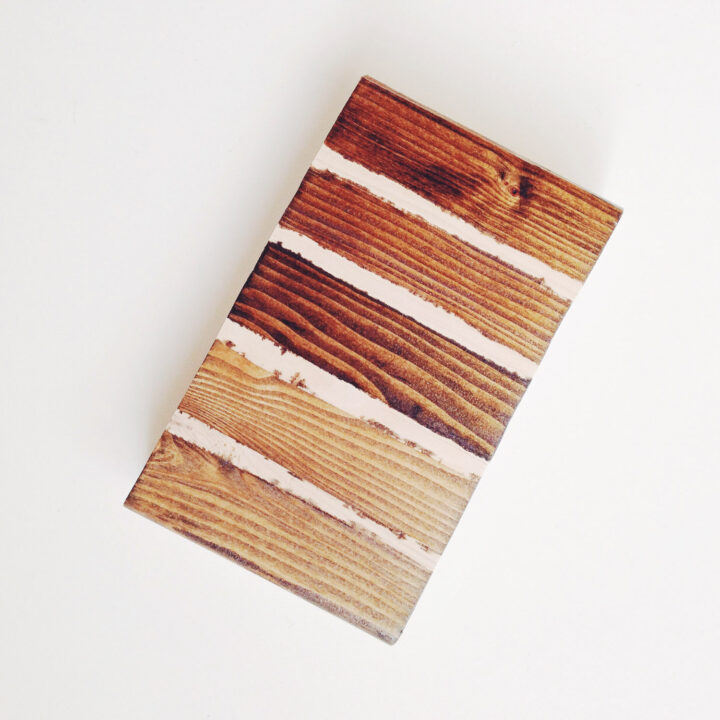
Here is a photo showing the difference after just one coat of stain has been applied to a board with wood conditioner on the top and no wood conditioner on the bottom! The bottom is more blotchy and a less pretty finish.
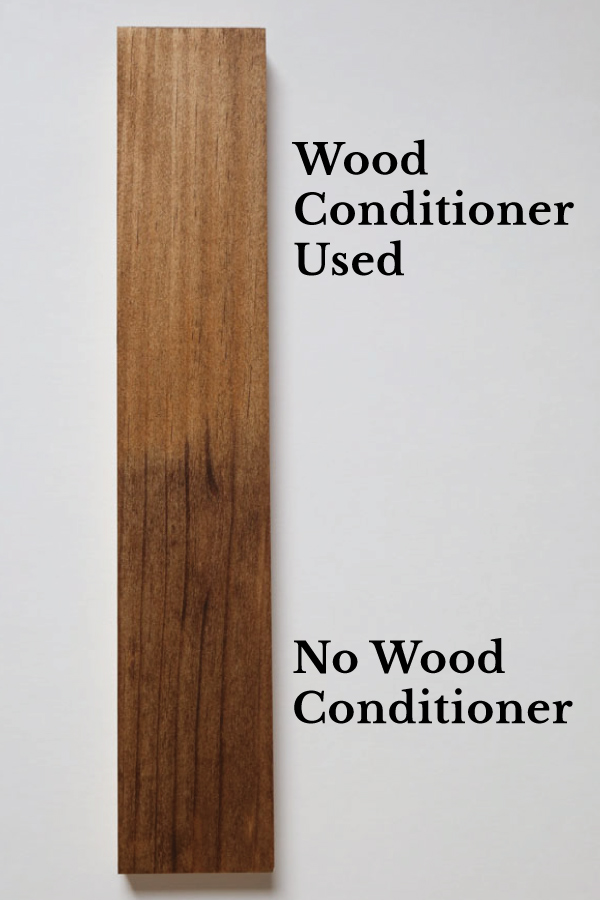
Using pre-conidtioner is super important, especially with more blotchy prone woods like staining birch plywood.
3. Pick a wood stain
There are two, main types of stain, oil-based stain and water-based stain.
Oil based stains
Oil based stains are very common, affordable and popularly used. They create beautiful, enhanced wood grain colors. They do take longer to dry, but it makes it easier to apply. However, oil based stains are smelly, so make sure to apply in a well-ventilated area.
Check out 10 favorite wood stain colors and 5 grey wood stain options for help picking out a stain color!
Water based stains
Water based stains are typically more expensive, but dry faster and are a lot less smelly! Since they dry faster, it can be more difficult to apply the stain evenly.
They can be cleaned up with just water and soap (instead of mineral spirits like oil-based stain). However, water based stains don’t quite provide the rich, wood color that oil based can provide. And they often have to be tinted with the color when purchased at the home improvement store instead of just buying it ready to go off the shelf.
In my example for this tutorial, I am using oil-based stain since it’s very commonly used for staining wood. I am using Provincial, one of my favorite stain colors!
Test out your stain color!
It’s important to note that all wood takes stain differently, therefore it’s best to test some different stains on a scrap piece of wood (that is the same kind of wood as your project) in order to make the best decision about what stain color you want to use!
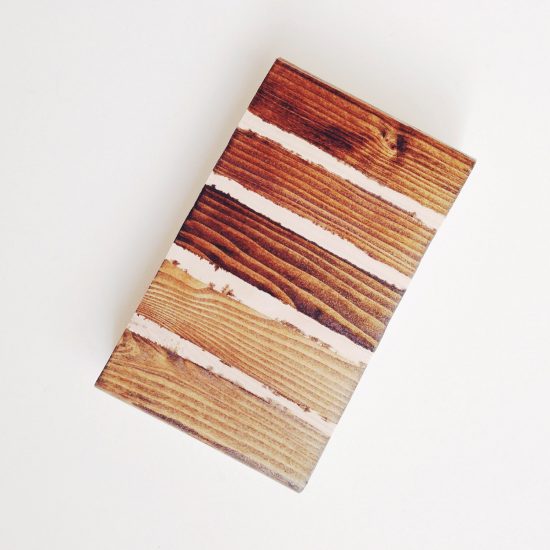
Wood Stains used in photo: Minwax English Chestnut, Provincial, Dark Walnut, Special Walnut, Mix of Weathered Oak & Provincial
4. Apply your wood stain!
Time for the stain and how to apply wood stain! When staining wood with oil-based stain, here are some key guidelines to follow:
- Always apply stain outside or in a really well ventilated area because it is smelly (you can wear a paint respirator mask to help with this if you want)
- Make sure to put some plastic, cardboard, scrap wood, or a drop cloth down to protect your work surface
- Wear gloves (chemical resistant, nitrile, or rubber)
- Stir the stain in the can before using (don’t shake it) with a popsicle stick, plastic spoon, paint stir stick, or something similar
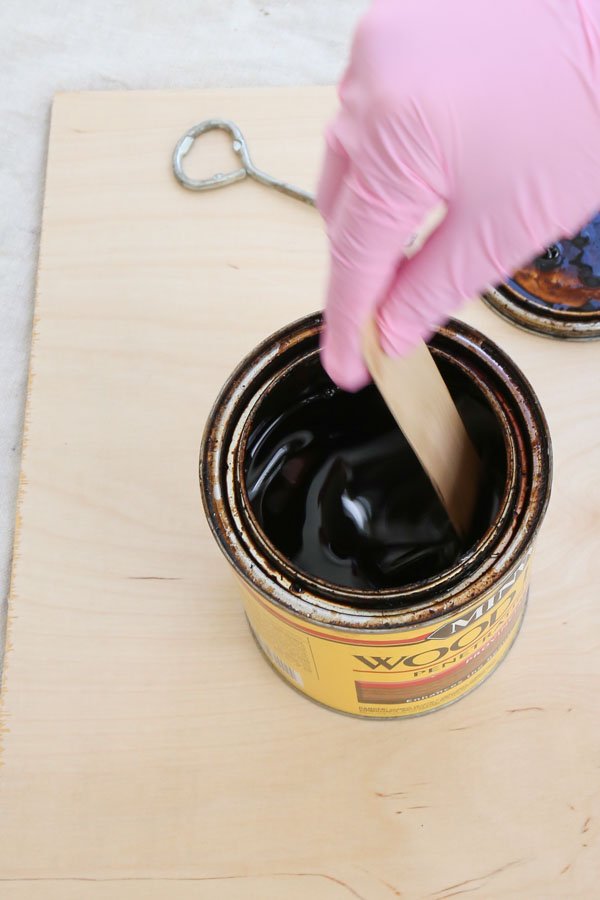
I prefer applying my stain with a lint free rag or cloth because I find that it’s easiest to control how much is applied and it can be thrown away after use for easy and quick clean up!
Apply one coat of stain with the grain of the wood and use the lint free rag to wipe any excess stain off. If you want a darker color, let the stain sit a minute or two on the wood before wiping off the excess.
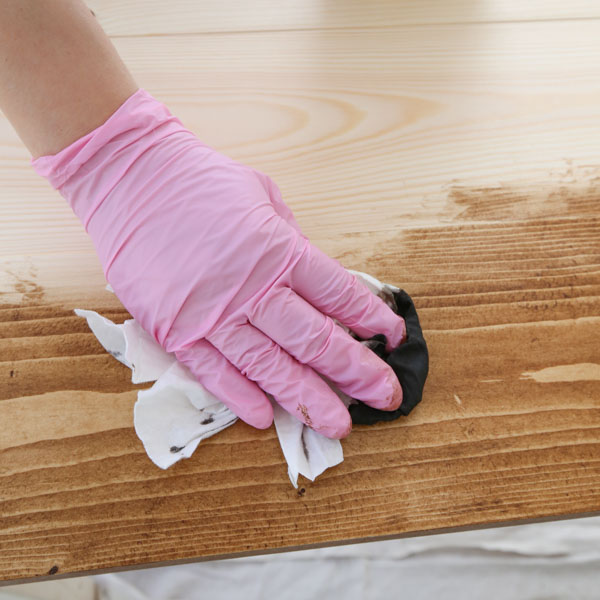
You can also use a foam brush, but it goes on heavier, however they do work well for getting in tiny crevices or hard to reach areas. Check out the best way to apply stain for more details!
I like to use a foam brush between boards and on wood edges, but I still wipe over the foam brush stroke with a rag to blend the stain in well. You can see all of this in action in my how to stain wood video tutorial!
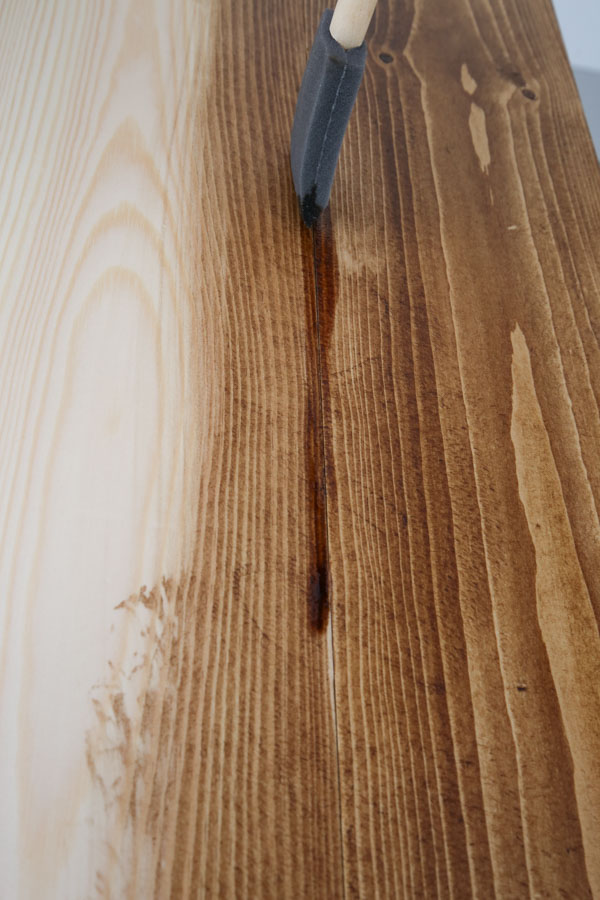
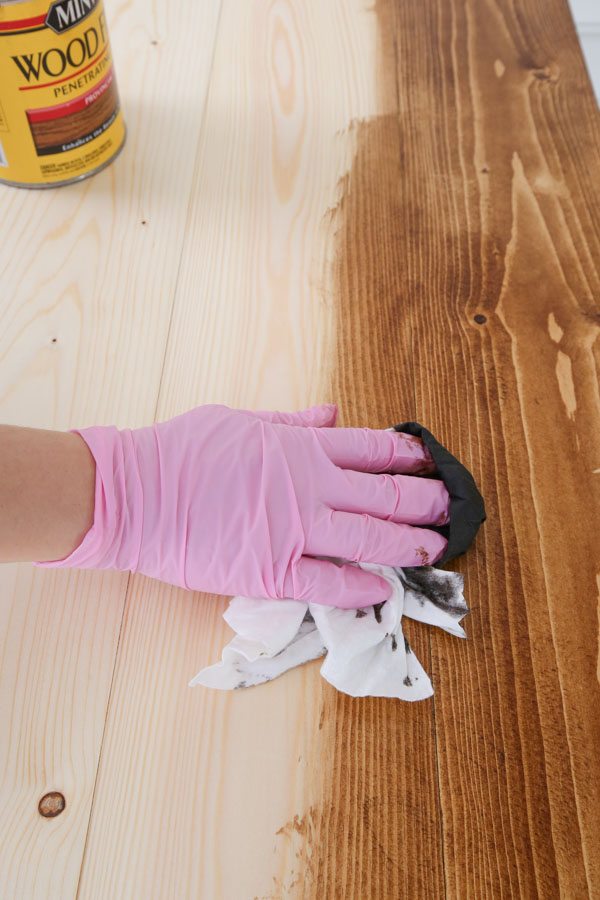
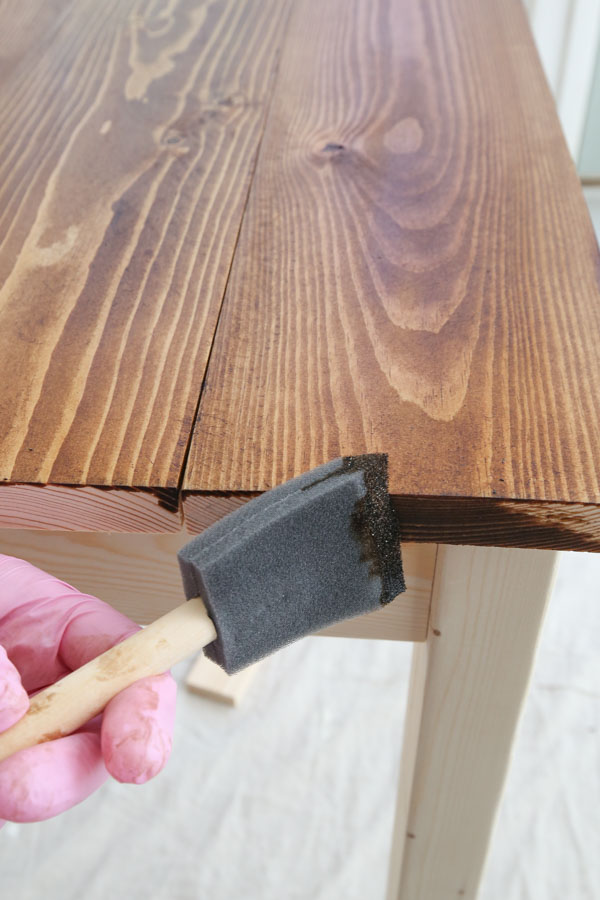
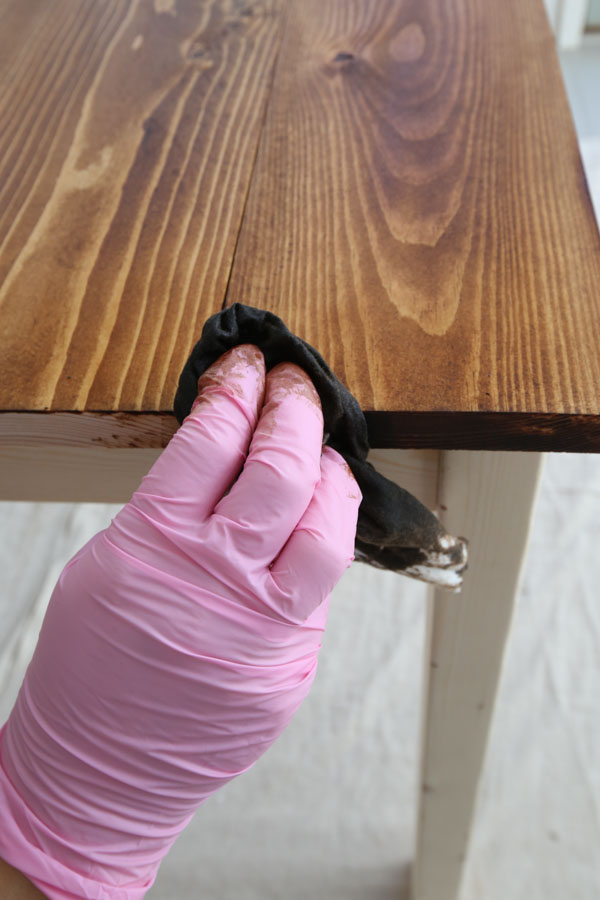
Another option is to use a natural bristle brush, but the brush can’t just be cleaned with soap and water, it has to be cleaned with mineral spirits, which then have to be properly disposed, and this adds lots of extra time and effort.
That’s why I stick with the rag/cloth for easy clean up! Let the first coat of stain dry before adding a second coat if desired.
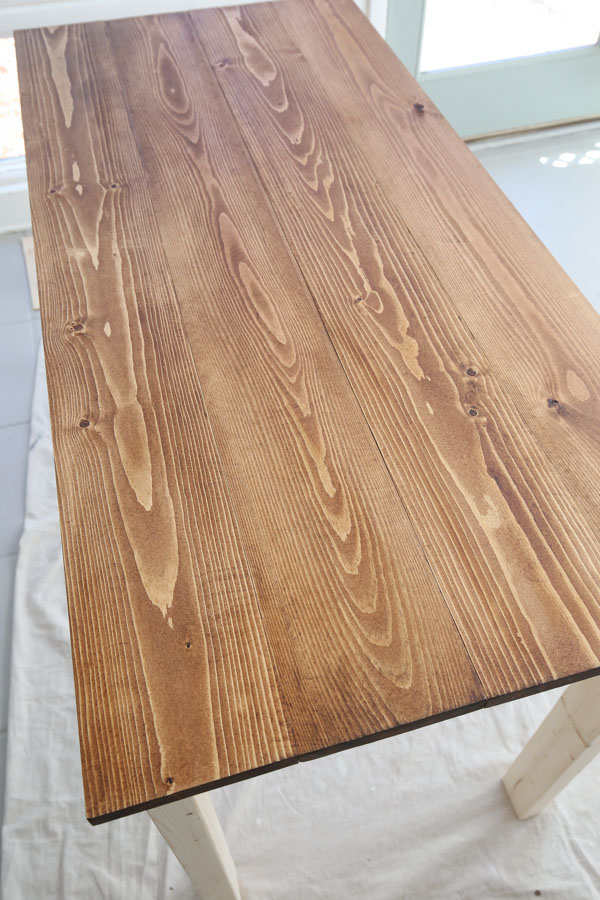
How long does wood stain take to dry?:
Stain dry time can vary based on the type of stain used and the temperature and humidity level.
The oil based Minwax stain I used takes around 2 hours to dry. Rustoluem Varathane carries an oil based stain that dries in 1 hour.
Stain takes longer to dry and doesn’t dry as well in more humid conditions, as well as very cold temperatures, so try to stain when it’s less humid out and temperatures are moderate.
How to stain wood darker:
If you want a richer or deeper color, apply a second coat after the first coat has dried. For the desk top in this tutorial, I applied two coats of stain.
More tips for how to stain wood:
- Avoid staining in hot temperatures and direct sunlight, a shaded area is best when it’s hot out
- Make sure to always wipe excess stain off of wood, don’t let any excess dry on the wood
- I like to use fabric scissors and cut my lint free rags in half so I can get more uses out of them for applying wood stain and pre-stain wood conditioner
- For staining smaller pieces of wood, I use scrap wood (like a 2×2 or 1×2) under my boards so I can easily stain all the edges and let them dry
- Let stain dry for at least 12 hours before adding a top coat (24 hours is even better)
- Don’t use a roller for applying stain, see the best way to apply wood stain for more details
5. Decide on a top coat (if desired)
A. How to apply polyurethane to wood
Yay! That’s it for staining!
You can either leave your project as is or add a top coat or sealant for the best durability finish and enhancing of the wood finish. There are many types of top coats/sealants you can use including polyurethane (water or oil based), furniture wax, oils, lacquers, shellac, etc.
There are pros and cons of each, but what I’ve used most often is a fast drying oil-based polyurethane in a satin finish because it provides strong durability and really brings out the beauty and grain of the wood.
For application, I use a foam brush (for easy disposal) and apply it very lightly in long strokes, into the grain of the wood, to avoid foam brush strokes. These foam brushes work great and hold up well with the poly in my experience.
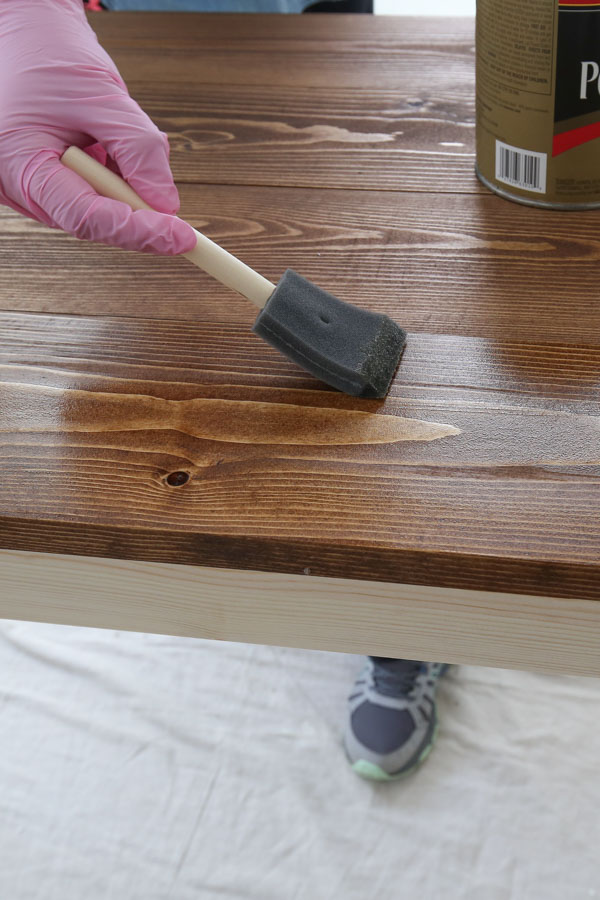
After your first poly coat is applied and has dried, the wood grain may rise some, which you can feel by running your hand over the wood. It will feel a little rough.
Simply use a 220 grit sand block or sandpaper and lightly hand sand over the piece. Then, use tack cloth to wipe away the saw dust. You can then feel the wood again and it should feel smooth.
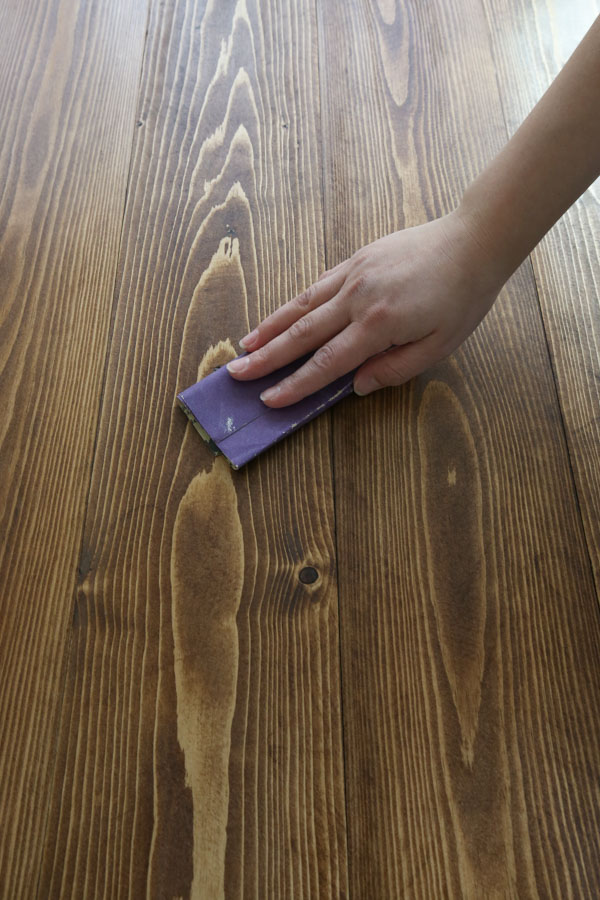
Apply a second coat with a foam brush and let dry.
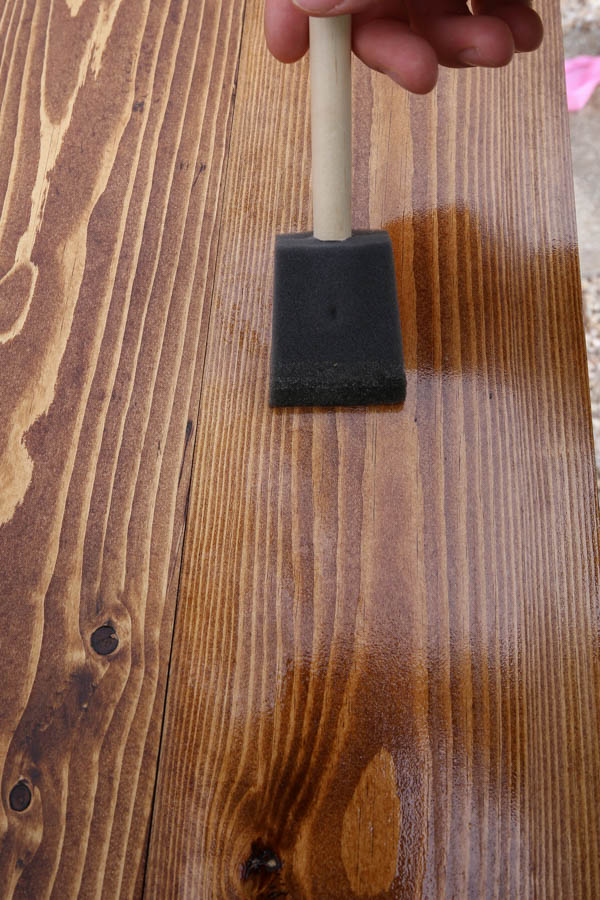
You can apply a 3rd coat if necessary.
Tip: I wrap my foam brush in a plastic bag after the first coat of poly so that I can reuse it again for the second coat!
Once your top coat has been applied, let your newly finished piece sit for at least a day with no use (preferably 3 days) which allows the top coat to cure to a hard, durable finish.
Clean up oily rags properly
If you are using an oil based stain or polyurethane, proper, safe clean up needs to be used rather than just throwing the oily rags right into the trash which can be a risk.
Check out this helpful tutorial from This Old House on how to safely dispose oily rags and why it is so important!
Now you can enjoy your beautiful wood stain finish! I hope this how to stain wood guide has been helpful!
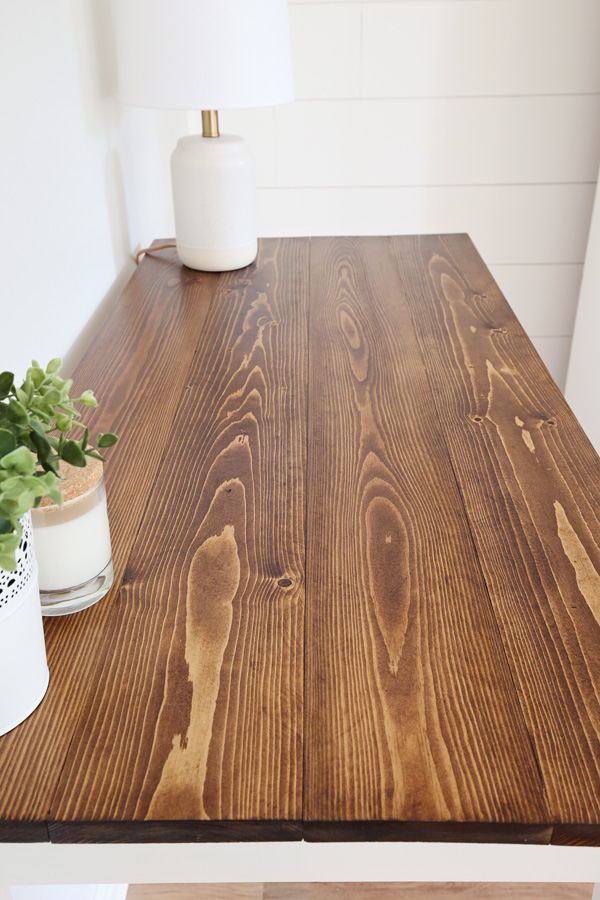
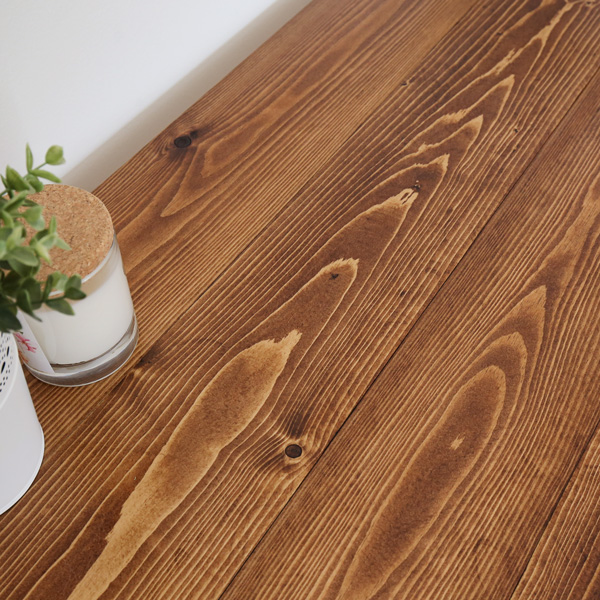
Note, if you are staining birch plywood, don’t forget to check out my how to stain birch plywood tutorial for specific steps about staining birch!
Weathered Wood Finishes:
Now that you know how to stain wood, you can also learn how to easily apply a weathered wood gray finish to your wood or make new wood look old!
If you want to learn how to easily create different weathered wood finishes or learn more about surface preparation and protection (including more info on different top coats), check out Weathered Wood Recipes here!
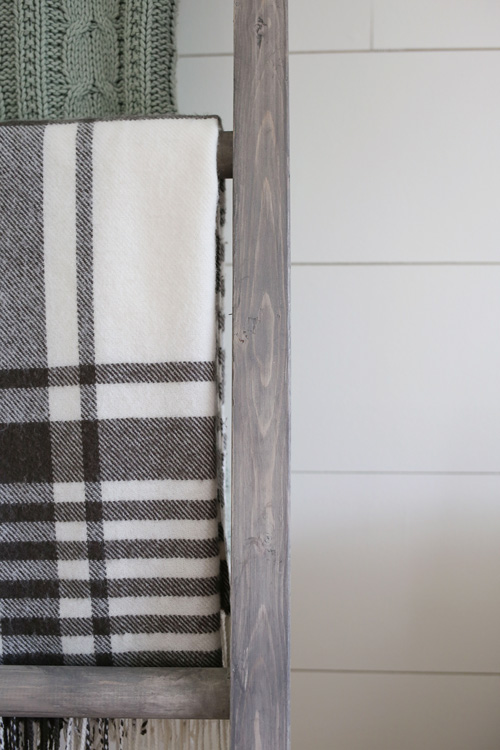
Weathered Wood Recipes includes easy and budget friendly tutorials on how to create weathered wood finishes like this:
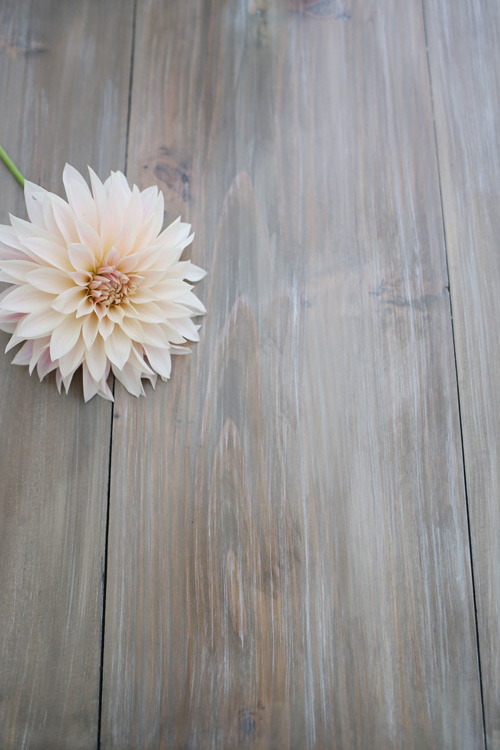
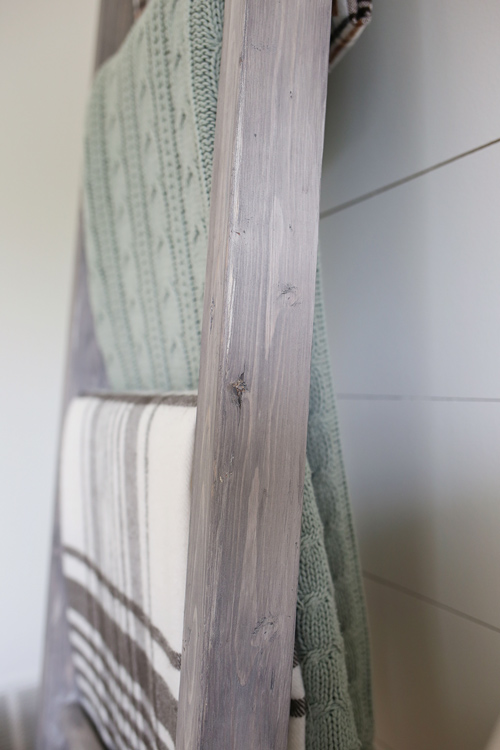
And this!
Click here to learn more about Weathered Wood Recipes!
Follow along for my latest projects and sneak peaks on Instagram, YouTube, and Pinterest!
How to Stain Wood
How to stain wood easily to acheive a beautiful wood finish!
Materials
- Tack Cloth
- Wood Stain
- Pre-Stain Wood Conditioner
- Gloves (Rubber or Chemical resistant)
- Lint free rag
- Foam Brush (optional)
Tools
- Orbital Palm Sander or other sanding tool
Instructions
- Sand the wood. It's easiest to use an orbital palm sander. Sand the wood with 80 grit sandpaper followed by 120 grit and then 220 grit sandpaper to ensure a smooth wood surface.
- Prepare the wood for staining by removing the saw dust with tack cloth.
- To prevent blotching, apply a pre-stain wood conditioner to the wood with a lint free rag. Allow it to dry for 5-10 minutes before applying the wood stain.
- Pick a wood stain color to use.
- Apply the first coat of wood stain with a lint free rag in a well ventilated area wearing gloves (rubber or chemical resistant). Use a foam brush for crevices or hard to reach areas if desired. Wipe excess stain off with the rag.
- Allow stain to dry for 3-4 hours.
- Apply a second coat of stain if desired for a darker, richer color.
- Apply a top coat after 12 hours, such as polyurethane, if desired, for wood surface protection.
Recommended Products
As an Amazon Associate and member of other affiliate programs, I earn from qualifying purchases.
Rebecca Coburn
Tuesday 17th of January 2023
Hi! I have a wood counter but all paper material sticks to it. I’m have you found a finish where paper/plastic won’t stick? Thanks!
Angela Marie Made
Thursday 26th of January 2023
Do you have any sealant on it? I would suggest adding some poly and letting it fully cure before putting anything on it. If poly doesn't fully cure, or if too much wood stain is applied, it can result in a sticky surface.
Allie
Thursday 27th of January 2022
Hi Angela! I have two questions. One is, after you do the second coating of poly, do you sand it again? Also, how do you handle doing both sides of the wood for all the steps? Do you let it dry before flipping it over? Thanks!
Denise
Thursday 21st of April 2022
@Angela Marie Made, thank you for your detailed tutorials! Are 2 coats of poly required, or is one enough for a piece in a home with 2 adults/low use. :) Thanks!
Angela Marie Made
Sunday 30th of January 2022
Nope you only need to sand after the first coat of poly! And yes I let it dry for a few hours before flipping it over.
Cathy Leary
Saturday 5th of September 2020
I bought the Provincial stain and loved it on the fist baseboard, but the next board came out more orange. Any ideas on how to keep color consistencey? I used the wood conditoner to see if that would help and it just made the color even more orange. I'm trying to keep the color tone neutral to cool. They are pine Home Depot baseboards. It's driving me coo-coobirds!
Angela Marie Made
Monday 7th of September 2020
It may have to do with the wood being sourced from different places, you can try a 2nd stain coat to darken it and see if that helps. You can also try a thinned out whitewash that would tone the orange color down.
Landon Edgington
Friday 28th of August 2020
Thanks for sharing this helpful information about staining wood. Would want to try these tips too. :)
Angela Marie Made
Friday 28th of August 2020
Thank you, I'm glad this was helpful!
Kristina
Saturday 1st of December 2018
If you have access to a planer would that work just as good as sanding with 80, then 120,etc ?
Angela Marie Made
Monday 3rd of December 2018
I don't think the planer would work as well as sanding does for preparing the surface for staining. The planer would definitely help get the surface to an even level that is smooth. But, the sanding at three different grit levels really helps to open the pores of the wood and give it a beautiful surface for staining with a high quality finish. You could certainly try just the planer if you want though!