Today I’m excited to share our week 3 project of the One Room Challenge for our master bathroom renovation, a sliding barn door DIY! If you missed the week one and two posts, you can see them here:
This sliding barn door DIY was another big impact project that has made our tiny master bathroom feel much larger since we were able to remove the swinging door which took over half the bathroom space and was always in the way while standing at the bathroom sink.
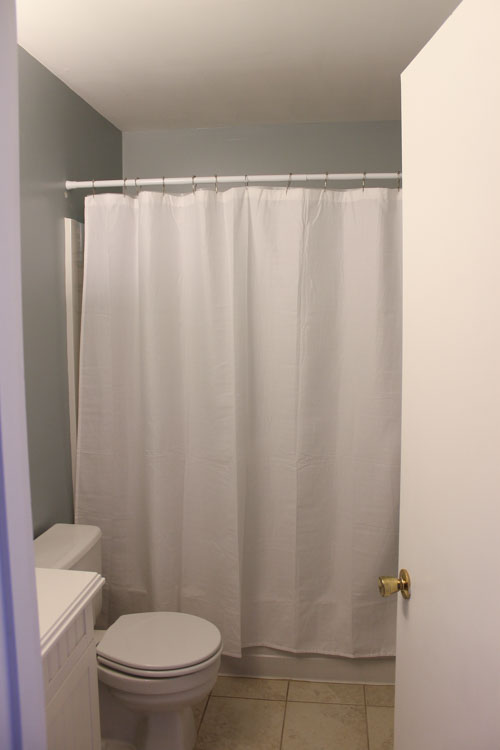
Bathroom Before With Swing Door
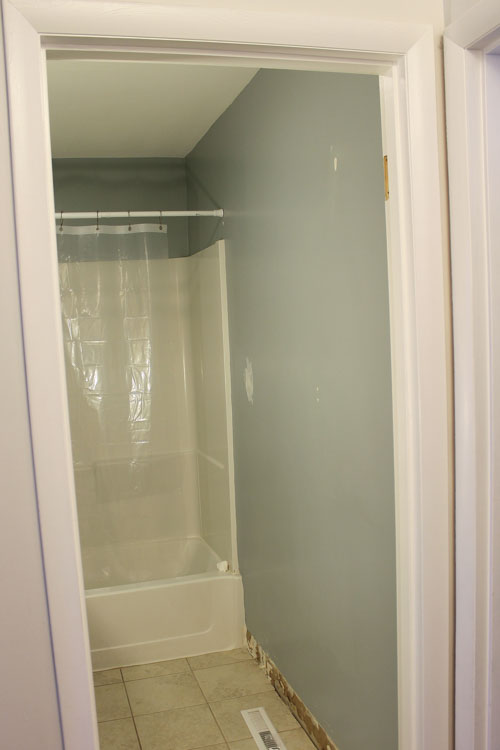
Bathroom During Demo With Swing Door Removed!
Further, I just love the look of a barn door, it’s the perfect amount of rustic charm for this space. I always love when a project is pretty and functional!!!
So, today I am sharing how we built this sliding barn door DIY for $50! With the barn door hardware (similar here), the total cost of this project was just about $100! An important thing to note about how we built this barn door is that we used a premium 3/4″ plywood instead of common wood boards. It was a bit more labor intensive with the plywood, however it saved us about $30 in lumber and I was eager to stay on budget with this project since I’ve been going over budget on other projects for this bathroom renovation. However, I would prefer to use regular wood boards if the budget wasn’t an issue.
Note, this post contains some affiliate links. For more information see my disclosures here.
PART 1: How to build a sliding barn door
Materials Needed:
- 3/4″ thick 4ft x 8ft Premium Plywood or 1×4, 1×6, and 1×8 wood boards
- 1 1/4 brad nails
- Wood Glue
- Spackle
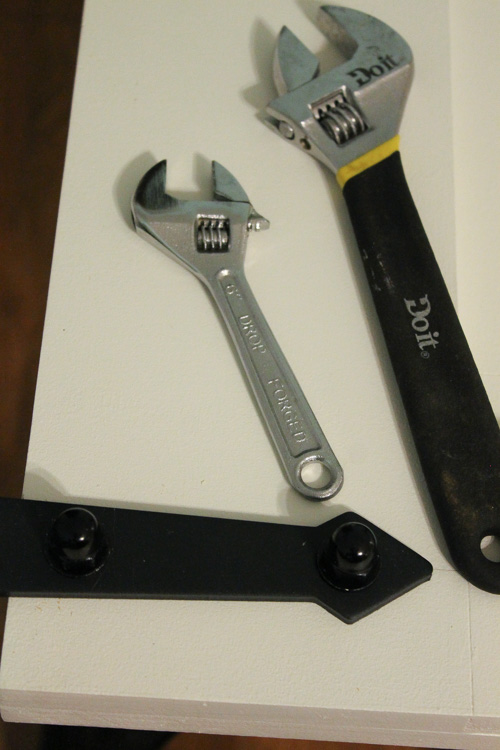
Tools Needed:
1. Determine barn door size needed
Determine how wide your barn door needs to be by measuring how wide your door opening is and then adding 4-6 inches to that number to account for a few inches of overhang on each side of the door. You want your barn door to be wider than your door opening. Our door opening was very narrow at 28″ wide, so we decided to make our door 31.5″ wide. We would have made it even wider if we had the wall space for it. For the barn door height, we decided on 7 feet tall.
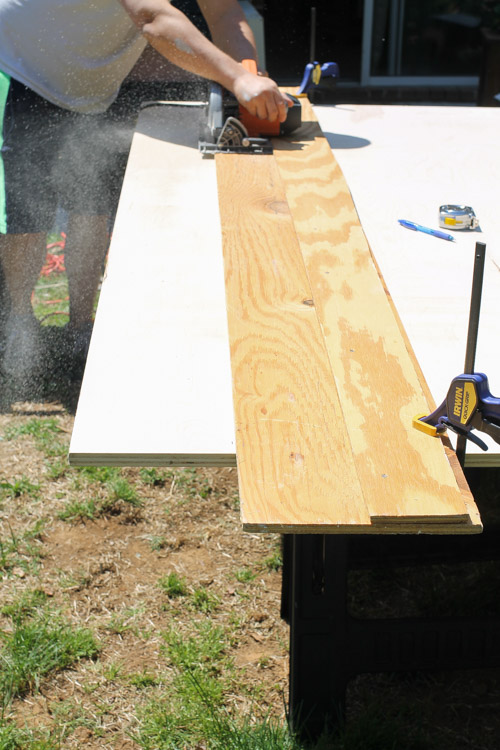
2. Rip plywood down to correct sizes
Skip this step if using regular wood boards
Using a circular saw (or have your home improvement store make the cuts), rip (cut) your plywood into boards at the correct size. First, we cut our plywood down to 7ft (so it was 4ft x 7ft). Next, you need to figure out how many boards at each size will make up your door width needed. We chose to do 5 alternating boards at the following widths: 3 @ 5.5″ wide and 2 @ 7.5″ wide. We used a circular saw with a straight edge guide to rip our boards to size.
Then, we cut 3 more boards at 4″ wide for our framing boards. Finally, for the 1ft x 4ft scrap piece (from our first cut) we cut that in half, so there were 2 pieces at 6″ x 4ft to use for the top and bottom framing pieces.
3. Attach boards together
Lay your boards out on a flat surface. It helps to clamp them together to hold in place.
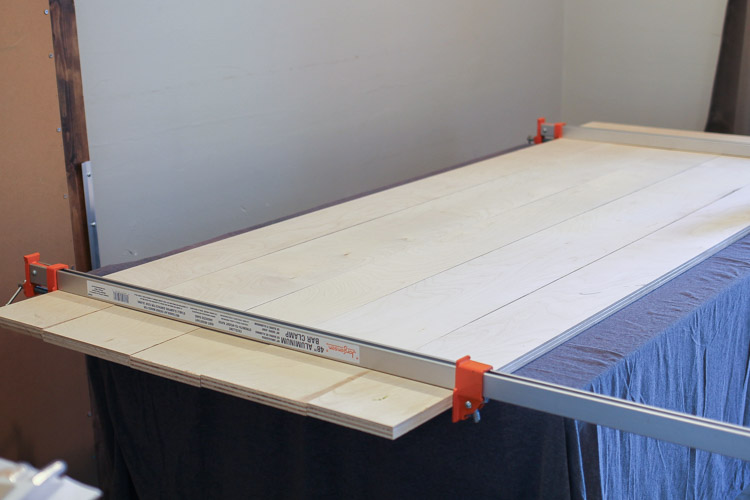
Then, measure the width of the top and bottom of your boards and cut your two 6″ x 4ft boards to size with a miter saw for the top and base framing board pieces.
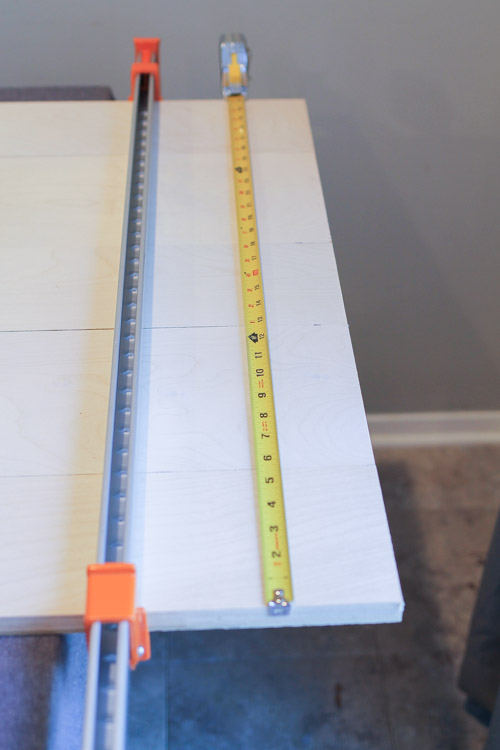
Next, attach the top and bottom framing pieces to your door boards with 1 1/4″ brad nails and wood glue.
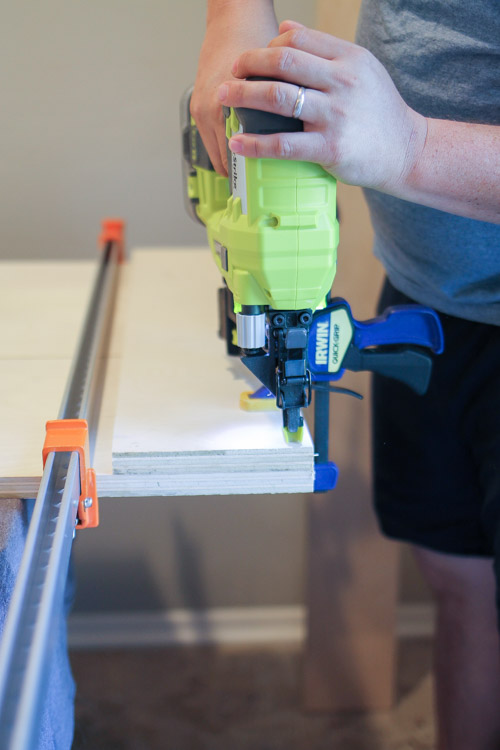
Finally, measure the length between your top and bottom framing boards pieces, cut your 4″ x 7ft boards to size, and attach to the door with brad nails to complete the framing of your barn door.

Note, you could also attach the framing boards to the door boards with screws and or kreg screws, but we kept it simple with just using lots of brad nails and wood glue since in the end, 4 huge screws from the barn door hardware would be going through the top boards of the door.
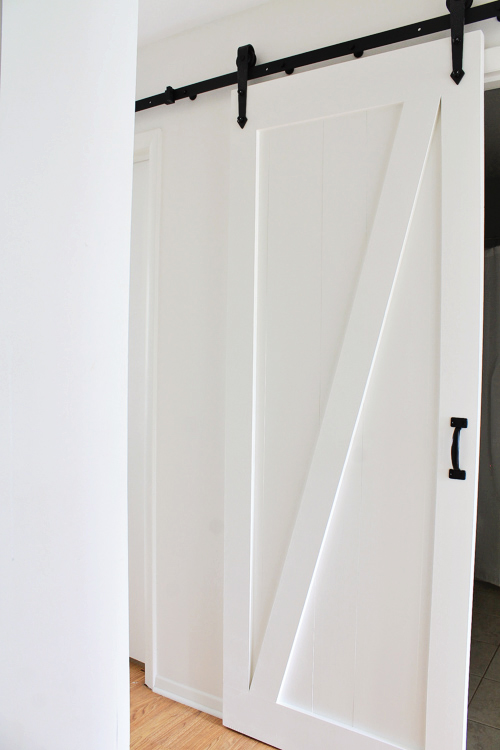
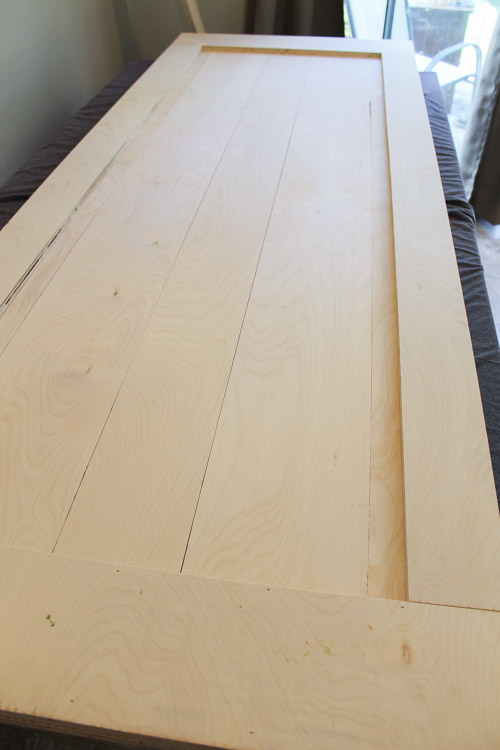
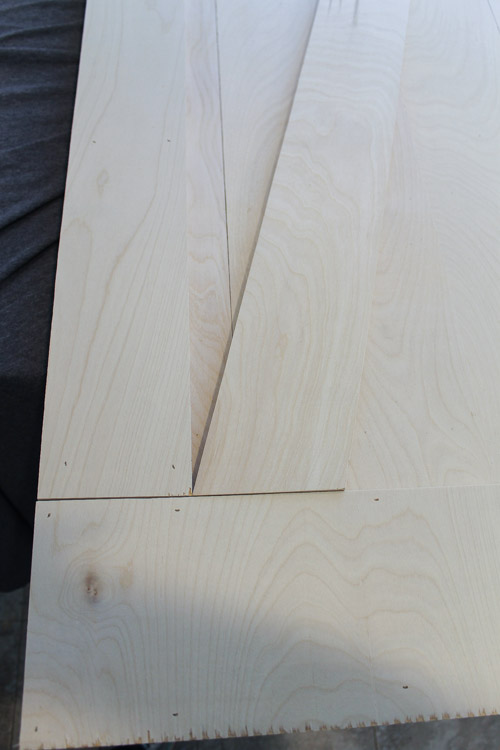
4. Add diagonal board
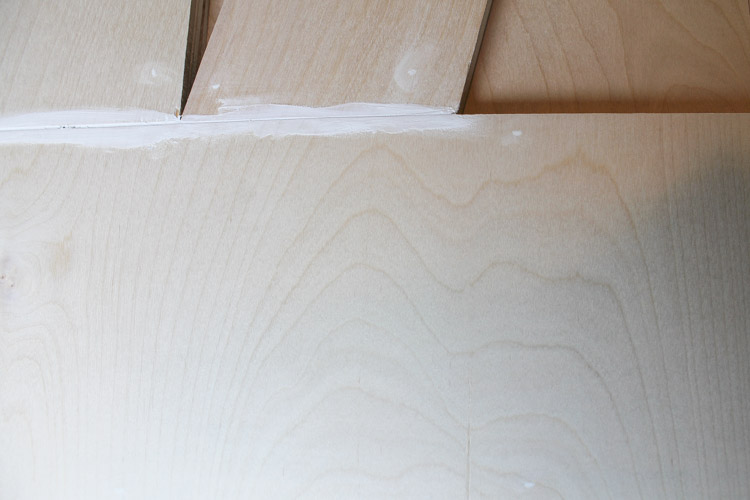
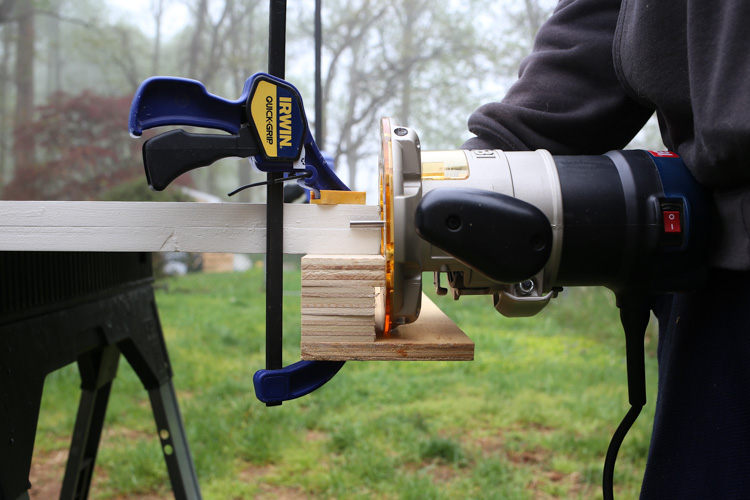
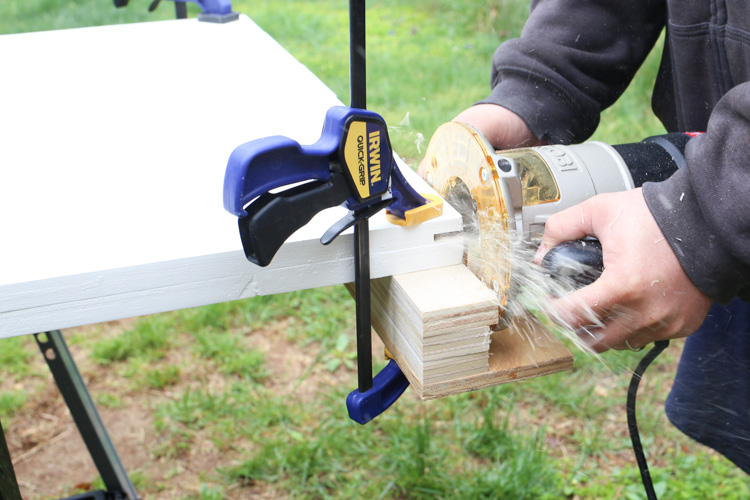
When I was originally trying to decide what design to make this barn door, I kept coming across the one diagonal board design on Pinterest which I love. To achieve this cut, we laid out our diagonal board the way we wanted it and used two stacked scrap boards to create a guide to determine where to mark our cut line (shown in the photos below):
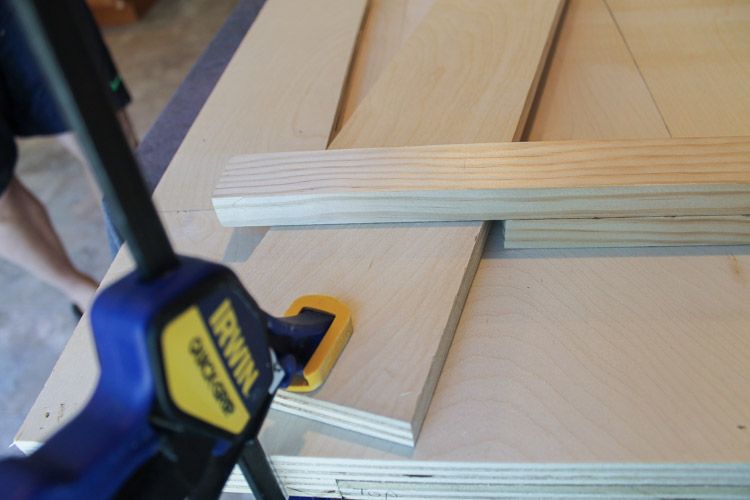
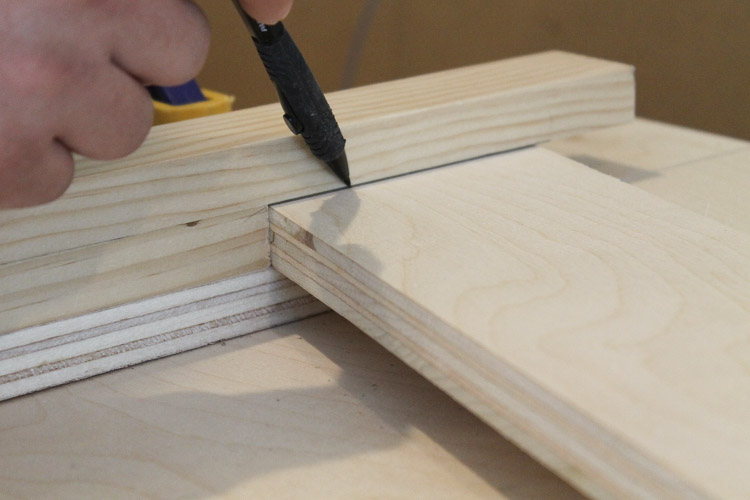
This method worked really well to achieve a precise angled cut!
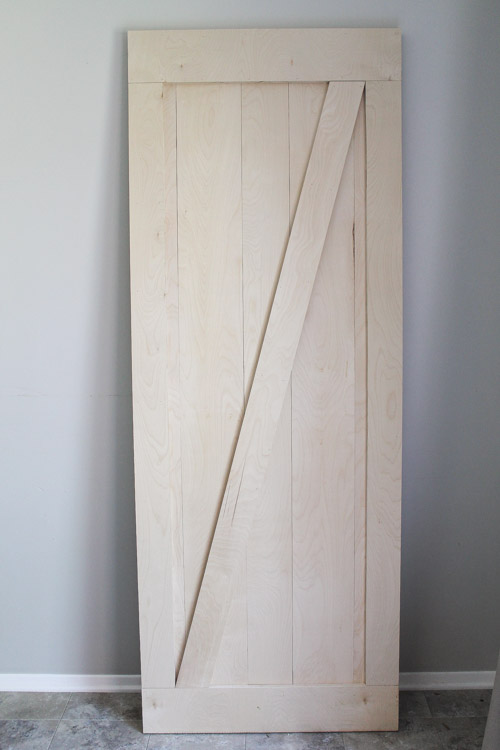
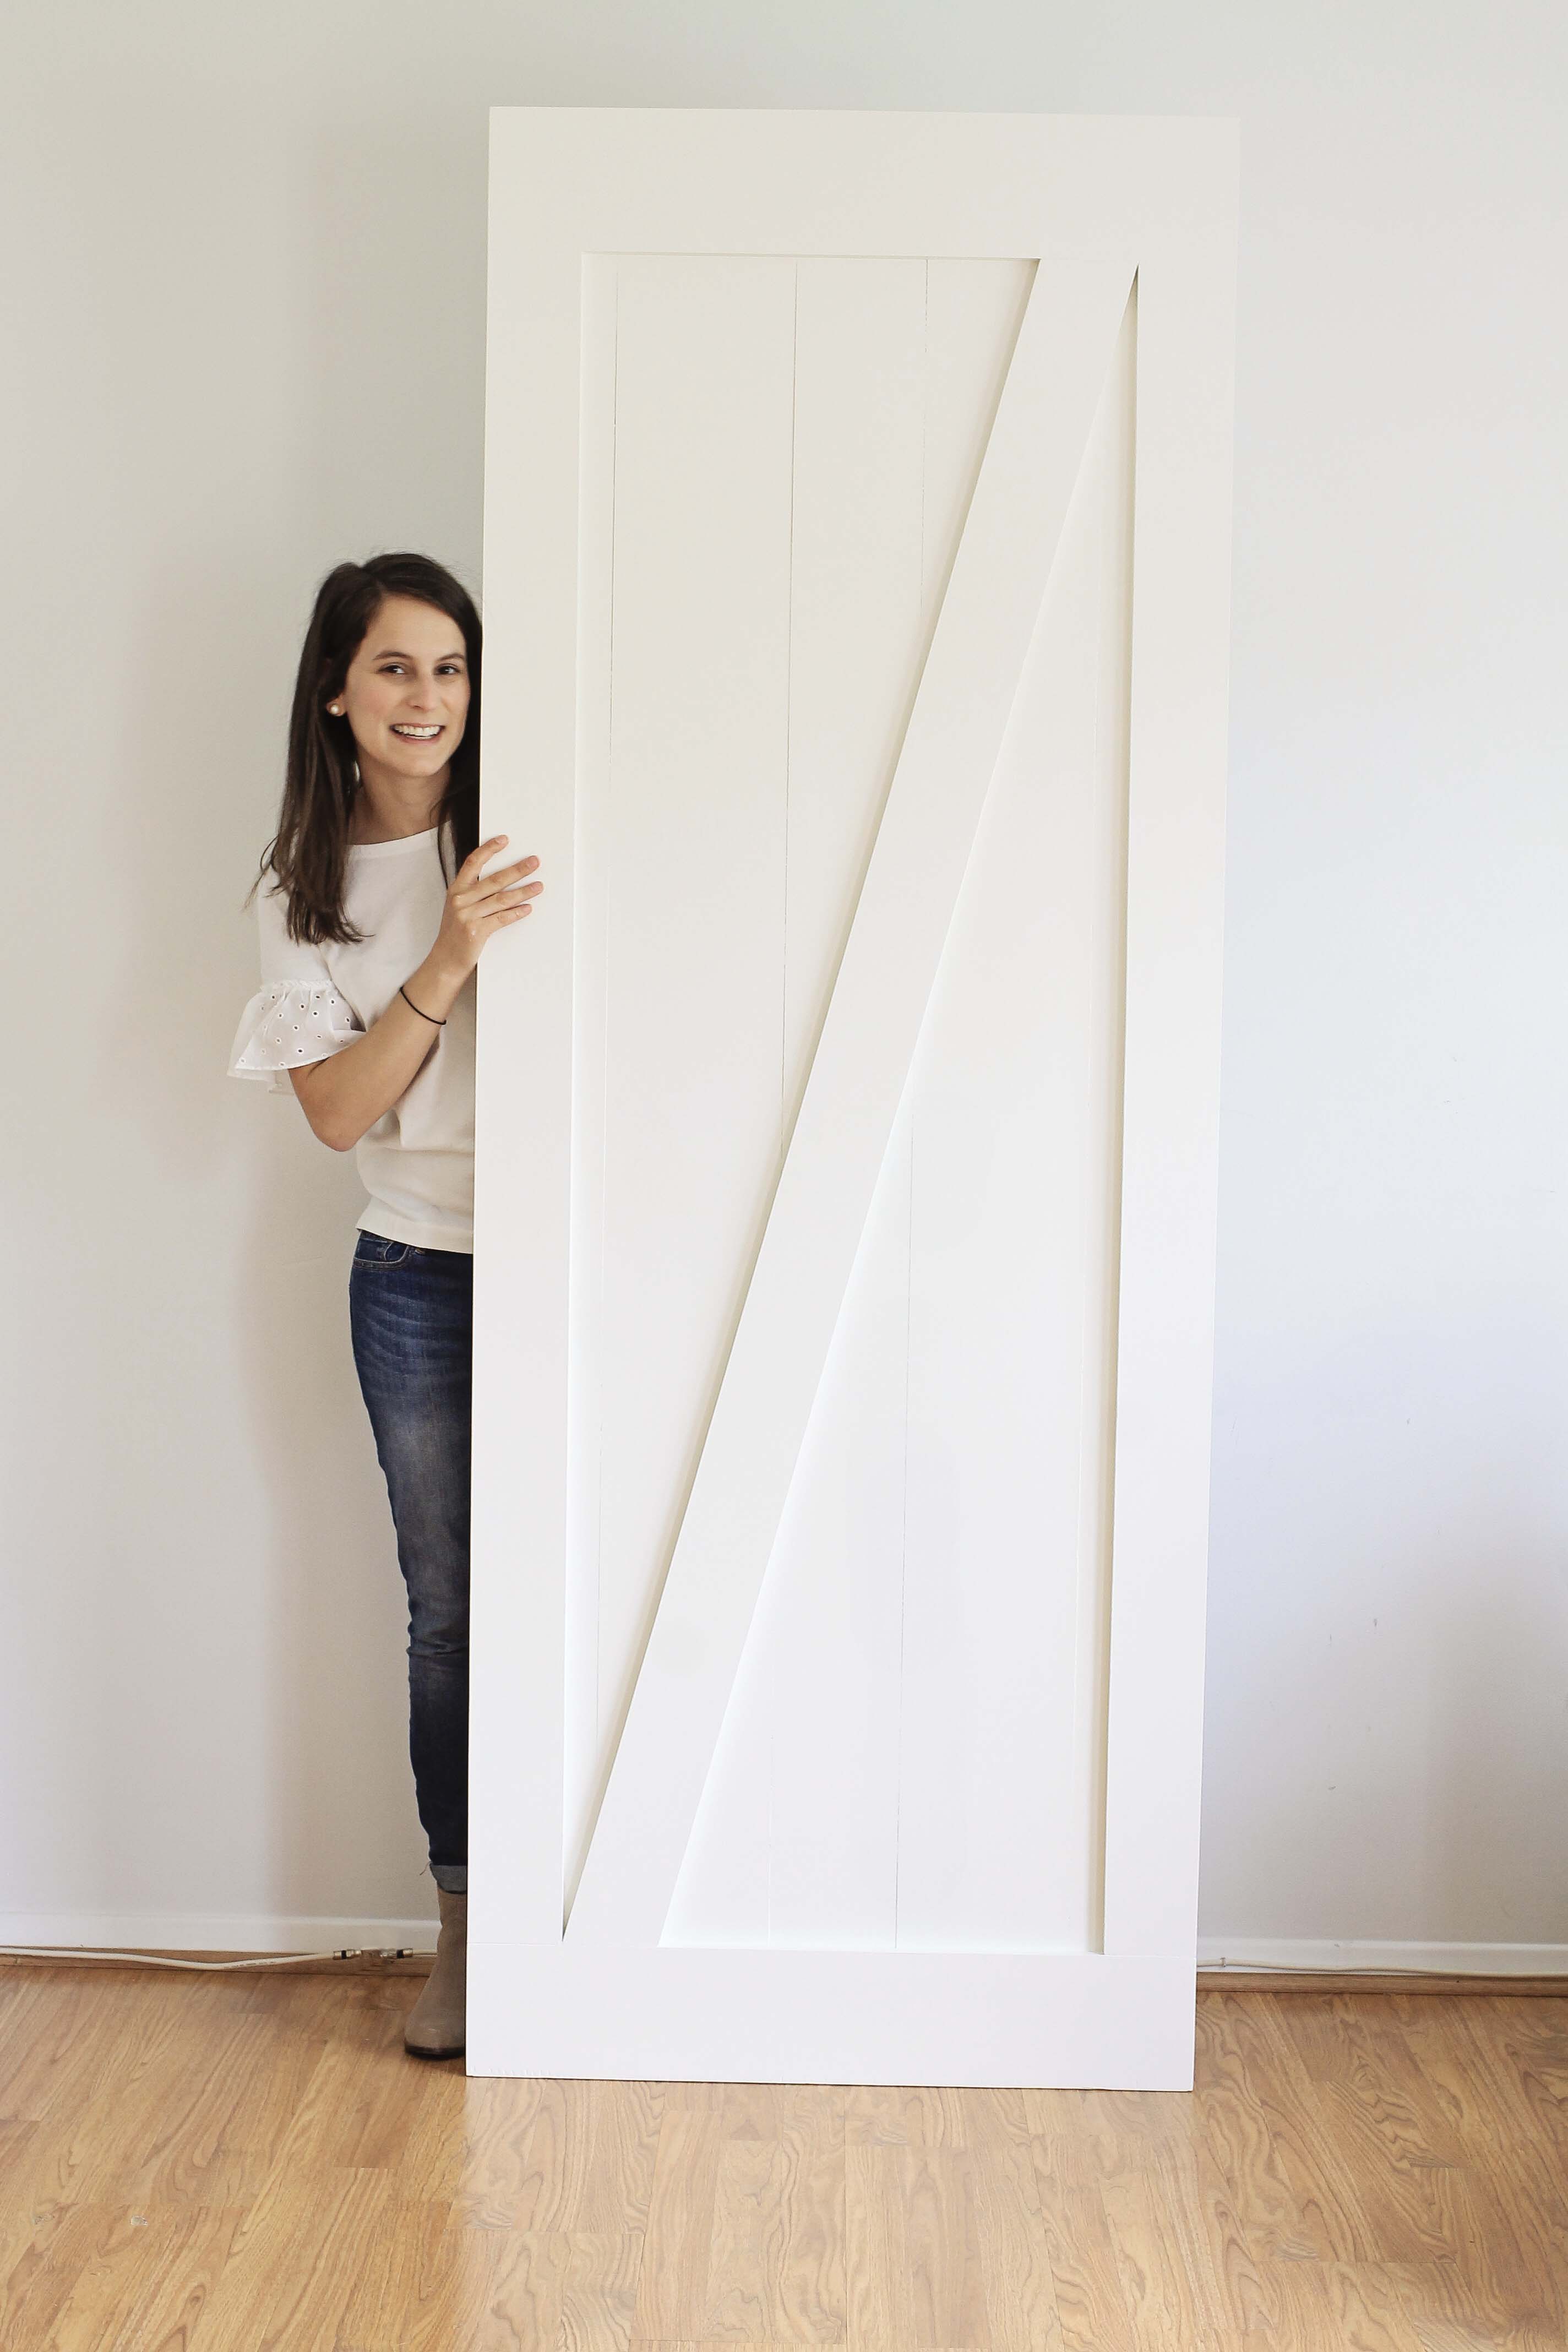
And the sliding barn door DIY build is complete!
5. Fill gaps, prime, and paint
I filled the larger framing gaps with caulk and all the nail holes and plywood imperfections/holes with spackle. Then, I lightly sanded, primed, and painted the barn door! We used Alabaster by Sherwin Williams in satin for our paint color.
All painted!
PART 2: How to Install a sliding barn door
This was our very first time installing a barn door and to be honest, it was definitely a learning curve!
When I was looking for barn door design ideas on Pinterest, one of the barn door design photos I loved was Jenna Sue Design’s barn door and I loved the hardware she used too. I bought the same sliding barn door hardware (similar here) which was very budget friendly compared to other hardware kits! The hardware is a really nice quality, although it doesn’t have the best installation instructions with it and everything was in millimeters.
Here is how we installed our sliding barn door, in addition to trying to follow the instructions that came with the hardware:
Materials Needed:
- Sliding Barn Door Hardware – similar here
- Handle
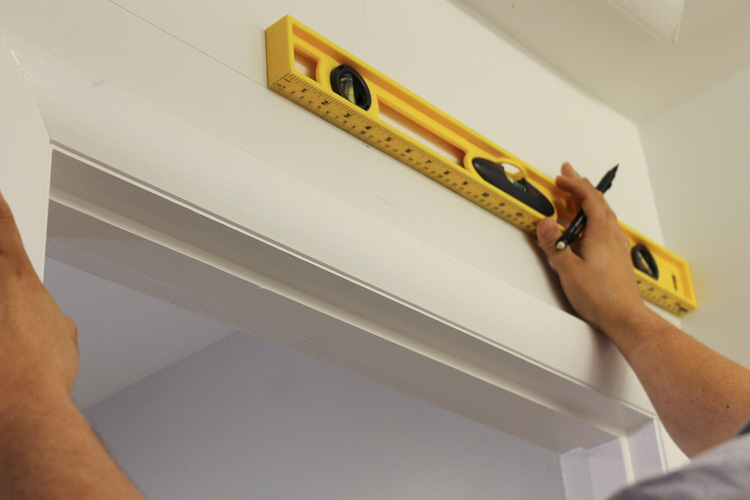
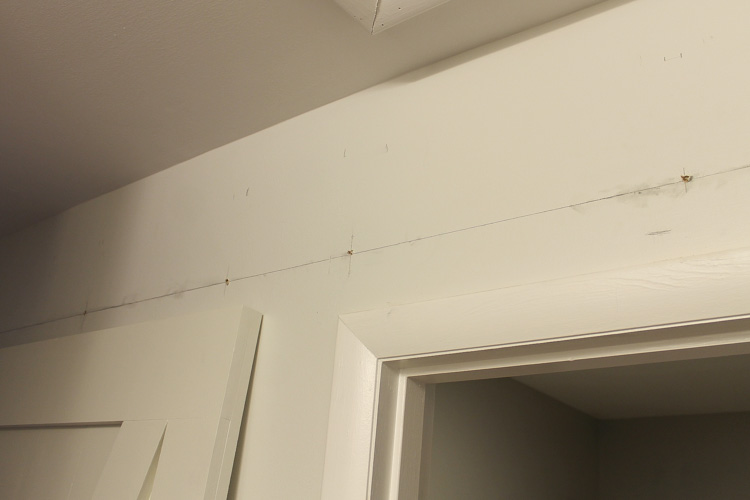
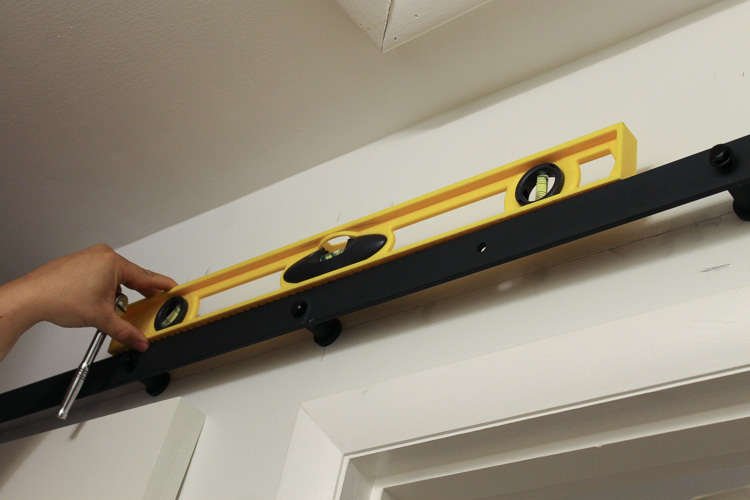
1. Locate the wall studs
Use a stud finder to locate 4 of your wall studs and mark a vertical line. Then, using a level, draw a straight line horizontally through them where your track will go (the hardware directions provide a calculation to determine exact height on the wall). Next, drill pilot holes on your 4 stud marks.
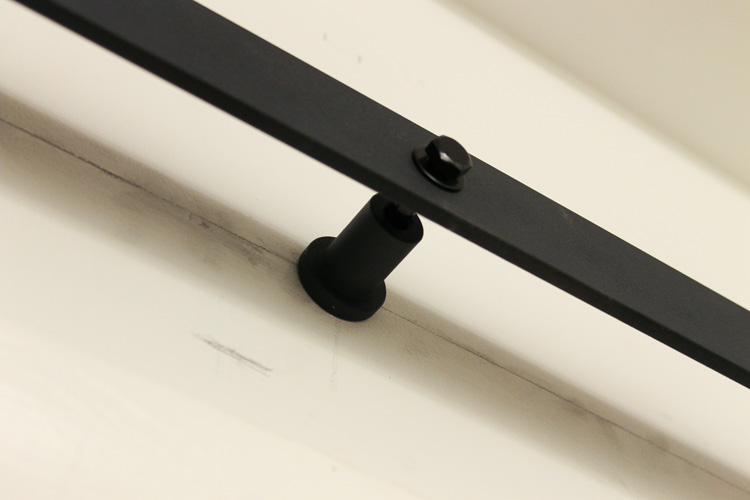
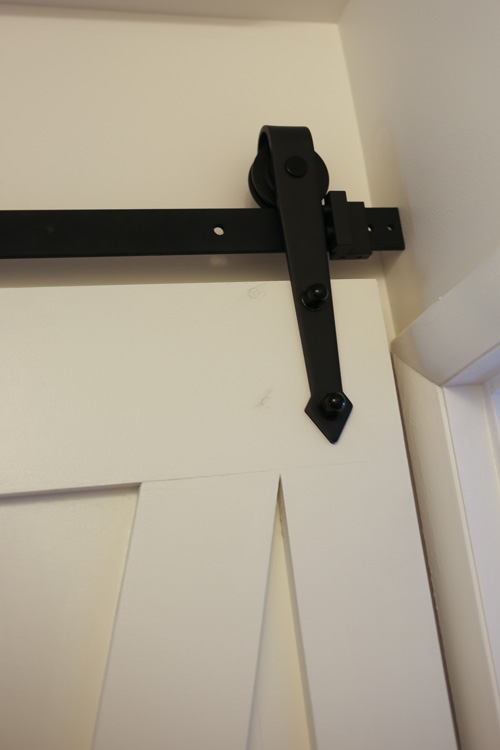
2. Attach track to the wall
Our sliding barn door hardware track had 4 pre-drilled holes, which is great, except they didn’t line up with our wall studs… You can attach a 1×4 or 1×6 board to the wall studs to attach the hardware too to make these pre-drilled holes work. However, we wanted to attach the hardware directly to the wall so we could have the smallest gap possible between the door and wall since this door was being used for a bathroom. So, we had to drill 4 new holes in the metal track which aligned perfectly with our stud marks. We used a special drill bit for drilling through metal.
We attached our 4 screws through the track and other hardware pieces provided in our kit, then we confirmed everything was still level.
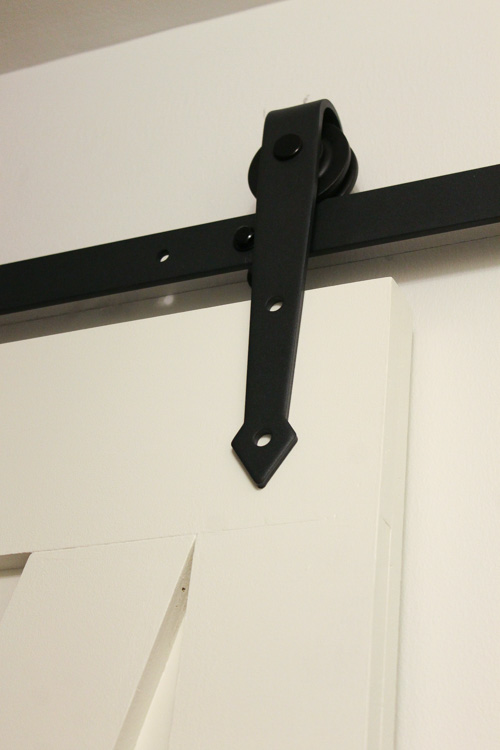
3. Attach hardware to door
Attach the two wheel hardware pieces to your door. We lined our hardware and door up with the track and accounted for some extra space for the gap between the floor and door to determine the best place to drill our holes.
📩 Want to Save This?
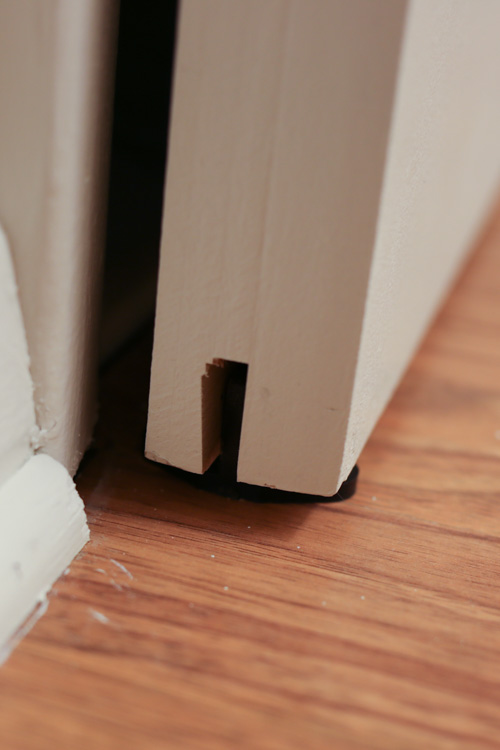
4. Add floor guide
If you want to use a floor guide, there is one provided in the hardware kit. However, creating a slit in the bottom of the door for the floor guide was a little annoying…especially because we used plywood which chips easier than regular wood and because we didn’t have a table saw or the correct router bit. So, using a straight router bit and a jig we made out of scrap wood, this photo shows how we made our slot in the bottom of our door for the sliding barn door floor guide:
This is what the barn door floor guide looks like installed, although it’s difficult to see it!
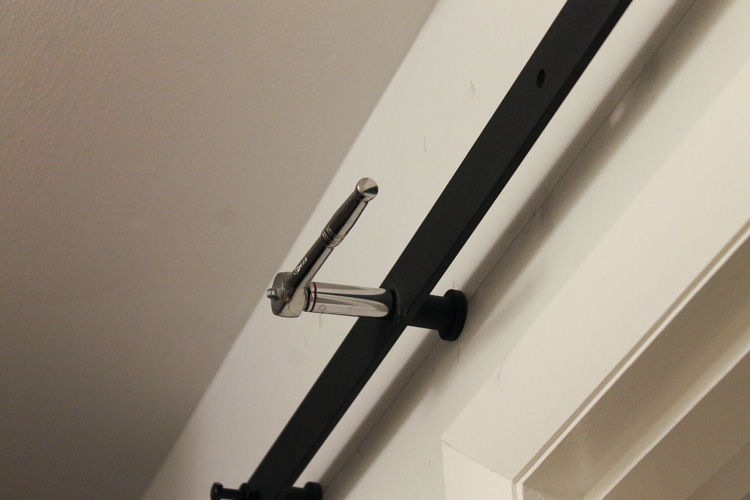
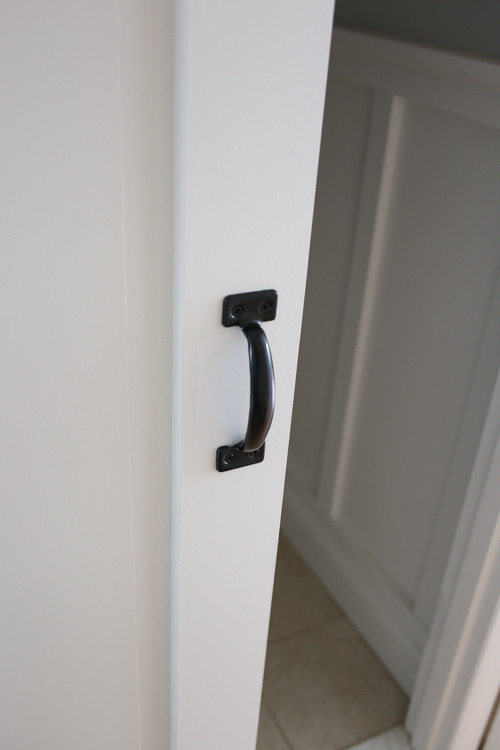
5. Add Handles & Door Stoppers
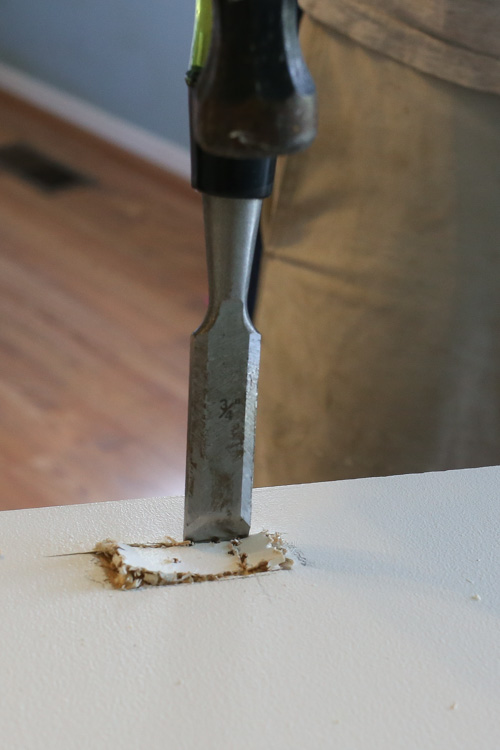
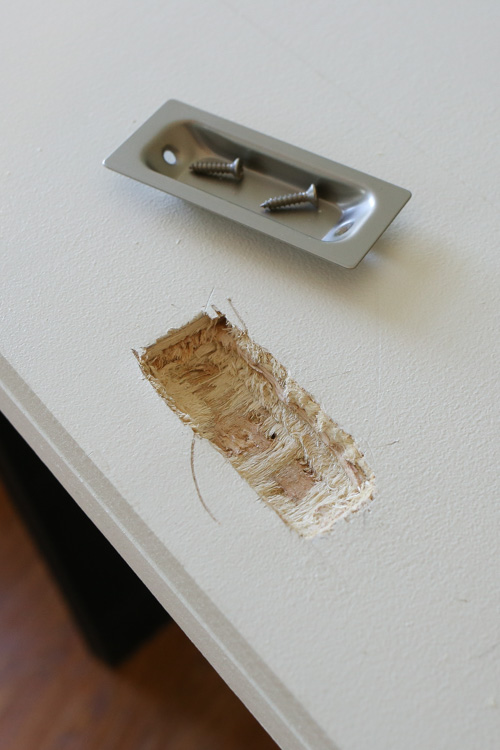
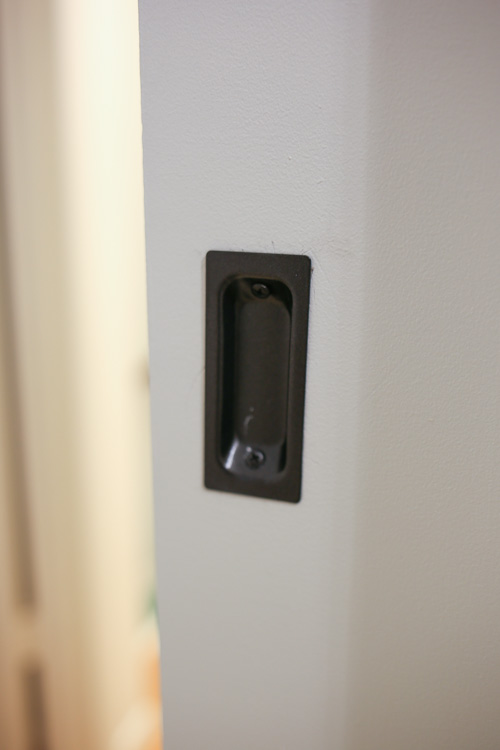
Add a handle to the front of your door and back of your door if you want! We used this handle for the front and a pocket door pull handle for the back of door. For the pocket door handle we had to chisel out a spot for it and spray paint it black to match the hardware.
Finally, we added the door stoppers to the track that was included with the hardware.
Finally, our sliding barn door was fully installed! This door was extremely difficult to photograph due to its location in our hallway. Here are a few photos of the final result!
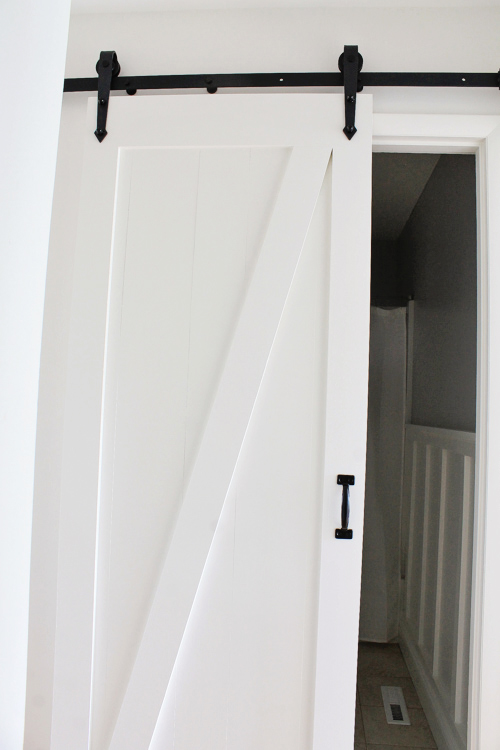
What do you think of our DIY sliding barn door? It was certainly not the easiest project, especially since this was our first time installing a barn door and lot of little challenges arose. But, I love the pretty, modern farmhouse look and functionality that it provides!
Follow along on Instagram or Facebook for my latest projects and for all the updates on our master bathroom reno for the One Room Challenge!