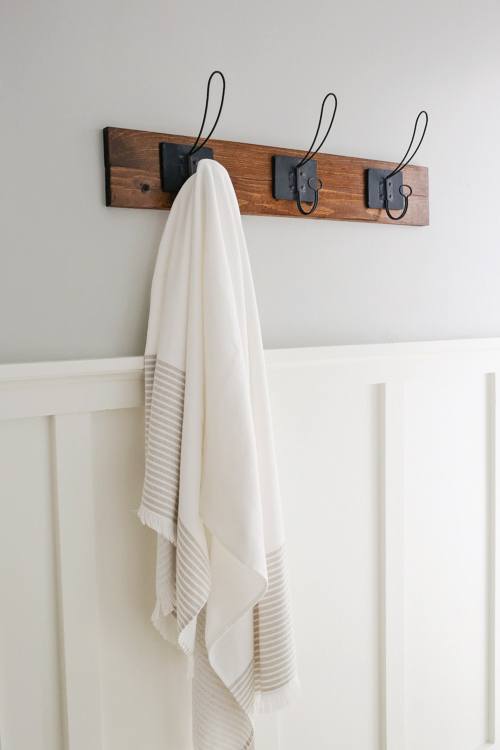
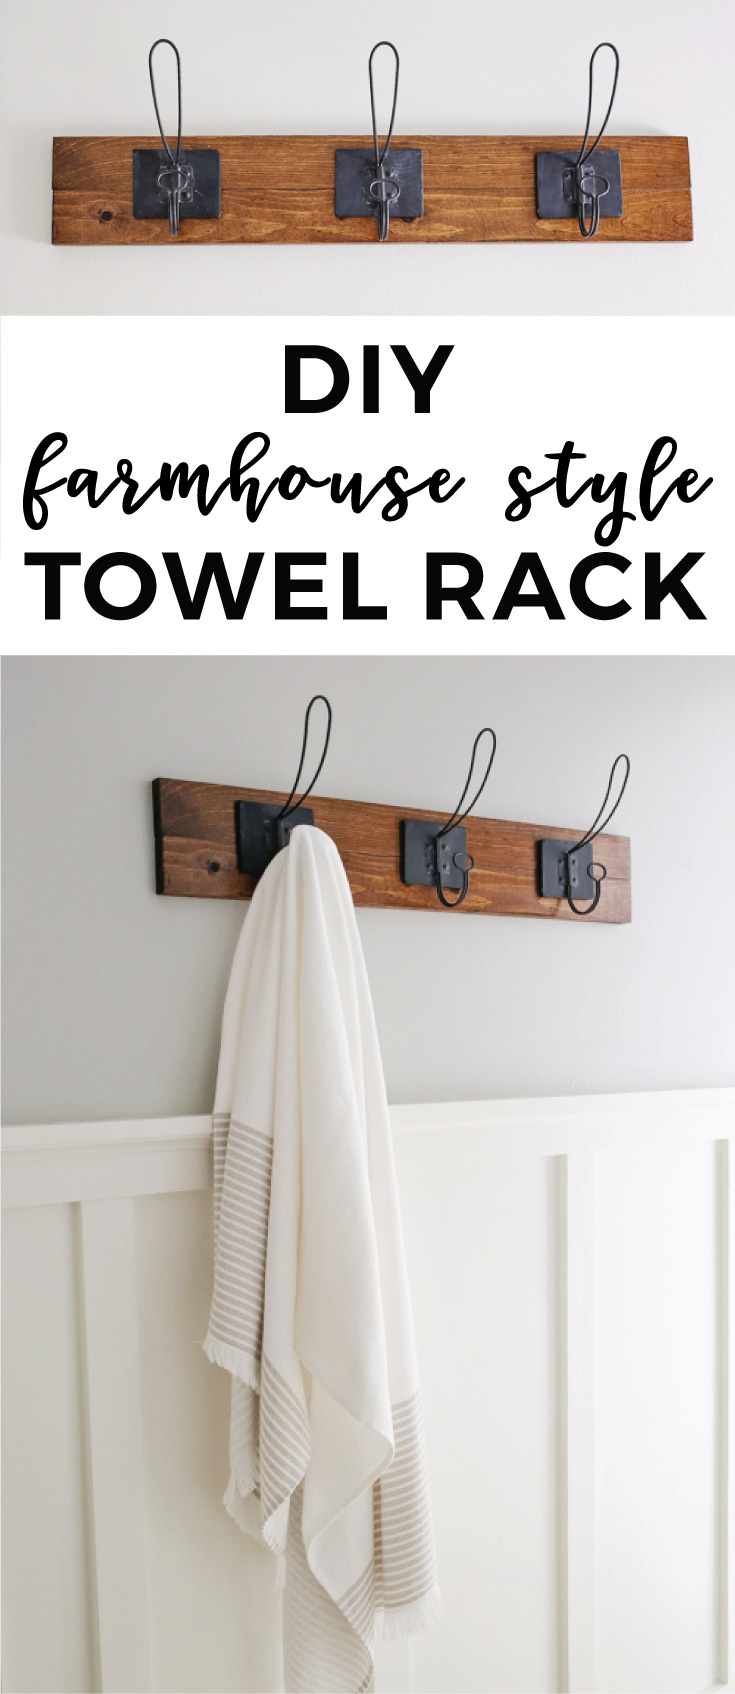
I’m super excited to share today’s DIY project, a rustic, farmhouse style, DIY towel rack!
This towel rack DIY is super easy to build, really cute, and of course functional! It can also be used as a coat rack.
I made this DIY towel rack for our master bathroom renovation, which we are redoing as part of the One Room Challenge. We are currently in week 4 of the project and I’m trying to finalize the decor and organization details.
Here is a recap of the first 3 weeks of the projects for the challenge:
- ORC Week 1 – The Master Bathroom Plan
- ORC Week 2 – Board and Batten Bathroom DIY
- ORC Week 3 – Sliding Barn Door DIY
Note, this post contains some affiliate links for convenience.
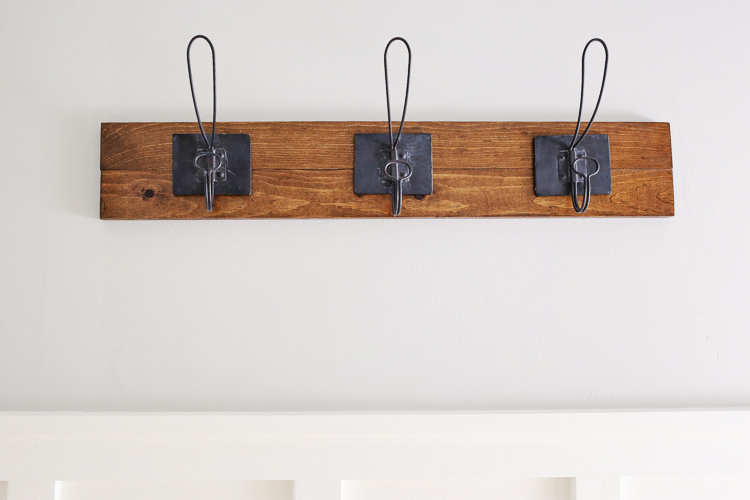
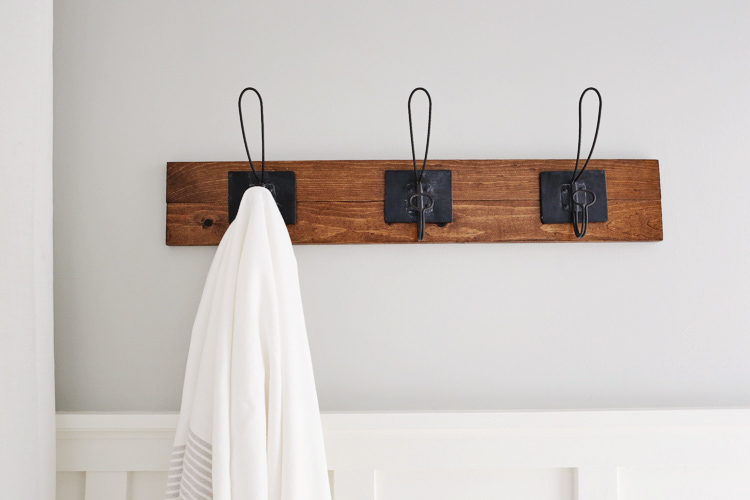
The main feature that totally makes this DIY towel rack are the super adorable metal hooks! They give off a farmhouse, vintage, industrial vibe which I love. I found them at Hobby Lobby and you can also find similar ones here, here, here.
.
How to make a farmhouse style DIY towel rack:
Materials:
- (1) 1×3 @ 6ft
- 1 1/4″ Kreg screws***
- 3/4″ wood screws
- Wood Stain (I used this stain color)
- Pre-Stain Wood Conditioner
- Wall Hooks (found mine at Hobby Lobby, similar here, here, here )
***If you don’t have a Kreg Jig, you can use a 1×6 board instead of two 1×3 boards joined together with Kreg screws.
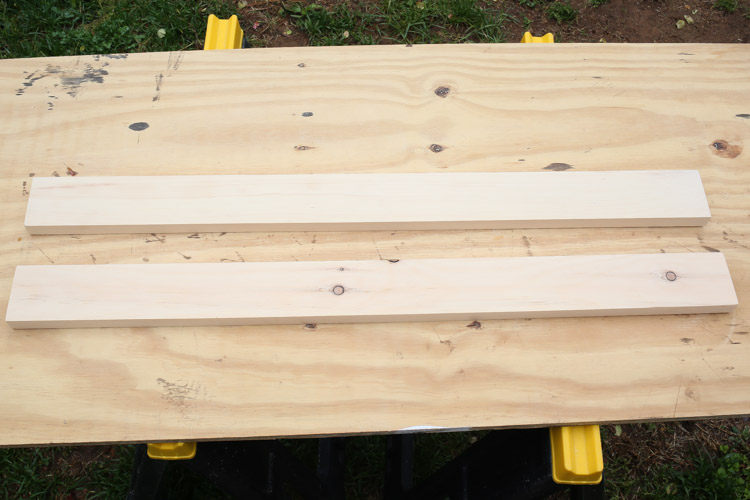
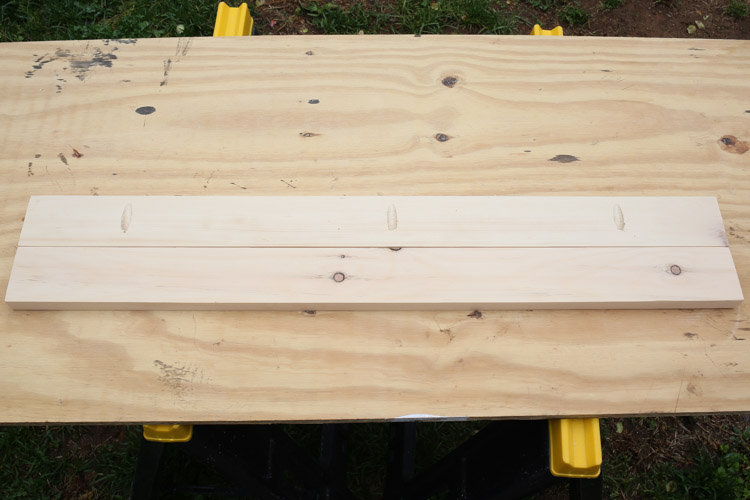
1. Cut Board to Size
Use a miter saw (or have your home improvement store make the cuts for you) and cut two 30″ pieces from your 1x3x8.
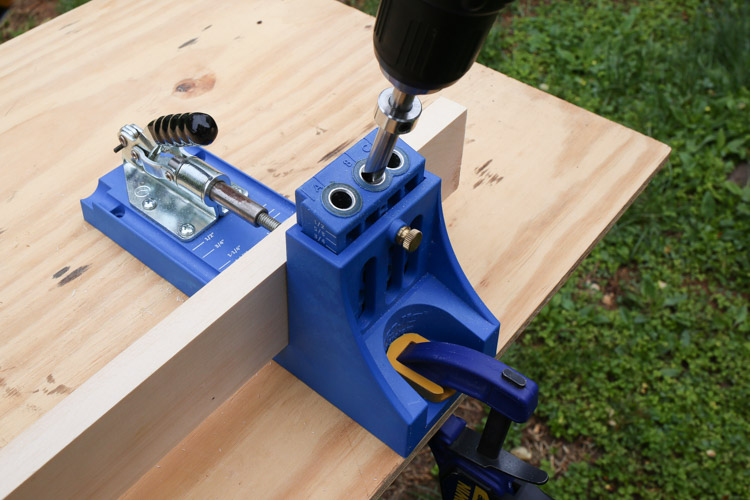
2. Drill Pocket Holes
Drill three pocket holes with a Kreg Jig on one of your 30″ boards. *Tip: See my how to use a Kreg Jig post for an easy, step by step tutorial and video tutorial on how to use the Kreg Jig!
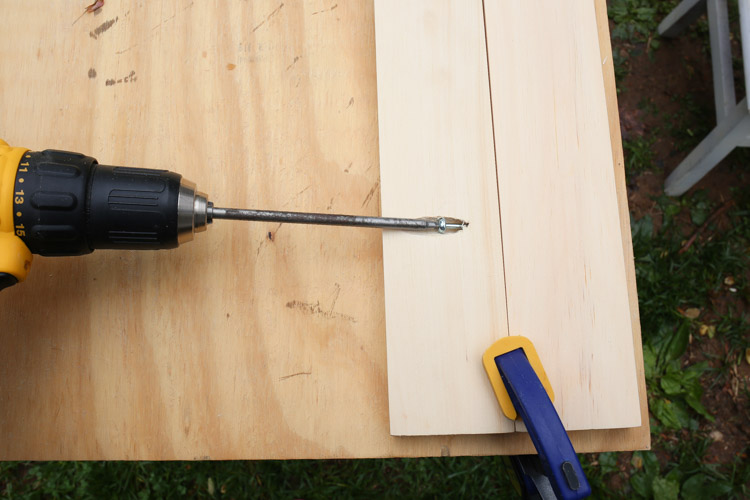
3. Connect two boards
Connect the two 30″ boards together with 1 1/4″ Kreg screws.
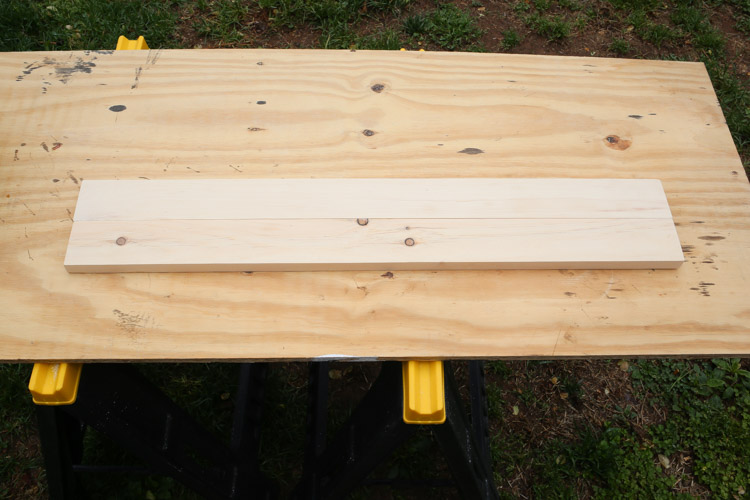
4. Sand and Stain the Towel Rack
Sand and stain the wood towel rack. I used a Pre-Stain Wood Conditioner and this stain stain color. I also used an oil based poly to seal the wood since damp towels are going to be hung on this towel rack. For help on how to stain wood for a beautiful finish, check out my how to stain wood tutorial.
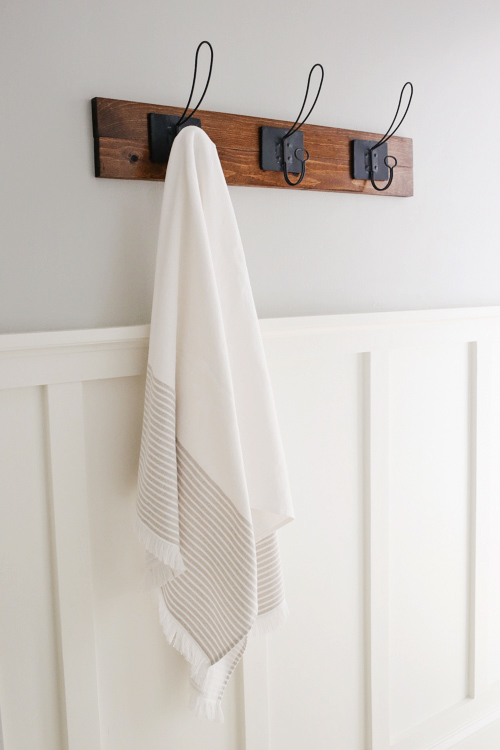
5. Attach metal hooks and attach towel rack to wall
Attach your metal hooks to the wood towel rack, evenly spaced, with wood screws. I used 3/4″ wood screws for my hooks. The metal hooks didn’t have the best hardware on the back to attach to the towel rack, so I may be putting some screws through the front of them.
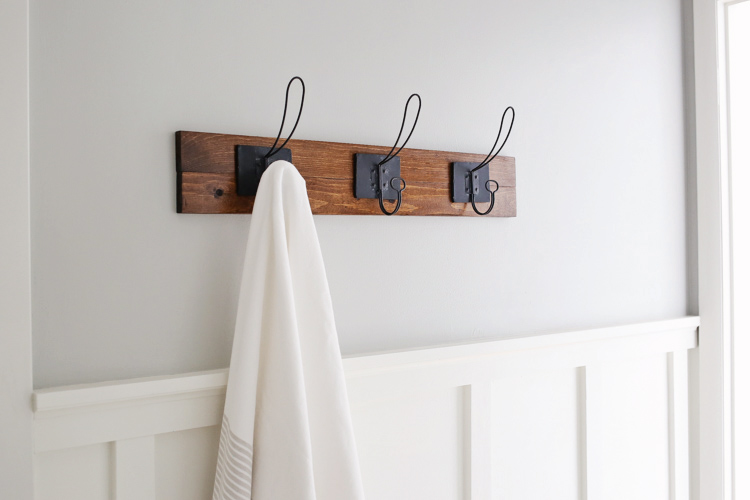
To attach the towel rack to the wall, I screwed two screws into our wall studs and then pilot holes on the back of the towel rack to line up with those screws so the towel rack would be flush with the wall.
After hanging the towel rack, you can hang some towels or other items and enjoy your new farmhouse style DIY towel rack! I’m in love with the mix of the warm wood and black metal!
📩 Want to Save This?
What would you use this farmhouse style DIY rack for? Towels? Coats? Or some other type of organization?!
Follow along on Instagram and Facebook for my latest projects and to stay up to date on our master bathroom renovation reveal, coming up in less than 2 weeks! Time to hustle!
I’d love to see your version of this build! Feel free to share photos with me on Instagram, Facebook, or email: [email protected]!
Rich Rod
Monday 31st of December 2018
First time woodworker here, excellent blog and woodworking projects to tackle.
Angela Marie Made
Wednesday 2nd of January 2019
Thanks Rich!
Cara
Wednesday 28th of November 2018
Did you happen to take a picture of the back before you put it onto the wall? I’m having a hard time picturing it.
Angela Marie Made
Thursday 29th of November 2018
No I didn't unfortunately. I drilled holes in the back and then hung it from screws anchored in the drywall.
Tanya
Wednesday 2nd of May 2018
How much did this whole project end up costing you for the materials? Just wondering.
Angela Marie Made
Thursday 3rd of May 2018
I don't remember exactly what I paid for the hooks, I bought them on sale at Hobby Lobby, but I think I spent around $20 total on the project
AL
Wednesday 3rd of January 2018
Your pages say "affiliate links may be included for convenience". Why not just be straightforward and say links and ads are included to pay for the cost of your site, and the o generate income for what you do. Honesty comes across a whole lot better on an otherwise great site like yours.
Angela
Thursday 4th of January 2018
Thanks for the feedback AL. My full ad and affiliate link disclosure is linked at the bottom of all the blog pages and also here: https://angelamariemade.com/disclosure