With the start of summer, I’ve been on a gardening kick and wanting to fix up our front and backyard with a vertical DIY plant stand.
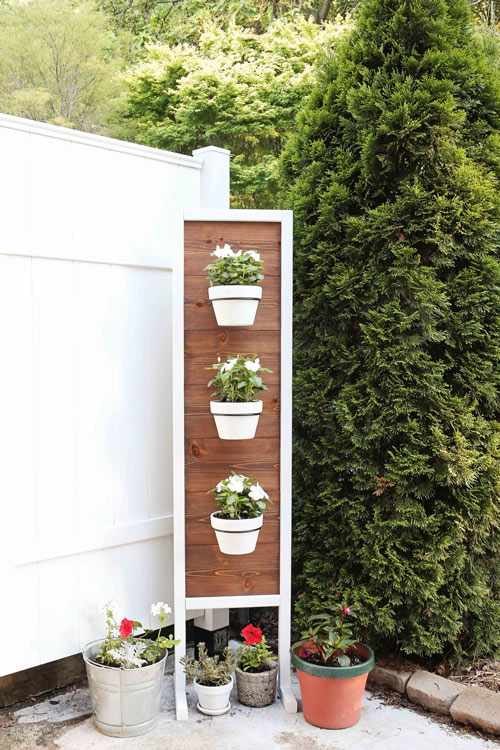
We live in a town home so we don’t have a ton of privacy in our backyard, but we do have one privacy fence panel and some Arbor Vitae trees to help on one side.
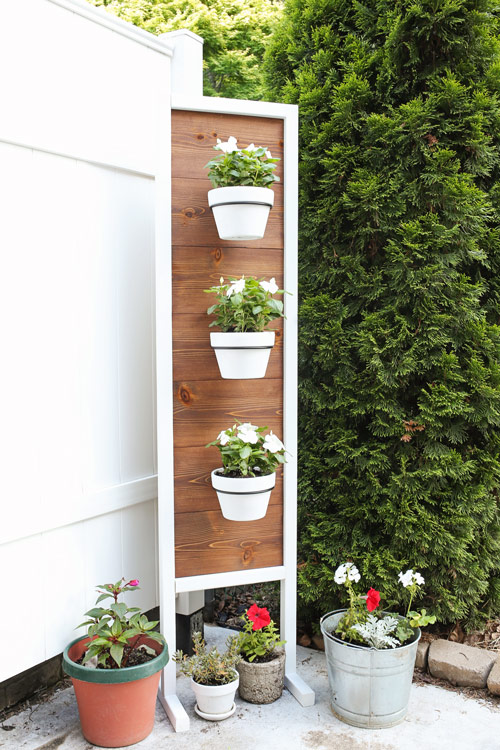
However, there was a gap between the two and I wanted to add some more flowers, so I decided a vertical planter DIY would be the best solution!
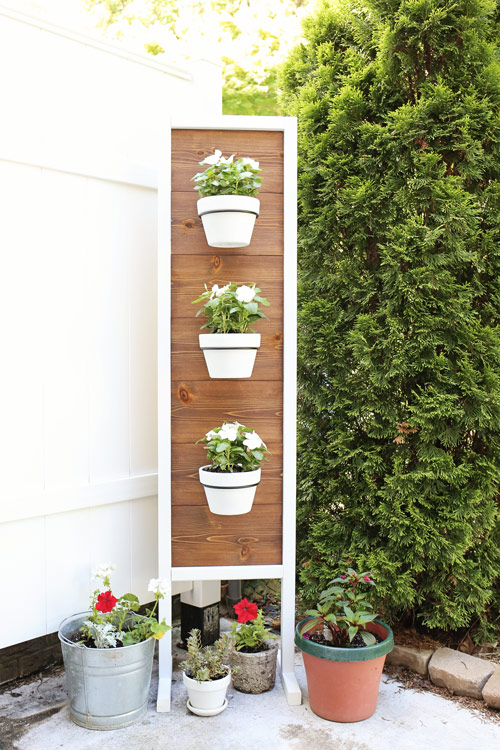
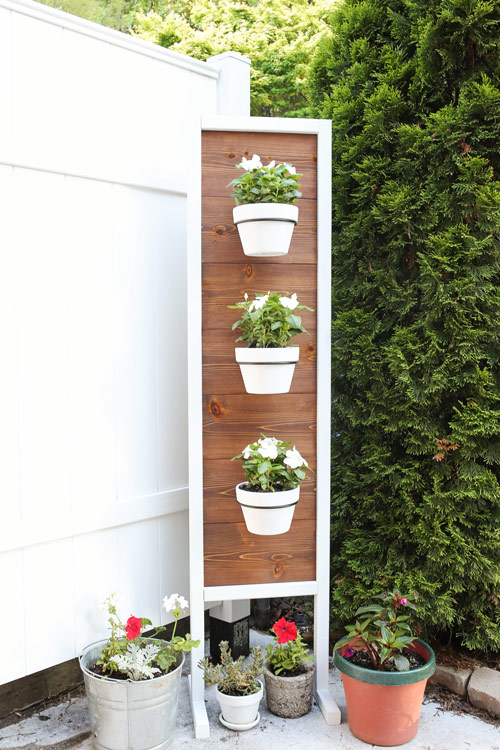
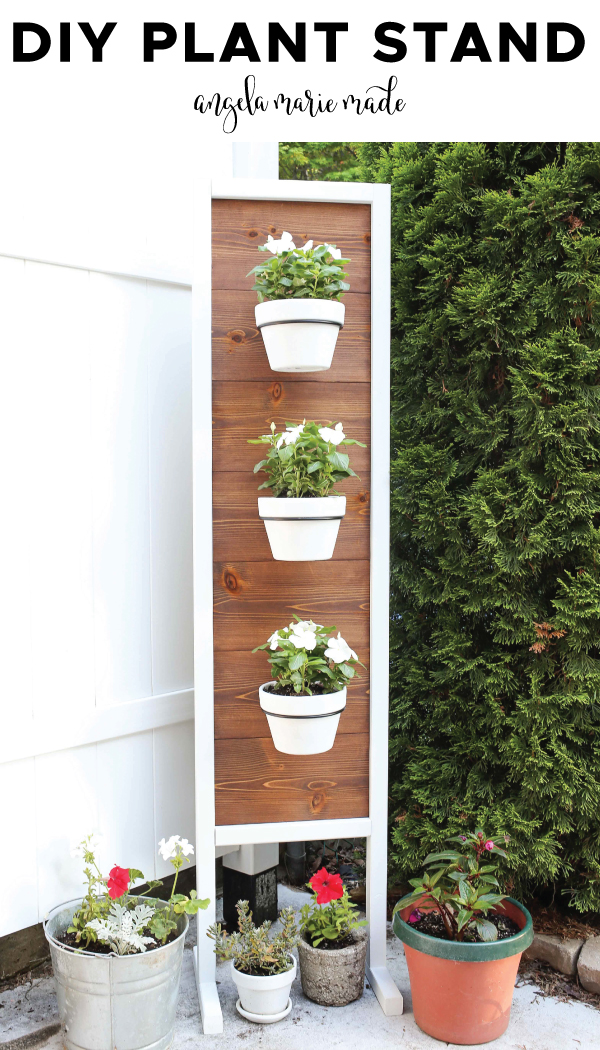
And I’m in love with the final result of my DIY outdoor plant stand, I think it’s just darling!
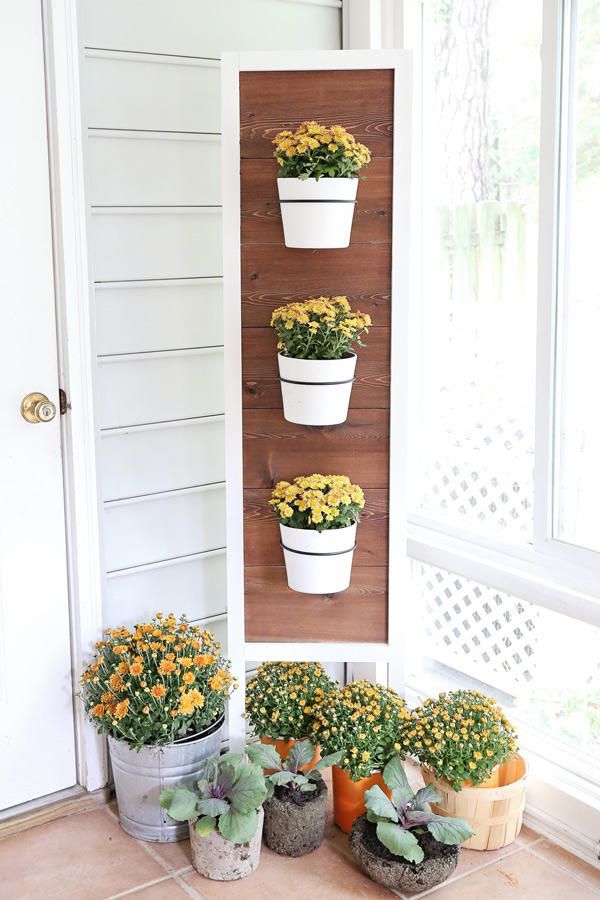
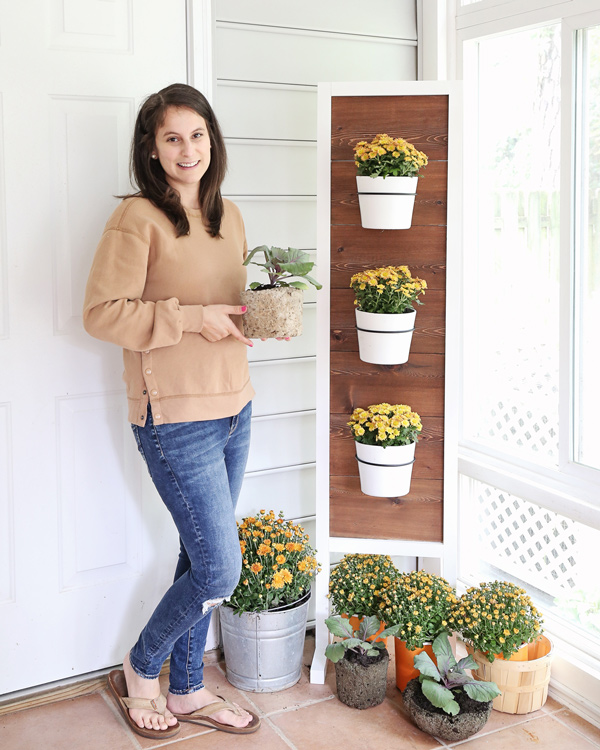
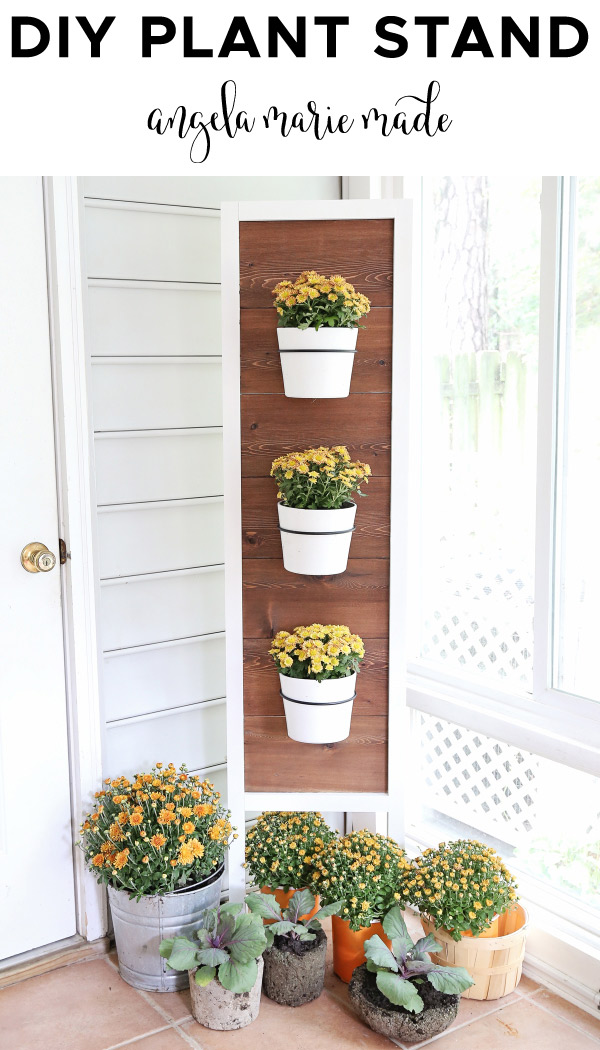
Update: I rebuilt this planter recently to create a DIY wood plant stand video tutorial for it and I added mums to it for the fall:
The final size of this DIY vertical planter stand is 66.5″ tall x 16″ wide.
Note, this post contains some affiliate links. For more information see my disclosures here.
How to build a vertical DIY plant stand:
Materials Needed:
- (2) 2×2 @ 8ft
- (1) 1×8 @ 8ft – Cedar or Pine wood*
- 2 1/2″ and 1 1/4″ Kreg screws
- (3) Wall Planter Hooks (more here & here)
- (3) Flower Pots
- Primer
- Outdoor Paint or Spray Paint**
- Wood Stain (I used Minwax English Chestnut)
*I used cedar wood for my build since the planter stand is going to be outdoors and cedar is naturally more weather resistant than pine. Plus, I love the look of cedar!
**If planter stand will be used outdoors, make sure to use exterior primer and exterior paint/spray paint.
Video Tutorial:
Subscribe to my YouTube Channel here!
1. Cut your wood to size
Use a miter saw and cut your 2x2s to the following sizes:
- 2 pieces at 13″
- 2 pieces at 65″
- 2 pieces at 12″
Then, cut the 1×8 to the following size:
- 7 pieces at 13″
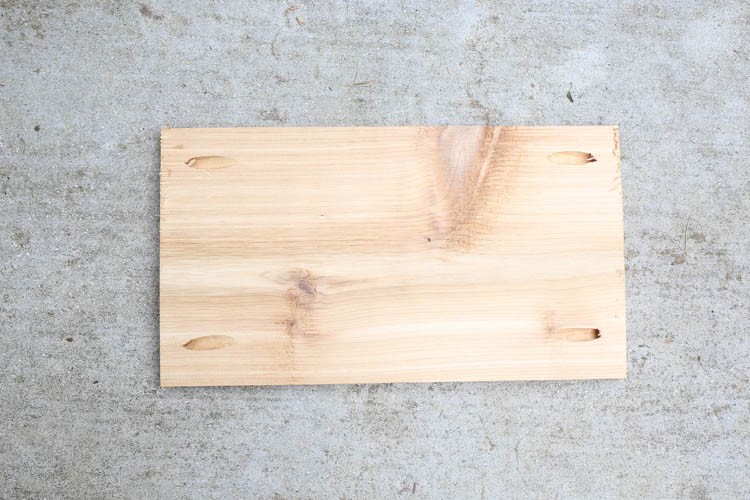
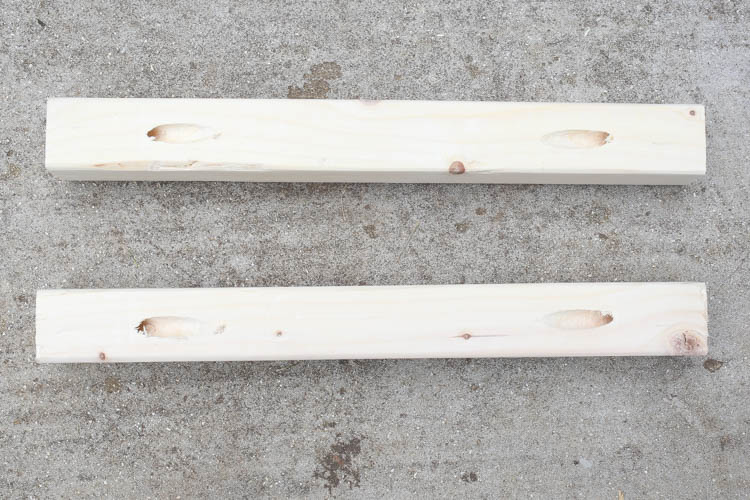
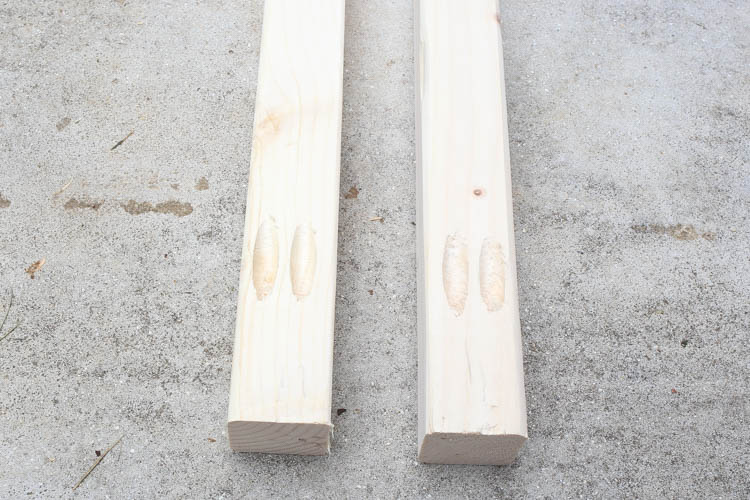
2. Add pocket holes
For each of the seven 1×8 pieces, add 2 pocket holes with your Kreg Jig to each side (total of 4 holes per piece). Make sure to set the depth for 3/4″ thick wood on the Kreg Jig.
*Tip: See my how to use a Kreg Jig post for an easy, step by step tutorial and video tutorial on how to use the Kreg Jig!
Next, add a pocket hole to each end of the two 13″ 2×2 pieces. And then add two pocket holes to just one end of the two 65″ 2×2 pieces. Make sure to set the depth for 1.5″ thick wood on the Kreg Jig.
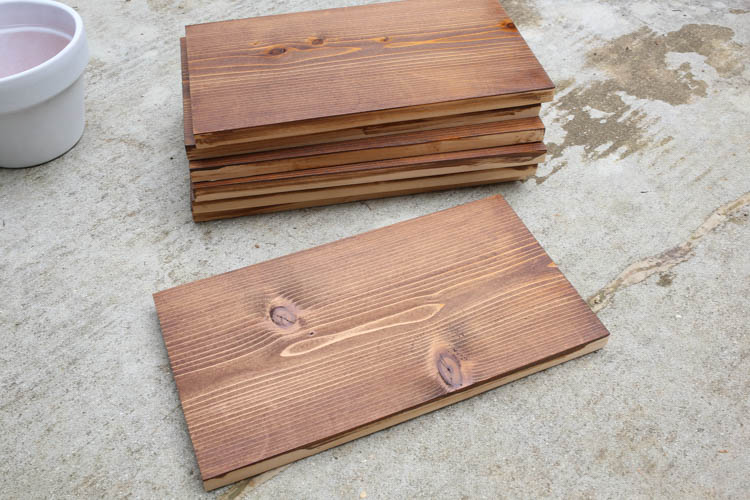
3. Stain and spray paint/paint wood
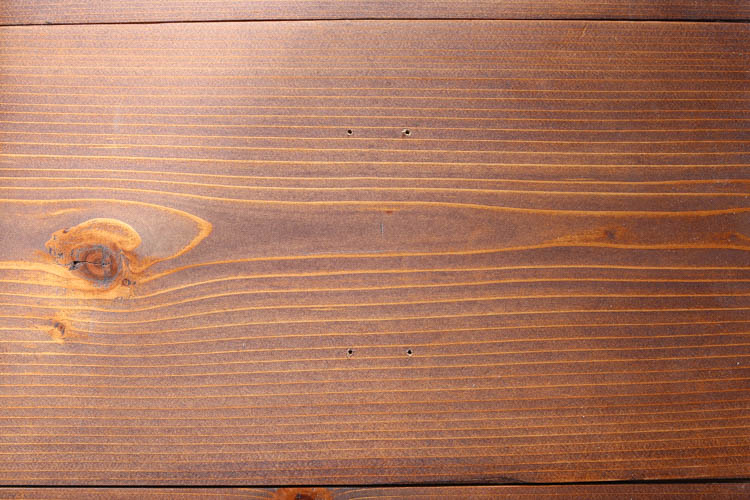
At this point, it’s easiest to go ahead and stain your 1x8s. For tips on how to stain wood with a beautiful finish, check out my how to stain wood tutorial here.
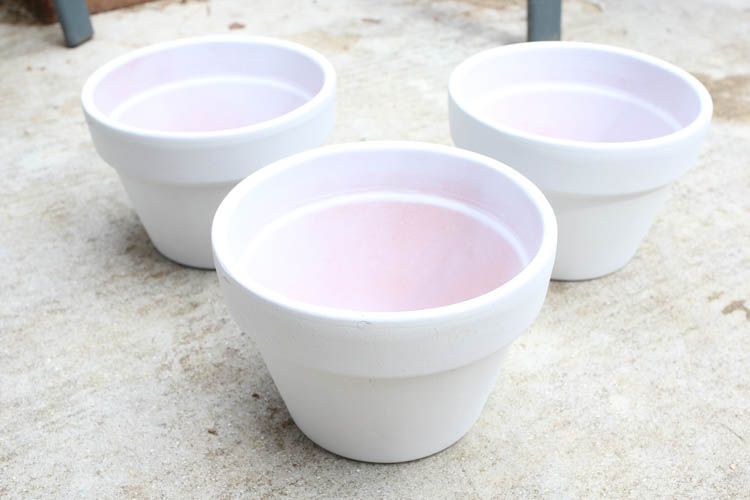
Then, prime and spray paint or paint your 2x2s. I used 2 coats of exterior primer on my furring strips. Sand your wood really well first though, especially the furring strips! Also, I spray painted my flower pots too since I wanted them to be white instead of orange.

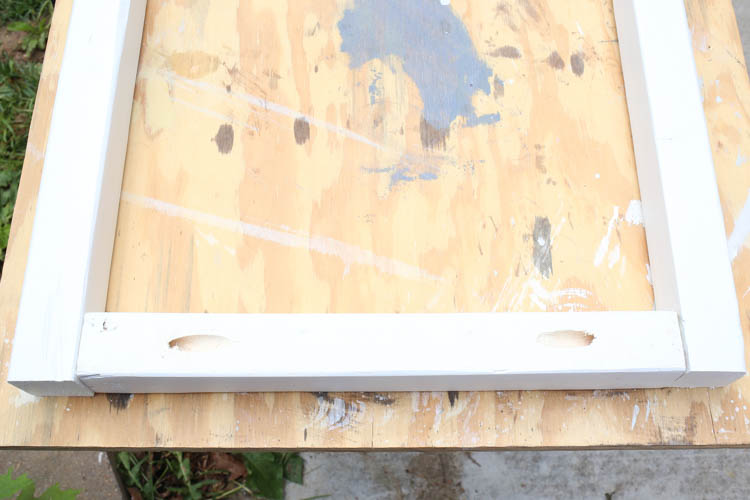
4. Attach planter stand frame together
After everything has dried, begin attaching your DIY plant stand frame together by attaching one of the 13″ pieces to the top of the 65″ pieces with 2 1/2″ Kreg screws and a drill.
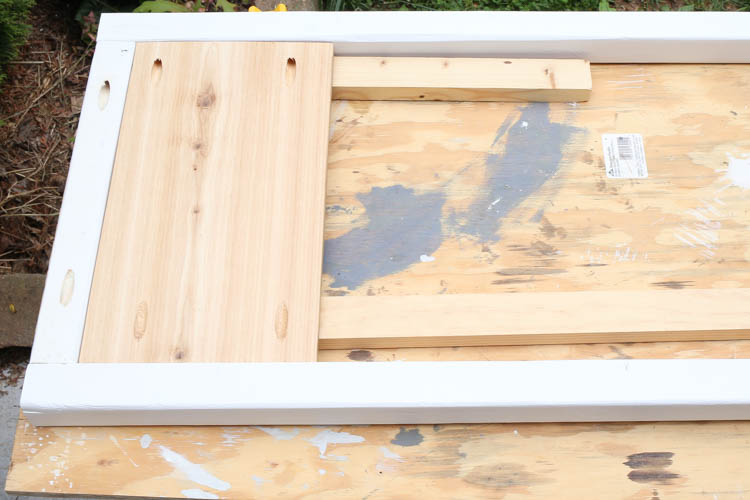
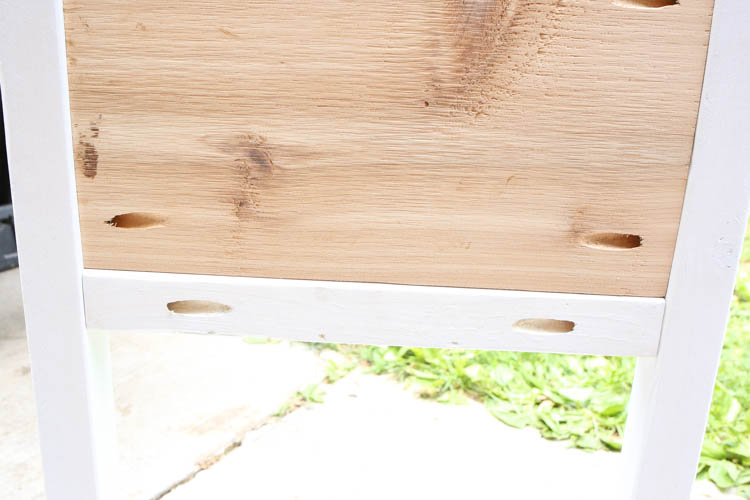
Next, begin attaching the 1×8 pieces to the planter frame with 1 1/4″ Kreg screws and a drill. To easily attach them making sure the backs are flush with the back of the planter frame, use scrap 3/4″ thick wood underneath (I used 1x2s as shown in below photo).
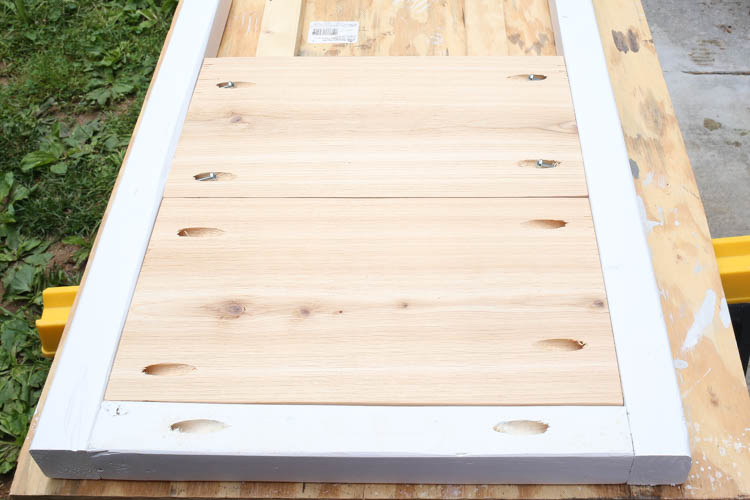
Continue adding all seven 1×8 pieces to the planter stand frame.
📩 Want to Save This?
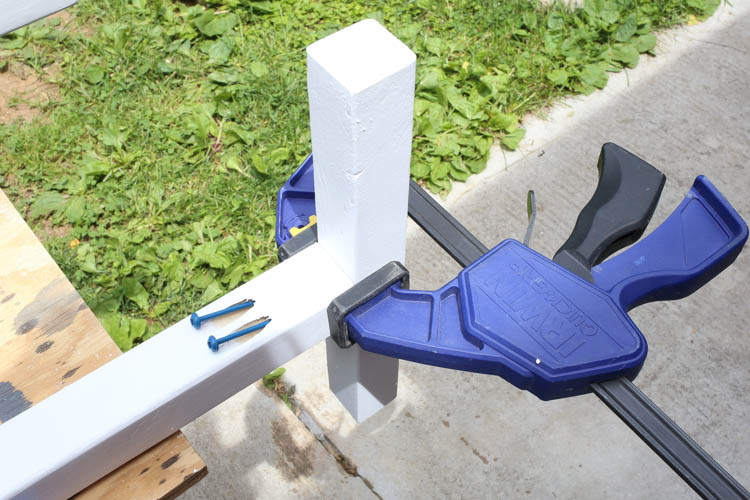
5. Attach base pieces to bottom of vertical planter stand
Add the 12″ 2×2 pieces perpendicularly to the base of the vertical planter using 2 1/2″ Kreg screws. Make sure it’s centered too!
Finally, add the second 13″ 2×2 piece to the planter stand frame under the last 1×8 piece.
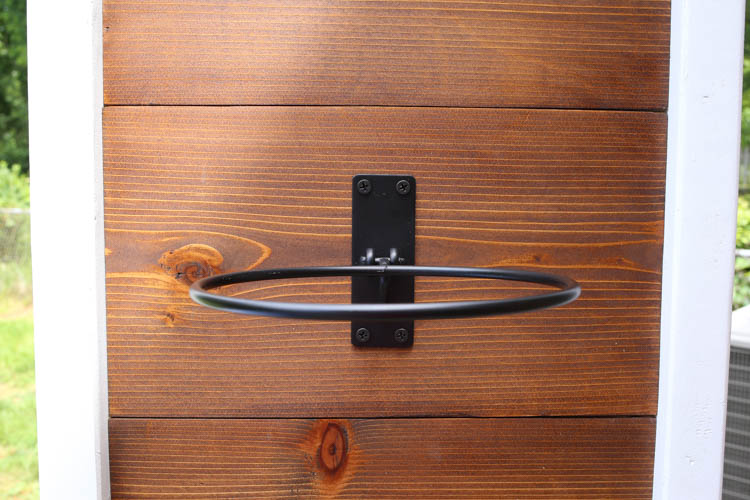
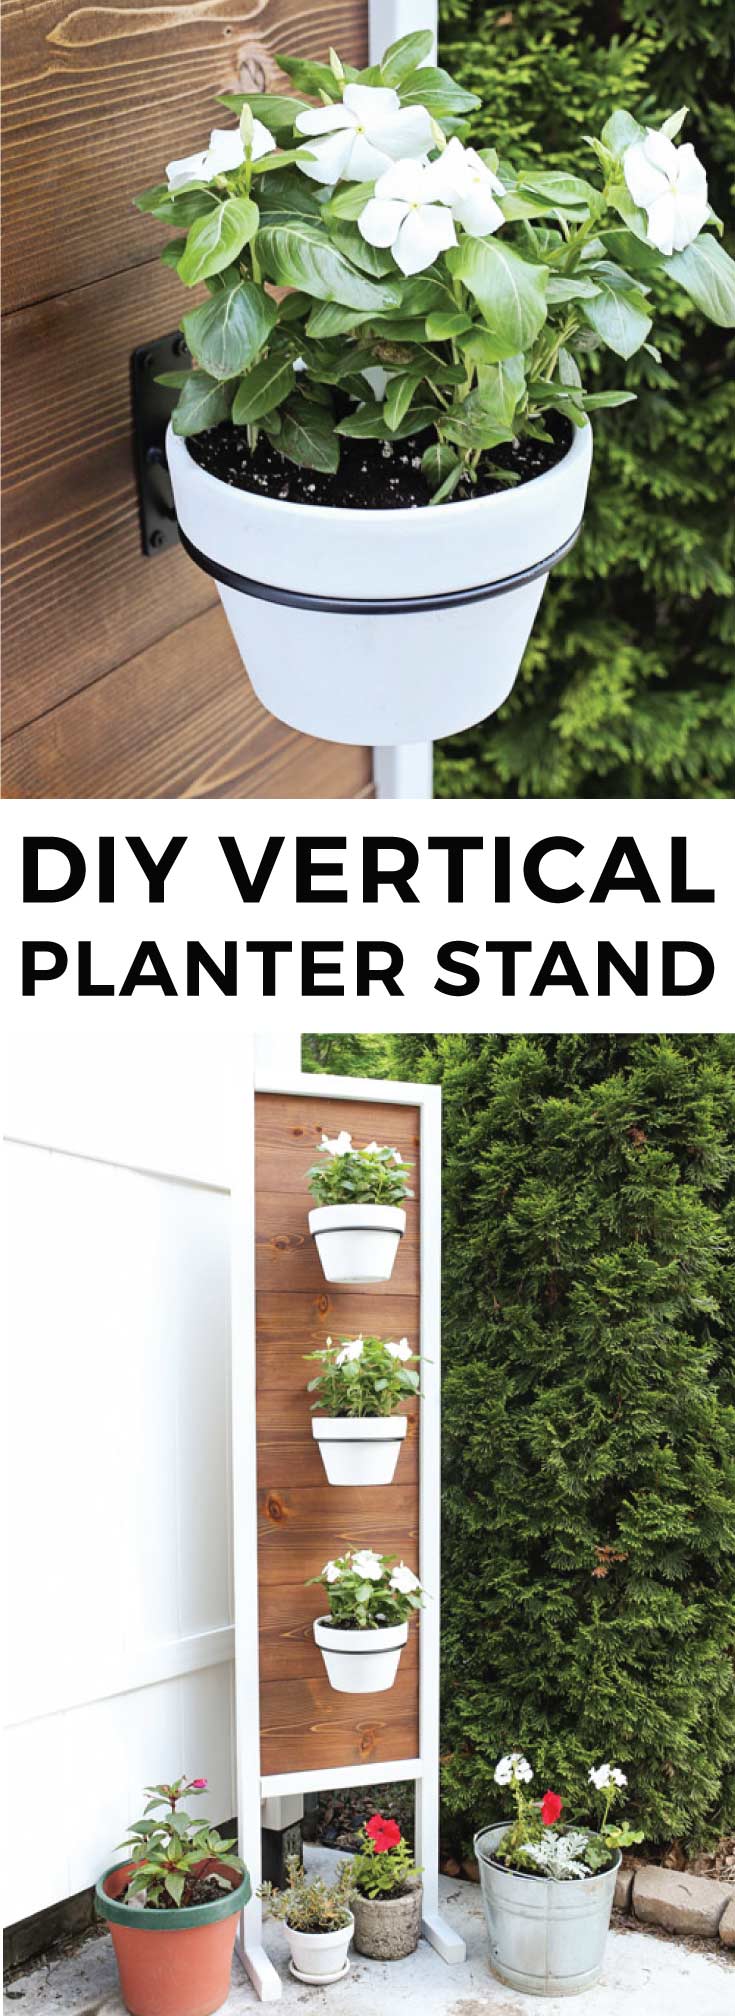
6. Add the Wall Planter Hooks to the DIY wood plant stand
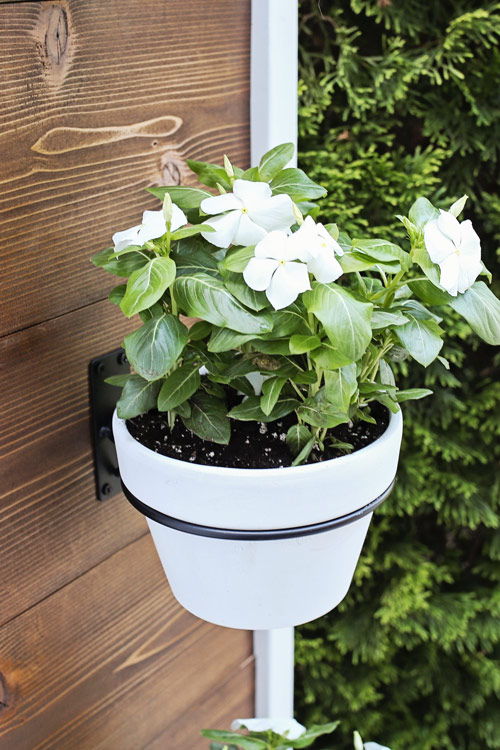
Attach the wall planter hooks to your vertical planter stand. First, drill pilot holes, then attach with the screws that were provided with the hooks. I attached mine every other board and centered.
Time to add your flower pots and beautiful flowers! I just love the end result!
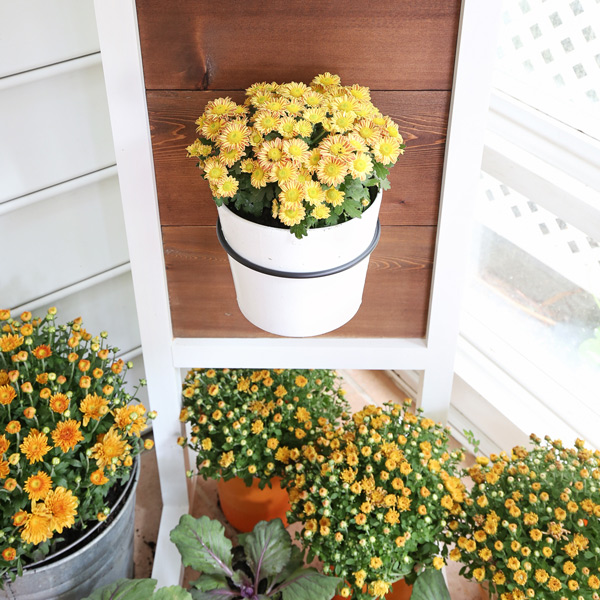
Here are a few more photos of it decorated for fall with mums at our current home:
Would you be able to use this DIY plant stand stand for your home?! I’d love to see your version of this build! Feel free to share photos with me on Instagram or Facebook and YouTube! Happy building and gardening!
Want to save for later?! Pin it here:
And decorated for fall:
Jennifer
Saturday 1st of April 2023
I just completed this project and love the look of it. I wish the base was a bit more stable. Once the plants got added in, it seems a little top heavy. Do you have any suggestions for beefing up the base to prevent tipping?
Renjith
Tuesday 8th of November 2022
Hi,
Really amazing. Could you please share a link to the pot in the first pic. The one that has a collar shape at the top ?
Thanks!
Angela Marie Made
Thursday 30th of June 2022
Thank you so much for your kind words! I am so happy that you found it helpful!
ColleenB.~Tx.
Saturday 19th of September 2020
Loving this. I do wish you had a 'print' button so that a person was able to print out the plans; I like the idea that you can put this up horizontal or vertical just by changing the design somewhat instead of having it free standing. Great to decorate for the holidays, etc.
Angela Marie Made
Monday 21st of September 2020
Thank you, Colleen. I will likely get build plans eventually for this. These are definitely a lot of fun to decorate for the different seasons!
Sue
Sunday 2nd of August 2020
Hi! Did you have any trouble with it falling forward with the weight of the plants? Thanks!
Angela Marie Made
Tuesday 4th of August 2020
We had a really big storm come through and it blew over and we had to secure it to a fence but that was the only issue we had.