When making over a large space like our living room, the budget can get out of control quickly! I knew I was going to have to incorporate a good mix of DIY projects to keep costs down. So, one project I decided to DIY to help save money on was large picture frames for family photos.
I really wanted large, square picture frames but nice frames are expensive. I ended up making four large, square picture frames for $20 total (or $5 each) in lumber costs. And I also decided to add a mat board that I cut myself to each frame which ended up costing an extra $2.50 for each frame (I bought two full sheet mat boards on sale at Michael’s craft store).
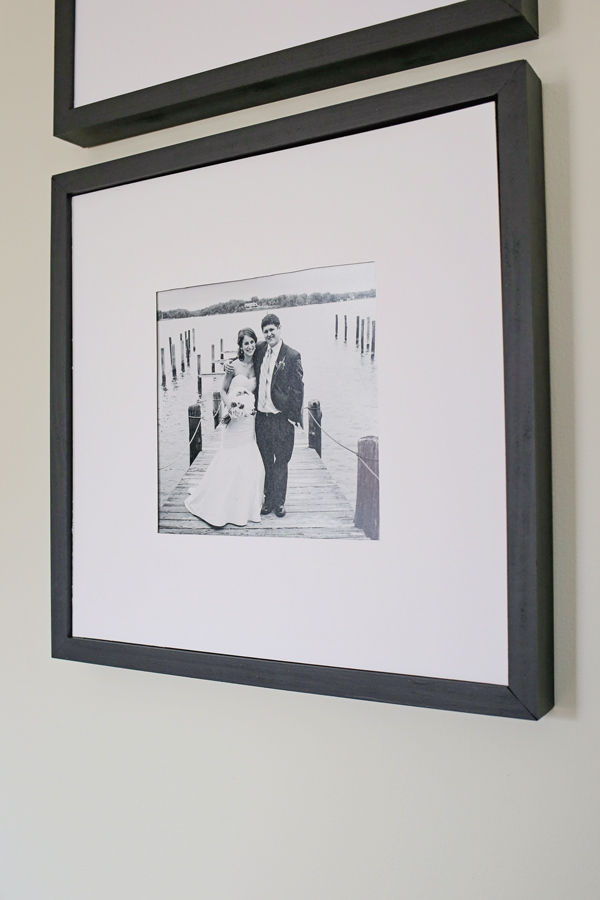
What’s nice about this tutorial is that it has the look of a real picture frame, but you don’t need to make any fancy routed edges on the back. The drawback is that there is no glass front for the frame. Trade-offs of budget DIY projects!
Note, this post contains some affiliate links. For more info see my disclosures here.
How to Make a Large Picture Frame on a Budget
Materials:
- (2) 1×2 @ 8ft
- (1) 1×2 @ 6ft
- (2) 1×2 Furring Strips @ 8ft (only cost about $1 each)
- (1) 1/2″ x 2 @ 3ft
- Lightweight Spackle or wood filler
- 1 1/4″ Brad Nails
- Paint or stain for finishing (I used Benjamin Moore Black Satin)
- Wood Glue or Heavy Duty Craft Glue
- Metal (or plastic) yardstick, large ruler, or straight edge
- Matboard Sheets Uncut (optional – found mine at Michael’s)
Tools:
- Miter saw
- Brad nailer
- Clamps
- Xacto Knife
*The tutorial below shows how to make a 16″ x 16″ square picture frame and the material listed above is enough to make four frames. Feel free to adjust material based on frames needed or the size of the frame you want.
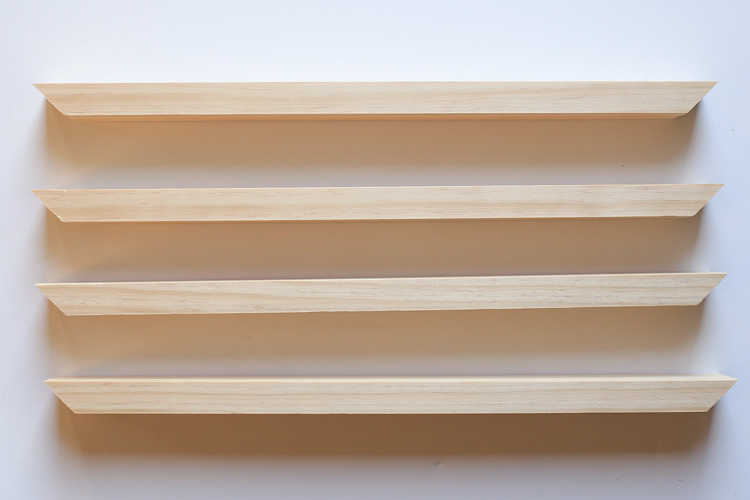
1. Cut wood to Size
Use a miter saw and cut the wood to the following sizes with a 45 degree angle cut:
- Four 1x2s at 16″ each (from long point to long point)
Use a miter saw and cut the wood to the following sizes with a 90 degree straight cut:
- Four 1×2 furring strips at 14.5″ each
- Two 1/2 x 2 at 7″ each
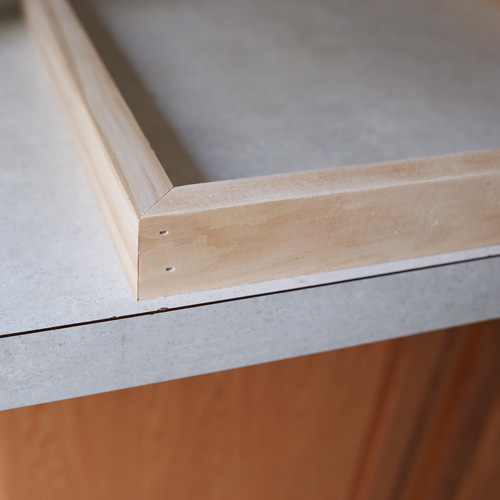
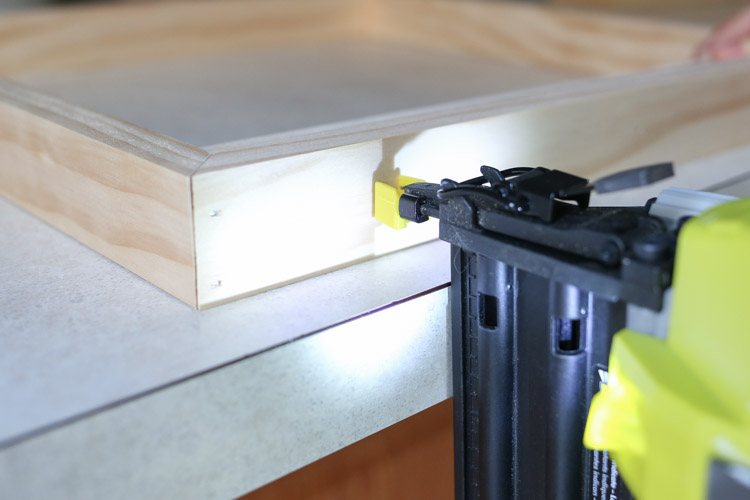
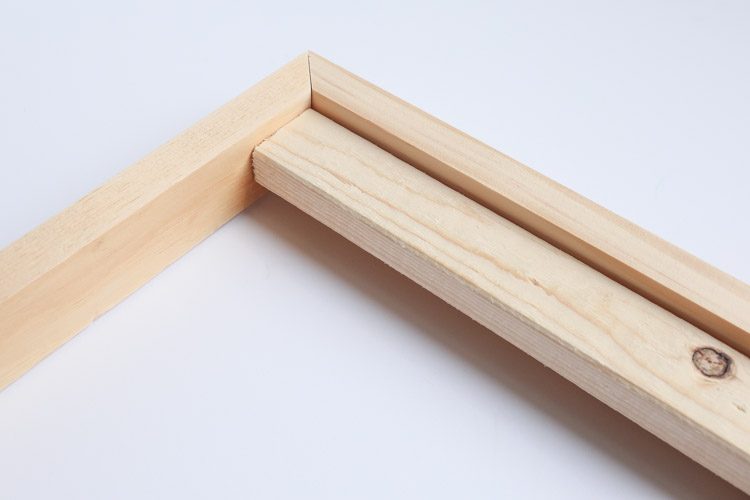
2. Attach frame pieces together
Use a brad nailer and clamps and attach wood frame pieces together with 1 1/4″ brad nails to form a square.

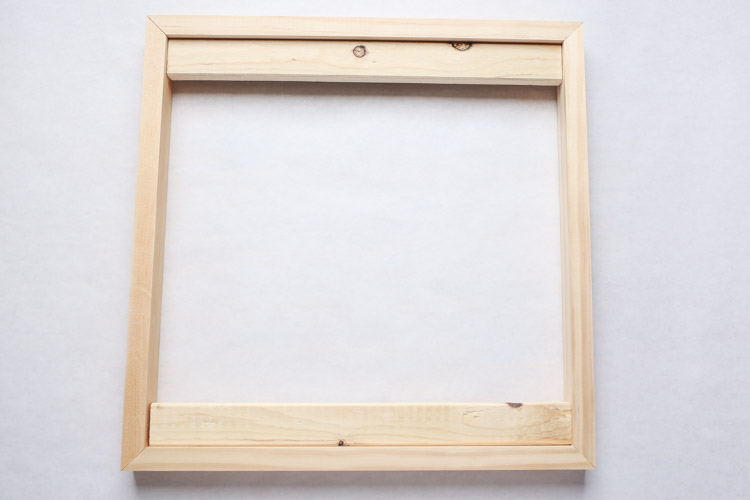
3. Attach furring strip pieces to picture frame
Place the two 1/2″ x 2 @ 7″ pieces under one of the 14.5″ furring strip pieces. Then push them up against one inner side of the picture frame.
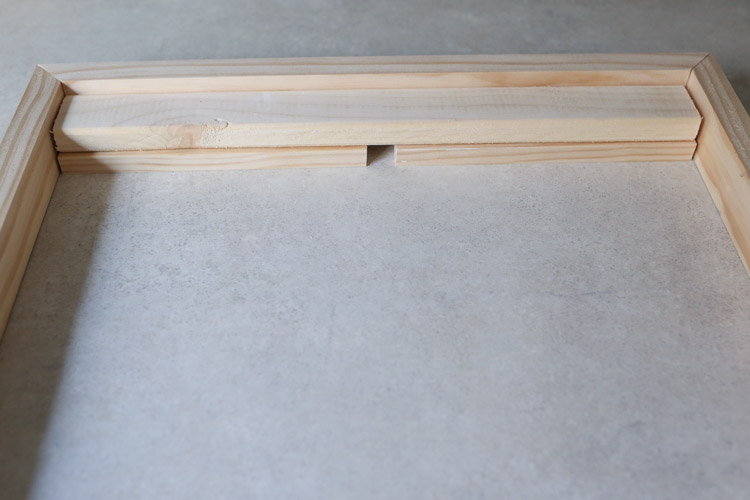
Attach the furring strip to the picture frame (to create a ledge) using brad nails and a brad nailer.
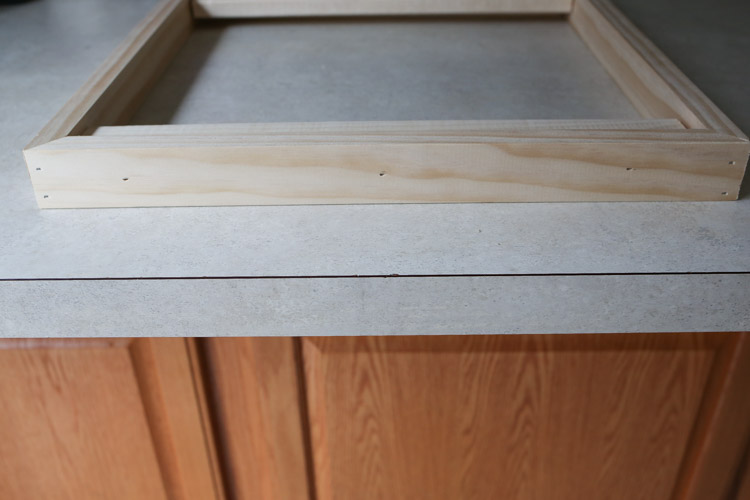
This creates a raised ledge for your picture to rest on from the front instead of having to create a routed rabbet edge from the back. Add another wood piece to the opposite side.
📩 Want to Save This?
4. Paint or Stain Picture Frame
Prepare your picture frame for paint or stain. Sand the wood and fill all nail holes in with lightweight spackle or wood filler (if staining). Then, paint or stain. I used Benjamin Moore paint in Black Satin.
5. Cut Photos/Matboard to Size & Add to Frames
For the final step, there are three options:
- Order custom size matboards for the picture frames, then attach photos to the matboards.
- Skip the matboard and just cut a large photo (for ex. a 16″x20″) to size to fit into the frame opening. If using this option, you may need to cut a piece of cardboard to size too and place it under the photo so it’s not so flimsy and can easily rest on the wood ledge of the picture frame.
- Buy uncut matboard sheets and cut to size. This is what I did for my large picture frames.
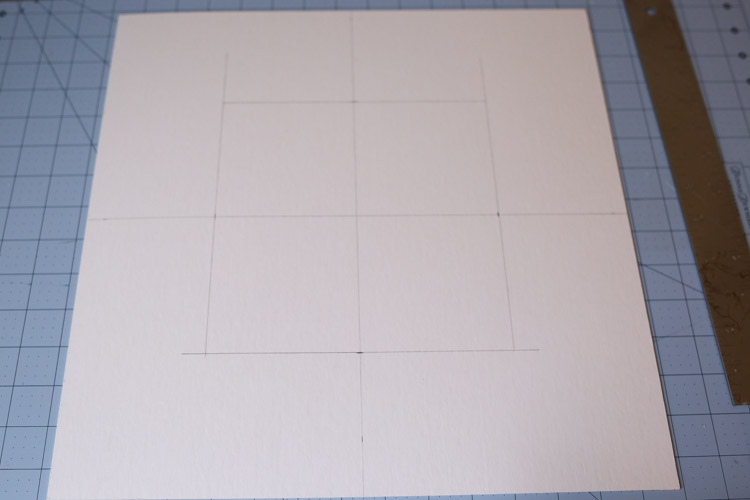
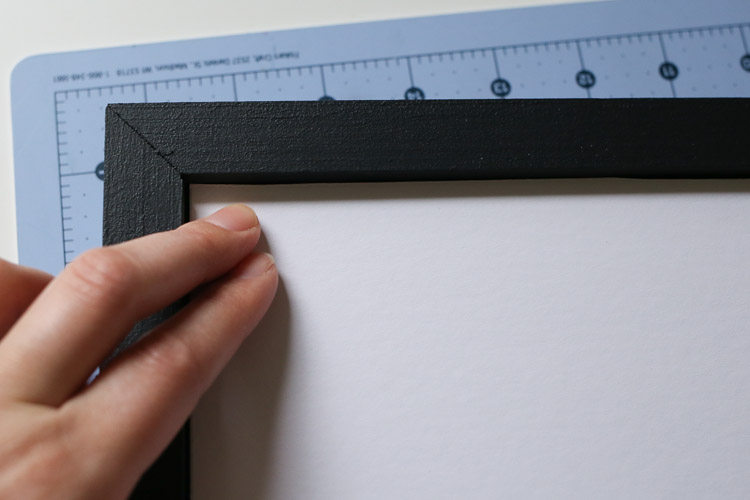
If you do option #3, mark your cut lines first with a pencil. When cutting your photos or matboards to size, use a metal (or plastic) yardstick, ruler, or straight-edge and X-acto knife.
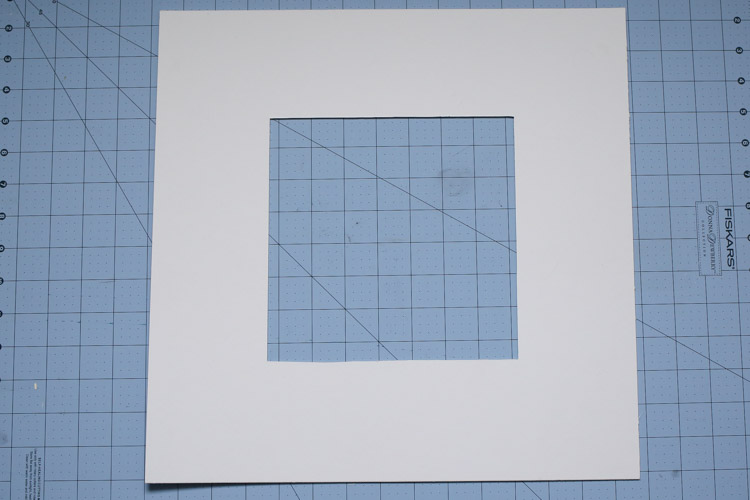
For the matboard, I had to go over the cut line several times with the X-acto knife since the matboard was tough to cut through. Note, you can also purchase a matboard cutter, but they aren’t that cheap, so that’s why I just used an X-acto knife.
Finally, attach your photo or matboard with wood glue or some heavy duty craft glue to the wood ledge on the picture frame. Also, I used painter’s tape to attach my photos to my matboards, but any kind of tape works.
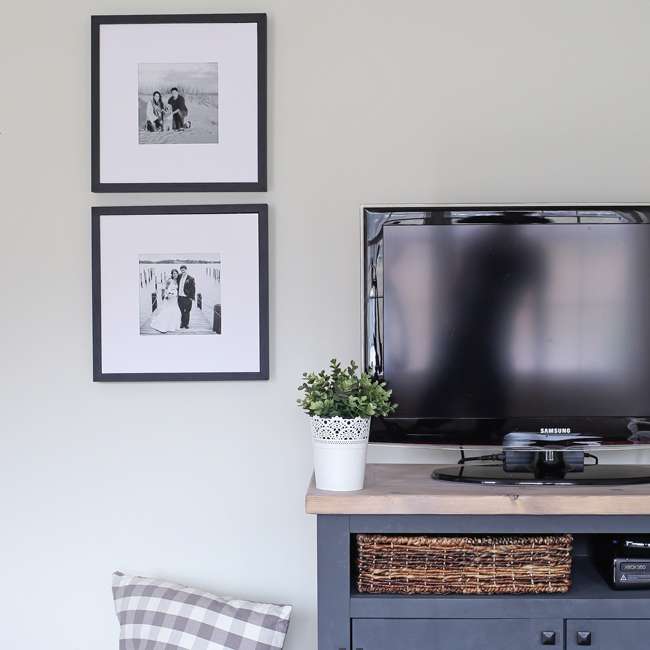
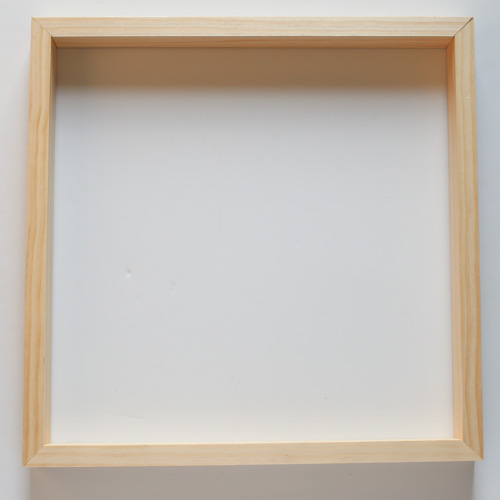
All finished! I hung my picture frames up on the wall with some command strips.
From a distance I think these large DIY square picture frames look like regular picture frames! But, I love that they were very affordable to create!

Follow along on Instagram or Facebook for my latest projects!
Alice
Sunday 16th of January 2022
I have been looking and looking for the Best & Easiest instructions for a DIY frame and I finally found yours... these are GREAT !! Thank you so much !!
Angela Marie Made
Sunday 30th of January 2022
Thank you glad it's helpful!
Mallory
Thursday 1st of March 2018
These look great! They look so similar to ones I have from Pottery Barn!
Angela
Monday 5th of March 2018
Thanks Mallory! I was hoping they'd look that way so I'm glad they do!!
Jean
Wednesday 28th of February 2018
Great idea and budget-friendly too!