Welcome back to week 2 of the One Room Challenge! Last week I shared our plans to participate in the One Room Challenge and update our half bathroom! Over the weekend we started demoing the bathroom and creating a DIY panel door update to our flat, hollow doors! But, as the week progressed, I encountered some frustrating problems.
Note, this post contains some affiliate links.
First, after removing our ugly 80s vanity, we discovered concrete as our sub-floor and not wood like I expected. There was also at least three layers of vinyl tile, yuck! As we lifted it up a little, the amount of glue stuck to the concrete was ridiculous and gross. And I was worried there may be a possibility of asbestos with the old vinyl/glue.
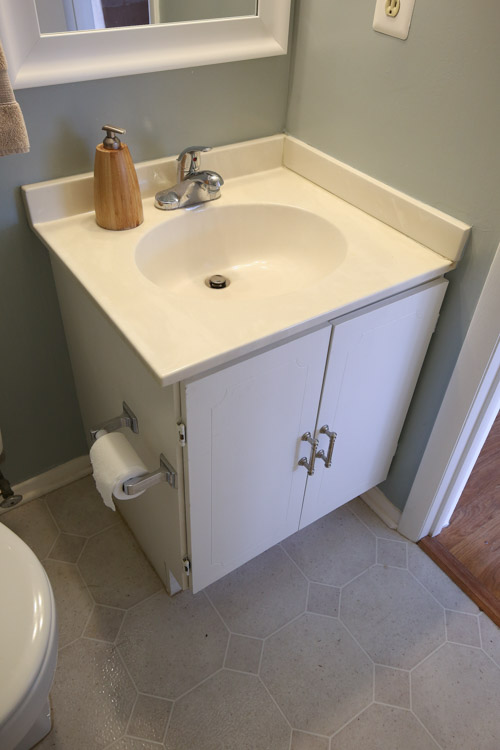
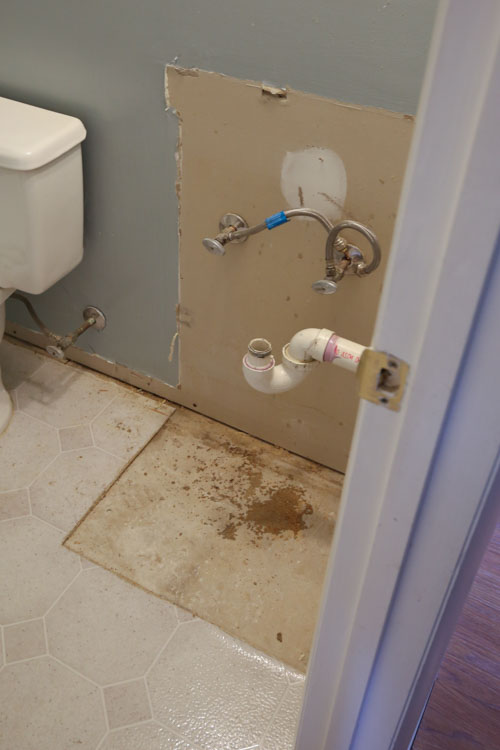
I had my heart set on replacing the vinyl with this beautiful, ceramic tile that looks just like real slate and is really budget friendly. I was also looking forward to completing my first tiling job ever too!
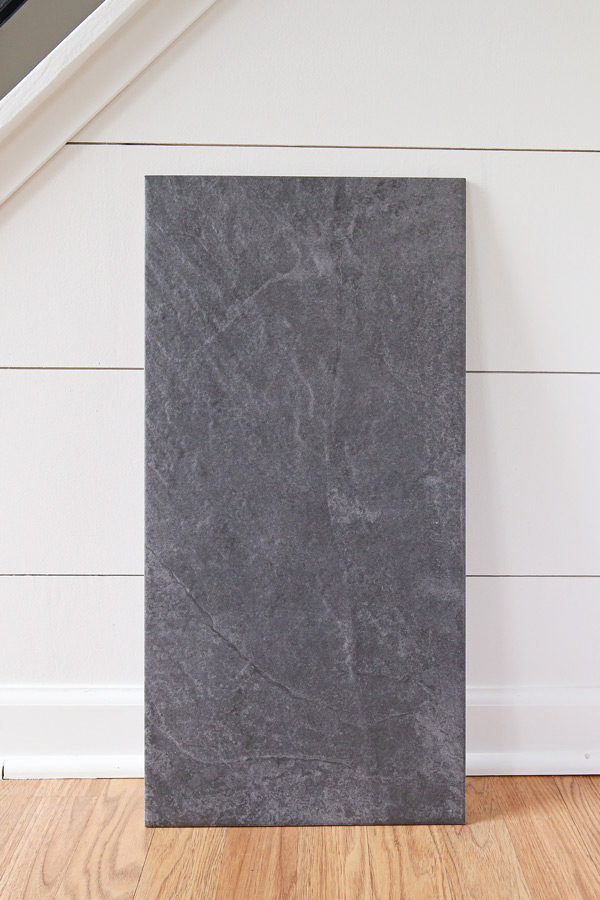
After a lot of research, I knew the vinyl tile and glue would have to be removed for a ceramic tile install. Unfortunately, I couldn’t just install the tile over the vinyl. So, due to the floor condition and time and budget constraints, I made the decision to nix the ceramic tile plan. Bummer!
Luckily, I found a high quality, slate vinyl plank that looks really similar! It isn’t cheap, but the pricing comes out to about the same as tiling with ceramic tile would have been after renting a tile cutting saw and purchasing all the other supplies needed. And it can be installed right over the current flooring, saving us a lot of time and effort! I’m hoping to get it installed by next weekend!
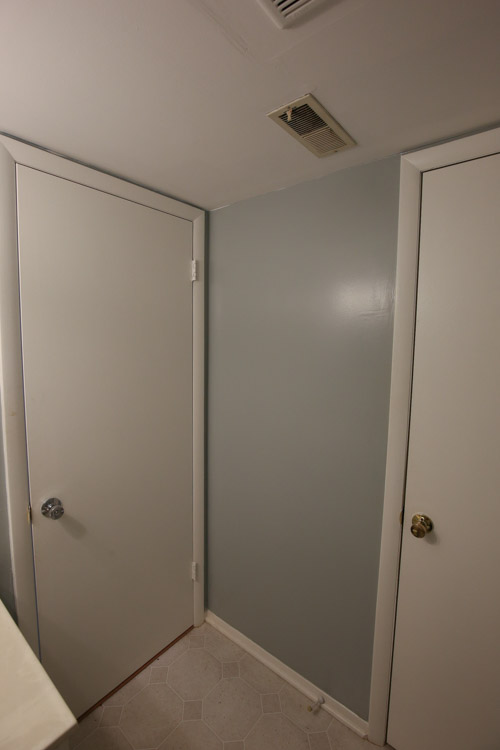
The second problem for this bathroom renovation occurred while updating our ugly, flat, hollow doors. I’d love to just replace them with beautiful, new, panel shaker doors, but that just isn’t in the budget.
Instead, I tried a DIY panel door update which only cost $15! I discovered this genius DIY plain to paneled door idea from Jenna Sue Design. I decided to change up the panel design style a little bit and based the design off of this door photo. Here is a photo of my door with the paneling all finished but before paint:
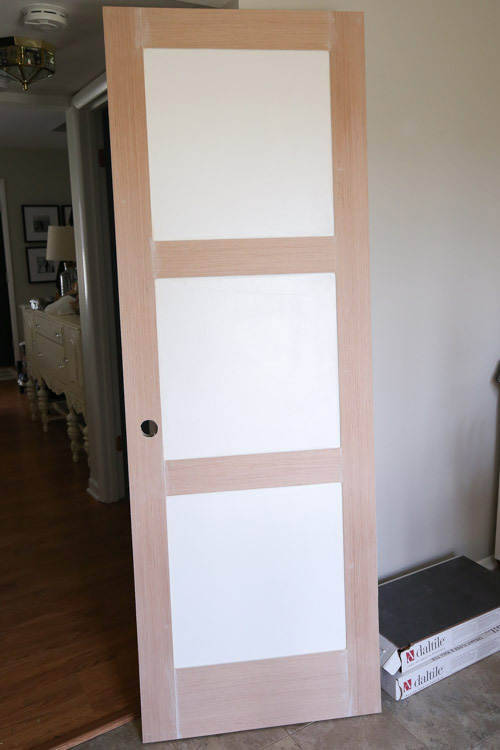
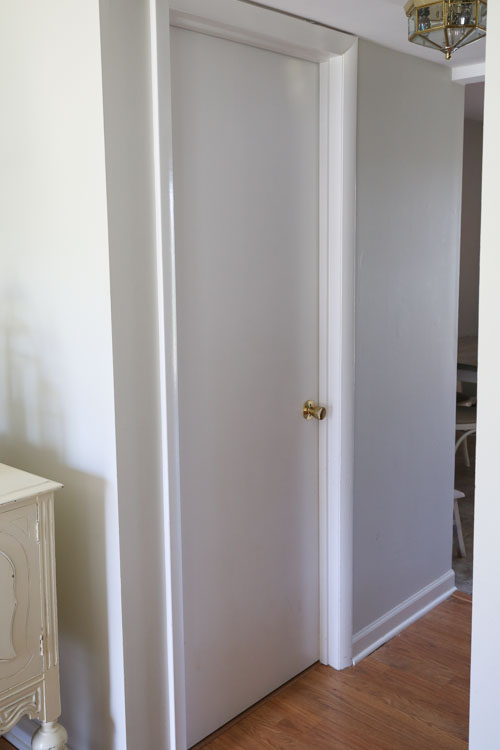
Everything was going great with this project, I finished updating the door, and it looked beautiful! But, then when we went to put it back on the hinges of the door frame, there was one last step, removing the door casing to adjust it for the new door thickness.
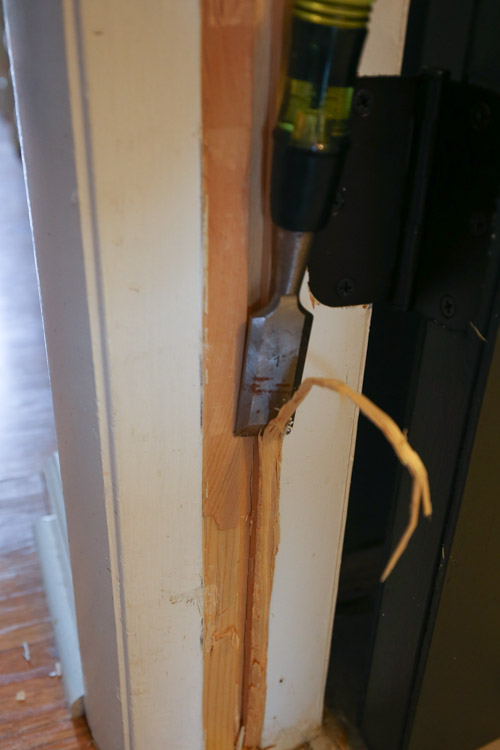
Well, our door casing wasn’t just one piece that could come off (like in the tutorial), it was literally grooved into the door frame and attached as one solid wood piece to the door jamb frame (face palm)! If I had known this, I would have just replaced the door with an inexpensive door and avoided this problem.
But now I’m deep into this project, so I’m going to make it work, it’s just going to take a lot of extra time and effort! I started chipping off the excess wood with a chisel. This weekend, the remaining excess will be sanded and the groove will be filled with wood putty. Then, new door casing will be applied. Thank goodness our closet door in the space has the casing on the inside of the closet and I only have to deal with this problem for one door.
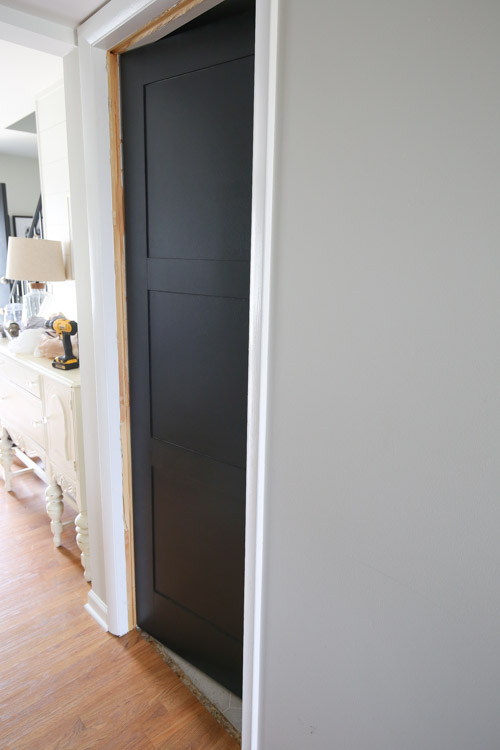
To be totally honest, I’ve become really overwhelmed with this bathroom renovation this week. I wanted to have a nice completed project to show today, but with DIY and home improvement, these things happen and we just have to deal with it as best we can!! Have you encountered these kind of problems with your DIY/home improvement projects and can relate to my frustrations?!
Follow along on Instagram and Facebook for all my latest One Room Challenge projects, updates, and sneak peaks!
Also, don’t forget to check out the other ORC participants rooms here and see how their rooms are progressing!

Taylor
Monday 31st of January 2022
Hi Angela -- what color flooring did you go with? The pebble or mineral? Or was there previously another color option?
Angela Marie Made
Wednesday 2nd of February 2022
We used Mineral!