Today’s tutorial is super simple and easy! I’m going to share how I made the DIY magazine holders for this navy and grey office makeover for just $4 each!
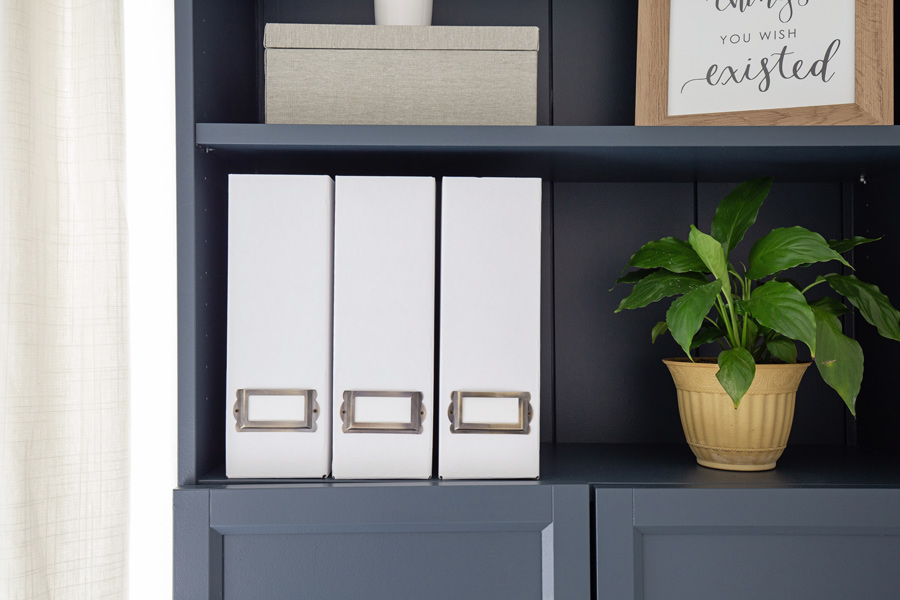
Magazine holders are cute and functional but for some reason, the cutest ones are always a bit pricey considering they are usually made out of cardboard! This actually isn’t my first time altering magazine holders to make them the perfect style for my room makeover. One of my first blog projects was an IKEA magazine holder hack for my rustic chic office makeover a few years ago using the IKEA FJÄLLA magazine files.
Today’s DIY magazine holder project involves altering IKEA magazine holders again but in a different way and with a different magazine file (the TJENA magazine file). IKEA just always seems to have the best deal on decent quality magazine holders!
I was able to make 6 cute magazine holders for $4 each! I think that’s a pretty good deal since other magazine holders with similar brass or metal label holders cost between $8-$15 each.
Note, this post contains some affiliate links. For more info see my disclosures here.
How to Make DIY Magazine Holders:
Materials Needed:
- TJENA magazine file (IKEA)
- Metal card label holders
- Tape (painter’s tape or masking tape works best)
- white card stock or blank white index cards
Tools Needed:
- Mini Philips head screwdriver
- Scissors
1. Assemble TJENA magazine files per included instructions
Start by assembling the magazine files per the instructions on the bottom of the files.
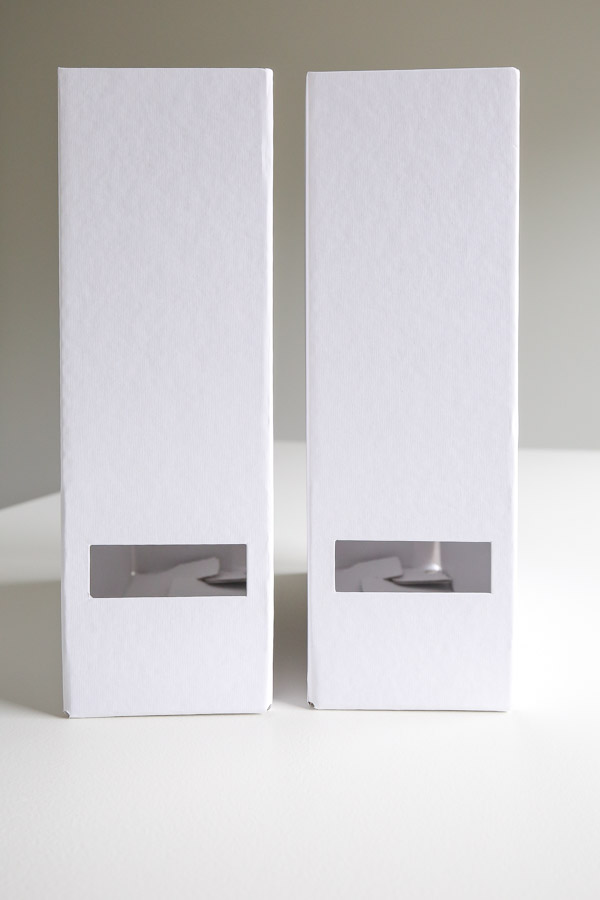
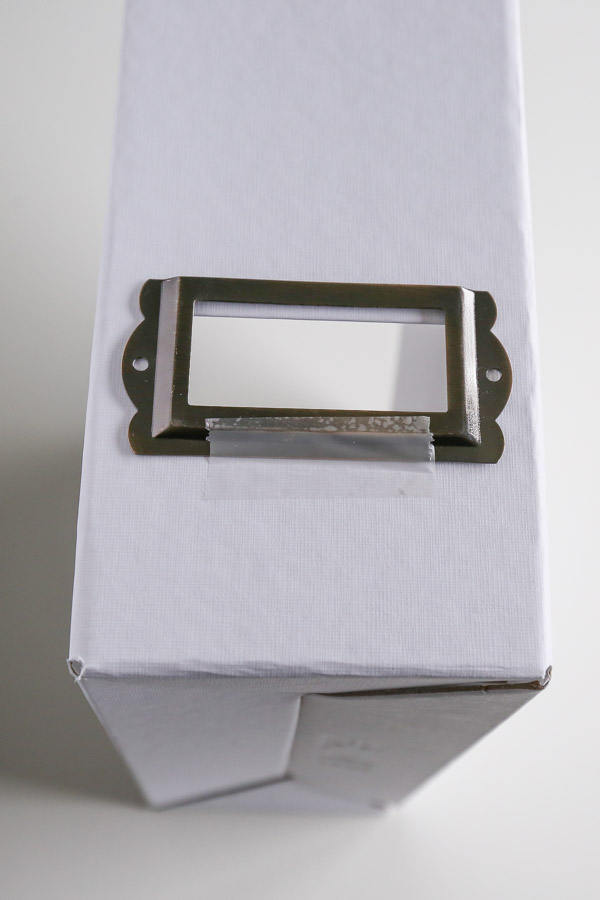
2. Tape metal card label holder in place
I looked several places for brass card label holders that would fit perfectly over the opening of the IKEA files and that were affordable. I found these metal card label holders and they worked great! They come in other colors too and you could even spray paint them if you want a specific color.
Line them up over the label opening on the magazine file and tape them in place. Painter’s tape or masking tape would work best, but I only had some clear tape on hand so that is what I ended up using.
3. Screw metal card holders into place on magazine holder
Last step! Go ahead and use your mini screwdriver to screw the metal card holders into the magazine holders. It helps to first poke the screwdriver into the screw hole to make a little groove to get the screw started.
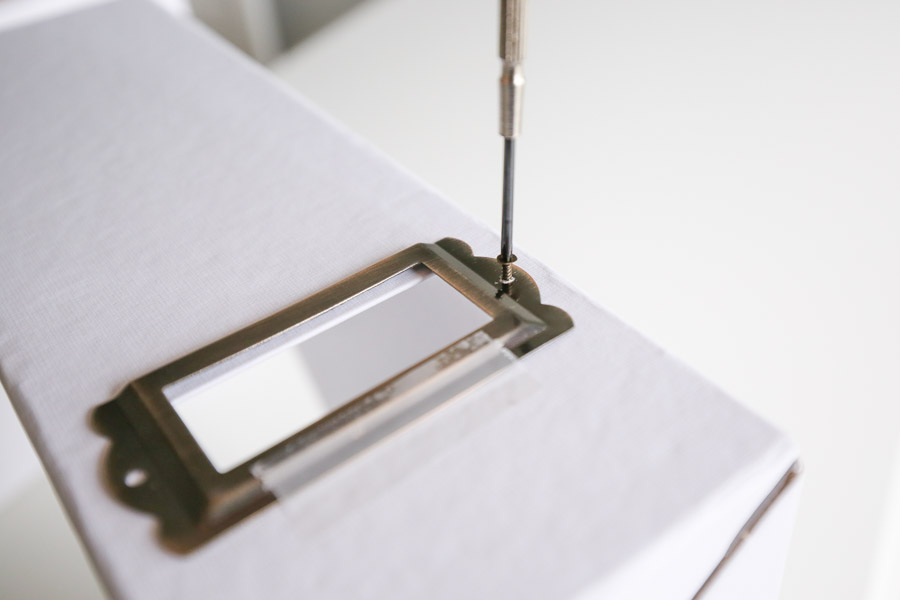
And add a screw on the other side too!
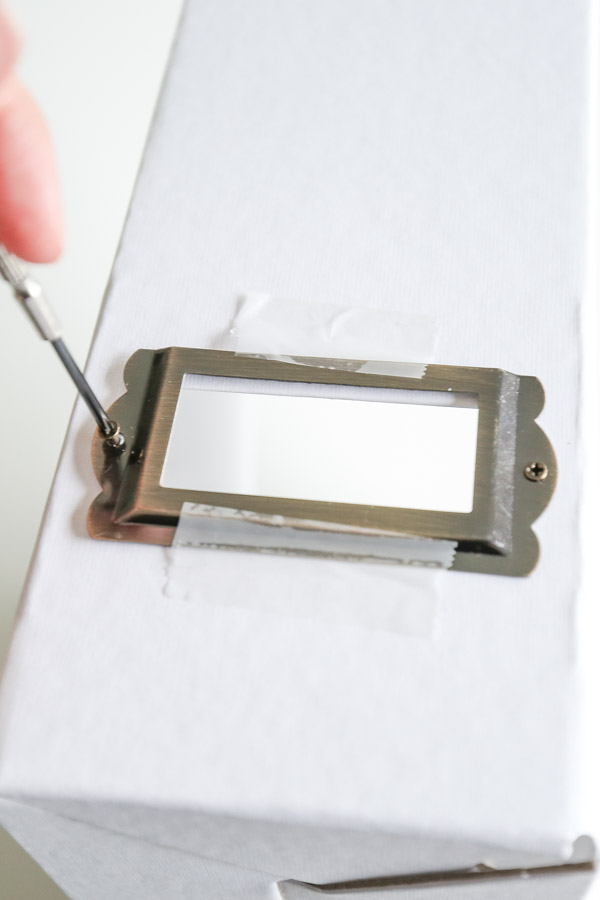
Finish off with some white card stock or thick paper cut to size for your label holder opening and then your DIY magazine holders are complete! Easy peasy right?!
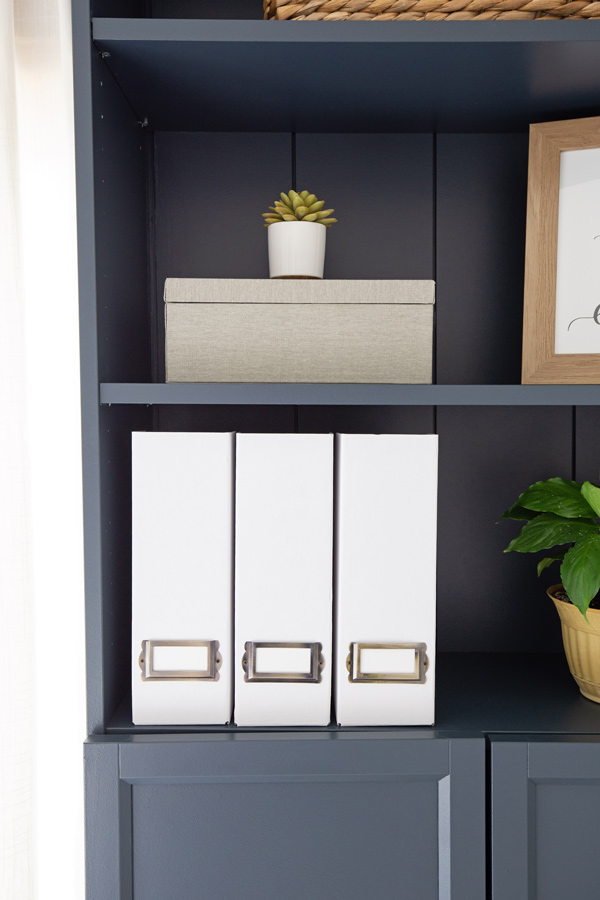
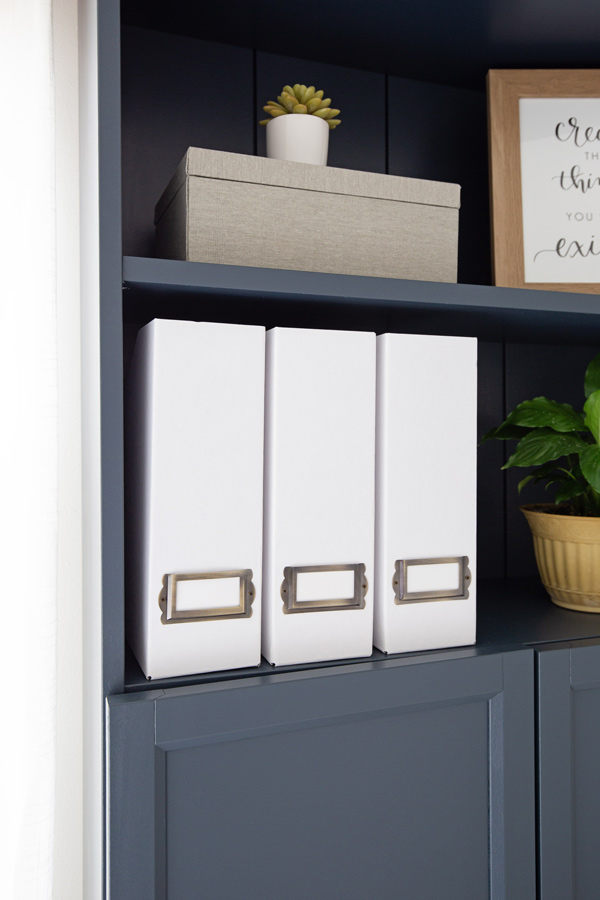
I think they turned out so cute and the brass hardware really takes them up a notch and looks sharp on my IKEA Billy bookcase hack!
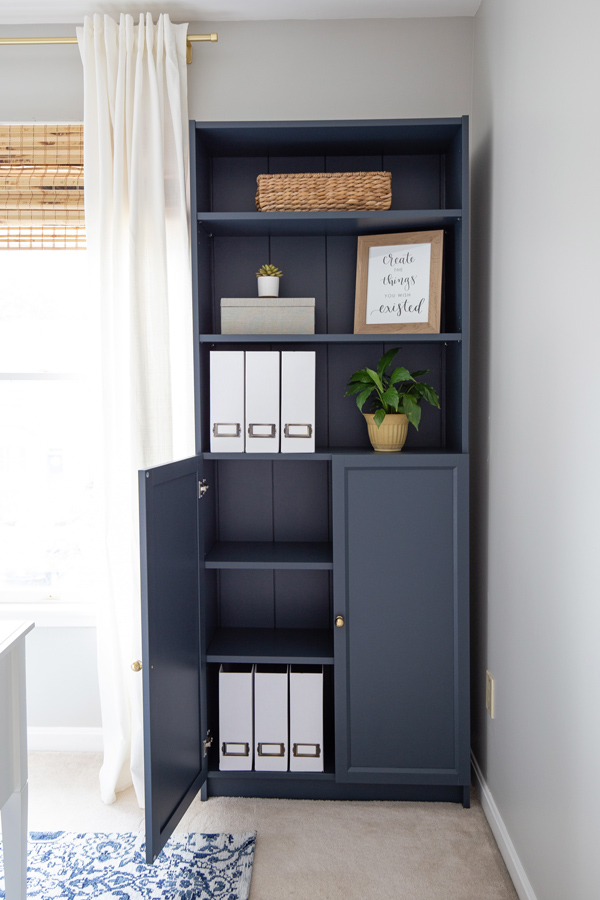
Now I need to start thinking about my own office makeover in our new house! I think I will for sure be using these DIY magazine holders for storage. Although it’s probably going to be awhile before I get around to that makeover! Follow along on Instagram or Facebook for my latest projects, as well as Pinterest!