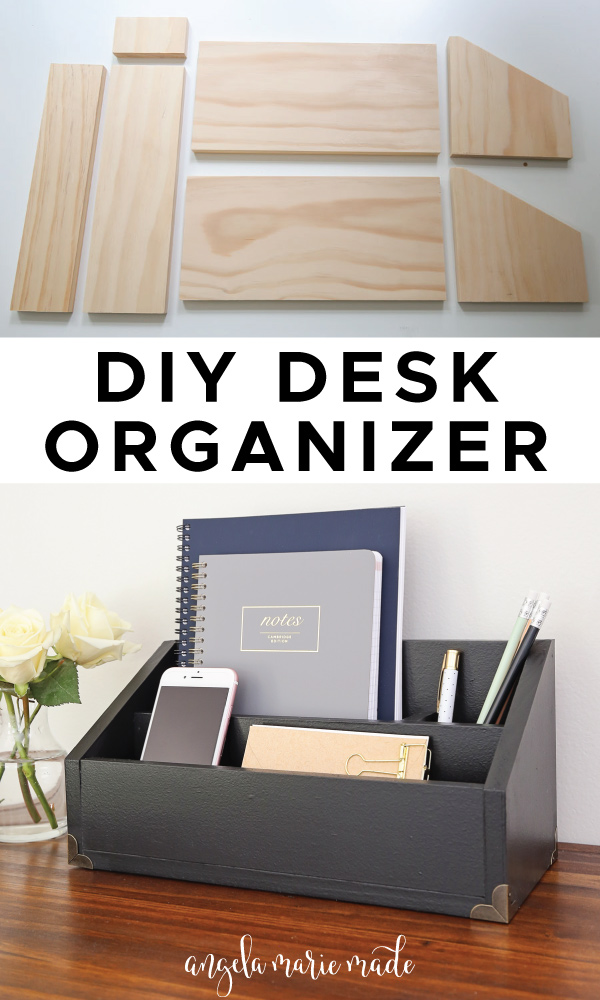
We’ve been working on getting our office organized and a DIY desk organizer was the perfect solution for organizing some loose items that were out on my desk.
This DIY wooden desk organizer is modern, classic, and chic and I love that it can also be used as a DIY charging station too for phones if you want! It looks beautiful on our new DIY computer desk we built last week!
Note, this post contains some affiliate links. For more info see my disclosures here.
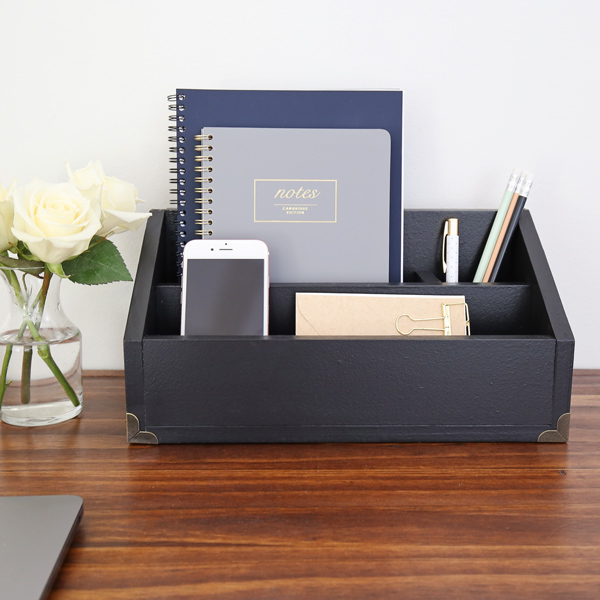
To jazz up our desk organizer, I added these cute, brass corner brackets and I think they totally elevate the look and give it that extra charm.
Desk Organizer Final Dimensions: 12.5″ long x 5 1/2″ deep x 6″ tall
How to build a DIY desk organizer:
Materials:
- (1) 1×6 @ 3ft and 1/2″ thick
- (1) 1×4 @ 3ft and 1/2″ thick
- (1) 1×3 @ 3ft and 1/2″ thick
- 1″ brad nails
- Wood glue
- Paint & paint rollers or wood stain
- Corner brackets (optional)
- Wood filler or light spackle
Tools:
- Miter saw
- Drill (optional)
- Brad nailer
- Clamps
- Tape Measure
- Speed square (optional)
Video Tutorial:
Subscribe to my YouTube Channel here!
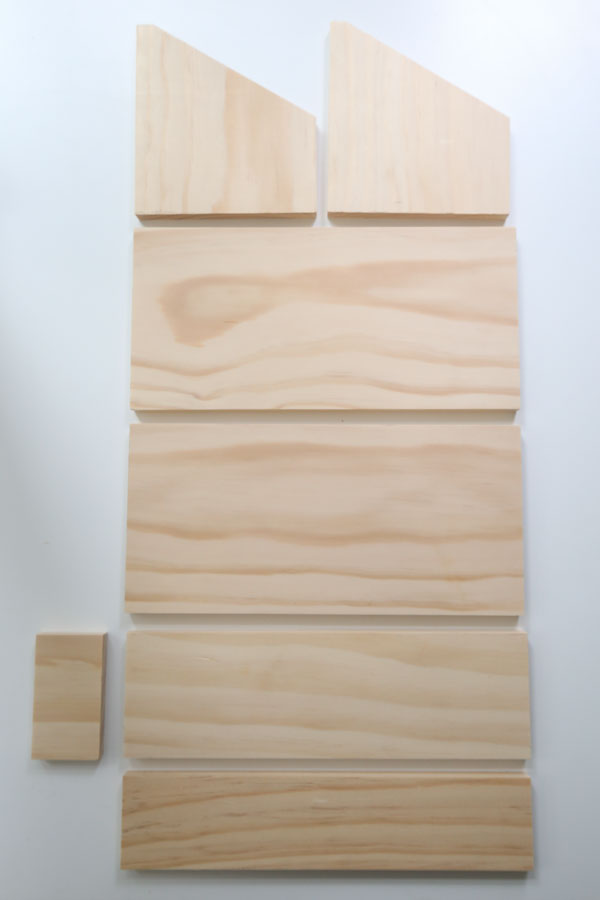
1. Make lumber cuts
Use a miter saw and make the following cuts from the 1×4:
-
-
- 1 piece @ 11 1/2″
- 1 piece @ 2″
-
Make the following cut from the 1×3:
-
-
- 1 piece @ 11 1/2″
-
For the 1×6 boards, these are going to be special angled cuts.
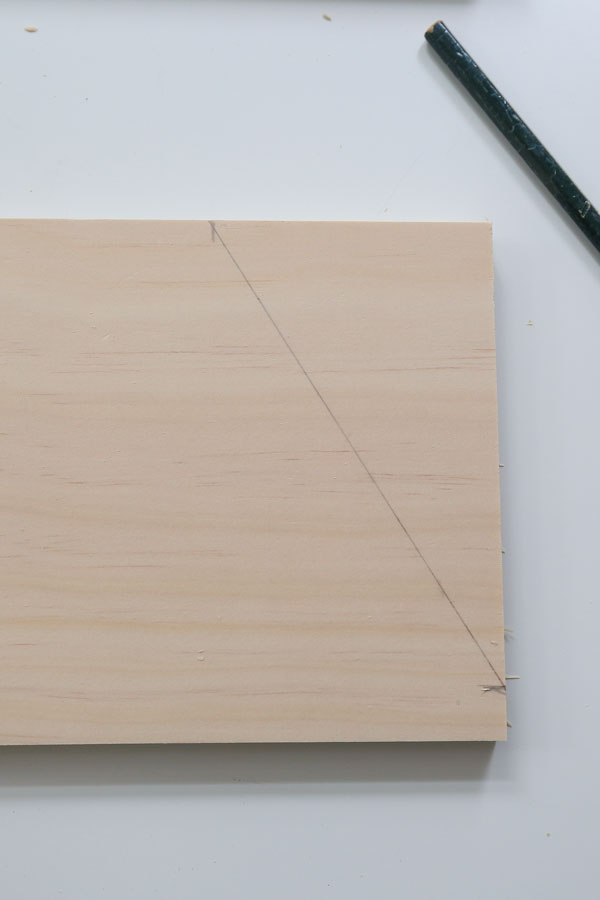
Measure 1/2″ from the bottom right edge of the board and mark with a pencil as shown below in the photo.
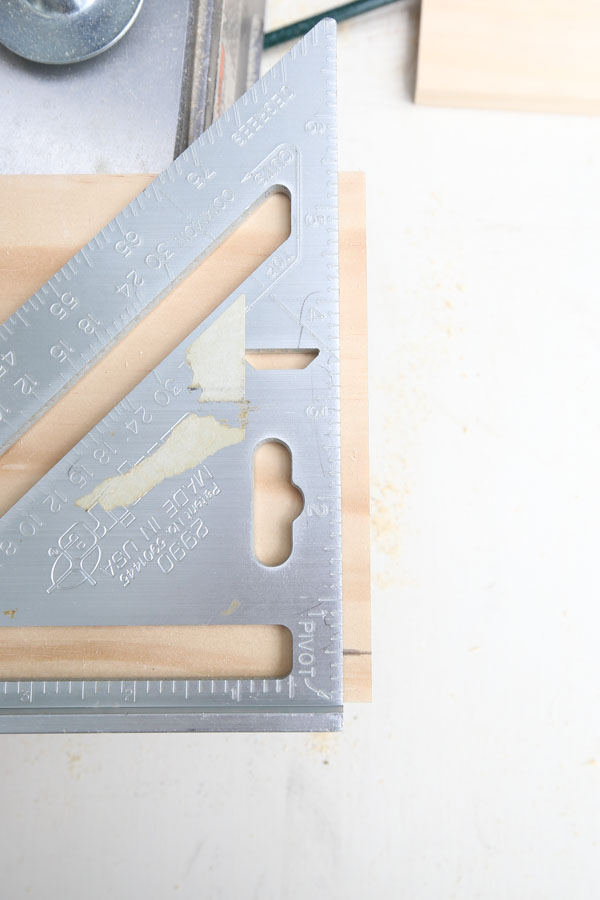
Then, mark 3″ from the top right edge.
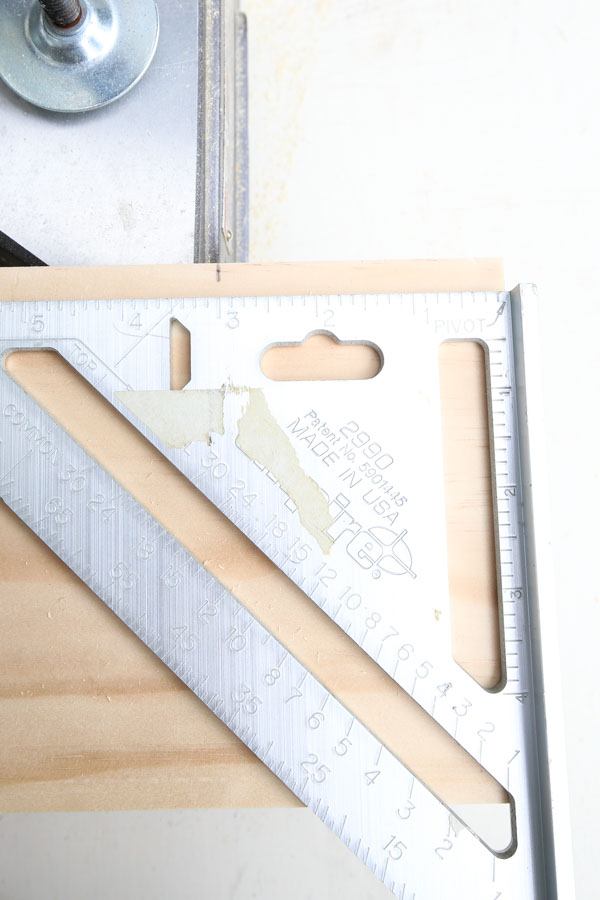
Use a straight edge to draw a line from the 1/2″ mark to the 3″ mark.
Set your miter saw to a 31 degree angle and cut along the angled line.
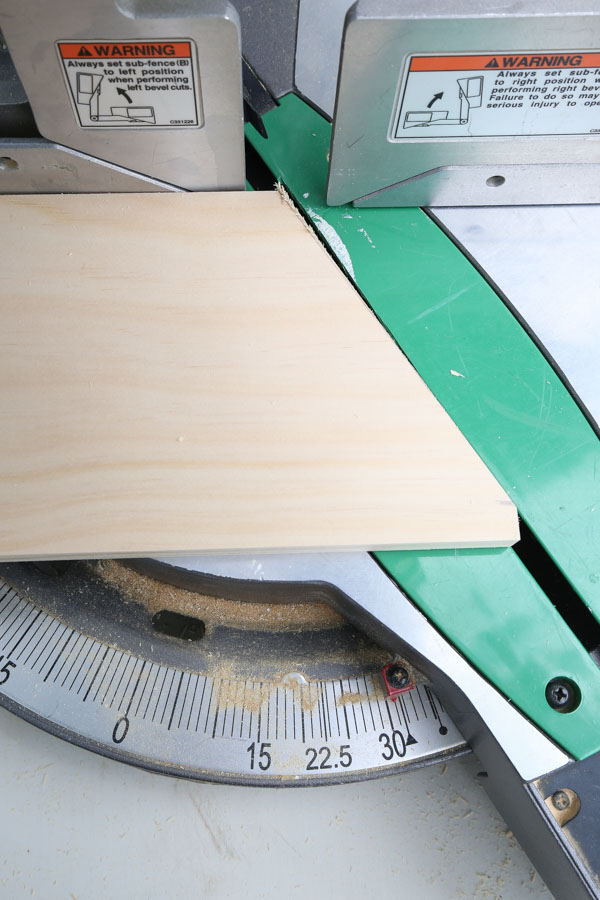
Then, cut a straight, 90 degree cut, 6 inches from the bottom right straight edge (from where you marked 1/2″) to finish your first side piece of the desk organizer.
Repeat these steps again for the second side piece. Lastly, cut two more 1×6 boards at 11 1/2″ with straight cuts.
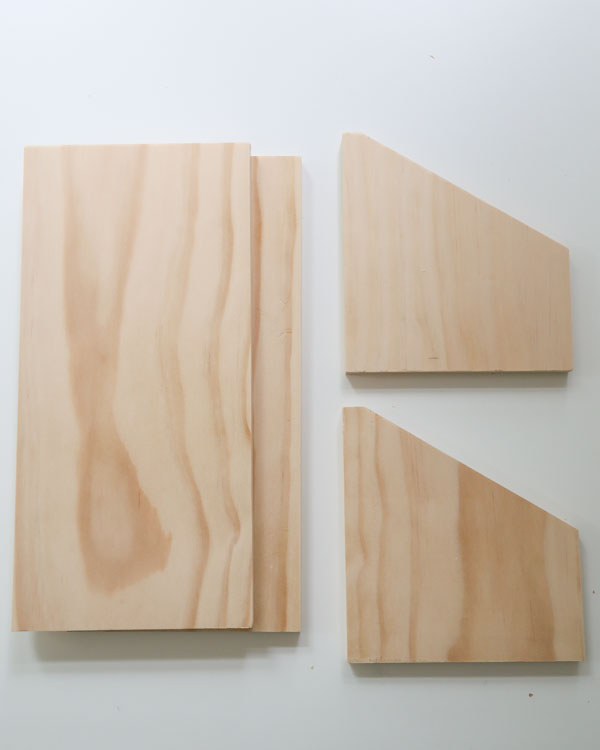
All of your board cuts are finished!
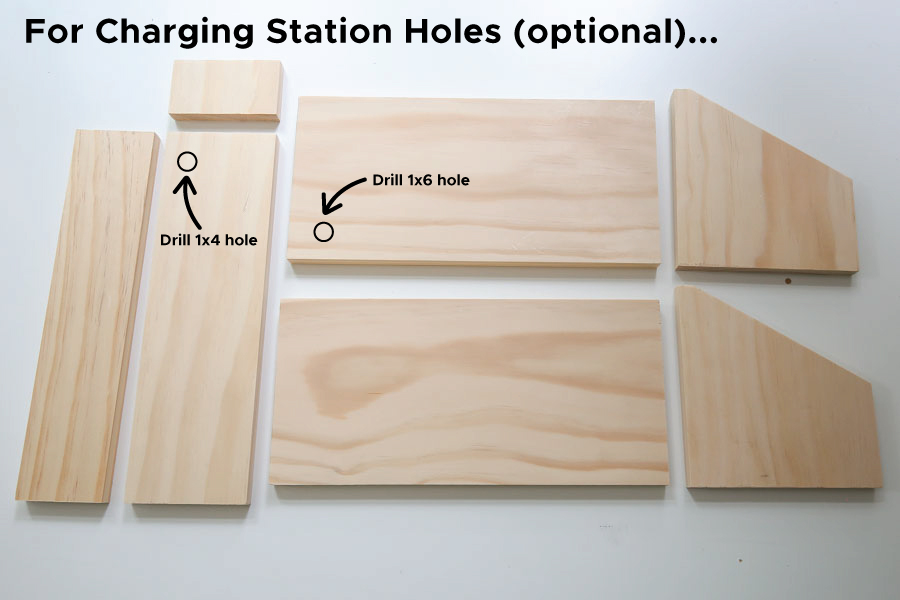
2. Drill DIY charging station holes if desired (optional)
If you want to also use this desk organizer as a charging station, now is a good time to drill the holes. I decided to skip this step. If you want to do this step, I would drill the holes towards the bottom long edge of one of the 1x6s @ 11 1/2″ and the 1×4 @ 11 1/2″ boards so they are hidden.
📩 Want to Save This?
3. Paint or stain DIY wooden desk organizer
At this point, I decided to paint the desk organizer before assembling it so it would be a little bit easier to paint. But you can also wait until after it’s assembled if you prefer.
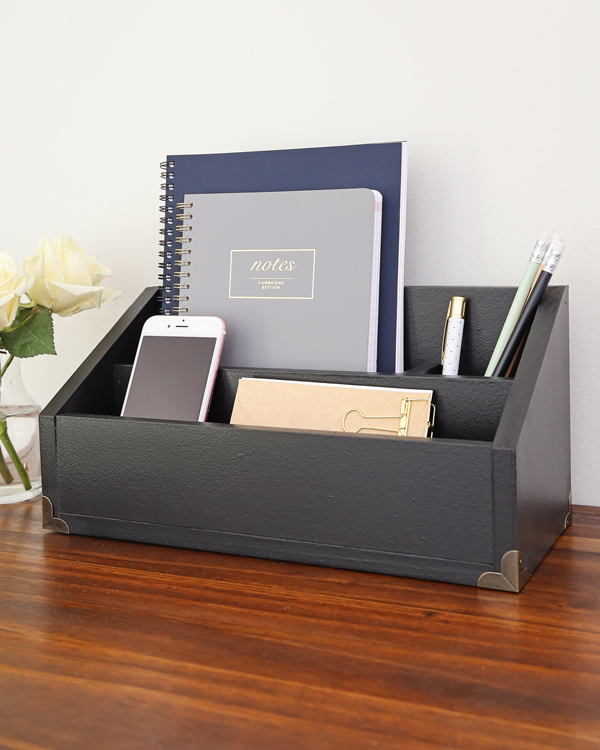
You can stain or paint the wood desk organizer. I chose to do a black paint (Tricorn Black by Sherwin Williams) to give the desk organizer a chic, classy look and to compliment our wood stained DIY desk top. I love the black and wood combo together!
If painting, apply 1 coat of primer and let it dry. Then apply 2 coats of paint, let it dry between each coat. Make sure to paint both sides and edges of all the pieces except for one of the 1×6 boards at 11 1/2″, you can leave the backside unfinished since that side will be sitting on the desk and not show.

4. Assemble base frame of the desk organizer
Note, you can see the full assembly below in action in my DIY desk organizer video here!
Clamp one of the 1×6 @ 11 1/2″ boards to your work surface edge. Then, use a brad nailer with 1” nails and wood glue to attach the second 1×6 @ 11 1/2″ board to create the back of the desk organizer.

Next attach the front 1×3 board using a brad nailer with 1” nails, wood glue and clamps to hold the board in place while nailing. Wipe away any excess glue with a damp rag or paper towel.
5. Attach the middle 1×4 board and divider
Measure 3” from the side where you want to place the 1×4 board at 2″ for the divider and mark the back board with a pencil or chalk. Apply wood glue to 3 sides of the 2″ divider and line up with the mark you just made and set in place.
Once the divider is set in place use wood glue along the bottom side of the 1×4 @ 11 1/2″ and place it on the bottom board and push it up tight to the divider piece (as shown in below photo). Use a measuring tape to make sure that the middle piece is the same distance away from the back board on each side.
Place a clamp on each side of the middle board and let the glue set for 1 hour. Wipe away any excess glue with a damp rag or paper towel.

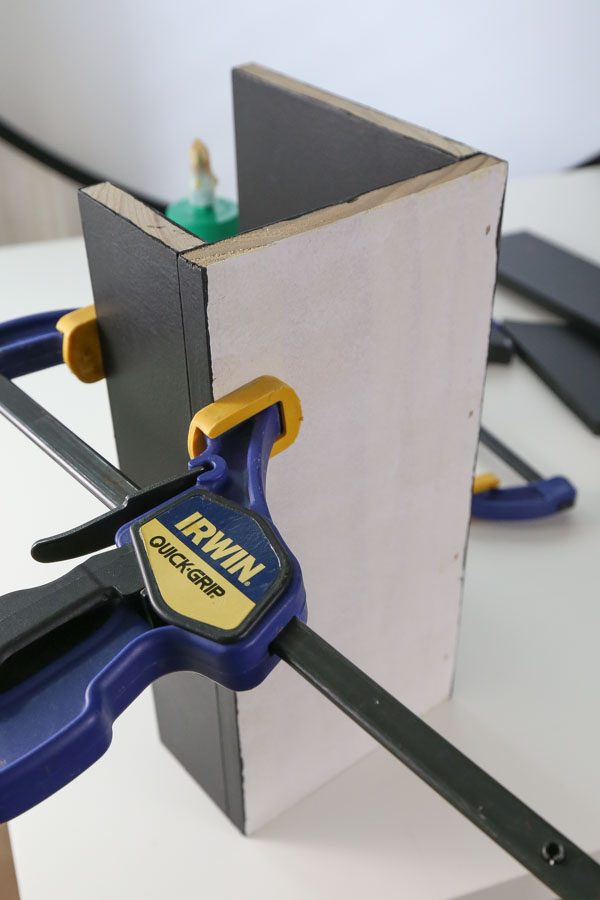
6. Attach the angled sides
Attach one of the 1×6 @ 6″ side angled boards to the side of the DIY desk organizer using a brad nailer with 1” nails and wood glue.
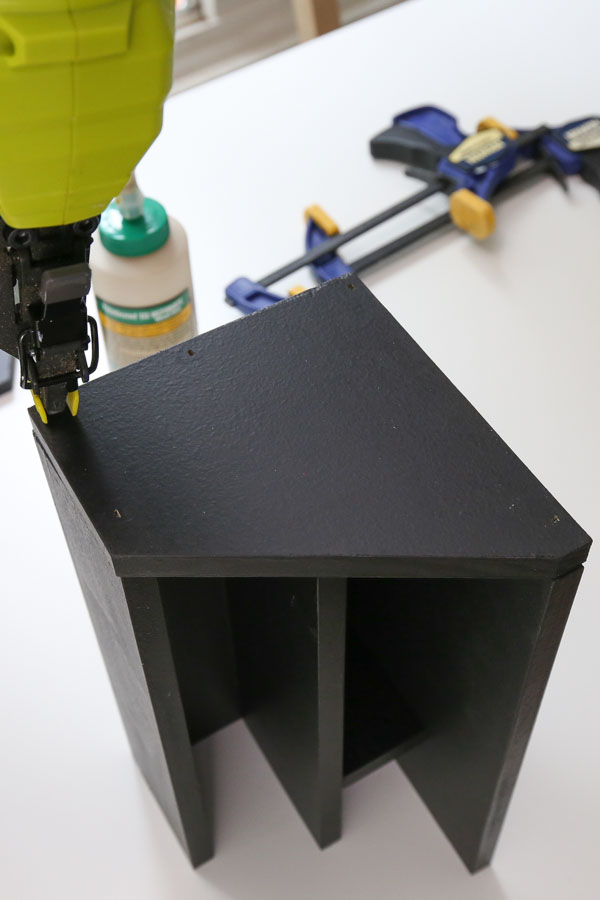
Repeat on the other side. Wipe away any excess glue with a damp rag or paper towel.
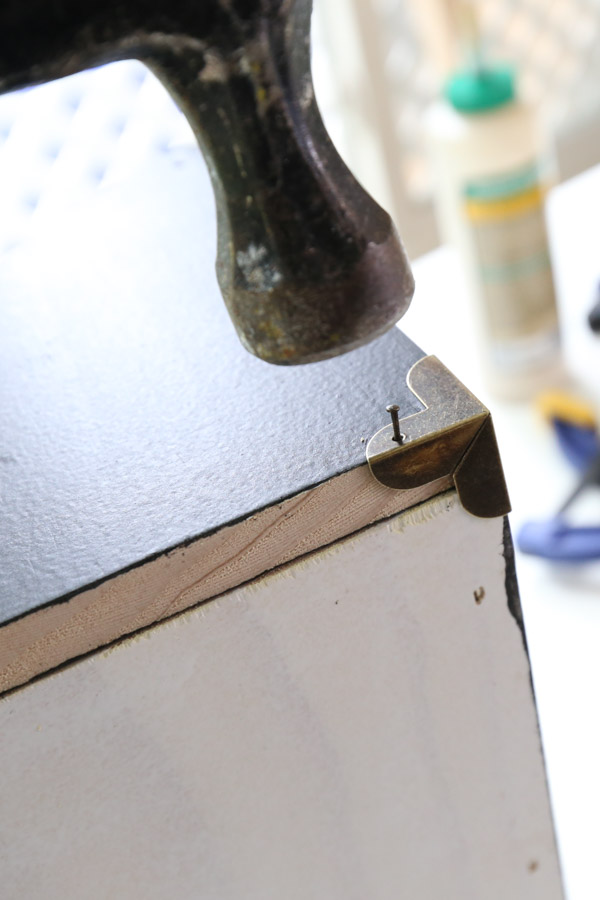
7. Add corner brackets to desk organizer (optional)
Add the cute corner brackets using the nails provided and a hammer. It helps to first poke a small screwdriver into the nail hole to make a little groove to get the nail started.
8. Fill nail holes and do paint touch ups (if needed)
Fill nail holes in with wood filler or spackle. Apply paint touch ups to any necessary areas. And then it’s time to enjoy your new desk organizer and get organized!
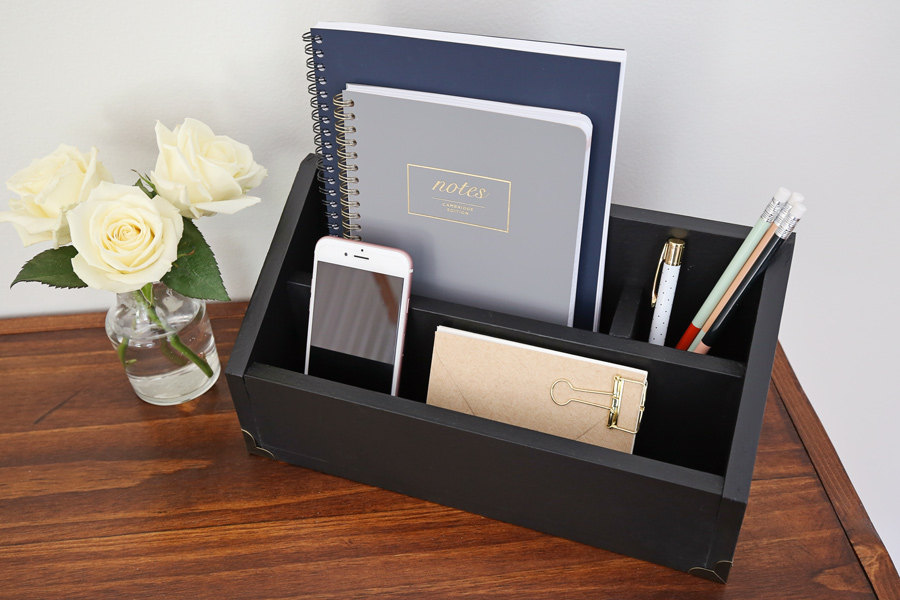
I’m so happy with our new desk organizer and that I can keep my desktop items all in one spot now that looks cute! What do you think?!
Follow along my latest projects and sneak peaks on Instagram, YouTube, and Facebook!
Want to save for later? Pin it here: