I’m excited to show how to whitewash wood with paint and water!
This easy whitewash paint mixture looks great on raw wood and over stained wood too!
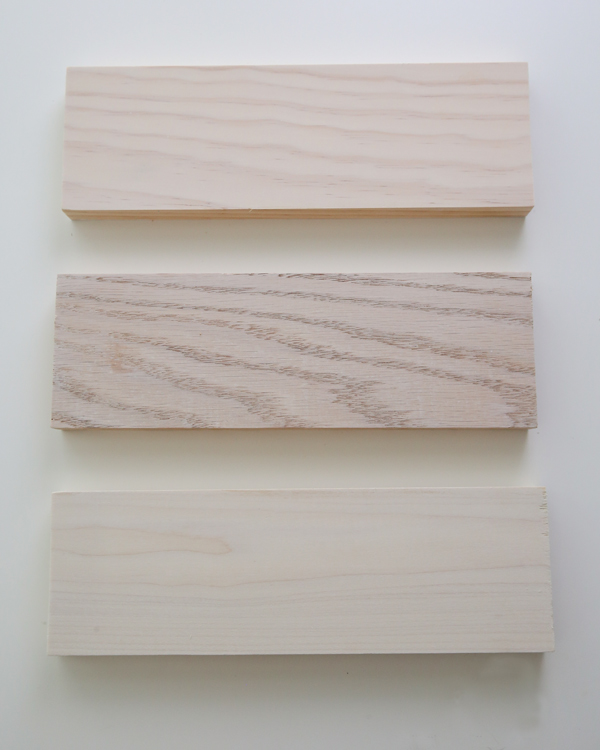
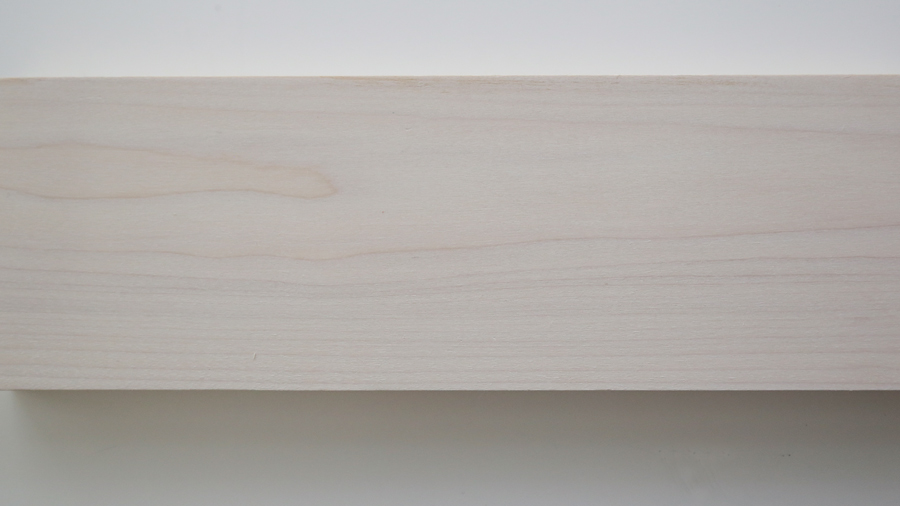
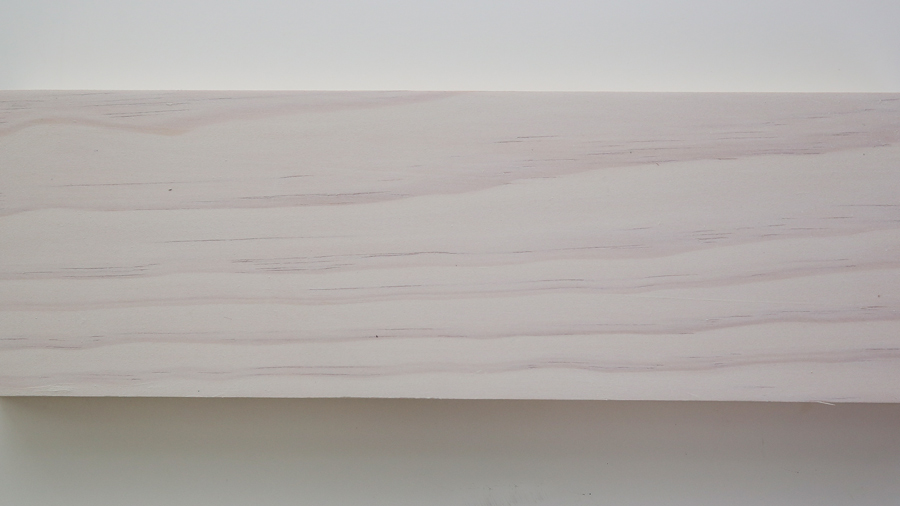
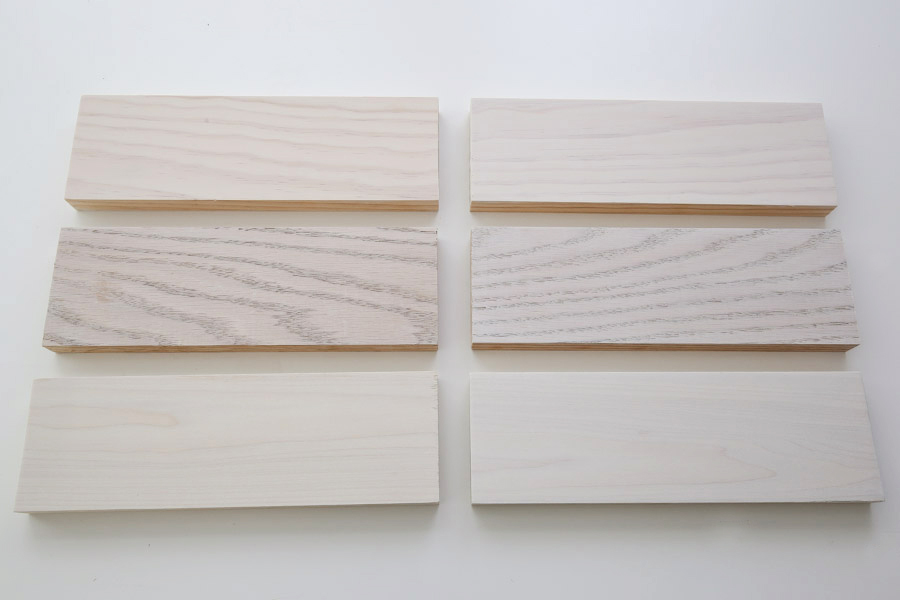
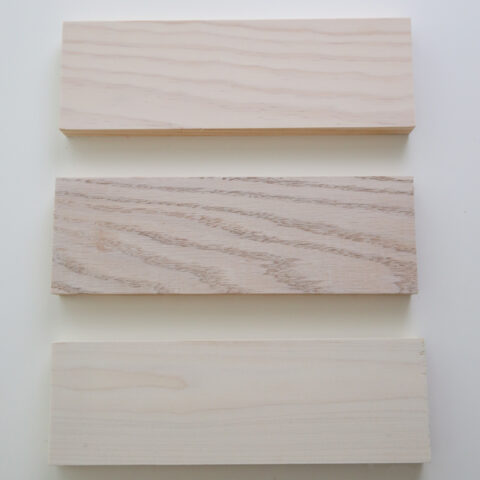
I’ll be showing what the whitewash looks like on pine, white oak, and poplar wood, which are three common types of wood. And I’ll be showing what one coat of whitewash looks like vs. two coats of whitewash.
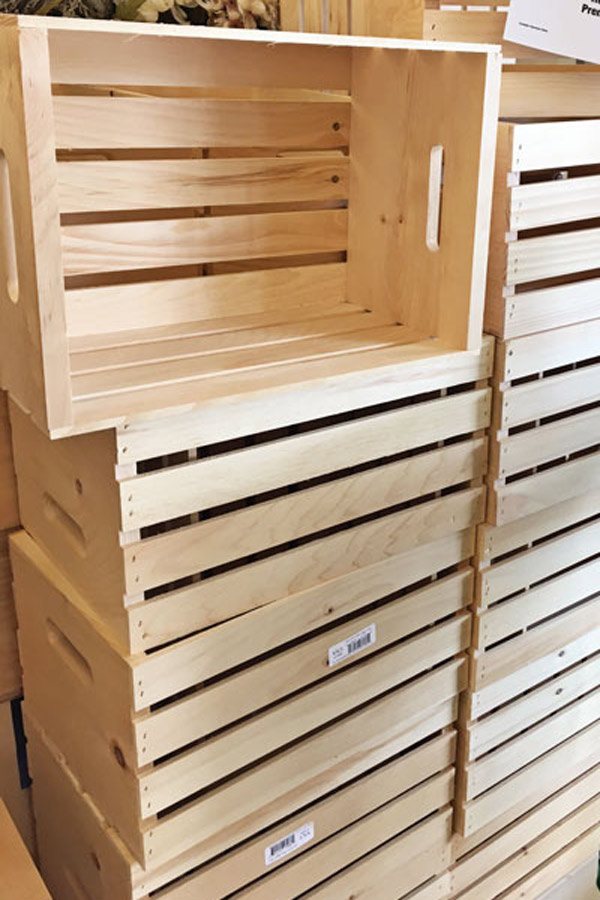
Further, I’m going to show what the whitewash paint mixture actually looks like on a real project, an unfinished wood crate. With this project I’m using a second whitewash technique that I explain below.
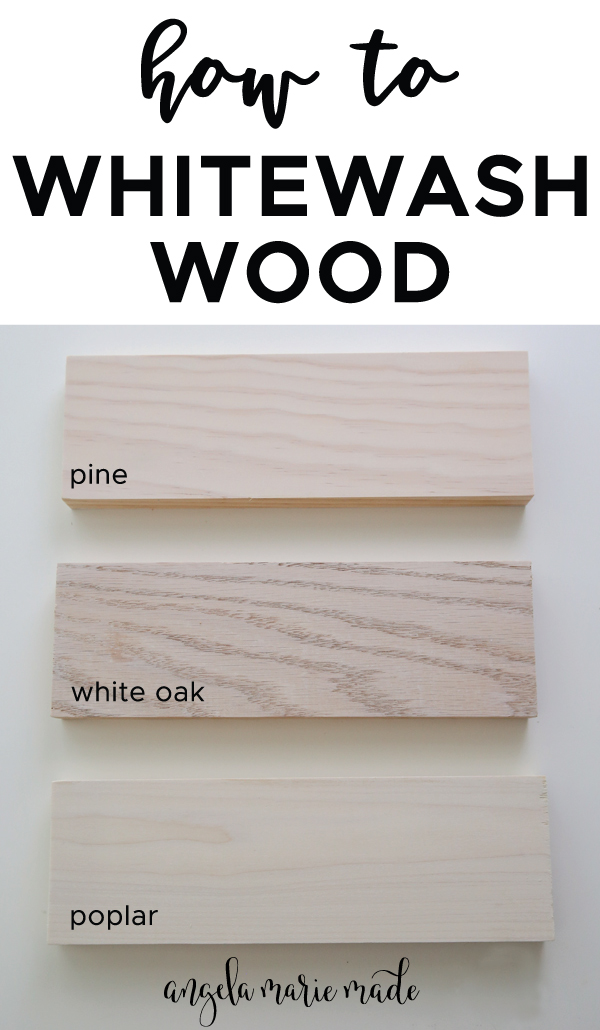
Whitewash on Different Types of Wood
One thing to keep in mind with your project is that, whitewash can look a little bit different on different types and species of wood. I always recommend testing out the whitewash on your specific wood project first in a small, hidden area or some scrap wood from the project first to make sure you like the look before applying to the entire project.
White Stain vs White Paint
A few months ago I shared how to stain wood white with white stain. Whitewashing wood with paint and water is another option to get that pretty whitewash look and finish on your wood project.
In my white wood stains post I explained the difference between when to use a white stain vs white paint for whitewashing. Here are the main differences again:
1. Whitewashing over another stain or paint finish
I would use the whitewash paint technique if I want to whitewash over paint. Using a stain over paint or any surface with a sealant isn’t going to work well because it can’t absorb into the wood.
For whitewash over stained wood (with no sealant), you can use either white stain or white paint (like I did on my weathered wood gray finish). Either way results are going to vary greatly depending on the base stain color, so definitely test it out first!
For a more weathered finish, whitewash with paint, followed by some light sanding works great! Also, whitewashing with a paint mixture works well for toning down yellow, orange, or other tones showing on the wood.
Here is what my weathered wood gray finish looks like with a whitewash over stain:
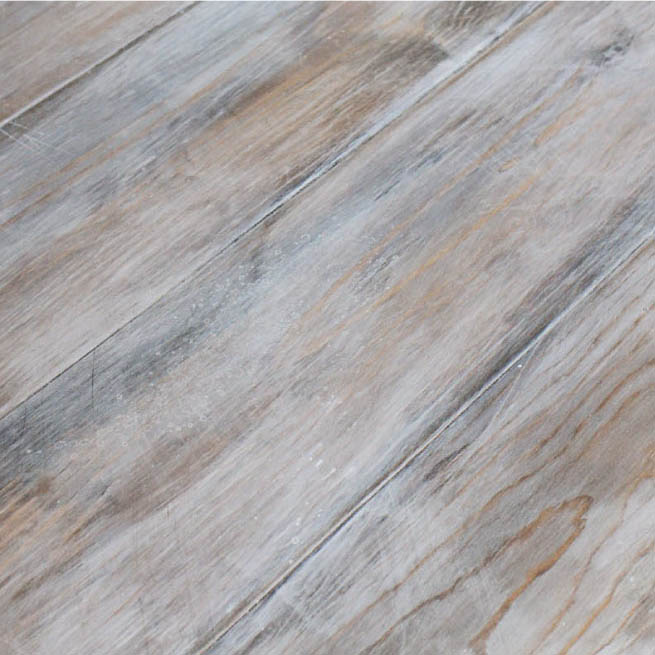
It’s one of my favorite ways to distress wood with paint!
2. Creating a thicker whitewash and more opaque finish
An advantage of white paint mixed with water is that you can make the whitewash thicker by mixing less parts water with more parts paint if you want to make the white wash more opaque.
3. Enhancing the grain of the wood
When finishing a more expensive piece of wood like white oak, I would use a white stain to enhance the grain of the wood. Whitewash with paint doesn’t enhance wood grain like stain is formulated to do. Again, this is personal preference, so always test it out first!
4. Ease of Use
Note, this post contains some affiliate links. I may earn a commission if you shop those links (at no cost to you). Thank you for supporting my small business. For more info see my disclosures here.
How to Whitewash Wood with Paint and Water
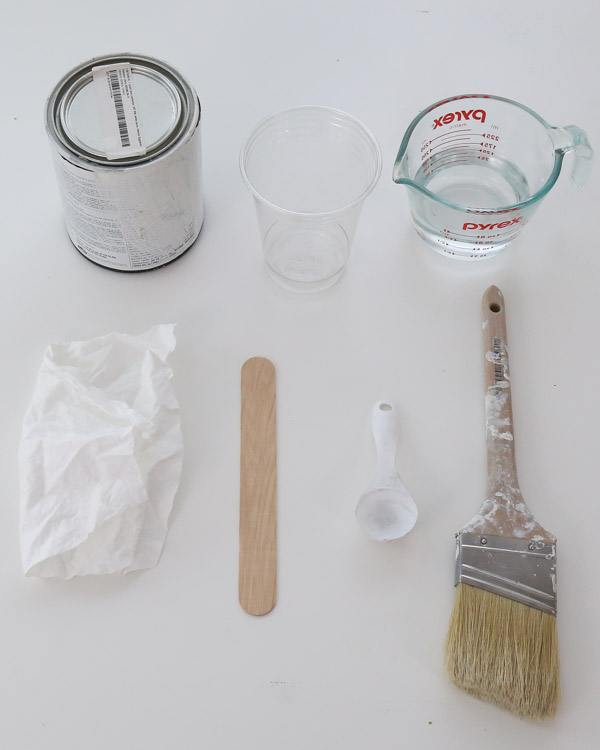
Materials Needed:
- Water
- White paint (I used White Dove by Benjamin Moore)*
- Old measuring tablespoon
- Lint free rag
- Cup or container for mixing paint
- Paintbrush
- Stirring stick or spoon (I like to use large popsicle sticks)
*It’s best to use flat or eggshell paint. Chalk paint can be used as well.
Video Tutorial:
A step by step video on how to whitewash wood can be seen on my YouTube channel and at the bottom of this post in the printable how-to card! Subscribe to my YouTube Channel here!
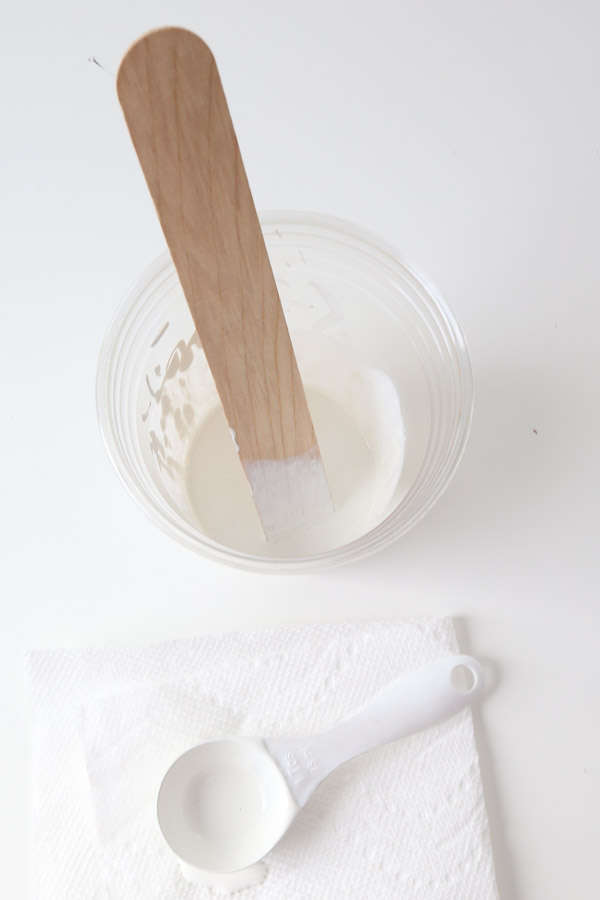
1. Mix water and paint together
Mix 1 part water with 1 part white paint. For small projects, like these wood board samples, I like to do 2 tablespoons of paint with 2 tablespoons of water. I use an old measuring spoon that I got from the dollar store (it’s just for paint)!
Stir together with a large popsicle stick, stirring stick, or old spoon. I use a plastic cup for mixing my paint and water whitewash mixture together, but any container big enough to fit a paintbrush will work!
📩 Want to Save This?
For larger projects, an old measuring cup works well. Keep in mind that because you are adding water to your paint, a little of the mixture goes a long way in the application process.
Also, you can do more or less water for thicker or thinner whitewash mixtures.
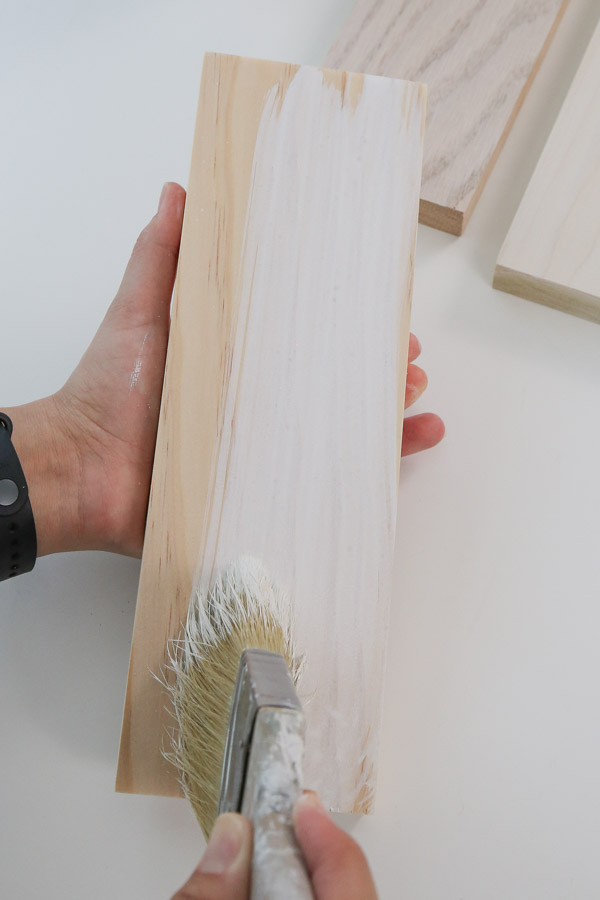
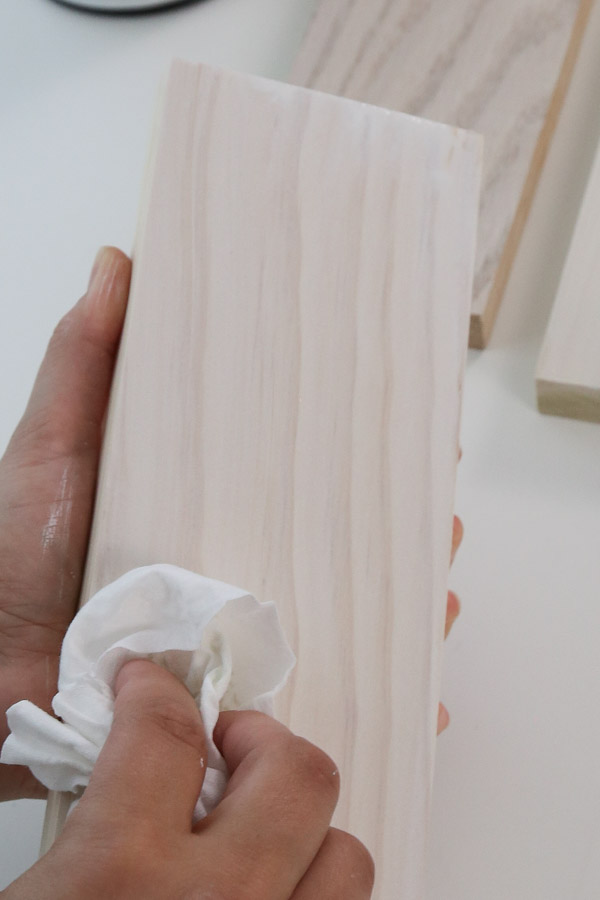
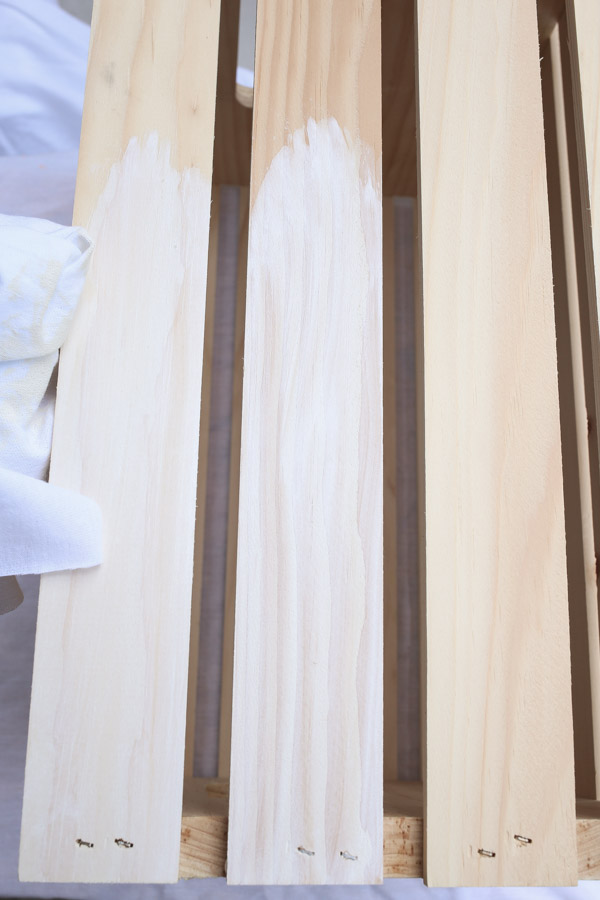
2. Apply whitewash to wood with a paintbrush and wipe away with a rag
Apply the whitewash paint mixture to your wood project. Immediately wipe away the excess with a lint free rag. Work in sections to avoid the whitewash drying too quickly before wiping (it dries fast).
For larger projects you will need several rags for the process.
Allow the whitewash to dry.
3. Apply a second whitewash paint coat if needed (optional)
If you want a thicker whitewash look, apply a second coat of whitewash using the same method above.

Here are the results, starting with the unfinished boards, then one coat of whitewash, and then two coats of whitewash:
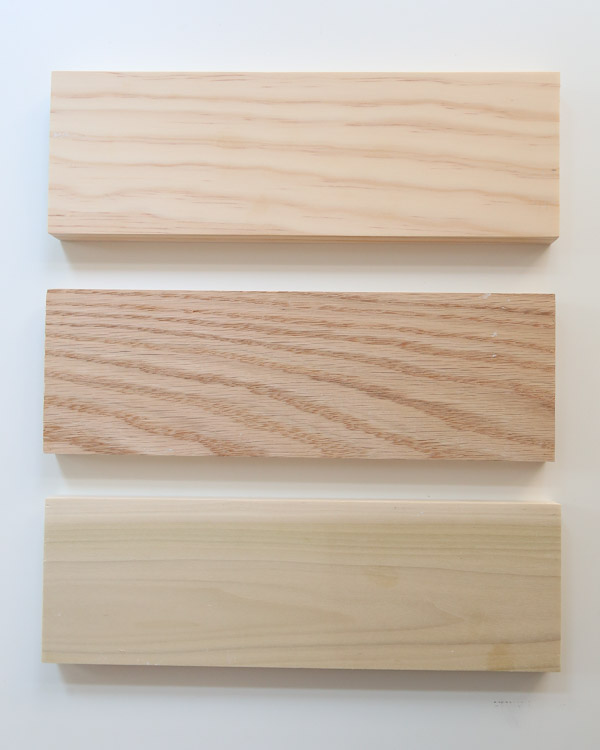
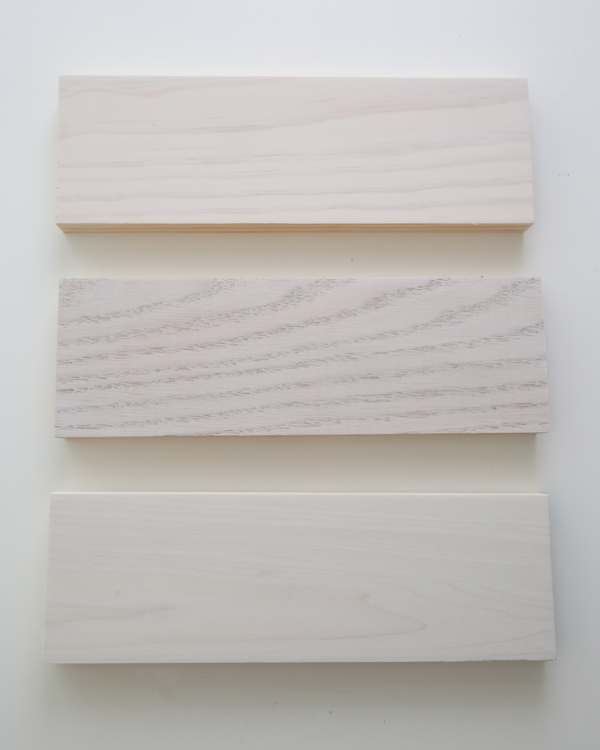
Overall, my favorite two are the one coat of whitewash on the poplar and the two coats of whitewash on the pine.
And here is one full look at all the boards with the one coat board on the left and 2 coats of whitewash on the right:
Technique #2: How to Whitewash Wood
Another alternative technique for whitewashing wood is to repeat the three steps listed above, but for step #3, for the second coat, try using a different color of white paint!
I used this alternative technique on my crate side table and I love the results, especially for raw wood projects! I think it adds more definition and a prettier whitewashed look over the raw wood.
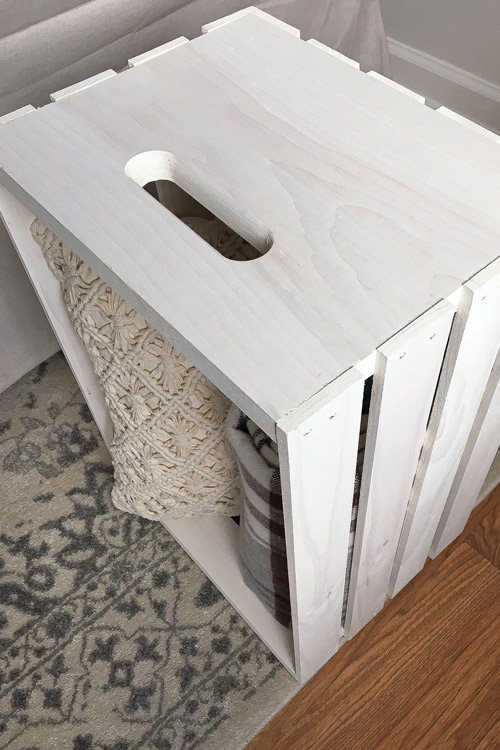
I used White Dove by Benjamin Moore (in egghshell) mixed with water for my first coat. And for the second coat I used Linen White chalk paint mixed with water.
Now that you know how to whitewash wood, it’s a great option for a pretty finish your wood projects and a great option for how to distress wood and furniture with paint!
I hope this tutorial has been helpful, let me know if you have any questions. I’d love to hear what you want to try whitewashing or what projects you have whitewashed before!
Follow along my latest projects and sneak peaks on Instagram, YouTube, and Pinterest!
How to Whitewash Wood with Paint
Easy tutorial on how to whitewash wood with paint. This whitewash paint mixture looks great on raw wood and over stained wood too!
Materials
- Water
- White paint (I used White Dove by Benjamin Moore)
- Old measuring tablespoon
- Lint free rags
- Cup or container for mixing paint
- Paintbrush
- Stirring stick or spoon (I like to use large popsicle sticks)
Instructions
- Mix 1 part water with 1 part white paint. For small projects, I like to do 2 tablespoons of paint with 2 tablespoons of water. Stir together with a large popsicle stick.
- Apply whitewash to the wood with a paintbrush and wipe away the excess with a rag. Work in sections to avoid the whitewash drying too quickly.
- Apply a second whitewash paint coat if needed. You can use a different color of white paint if you prefer (as described in the tutorial).
Recommended Products
As an Amazon Associate and member of other affiliate programs, I earn from qualifying purchases.


AC
Sunday 5th of January 2025
Hi-
Have you had any trouble with the paint diluted to 1:1 with water causing the paint to crack or flake off after awhile.
I am trying to decide if I should use water based stain or diluted WB paint for the white wash effect.
Angela Marie Made
Thursday 9th of January 2025
No I haven't had that problem, I use water based latex wall paint.
Daniela
Wednesday 24th of July 2024
Hi
Thank you for the great tutorial! I’ve used white paint and water to white wash Ikea ivar pine shelves. Do I need to add clear, water based lacquer as a top coat? Tried on the bottom of the shelf and it yellowed the white wash.
Julie
Monday 13th of May 2024
Thank you for the detailed instructions on how to whitewash wood. I want to whitewash old fence slats for an outdoor project. Would I need to seal them?
Angela Marie Made
Tuesday 14th of May 2024
I would use an exterior stain and exterior paint so you can skip sealing!
Jane
Thursday 21st of December 2023
Can I use your whitewash paint method for furniture and headboard that seems to just have a matte seal (it looks like I have a natural wood but it is smooth so guessing a seal on it). Thanks!
Angela Marie Made
Friday 29th of December 2023
Unfortunately, you will have to sand off the seal before applying paint or it won't adhere to the wood.
Teresa
Thursday 26th of October 2023
Hi, I’m doing a headboard. Do I need to put a seal top coat?
Angela Marie Made
Wednesday 1st of November 2023
No it is not necessary!