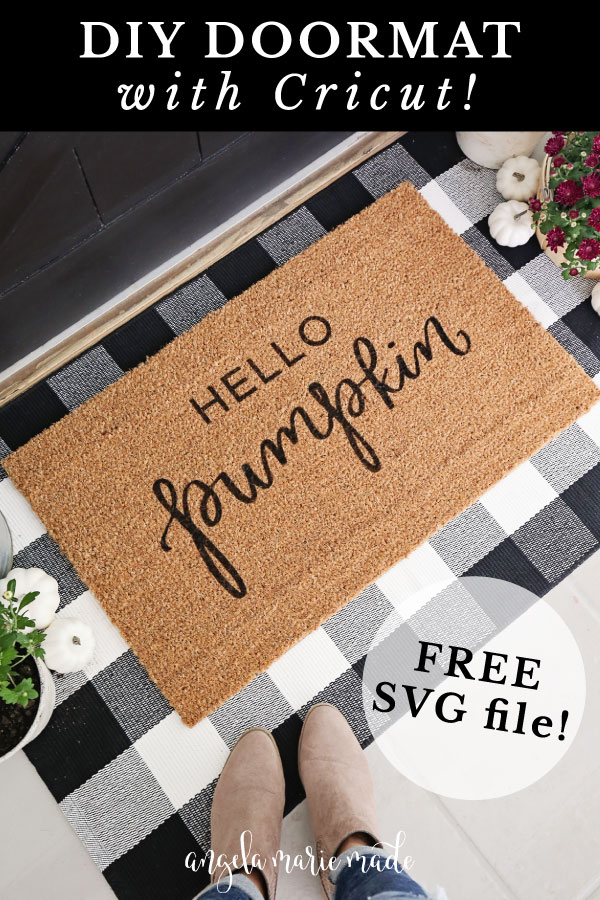
Learn the easiest way how to make a doormat with Cricut for a personalized doormat!
Have you seen those cute personalized doormats with cute designs for the seasons or year round?
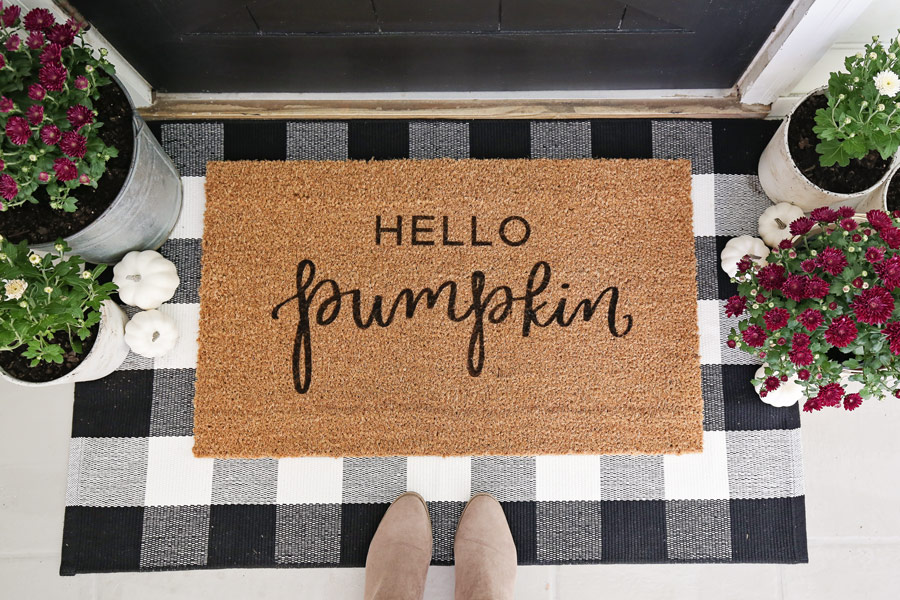
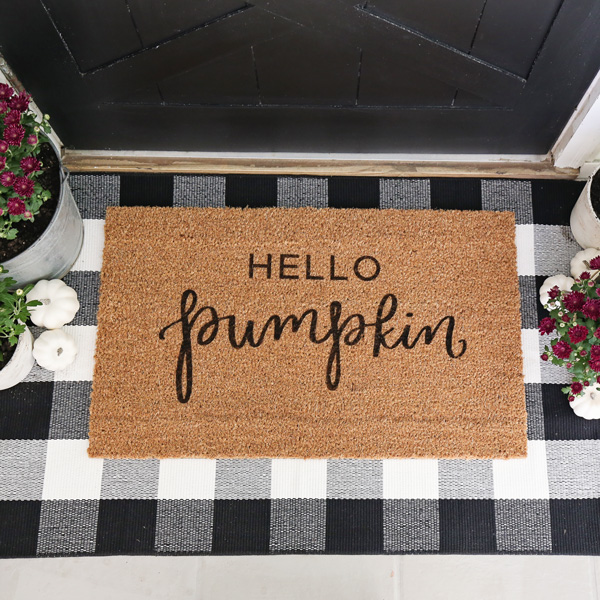
I’ve been wanting to make my own hello pumpkin DIY doormat for fall with my hand lettering for a few years now. I am so excited that I finally created one and I have a FREE SVG file of the design below so you can make the same doormat!
This was my first time making a custom doormat and it took me four different tries to figure out the best way to do it with my Cricut! But, I think this method I ended up using is the easiest way to make the personalized doormat AND get a crisp, good transfer of the design!
Below I’m sharing the different kinds of paint you can use on a coir doormat, which paint I think is best, the different types of Cricut stencil materials, and the easiest stencil material to use for making DIY doormats with a Cricut!
FREE SVG file – Hello Pumpkin:
Before we get started, don’t forget to get your FREE SVG file of the hello pumpkin design, which you can get access to by clicking the button below!

Note, this post contains some affiliate links. I may earn a commission if you shop those links (at no cost to you). Thank you for supporting my small business. For more info see my disclosures here.
What kind of paint do you use on a coir doormat?
There are many different paint options for use on a coir doormat, including outdoor spray paint, outdoor acrylic paint, outdoor latex paint, and Flex Seal Rubber Spray (which isn’t even a paint actually).
My preferred type of paint to use is exterior latex paint for ease of use, long term durability, and for the best transfer of the design onto the coir doormat with crisp lines. Also, you don’t have to seal it with any type of top coat.
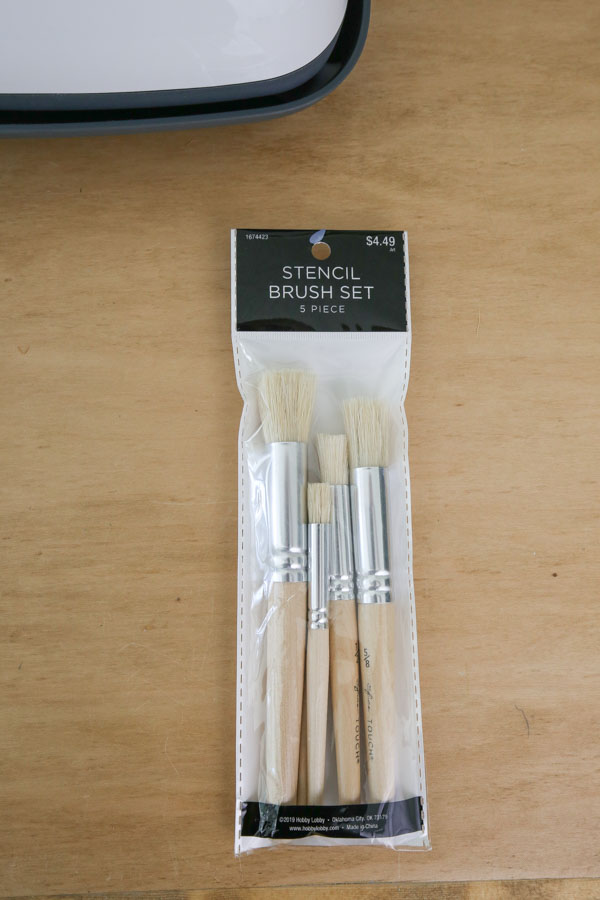
I prefer to use the exterior latex paint with a stencil brush.
The problem with a spray, like outdoor spray paint and Flex Seal, is that unless you have a really good seal between your stencil and doormat, which is tough to do with a coir doormat that repels everything as it is suppose to, you have a higher chance of under-spray or the paint spraying under the stencil and creating a shadow in certain areas.
Basically, you don’t get a crisp, good design transfer!
Trust me on this, I tested it out! You really won’t know how good your stencil seal is until you take the time to do it all. And who wants to go through all that work and effort for it not to turn out good?!
Further, having to transfer the doormat outside in order to spray it, is difficult to do without moving the stencil.
How to Make a Stencil for a Doormat with Cricut
There are several stencil material options, some common materials are:
- Vinyl
- Paper stencil
- Freezer paper stencil
I first tried making a stencil with vinyl and transfer tape. However, it was very difficult to get it to stick properly to the mat. You can see a clip of my frustration with this method in the DIY doormat video here!

Others have used vinyl without transfer tape, which can work, but it’s still not easy! You really have to be slow and careful in order to spread the design out well and prevent the vinyl from sticking to itself.
Freezer paper is another material option for the stencil, but it’s very thin and can rip easily. So that leads me to my discovery of what I think is the easiest stencil material to use for how to make a stencil for a doormat….
The Easiest and Best Way to Make a Stencil
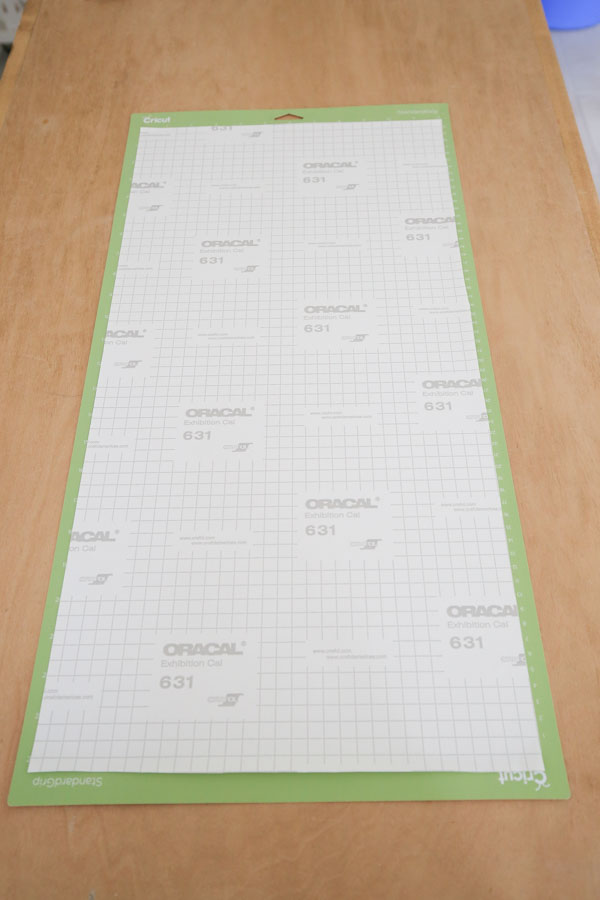
A paper stencil using the right type of paper. I used the paper backing that comes with my Oracal 631 vinyl!
It’s a high quality, strong paper, the perfect size already for the 12″ or 24″ Cricut mat and it has a shiny side (that the vinyl is adhered to), which works great for EASILY and QUICKLY removing the stencil from the mat!
It also irons flat with a Cricut heat press (or iron) very well to help flatten it out!
My other discovery for getting the stencil to stick to the mat the best and not move around is glue dots! Seriously, after trying vinyl, sewing pins, painter’s tape, and push pin tacks, glue dots worked great and they come right off the coir doormat at the end.
Below I’m sharing exactly how to do all this and make your own DIY personalized doormat!
How to Make a DIY doormat with Cricut
Materials Needed:
- SVG file (get the hello pumpkin free SVG file here)
- Cricut Explore or Maker
- Oracal 631 Vinyl (12″ X 24″)
- Cricut Easy Press or Iron
- Cricut 12″x24″ Cutting Mat
- Coir doormat
- Glue Dots (I used these glue dots)
- Painter’s tape
- Stencil brush
- Exterior latex paint (I used Tricorn Black by Sherwin Williams)
- Scissors
DIY Doormat Cricut Video Tutorial:
Subscribe to my YouTube Channel here!
1. Open the free SVG file in Cricut Design Space
After downloading the hello pumpkin free SVG file from the free printable library to your computer, open it in Cricut Design Space.
Note, you can get access the printable library here if you aren’t signed up already!
To do this just click on Upload > Upload Image > Browse and then select and open the file from your computer.
Next, select upload and then select the design from recent uploads and click on “insert images”.
After the design has opened, click on the green “make it” button. It’s all sized properly and ready to go!

I like to center the design on the 12″ x 24″ mat. Next, click “Continue”.
Make sure your Cricut is connected and then select the paper type from the drop down menu. I wasn’t sure exactly what type of paper to use, so I selected construction paper since the vinyl backing paper has a similar thickness to construction paper.
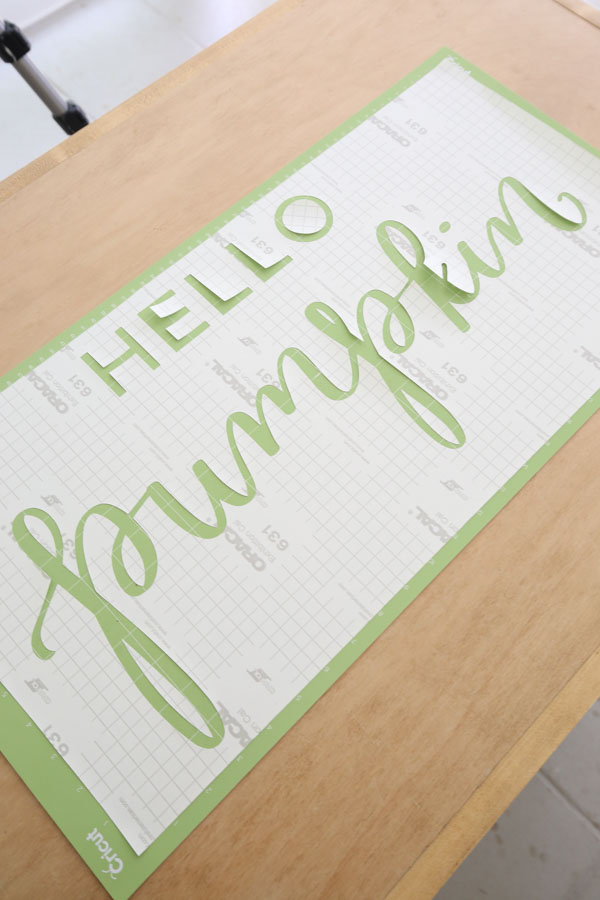
2. Make the DIY doormat Cricut Stencil
Remove the 12″x24″ vinyl from the backing paper.
Attach the vinyl backing paper to the Cricut 12″x24″ Cutting Mat with the SHINY SIDE DOWN (the Oracal logo will be on the top side)! This is very important to do the shiny side down so that the stencil will easily remove from the mat after cutting!
📩 Want to Save This?
Load the mat with the paper into the Cricut and press the flashing go button to make the stencil for the doormat.
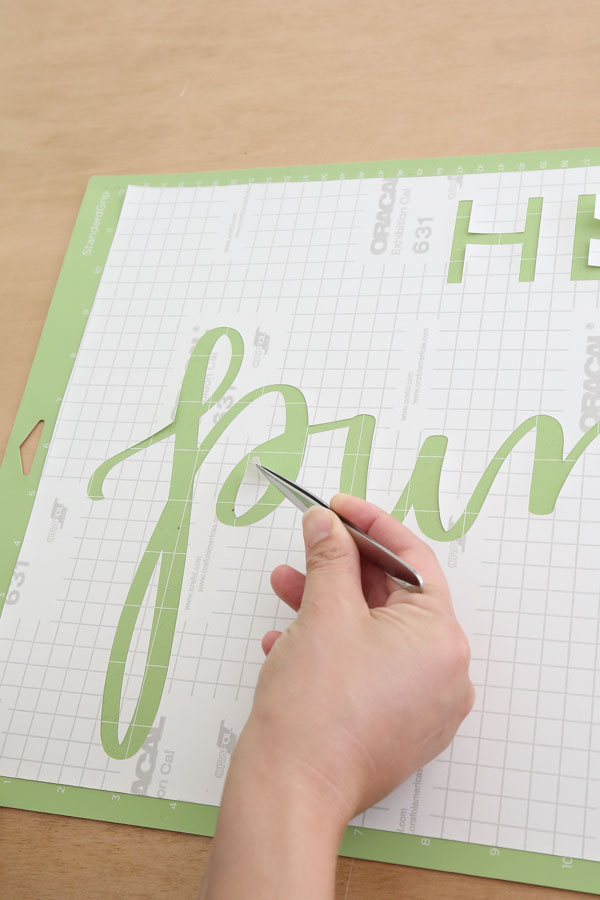
After the Cricut finishes cutting, remove the mat, and weed the letters from the paper. This just means remove the letter shapes and leave the remaining paper to create the stencil.
I used my weeding tool to help with this part, but the letters came right off the mat. Make sure to remove the inside, floating letter pieces too and set them aside to use later, like the middle of the “O” and “p”…
Next, remove the paper stencil from the mat, starting at one corner and carefully pulling it off of the mat.
You can see all of this in action in my DIY doormat video tutorial here!
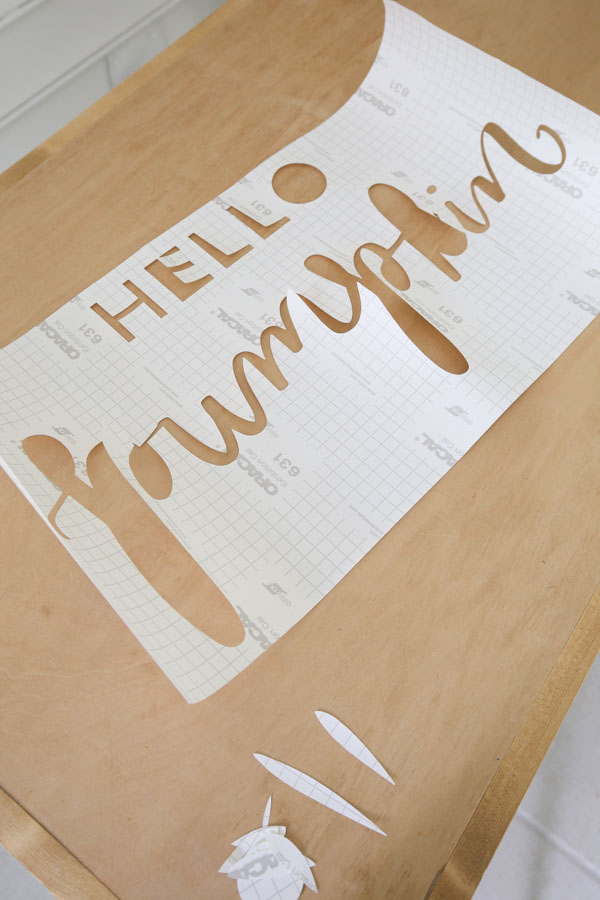
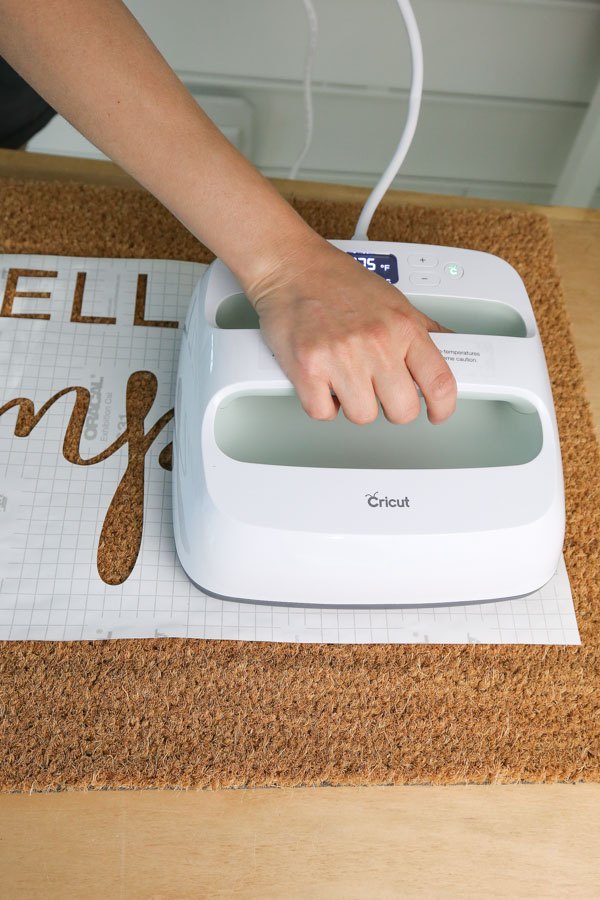
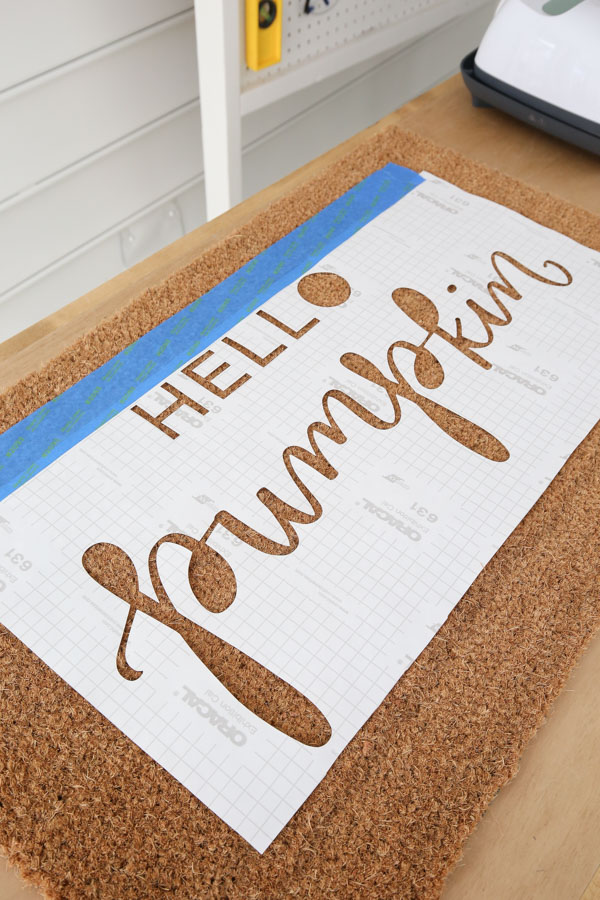
3. Secure the stencil to the doormat
Place the DIY stencil down on the doormat. To help flatten the stencil out, I used my Cricut Easy Press on 275 degrees Fahrenheit but you could also use an iron on medium to high heat.
Center the stencil on the doormat. I used a ruler to help make sure my design was properly centered and straight but you can eye it too!
Carefully apply painter’s tape just along the top edge of the stencil to the doormat to secure it in place in the correct position.
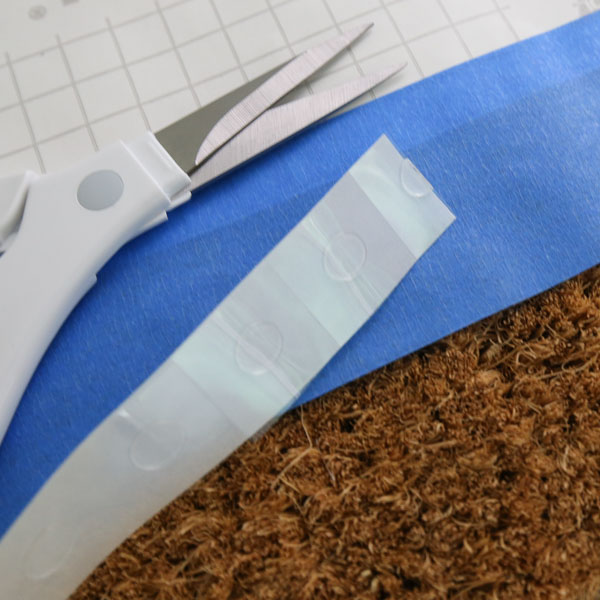
Now it’s time to add the glue dots to secure the stencil in place for paint. As I said earlier, I found these to work the best in really holding the letters down for a good stencil design transfer.
Carefully flip the design over. You don’t need to add glue dots everywhere, just along the looser letters and sides where they are sticking up.

For thinner areas, I cut the glue dots in half.
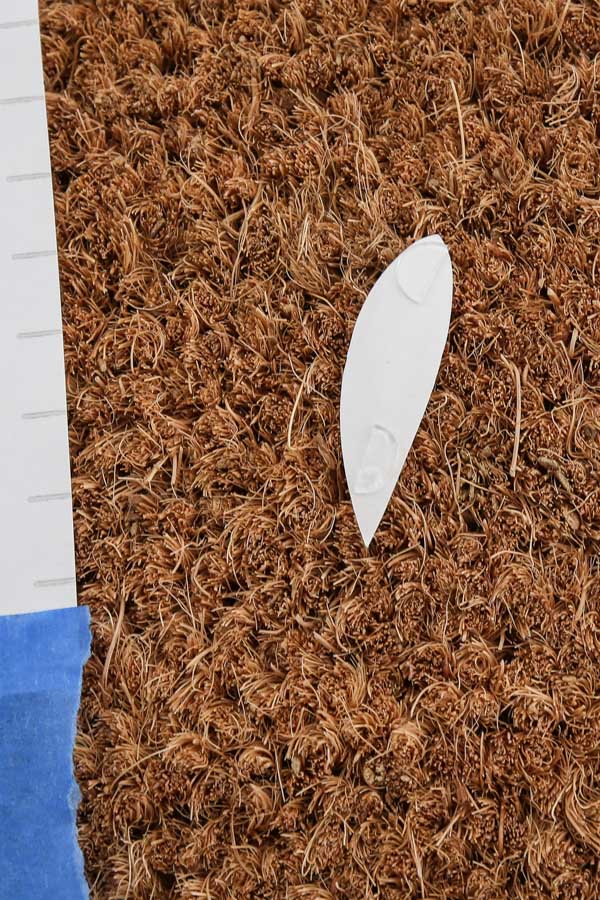
Carefully flip the stencil back over and press the stencil down and flatten it out on the doormat. If you missed any areas that are still sticking up, just gently turn them up and add a glue dot.
At this point, I added glue dots to the back of my floating letter pieces and secured them in place.

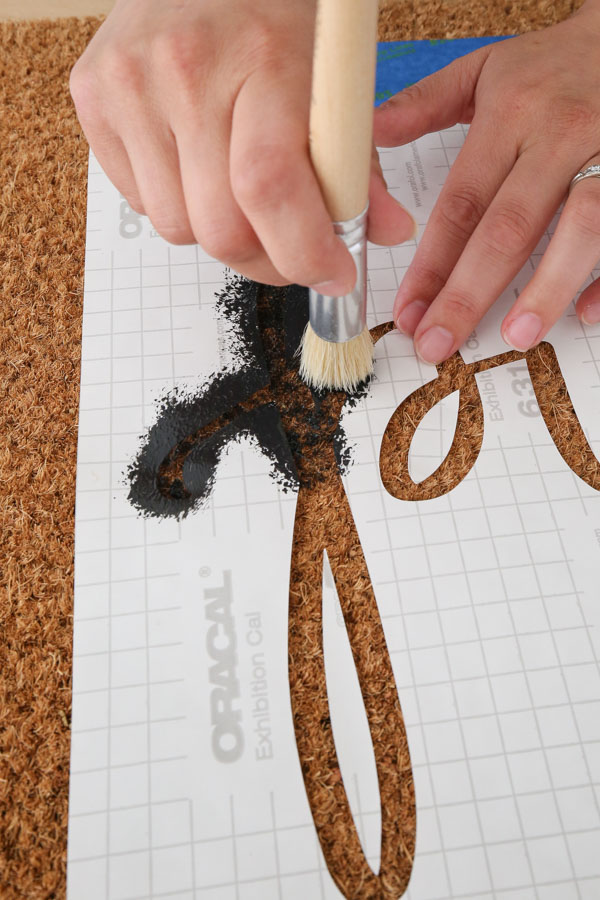
4. Apply paint to the stencil and doormat
The key to stenciling with a stencil brush is to not overload the brush with paint as you don’t want paint to seep under the stencil.
I like to dip my brush in the paint and then on a paper towel to get the excess paint off.
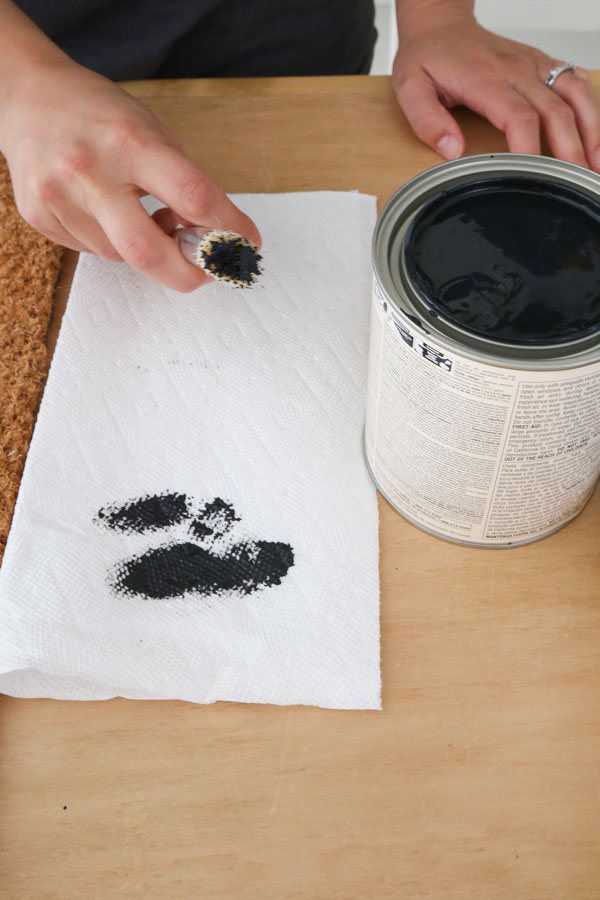
Apply the paint over the stencil with the stencil brush in an up and down motion.
Again make sure to check out my DIY doormat video tutorial here to see this stencil painting in action!
After the first coat has been applied, let the paint dry.
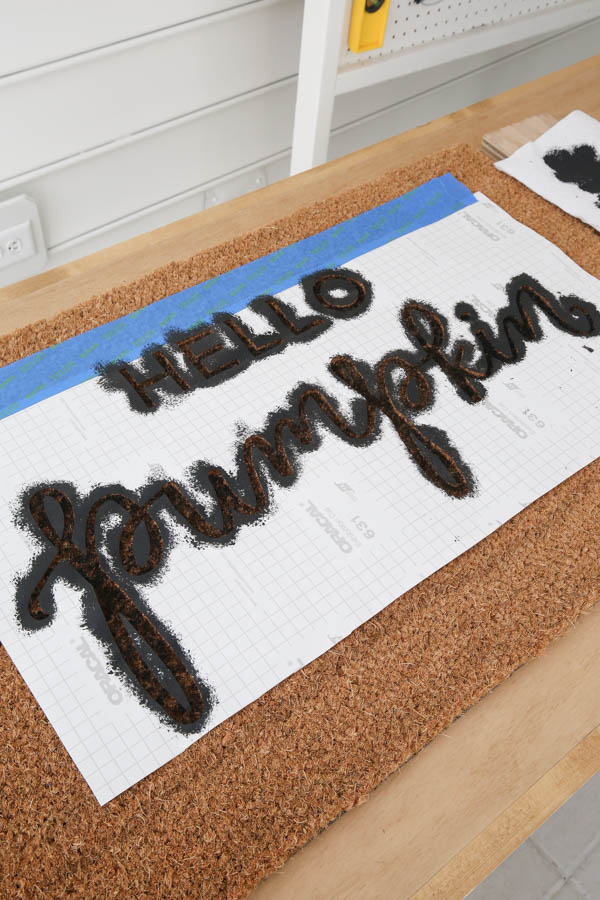
Apply a second coat of paint the same way as the first method.
I found that two coats of paint was enough, but feel free to apply three coats if you want a darker design!
5. Remove the stencil from the DIY personalized doormat
Remove the stencil, painter’s tape, and glue dots from the doormat to reveal your beautiful DIY doormat design transfer!
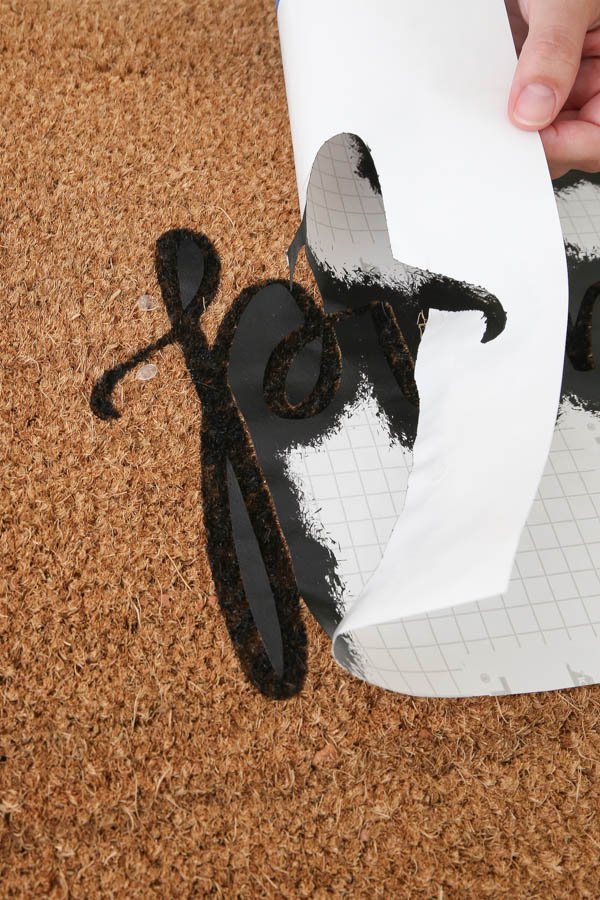
Most of the glue dots should stick to the stencil, but if any are sticking to the door mat, just pull them off, they remove easily.
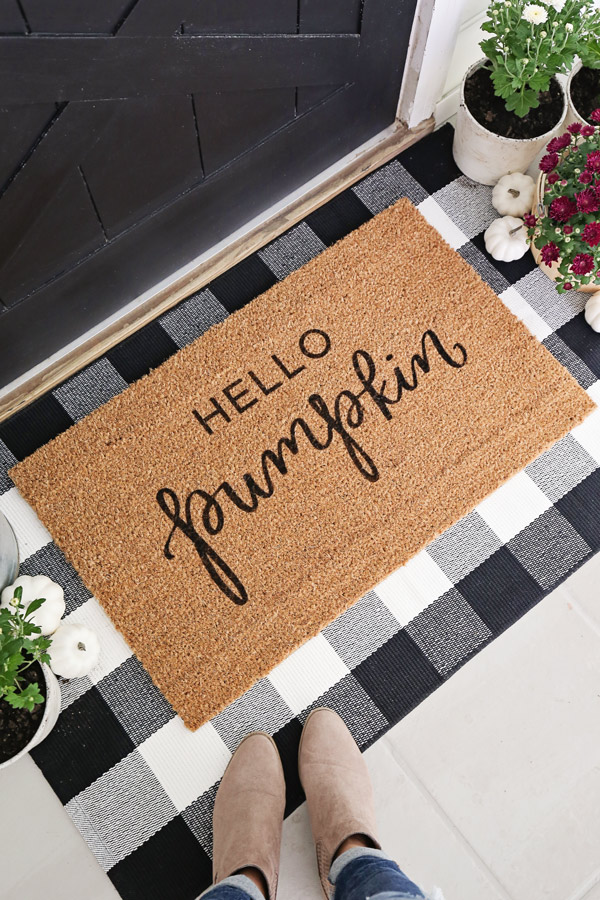
How cute did this DIY doormat turn out?! I love it and it looks adorable layered over our buffalo check throw mat!
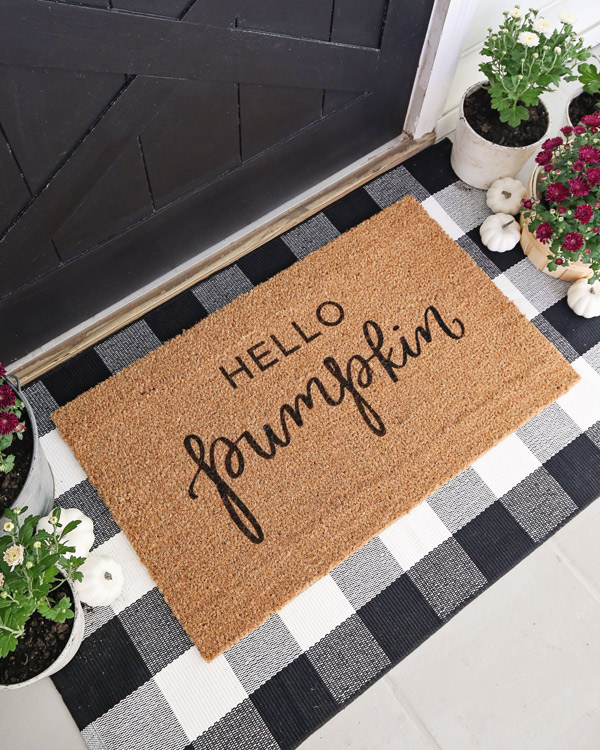
Now I just need to find some real pumpkins to go with it! I searched everywhere and they just aren’t in stock yet anywhere here in Charleston!
Now that I know how to easily make these personalized doormats, the options are endless for other fun designs!
What do you think? Have you ever made a DIY doormat with Cricut or another way before? I’d love to hear your experience! Feel free to share below in the comments or on social media!
Be sure to follow along on Instagram and YouTube for my latest projects, fun updates, and sneak peeks!
Want to save for later?! Pin it here:
Julia
Saturday 17th of August 2024
Can you use a cricut joy? Just do each word separately?
Marianne
Friday 15th of December 2023
Hello Angela,
I have some exterior black paint that I was hoping to use for this project. However, it is a semi-gloss. Will that be too shiny for a door mat? What sheen did you use?
Did your mat hold up for very long without a sealer? Most of the things I’ve read about DIY doormats call for a sealer even if you are using exterior paint.
Thanks for your help!
Angela Marie Made
Tuesday 19th of December 2023
I used a eggshell sheen because it was what I had on hand, but I think that semigloss would work fine. It held up nicely, but you can of course seal it for more protection, especially if it is in a high traffic area!
Morgan
Saturday 16th of September 2023
Are you able to re-use the vinyl that you took off the paper for another project? Or do you just toss it?
Angela Marie Made
Monday 18th of September 2023
No you won't be able to reuse it, you'll have to throw it away.