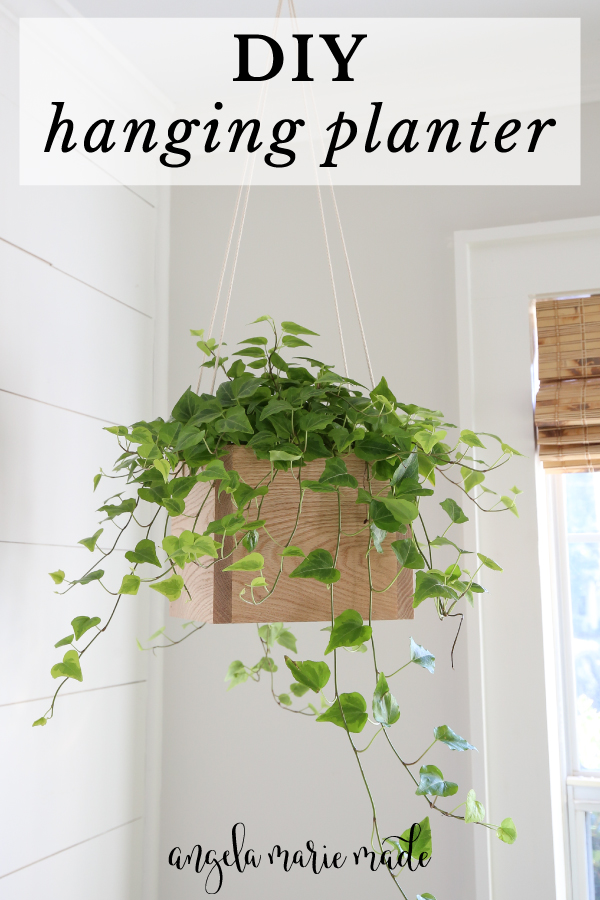
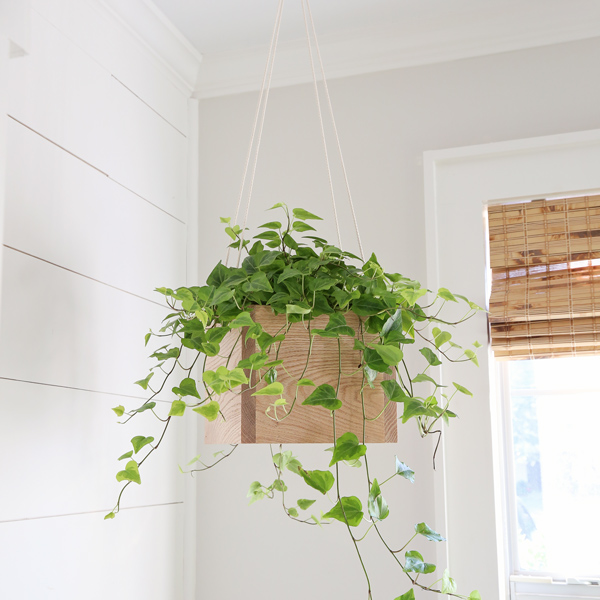
Learn how to make a DIY hanging planter out of wood and rope!
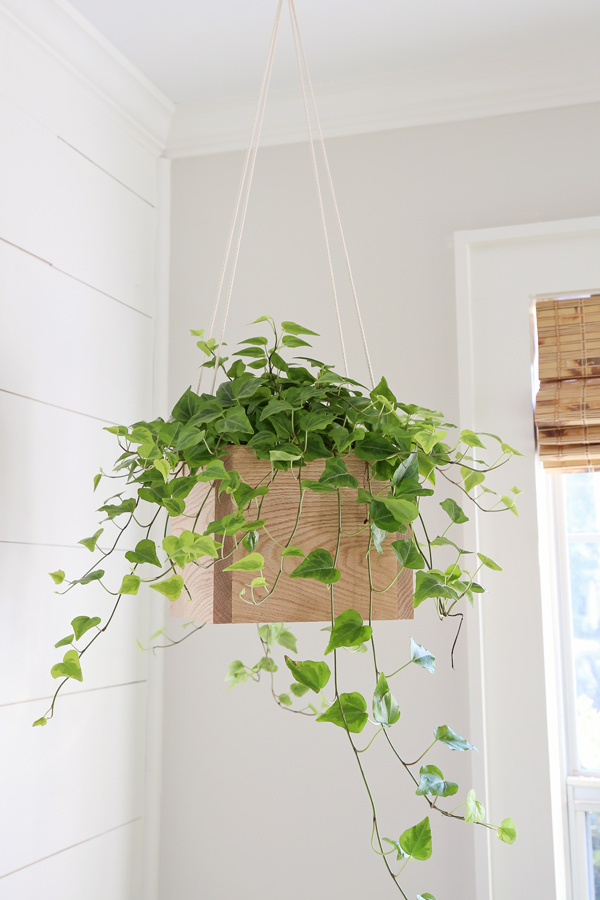
This has been a highly requested reader project from several readers and something that I’ve wanted to make too! This wood DIY rope plant hanger is perfect for hanging your indoor plants year round!
Also, get the FREE printable build plans here. *If you have already subscribed, you can find this printable in the Free Printable Library.
This is our Day 9 project for the 10 Days of DIY Challenge & Giveaway going on right now, don’t forget to enter the giveaway here!
The final size of this DIY hanging wood planter is 7 1/4″ tall x 8 3/4″ wide x 8 3/4″″ deep.
Note, this post contains some affiliate links. I may earn a commission if you shop those links (at no cost to you). Thank you for supporting my small business. For more info see my disclosures here.
How to Make a DIY Hanging Planter with Wood:
Materials:
- (1) 1×8 @ 4ft (we used white oak)
- Wood Glue
- 1 1/4″ Brad nails
- Rope (rated for 25 lbs +)
- Heavy Duty Ceiling Hook
- Polyurethane
- 6″ plastic pot
Tools:
- Brad Nailer
- Clamps
- Drill
- Miter Saw
Video Tutorial:
Subscribe to my YouTube Channel here!
1. Make the lumber cuts from the 1×8
Make the following cuts with a miter saw:
- (3) 7 1/4″
- (2) 8 3/4″
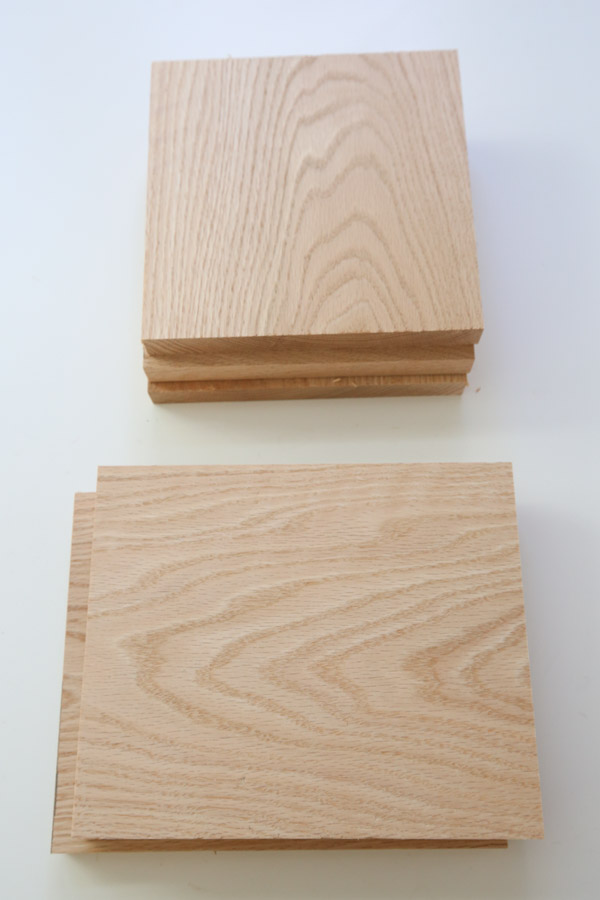
Before assembling the DIY hanging planter, line up all of the boards to make sure everything will be a perfect fit. One of the 7 1/4″ boards will be the bottom, the other two will be sides lined up across from each other. The two 8 3/4″ boards will be on the other sides.
2. Drill holes for the handles of the DIY rope plant hanger
We drilled holes through the (2) 8 3/4″ boards for the rope.
First we marked where the holes would go by measuring 2 1/2″ from each side and 1″ from the top and marked with a pencil.
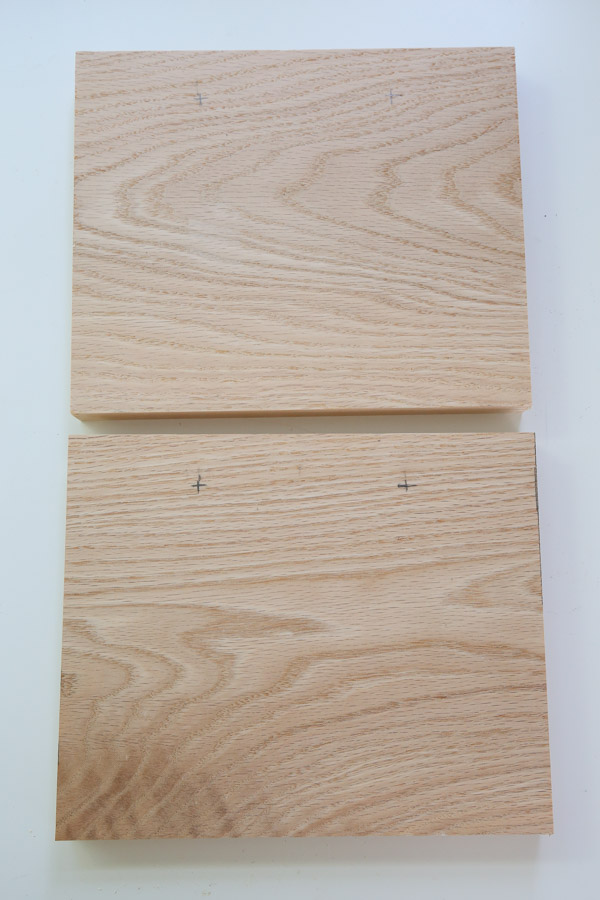
Then we clamped the board down and drilled the two holes using a 5/16″ drill bit.
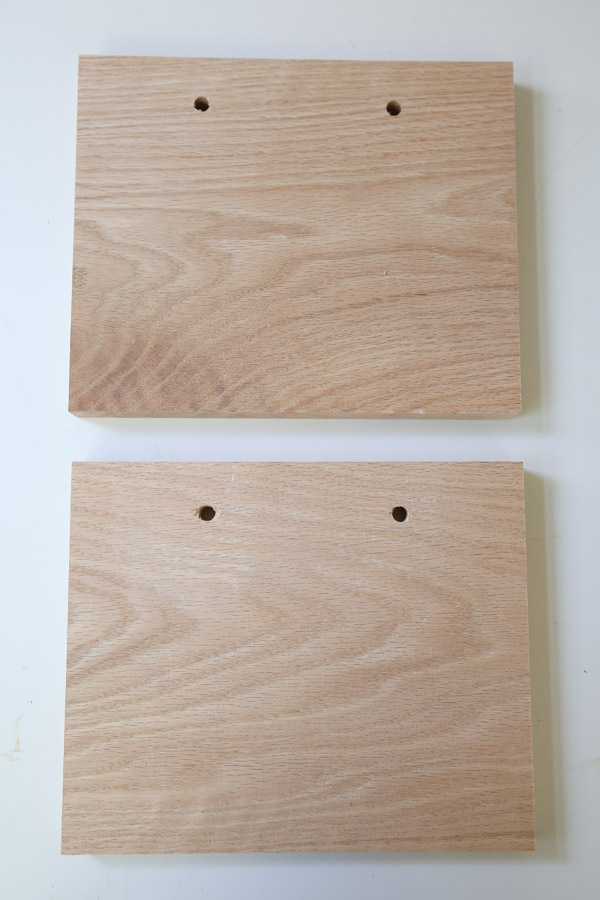
3. Assemble the sides to the base of the DIY plant hanger
Attach one of the 7 1/4″ boards with wood glue and 1 1/4″ brad nails to the base board. Use clamps to help hold the wood in place.
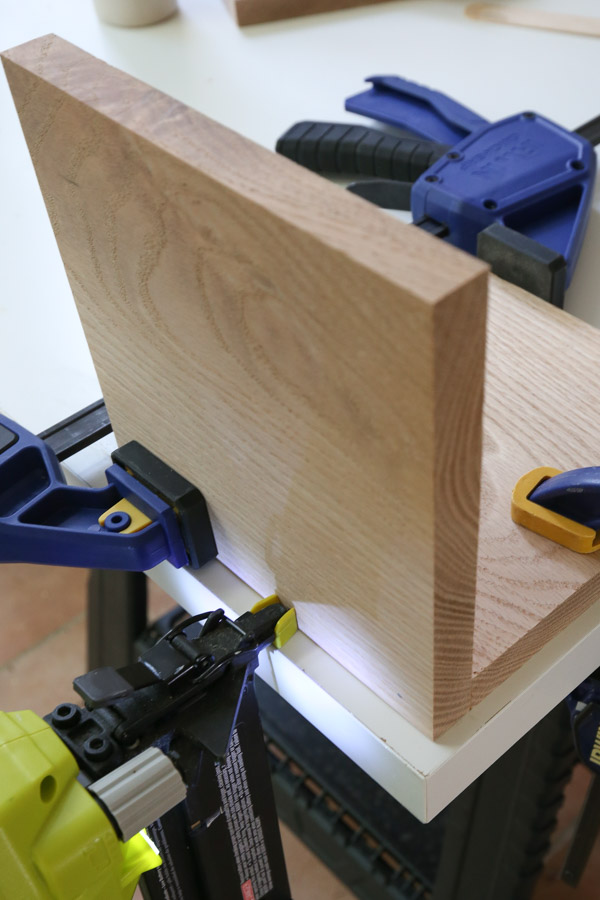
Repeat this process for the other 7 1/4″ board.
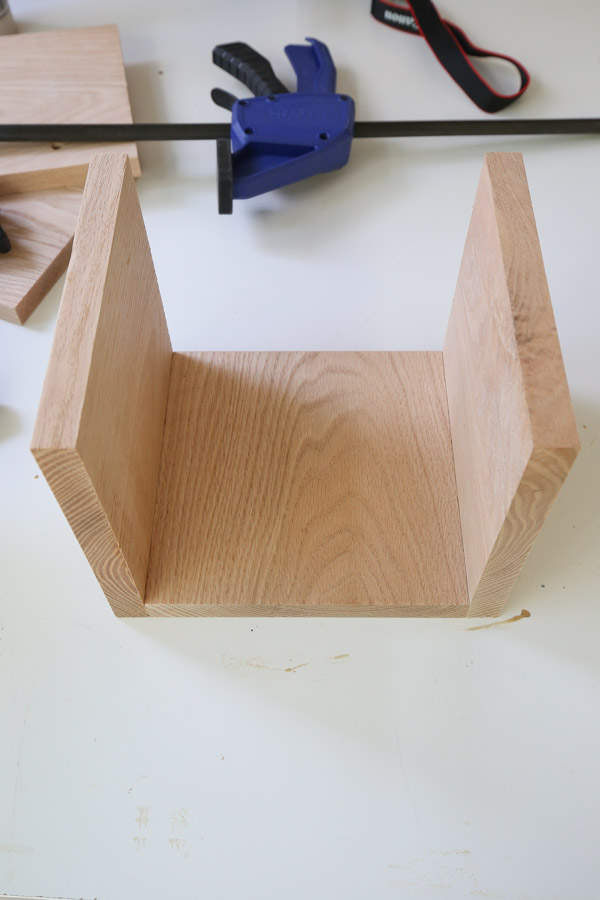
And then attach the two 8 3/4″ boards with the holes to finish the planter box build.
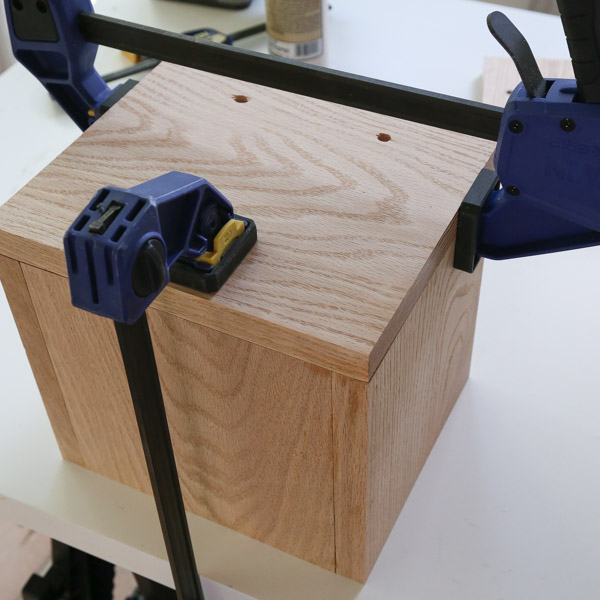
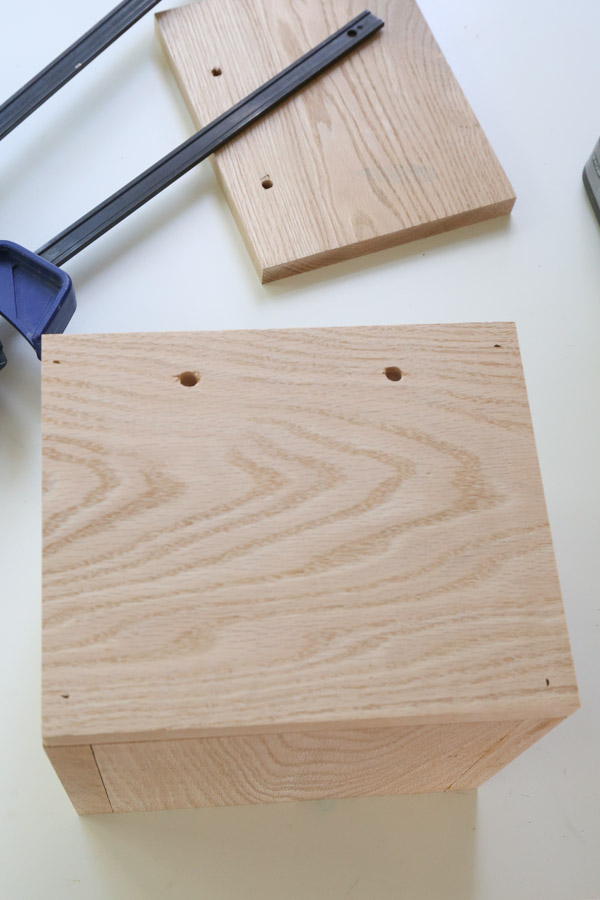
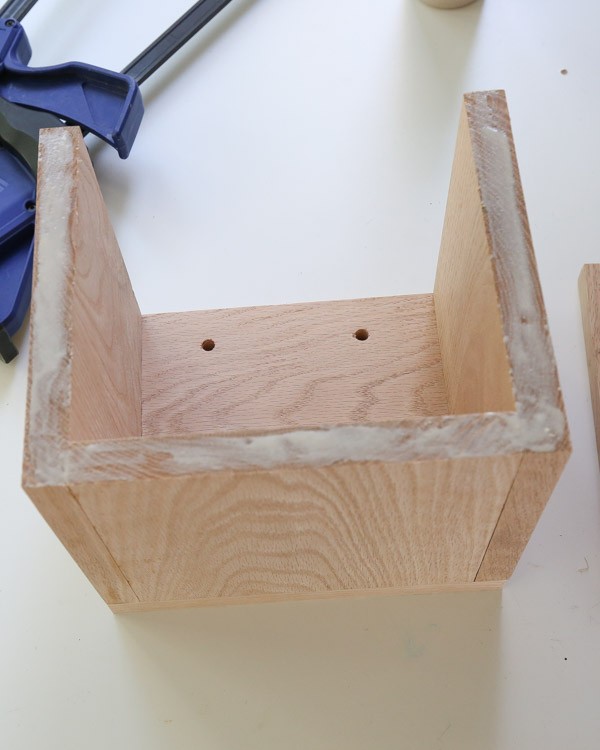
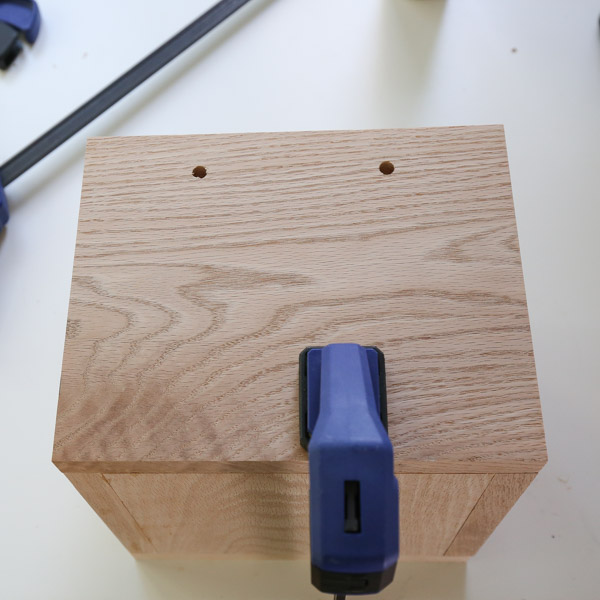
4. Apply stain or polyurethane to the DIY hanging wood planter
Now your DIY hanging planter is built!
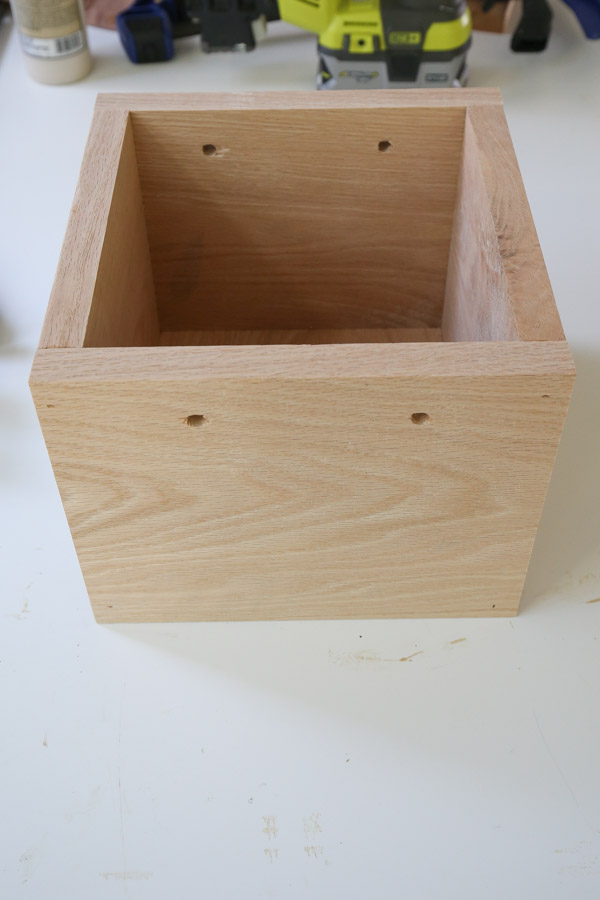
I love the raw, natural look of the white oak wood we used so we just chose to use a water based polyurethane to enhance the grain and to seal the wood. We used two coats of poly on our DIY hanging wood planter and allowed it to fully dry before proceeding.
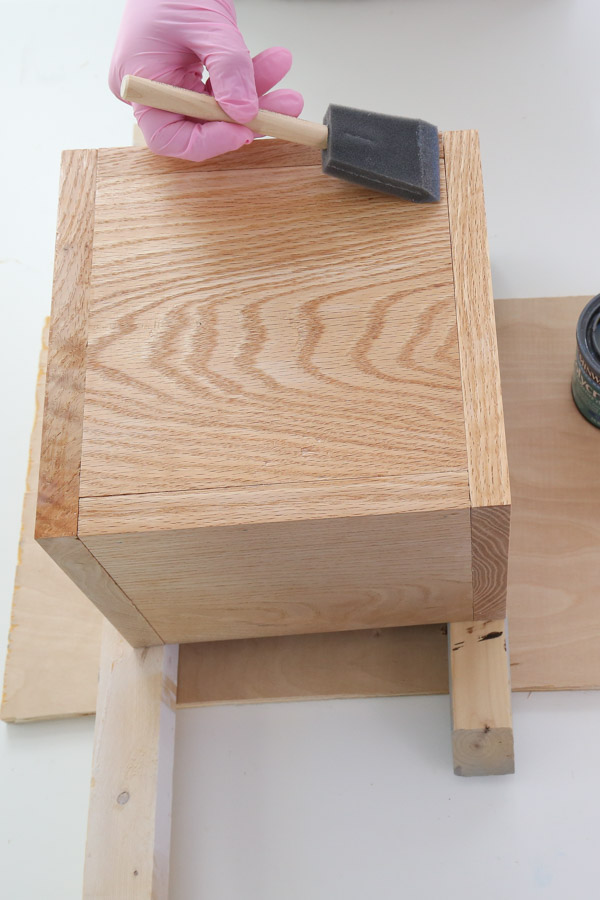
5. Attach your rope handles
We used cotton rope that we had on hand already but I would use a rope that is rated for holding at least 25lbs or more.
First we cut 2 pieces of rope at 60″, which would allow for our planter to hang down about 30″ from our ceiling
Then, we put the rope through the drilled planter holes and secured it together with a strong knot (called an Alpine Butterfly bend knot) on each side.
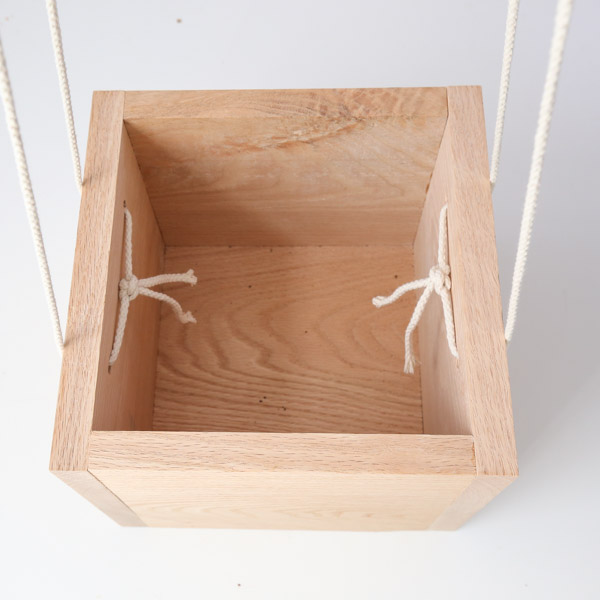
6. Set your plant in place and hang it up
We used a hanging ivy plant inside of a 6″ plastic pot for our hanging planter (which is much lighter than ceramic)
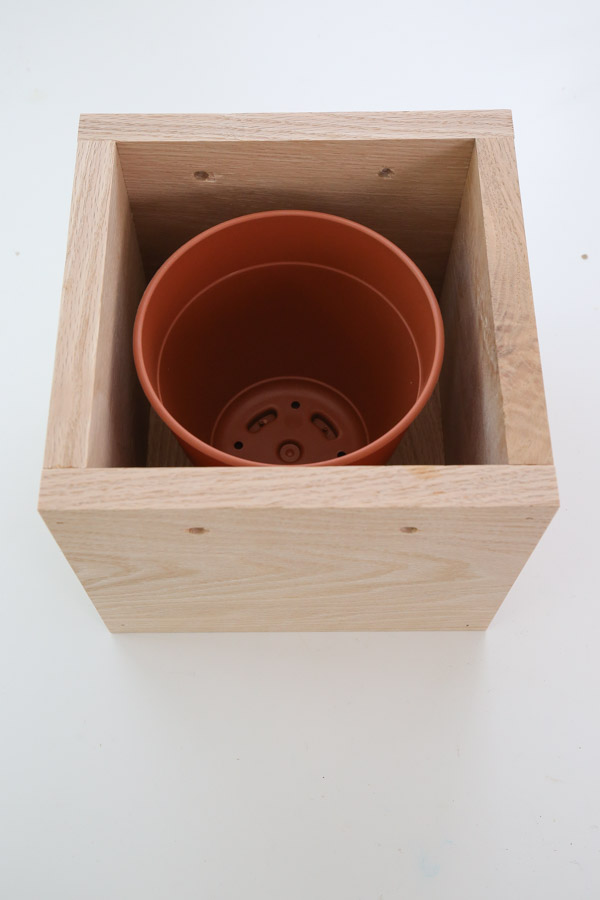
Finally, we hung the rope handles on the planter from a ceiling hook rated for holding 35 lbs. that we installed into a stud on our ceiling.
Note, I did weigh our wood planter (which was made out of white oak which is a heavier wood) and it was about 6 1/2″ pounds without the plant. Our plant is about 2 1/2″ pounds.
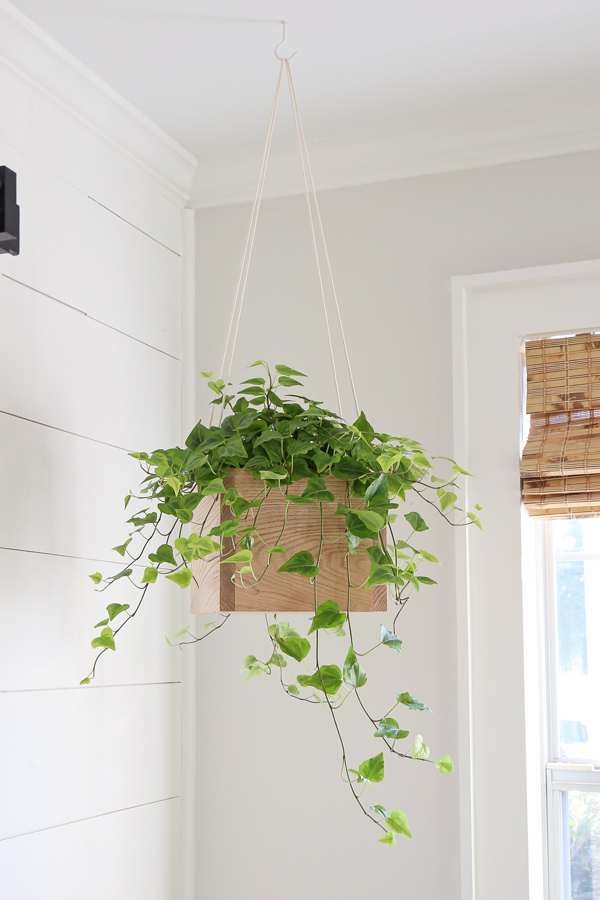
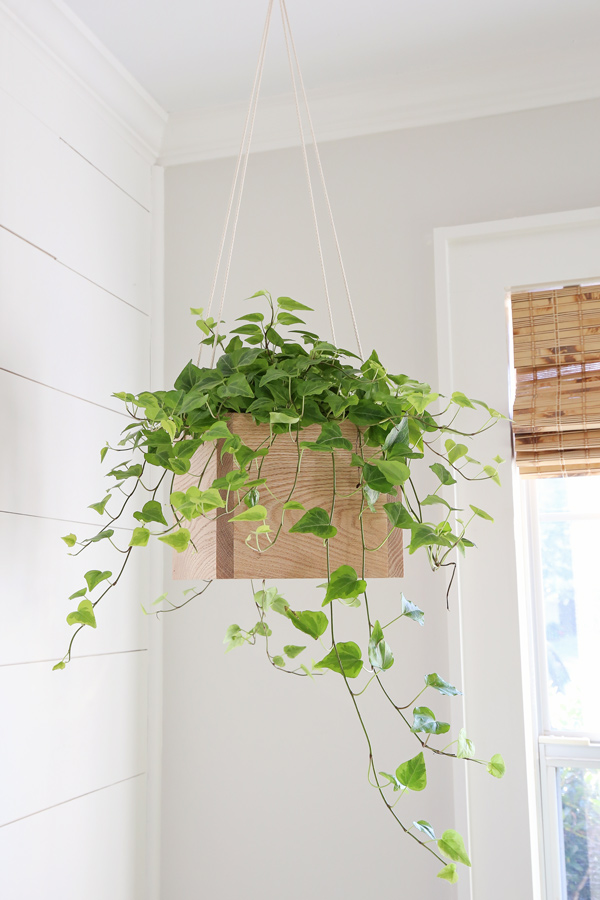
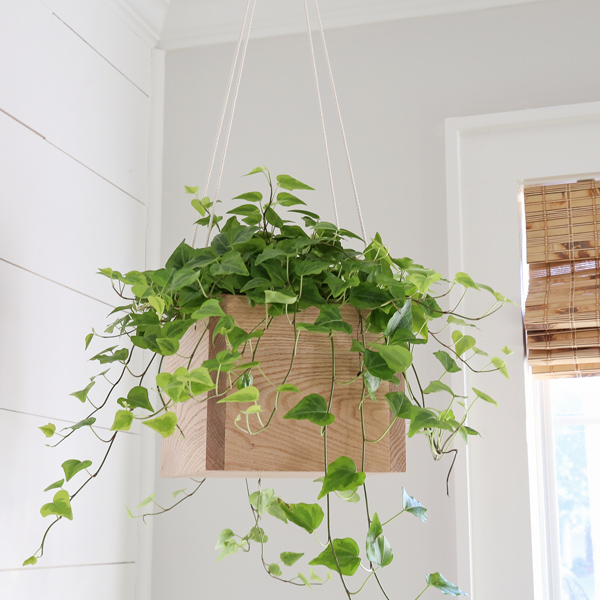
I love how our DIY hanging planter turned out and it brings so much life to our living room corner! What do you think?!
Make sure to join our Woodworking for the Home Facebook group and share this project there if you make it! Or tag me on social media @angelamariemade or #angelamariemade!
Don’t forget to enter our holiday giveaway and check out all of the other fun projects in our 10 Days of DIY Challenge & Giveaway!
Follow along for my latest projects and sneak peaks on Instagram, YouTube, and Pinterest!
Want to save for later?! Pin it here:
