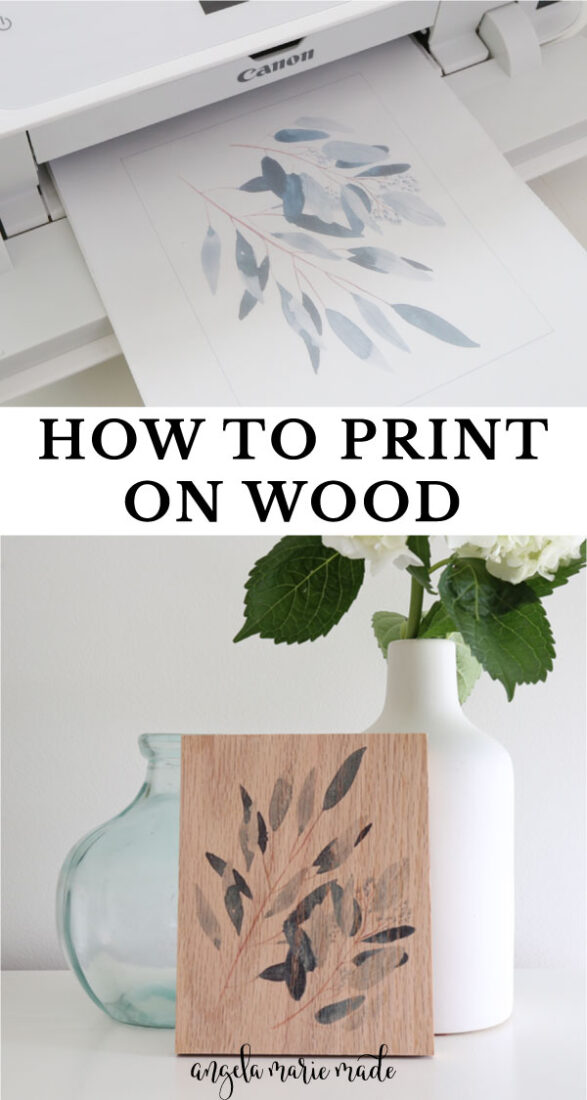
Learn how to print on wood and how to transfer photos onto wood!
I’ve been wanting to do a photo transfer to wood ever since I shared how to transfer letters onto wood. We also had a few reader requests for this project too!
I finally tested out several methods and I’m excited to share what method I found to be the easiest and best way!

There are many different ways to print on wood, but I didn’t want to use any methods involving chemicals, fancy tools (or machines) or messiness (like the Modge Podge method). I just wanted to keep things simple.
I tested out printing onto freezer paper, wax paper, wood transfer paper, and t-shirt transfer paper.
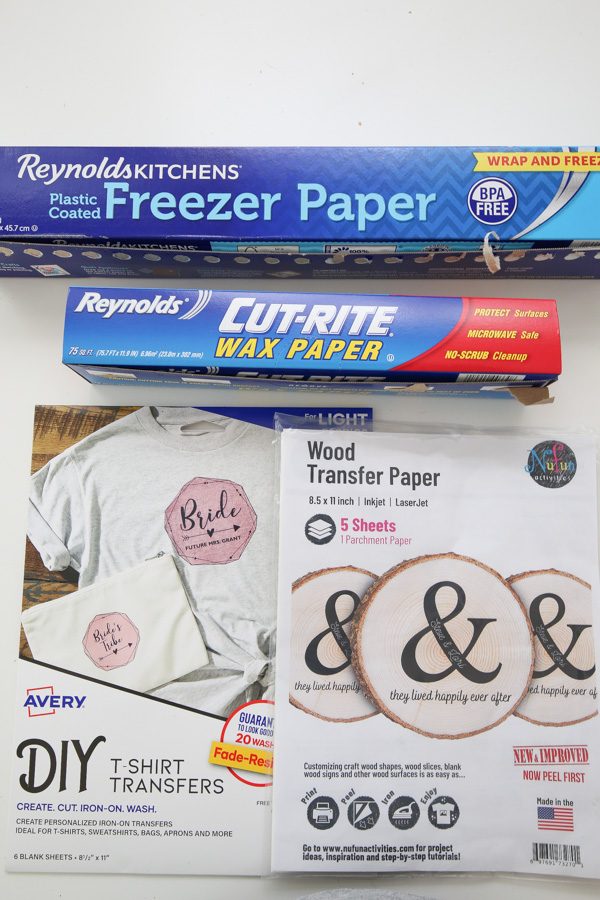
The wax paper, wood transfer paper, and t-shirt transfer paper did not work well for my test, but the freezer paper worked very well and was really easy to do!
This is our Day 10 project for the 10 Days of DIY Challenge & Giveaway going on right now, don’t forget to enter the giveaway here!
Any type of wood can be used for this method, just make sure that the wood is sanded well! See my how to sand wood guide for tips on sanding! I used a 1×6 oak board cut to 7″ long for my wood.
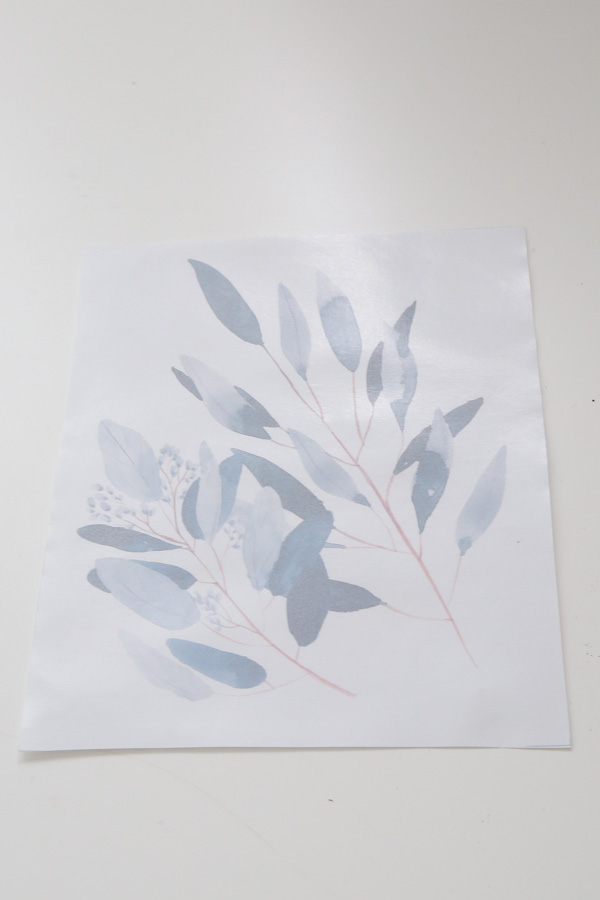
You are also going to need an image to transfer onto the wood. I found my greenery photo on Etsy and resized it to 5×7 using a photo editor to fit my wood board. Ok let’s get started with how to print on wood!
Note, this post contains some affiliate links. I may earn a commission if you shop those links (at no cost to you). Thank you for supporting my small business. For more info see my disclosures here.
How to do a Photo Transfer to Wood:
Materials Needed:
- Freezer Paper
- Photo
- Wood
- Inkjet printer (I used this printer)
- Masking tape
- Letter size (8.5″x11″) piece of card stock or printer paper
- Pencil
- Scissors
- Squeegee or old credit card
Video Tutorial:
Subscribe to my YouTube Channel here!
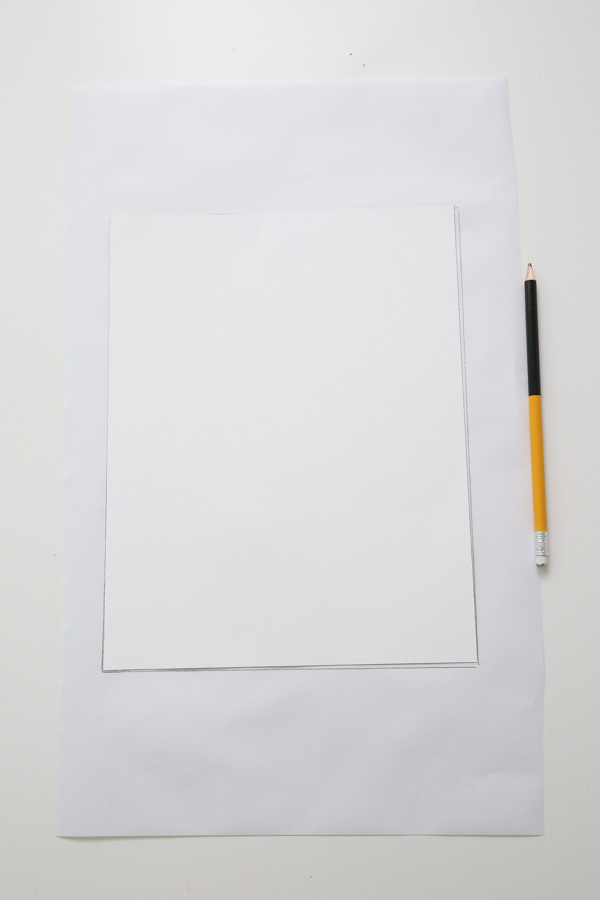
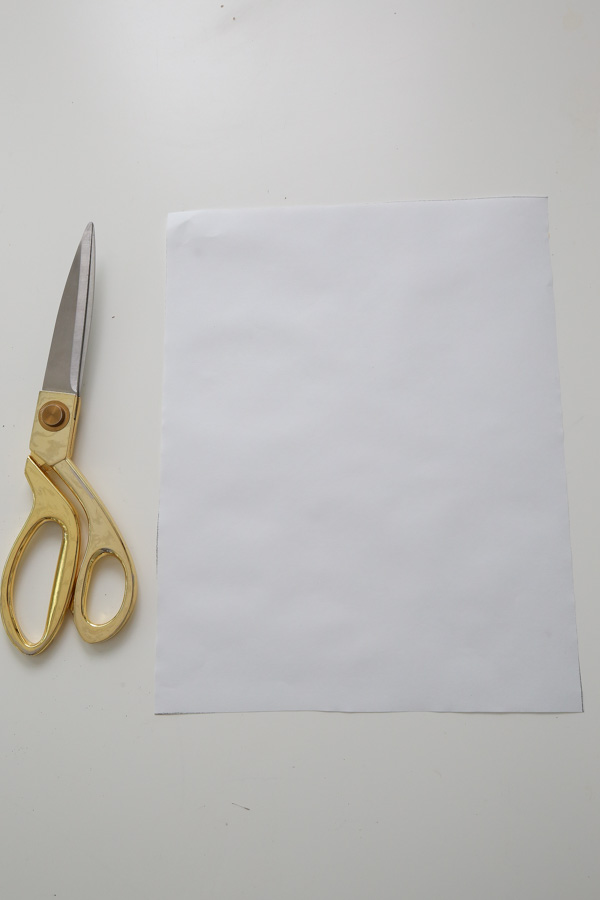
1. Trace the letter size paper on the freezer paper
Use a pencil and trace the letter size paper on top of a piece of the freezer paper. It’s easier to use a thick piece of paper like card stock, but regular printer paper will work too.
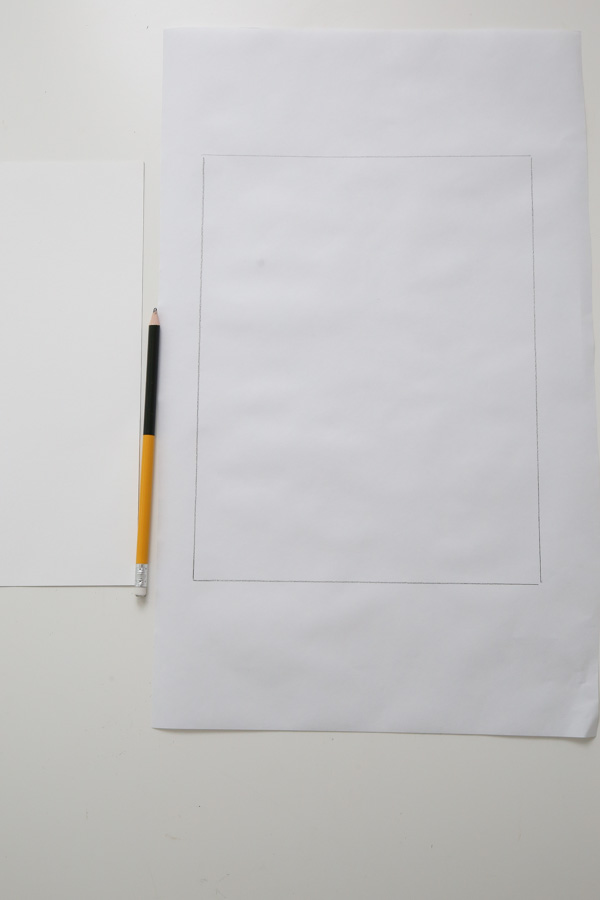
2. Cut the freezer paper to size with scissors
Use scissors and cut the freezer paper to the letter size. I cut my paper a little bit inside of my pencil lines.
3. Prepare the freezer paper for printing
Tape the freezer paper on top of the letter size paper with a small piece of masking tape at the top.
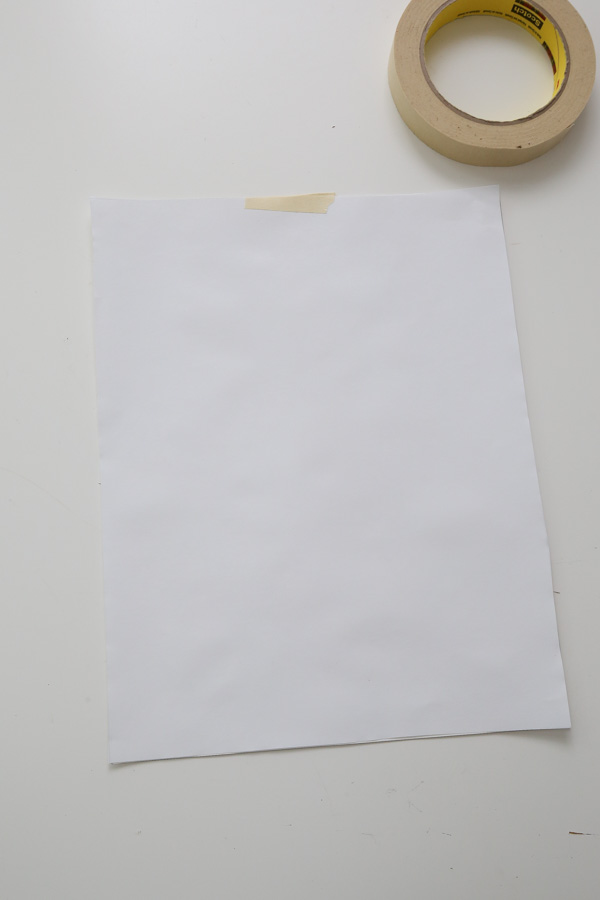
The freezer paper has a glossy side and a matte side. Make sure to tape the freezer paper so that the glossy side is facing upwards. This is really important because the glossy side is where the magic transfer happens!
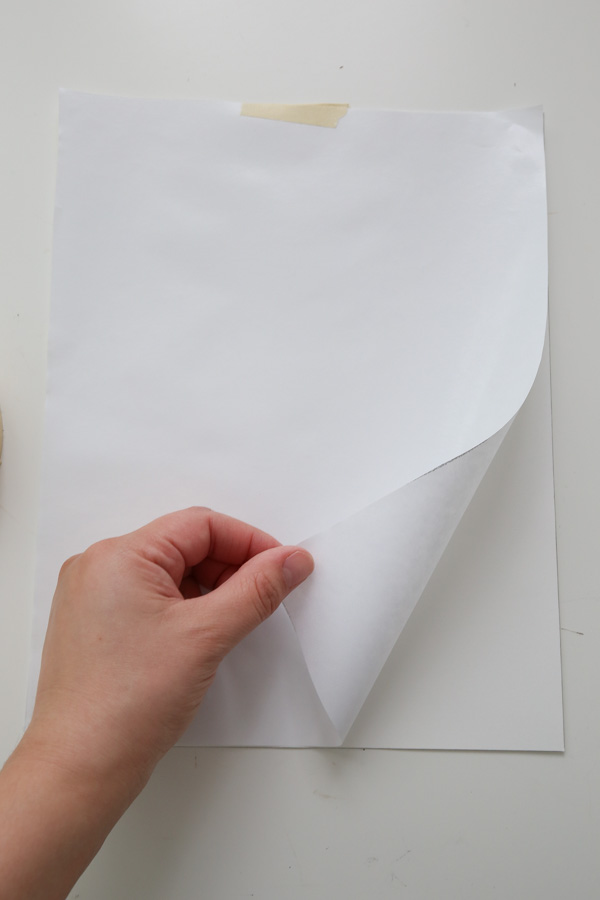
4. Load the freezer paper into your printer
Load the freezer paper taped on the printer paper into your printer so that it will print on the freezer paper with the glossy side up.
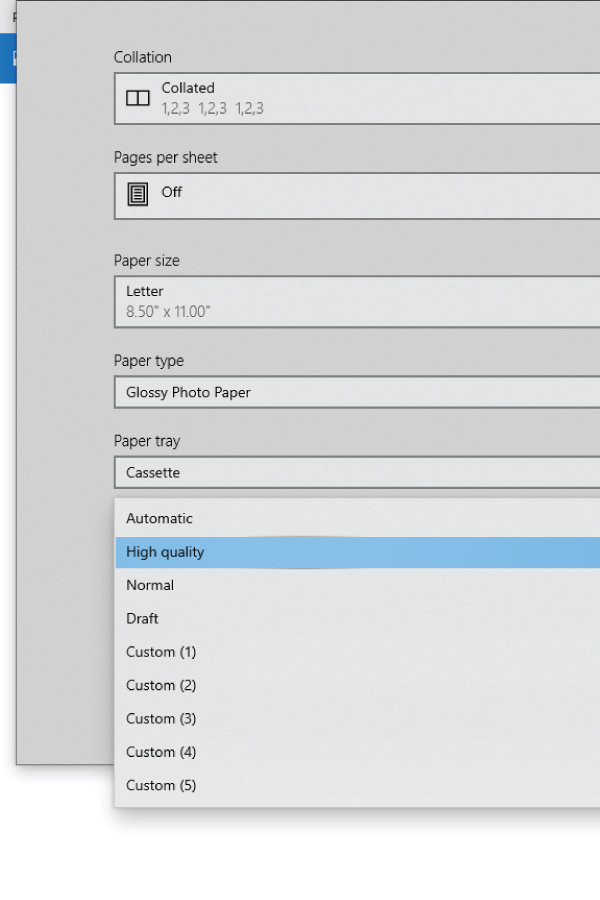
Register your printer paper type as glossy photo paper.
5. Adjust printer settings and print the image
Select print for your photo and under the print settings, select glossy photo paper and set the print quality to high quality. Then, print the image.
Note, I just printed from the standard photo program on my PC.
6. Prepare printed image for photo transfer to wood
After printing onto the freezer paper, carefully remove the masking tape and cut the excess freezer paper around the image.

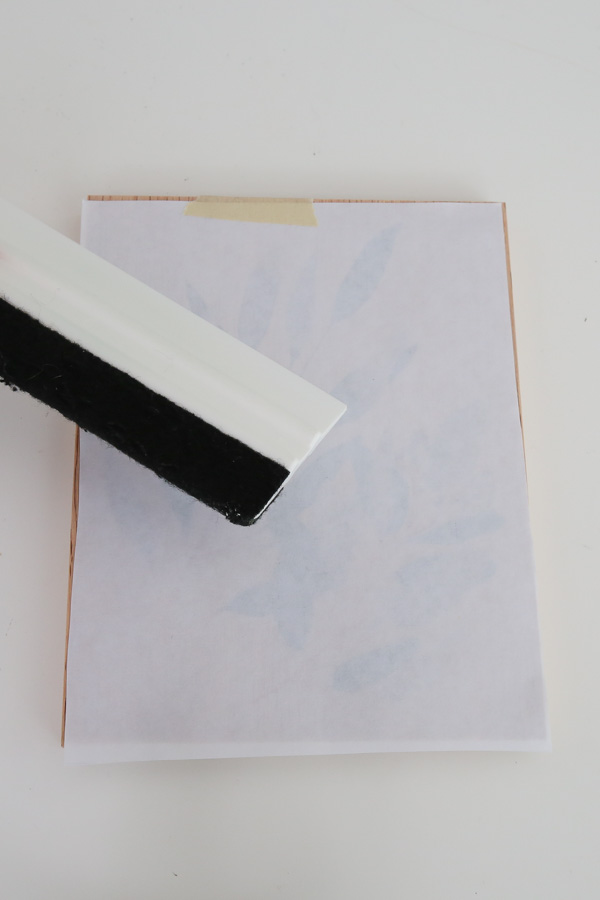
7. Transfer the image to the wood
Carefully place your printed image down on your wood with the printed image side facing the wood. You don’t want it to smudge so make sure to place it exactly where you want it.
Secure it into place with a piece of masking tape at the top of the paper.
Use a squeegee or old credit card and rub firmly down the top side of the freezer paper to transfer the design onto the wood (see this in action in the video tutorial here).
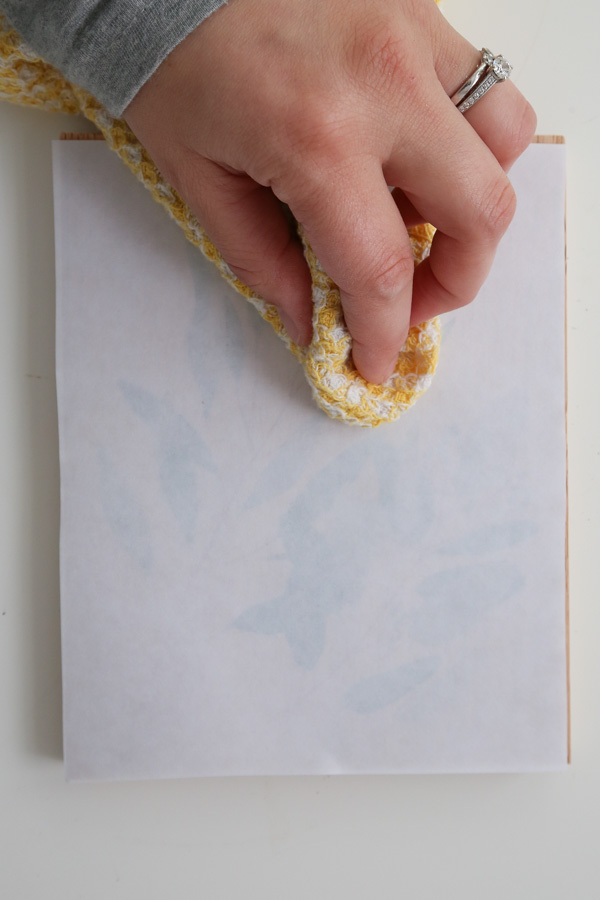
Be careful not to move the placement of the paper. I also found using my fingers to press down on top of the freezer paper as well as a dry dish cloth on top helped to transfer the image.
8. Remove the freezer paper from the wood to reveal the print on wood
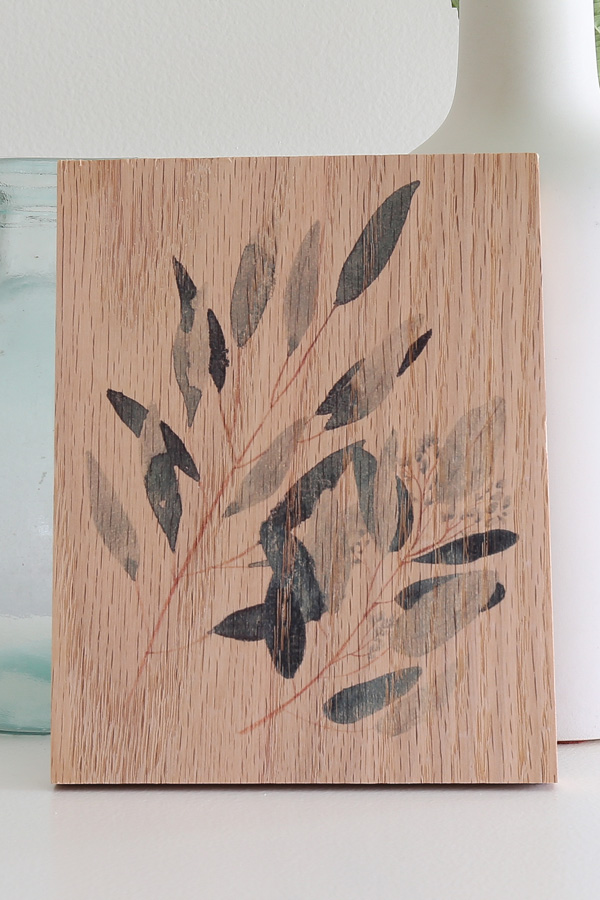
Carefully remove the freezer paper at a 45 degree angle and remove the masking tape from the wood to reveal your photo transfer to wood!
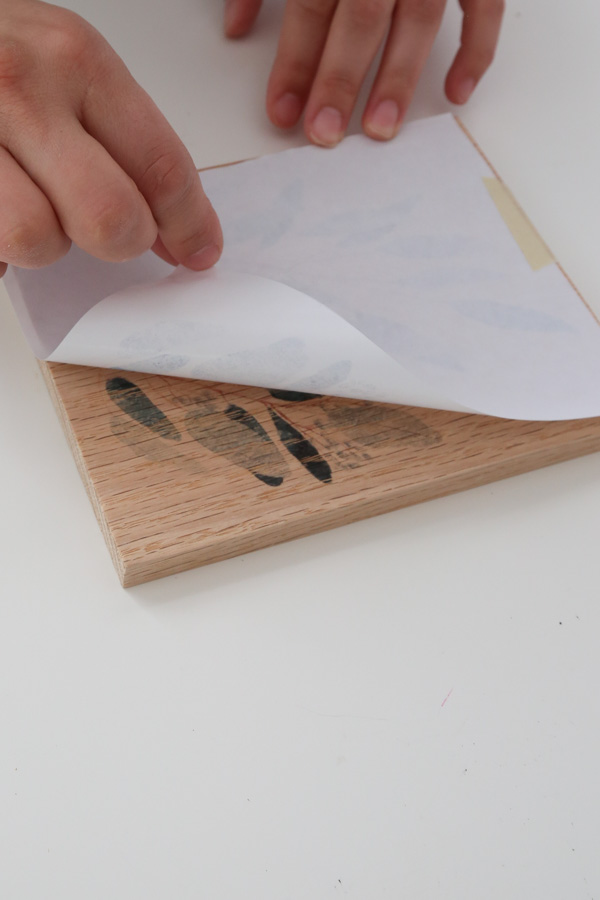
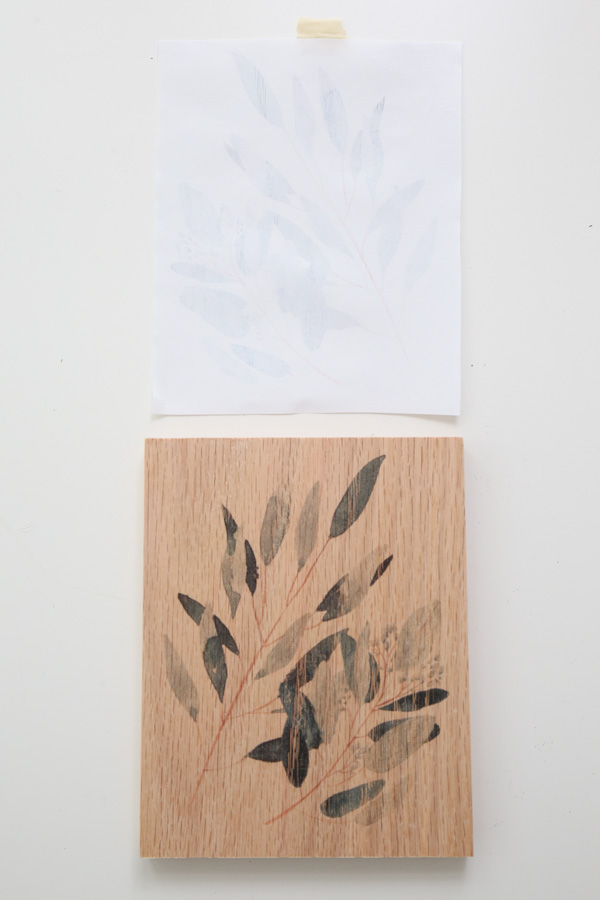
And that’s it!

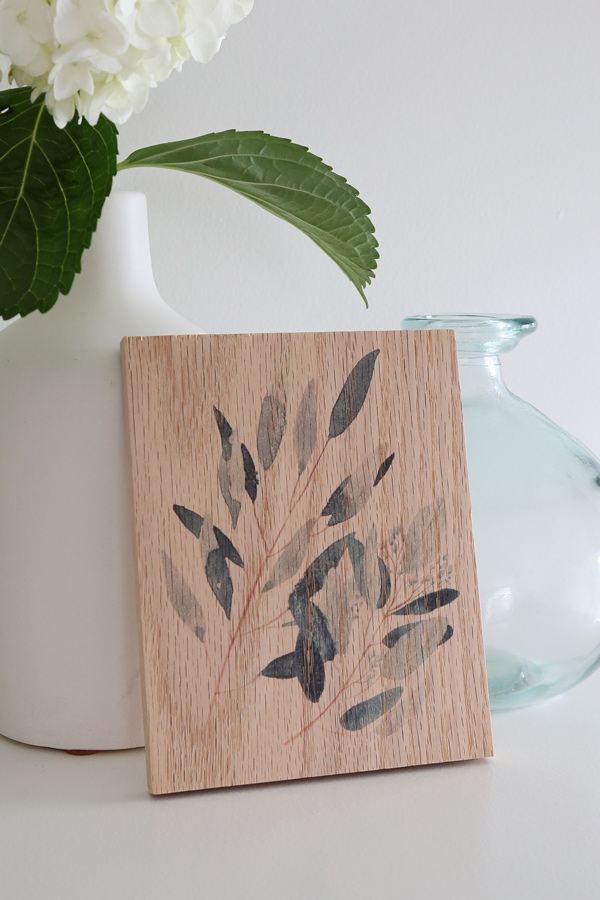
What do you think of this method on how to transfer photos onto wood? If you want to learn a really easy way to transfer just letters or words onto wood, make sure to check out my how transfer letters to wood tutorial!
Do you have any photos you want to print on wood?! Let me know below and if you try this method out be sure to share with me on social media @angelamariemade! I hope this method on how to print on wood easily has been helpful!
Don’t forget to enter our holiday giveaway and check out all of the other fun projects in our 10 Days of DIY Challenge & Giveaway!
Follow along for my latest projects and sneak peaks on Instagram, YouTube, and Pinterest!
Want to save for later?! Pin it here:

Bea
Sunday 3rd of December 2023
I just came across your tutorials and love your techniques. My question is, how do you preserve/protect your wood project after it is completed? Do you seal it somehow?
Angela Marie Made
Thursday 7th of December 2023
I will either finish my project with paint or stain! Sometimes I will also add a top coat like polyurethane, or I will just use polyurethane alone if the wood grain is pretty. It just depends on the project! I have more info on how I stain wood here: https://angelamariemade.com/how-to-stain-wood/ and how to apply poly here: https://angelamariemade.com/how-to-apply-polyurethane-to-wood/
Jessica Harrow
Friday 4th of November 2022
How long do you have to wait for the ink to dry before touching it? Will it rub off or should I seal it?
Angela Marie Made
Monday 7th of November 2022
It should be dry after a few minutes! It won't rub off easily, but if you want to seal it you could use some clear, water-based polyurethane!
Joanna
Monday 7th of March 2022
This looks so great! Do you know if this would work on painted wood?
Angela Marie Made
Wednesday 23rd of March 2022
I'm not totally sure since I haven't tested it out! It may not absorb as well into the paint.