Our laundry closet makeover is complete and I am excited to share the reveal and final budget cost!
This space is the last space/room to get a makeover in our home. This is one of those project makeovers that always got pushed aside even though it desperately needed updating and organizing considering I use it every day since laundry for a toddler is constant!
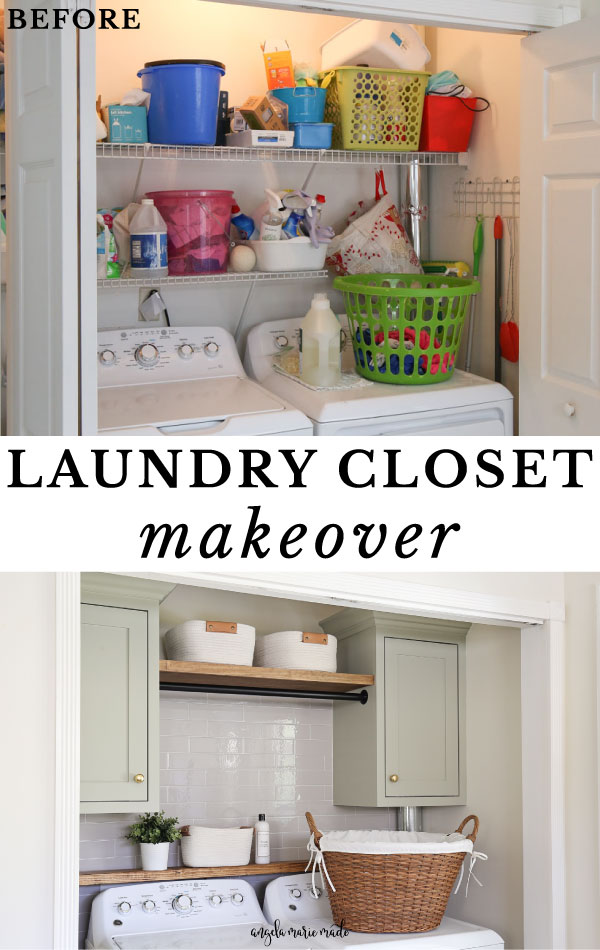
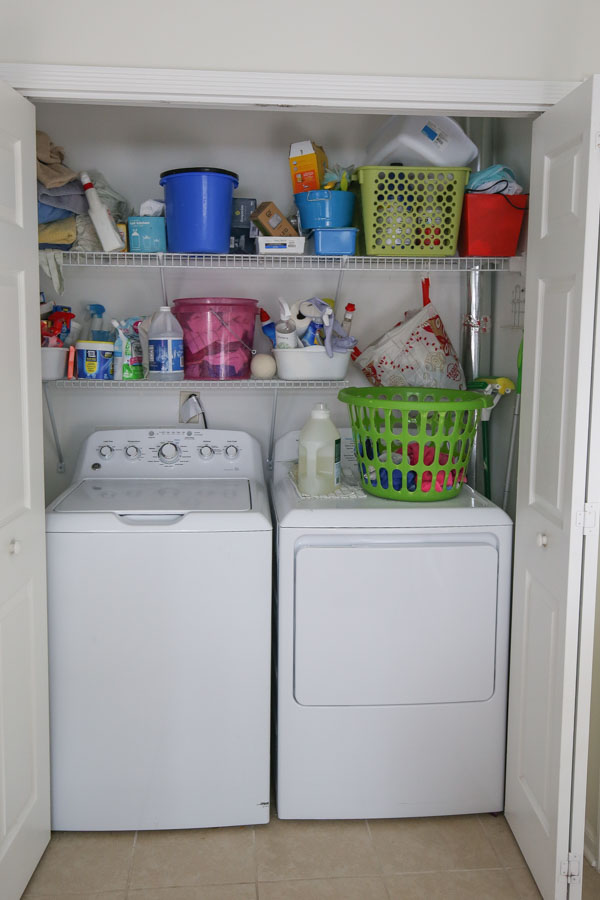
Here is a BEFORE photo to remind you of where we started (it’s an embarrassing mess ha):

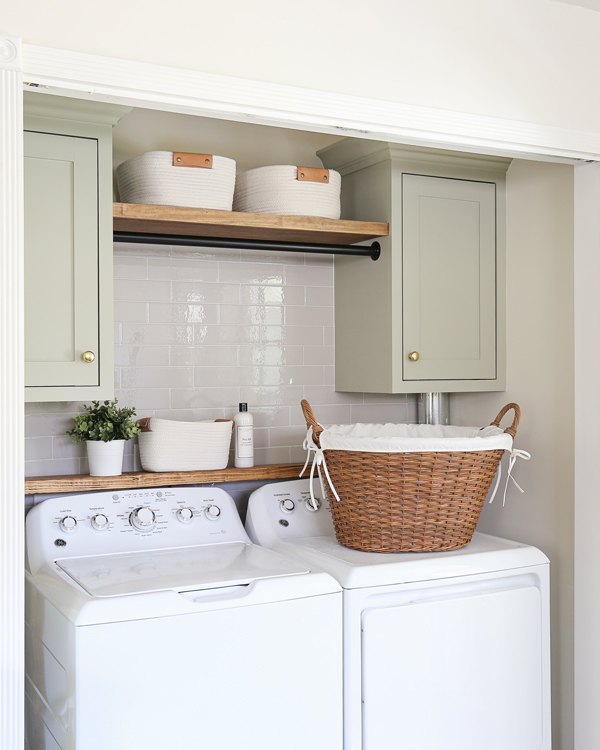
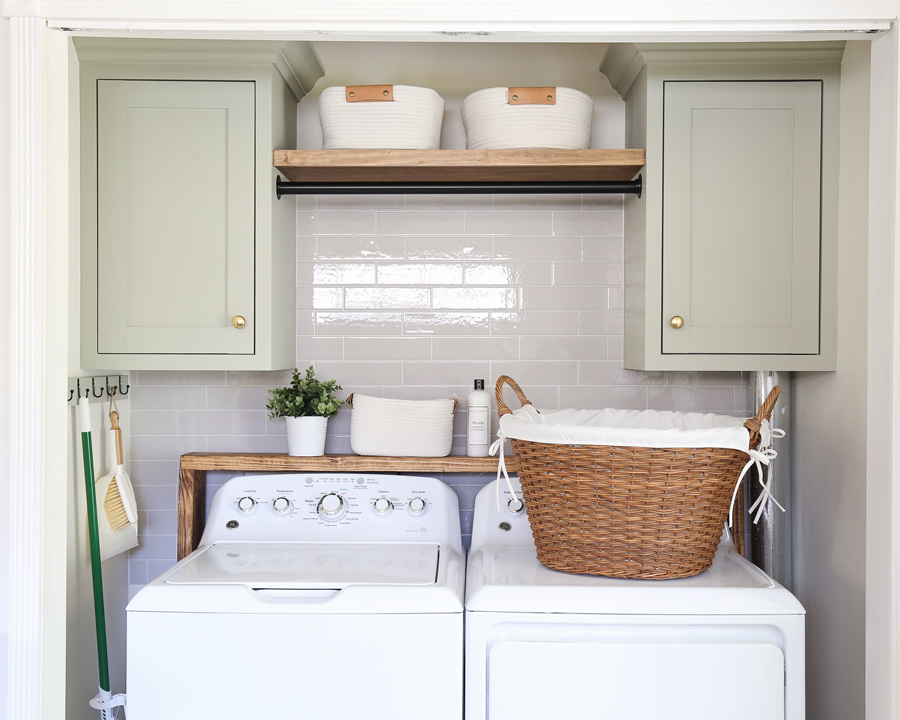
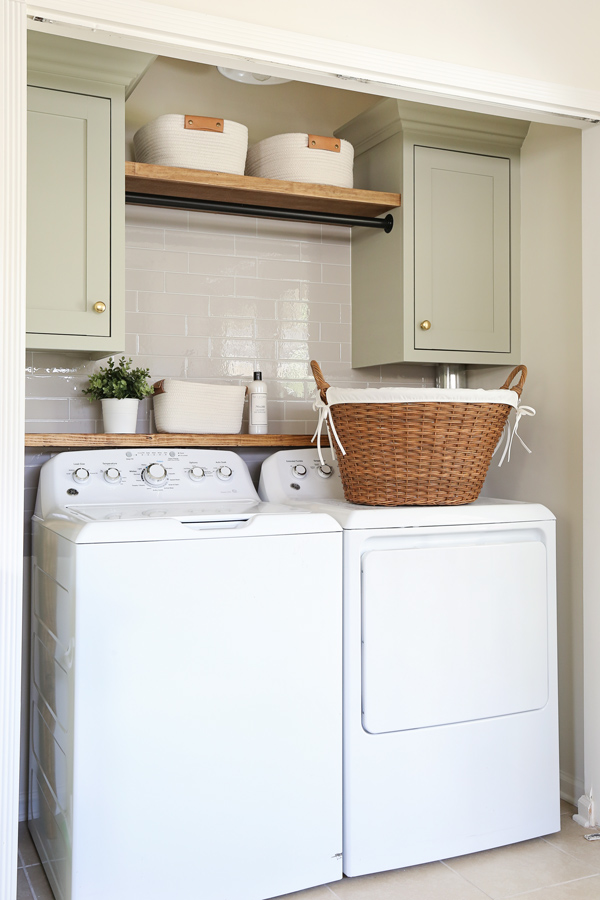
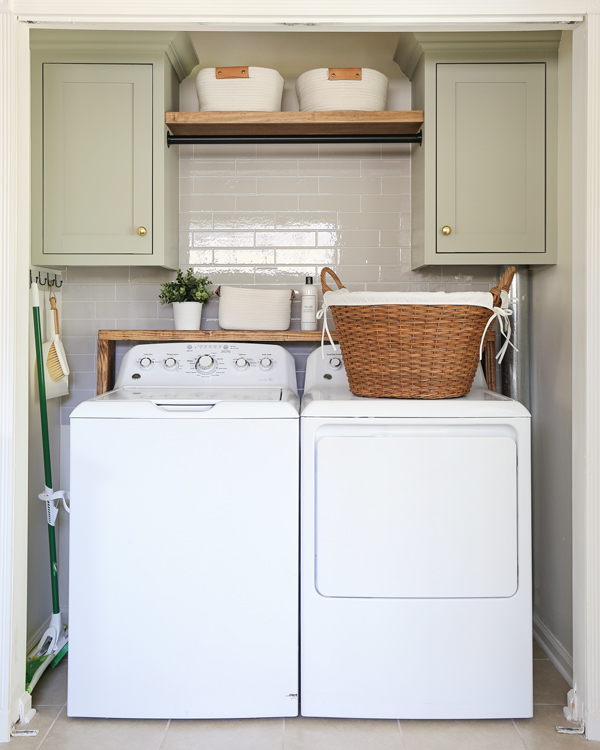
And (drum roll) the AFTER!
NOTE: I have a full product and project source list for everything in this makeover at the bottom of this post!
But what’s a before and after without the story behind it?! I have the full transformation story in my DIY laundry room makeover video below as well as the written/photo version!
Want to save for later?! Pin it here:
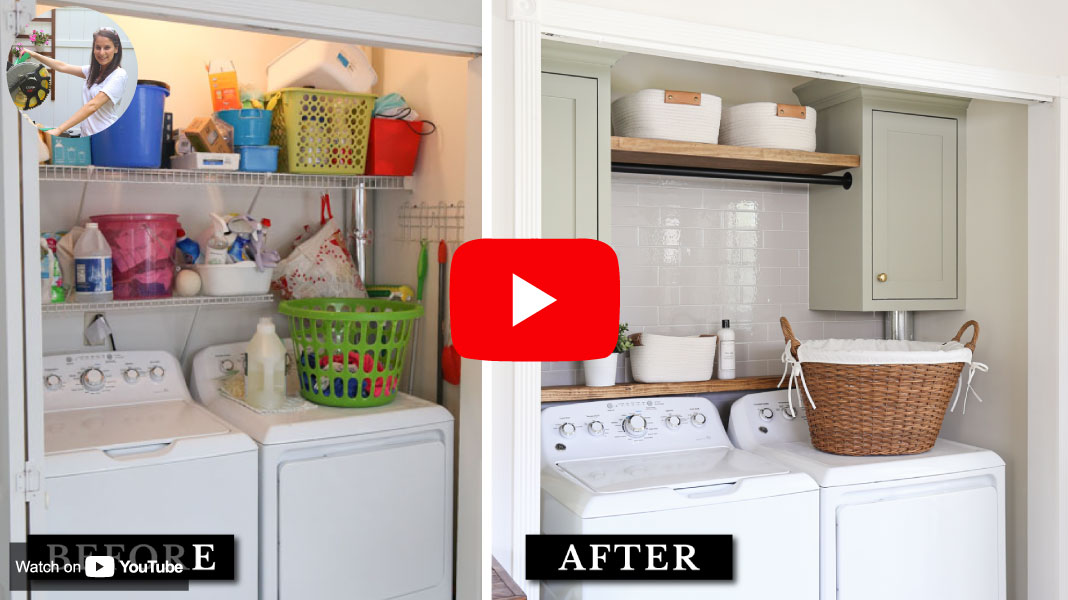
The Story of our Laundry Closet Makeover VIDEO:
WATCH the Laundry Closet Makeover Transformation video here on YouTube!
Our laundry room (technically a laundry closet) is a really small space that was a disorganized, cluttered mess! And of course there were more wire shelves that I couldn’t stand!
Brandon started by removing the bi-fold doors. I can’t stand these doors either, although they do help keep the laundry machine noise down.
Once the doors were out of the way we cleared everything out of the space and began decluttering and getting rid of anything we don’t use anymore.
Note, this post contains some affiliate links. I may earn a commission if you shop those links (at no cost to you). Thank you for supporting my small business. For more info see my disclosures here.
The Closet Laundry Room Makeover Plan
I sketched out a rough plan of what I wanted to do with this room. That’s pretty much how I start all of my room makeovers, along with saving ideas and inspiration to one of my Pinterest boards.
Sometimes I make a mood board too, but I didn’t have time with this room and we just got to it!
DIY Wall Cabinet and Door
The very first project we tackled was our two DIY wall cabinets to hide all of our not so pretty laundry and cleaning supplies.
I didn’t want these cabinets to look standard, I wanted them to look custom, high end, and beautiful, just like you see in all of those designer kitchens and laundry rooms on Pinterest. So I designed them to be face frame cabinets with inset doors and crown molding!
I have a detailed tutorial on how to build a wall cabinet and door along with printable wall cabinet plans if you want to see more details or build these yourself!
One of the challenges we faced with these cabinets was working around our dryer vent that runs up the wall. But, we were able to build around it and the cabinet helps to hide it!
Brandon finished off the cabinets with October Mist by Benjamin Moore and he painted the walls with Alabaster by Sherwin Williams which we had on hand already. He’s doing all of our painting and staining these days since I’m pregnant.
Although these cabinets were a bit time consuming, they were well worth the effort, I just love how they turned out.
And they only cost about $220 total for the lumber, paint, and hinges, which is huge savings compared to what it would have cost to buy two custom wood cabinets in this higher end style!
I used these two brass knobs which I love and are great quality!
Peel and Stick Tile Backsplash DIY
Between the cabinets, I knew I wanted to do some sort of tile backsplash.
I didn’t want to take the time to install real tile since it is labor intensive and I wanted to keep this makeover on the easier side! So I used peel and stick tile for the first time.
I decided to use this higher quality grey subway peel and stick tile.
See my how to install peel and stick backsplash tile on a wall for all of the steps on how I did this as well as the pros and cons of peel and stick backsplash tile!
📩 Want to Save This?
I ended up using about 20 square feet of the tile, for a total cost of $115. Even with the tile being faux, I think it really elevates the look of our laundry room!
Easy Thin Floating Shelf DIY
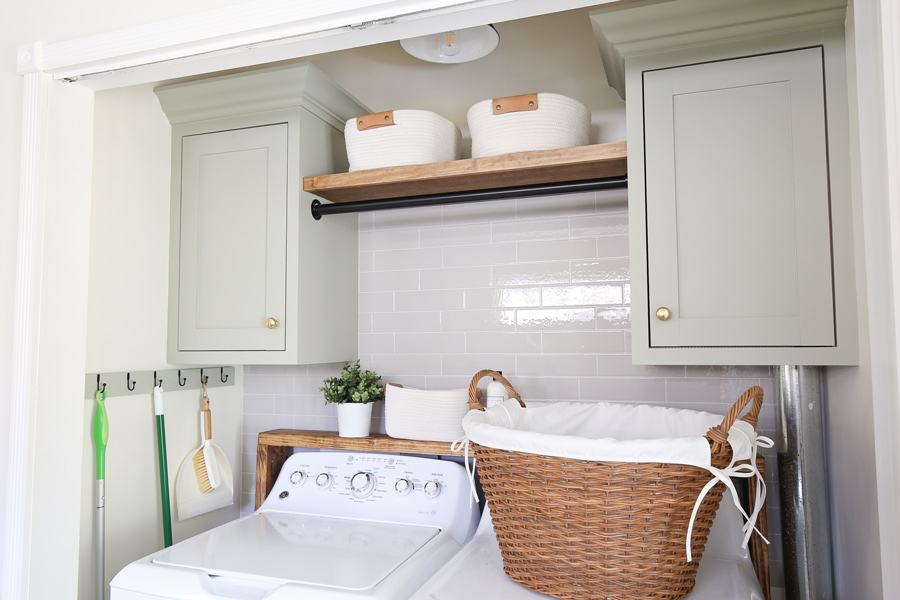
After the tile was installed, the next big project was installing a thin floating shelf.
I wanted it to be a thin floating shelf rather than chunky for a more modern look and to save space for a hanging rod. To see how we made it thin, check out my how to make a thin floating shelf tutorial! It was a really easy project to do!
We finished it off with this wood stain color which matches all of the other wood elements in our kitchen (which is in the same space as our laundry closet).
DIY Wall Rack
Once all of our larger projects were wrapped up we moved onto some smaller projects.
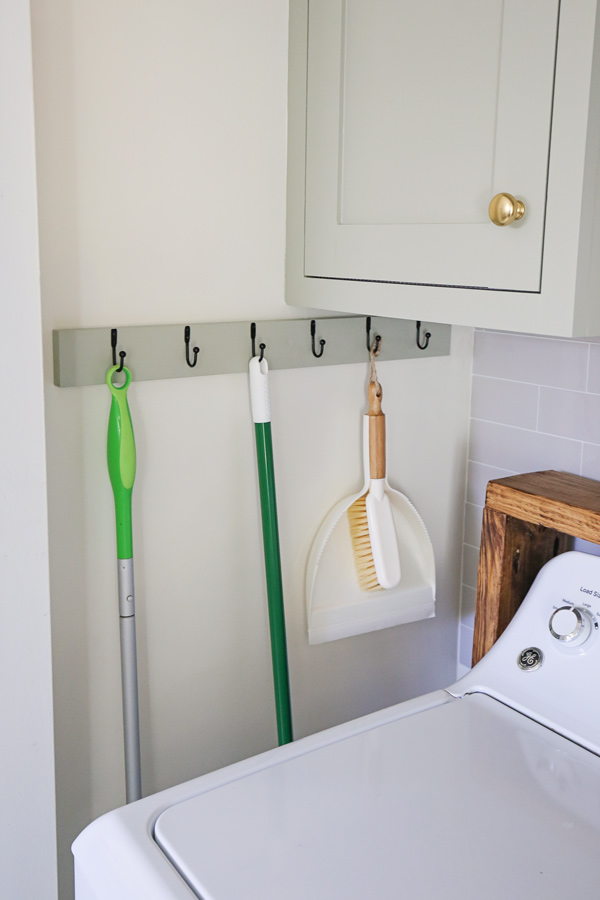
To organize our mop, Swiffer, and cute, new dust pan, I built a wall rack with scrap wood I had on hand already and these cute, little, black wall hooks.
I hung the wall rack on one of the side walls to maximize space.
Standing Shelf DIY
For additional storage, we built a standing wood shelf to go over our washer/dryer using a 2x6x12. We had to work around dryer vent yet again which caused some problems. In the laundry closet makeover video I share all about this and how we worked around this challenge!!
Decorating and Organizing
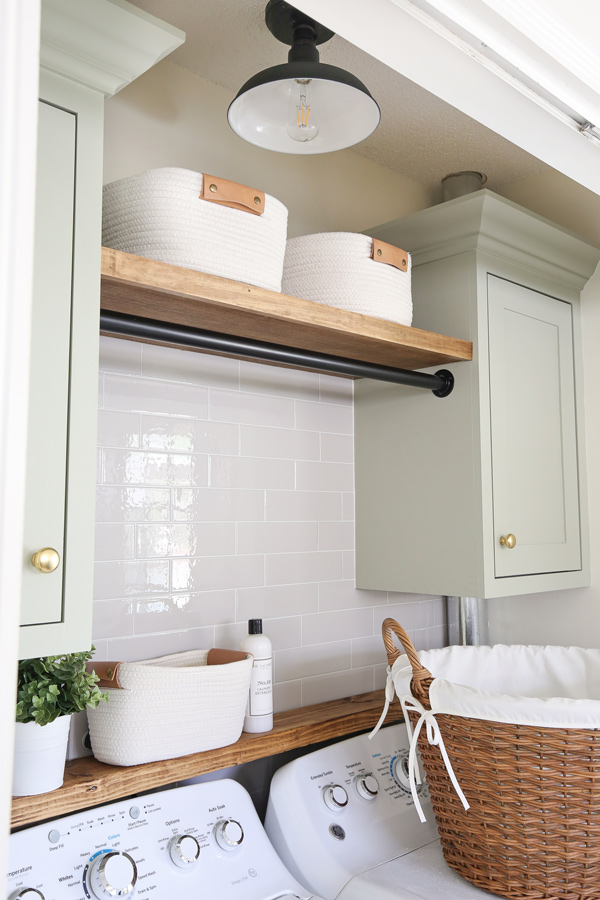
For more organization, we installed this clothing hanging rod cut to size and the matching brackets. I’ve always wanted one of these hanging rods in my laundry room and I’m so excited it has finally happened!
Brandon removed our old, outdated light and installed our new ceiling light. I love the look of this semi flush mount light for a laundry room light.
And of course I had to add a new vintage style light bulb. Not only does it look better, but the color of the light is more white and bright and less yellow. I always keep these light bulbs on hand, I love them so much!
The door molding was another mini project I wanted to update, mostly I can’t stand how the trim hits the floor molding. It’s a HUGE pet peeve of mine when the trim is so much thicker than the floor molding, it drives me crazy.
Rather than replacing all of it, we just used removed a small section of the old floor molding and added a scrap 1×4 cut to size. Again you can see all of this in action in the laundry closet makeover video!
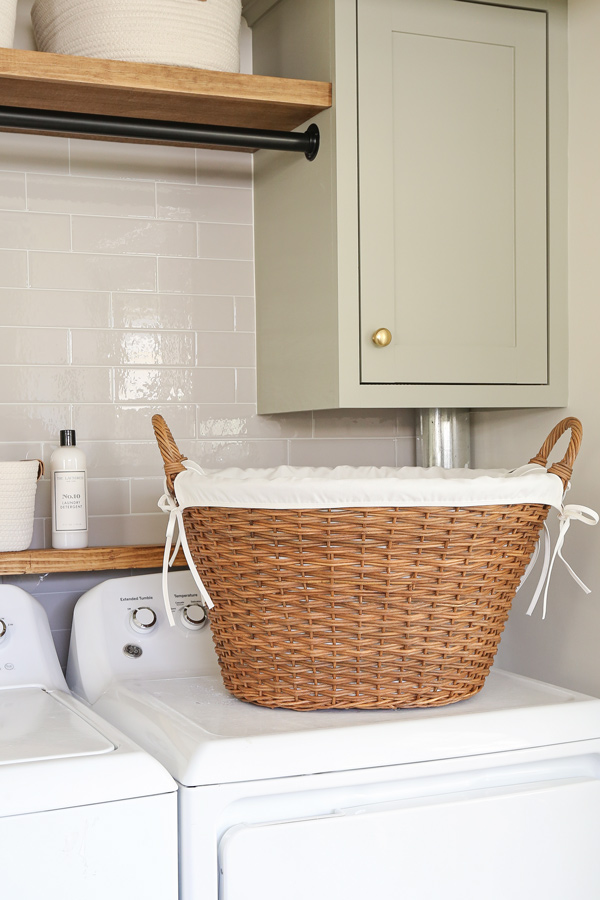
Finally, I finished the space off with these white rope baskets I had on hand already and this beautiful, wicker laundry basket that I am obsessed with!
The Budget!
Let’s talk about the budget for this makeover. I tried to use scrap wood, paint, and decor that I already had on hand to keep this project as budget friendly as possible but still higher end looking and my style.
Overall, it cost just about $550 for everything from project materials to decor.
For the final look and result, I think this was huge savings by using DIY and I love how it turned out and how much more functional it is now!
Here is one more before and after, this room sure has come a long way!
BEFORE:
AFTER:
Let me know what you think in the comments or YouTube video comments! Don’t forget to check out DIY laundry room makeover video transformation!
Well this is actually the last room in our house to get a makeover. I do have a bunch of other projects planned. And we are currently house hunting so a lot of exciting things to look forward to! Make sure to follow along for my latest projects and sneak peaks on Instagram, YouTube, and Pinterest!
DIY Laundry Closet Makeover Sources & Projects
Project Tutorials:
- How to Build a Wall Cabinet
- How to Install Peel and Stick Tile Backsplash
- Easy Thin Floating Shelf DIY
Paint Colors Used:
- Cabinets – October Mist by Benjamin Moore (eggshell)
- Wall Color – Alabaster by Sherwin Williams (eggshell)
Ester
Thursday 25th of July 2024
Beautiful makeover! What are the sizes of your washer and dryer?