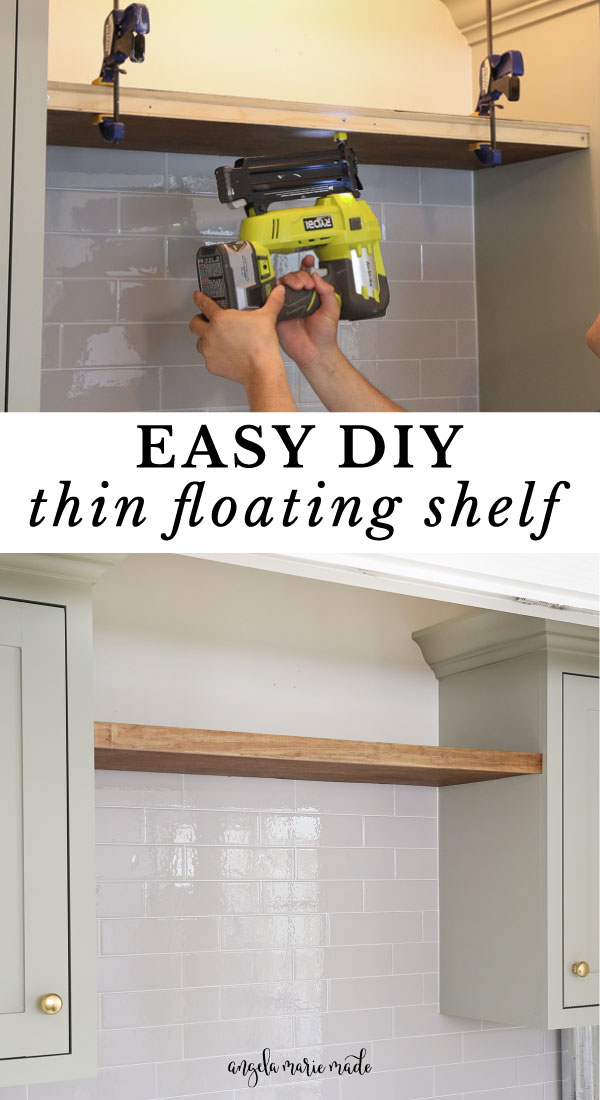
Learn how to make a thin floating shelf easily with just two tools!
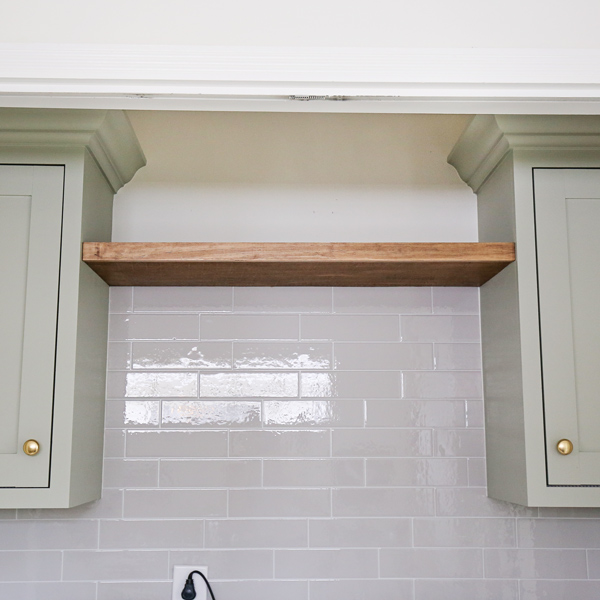
For our laundry room makeover, I wanted to add a thin floating shelf between our DIY cabinets for extra storage. I wanted it to be thin for a more stylish and modern look.
This thin floating shelf DIY is really easy to build and you only need two power tools, a drill and a miter saw!
Note, this post contains some affiliate links. For more info see my disclosures here.
How do you make a thin floating shelf?
To make this shelf thin, I am using 3/4″ square dowels for the shelf frame support. They typically come in 3ft sizes. So, if you need a longer shelf, alternatively, you can use a 1×2 x 8ft. turned on its side (which is 3/4″ thick). If you do this though you will need to use longer screws than I used in this tutorial.
For the shelf lumber, I am using 1/4″ plywood on the bottom of the frame and 1/2″ thick plywood on the top of the frame.
The total thickness of the shelf is 1.5″ thick, which is thin compared to other floating shelves like our DIY kitchen floating shelves!

Another method to create a thin floating shelf is to do a solid wood floating shelf DIY with metal brackets, which I did for our past living room makeover!
This thin floating shelf has a similar look to our DIY built in bathroom shelves, except that it’s stained (not painted). And it is constructed differently. I made this shelf easier to build and it does not require a pocket hole jig like our DIY bathroom shelves did.
Depth of thin floating wall shelf
Note, if you are unable to secure your floating shelf on three sides (and only the one wall side), you may need to do a less deep shelf and use the shelf for more lightweight items. My shelf depth is 13 1/4″.
See my lessons learned from installing floating shelves in our kitchen for more information.
How to build a thin floating shelf DIY:
*Note: Material quantities listed are for ONE floating shelf at 35 1/2″ long x 13 1/4″ deep. Adjust quantities for more shelves or different dimensions!*
Materials
- (3) 3ft square dowels @ 3/4″
- (1) 1×2 @ 6ft
- (1) 2ft x 4ft @ 1/4″ thick plywood
- (1) 2ft x 4ft @ 1/2″ thick plywood
- 3″ self tapping screws (or wood screws)
- 1 1/4″ wood screws
- 1″ and 1 1/4″ brad nails
- Wood Glue
- Stainable wood filler
- Stain (I used this stain color)
- Polyurethane (I used this poly)
Tools
- Miter saw
- Brad Nailer
- Drill
- Stud finder
- Clamps
- Level
DIY Thin Floating Shelf Video Tutorial:
Subscribe to my YouTube Channel here!
1. Determine shelf measurements and cut lumber to size
Determine the measurements for your shelf.
My final shelf size is 35 1/2″ long x 13 1/4″ deep. I will share the cut list for this size shelf but make sure to adjust the cuts if you plan to do a different size shelf!
Note for a longer shelf you will need more middle supports.
I used a miter saw for our 3/4″ square dowels and 1×2 and we had our plywood for the shelf cut at the home improvement store. You can also use a table saw or circular saw and straight edge guide for the plywood.
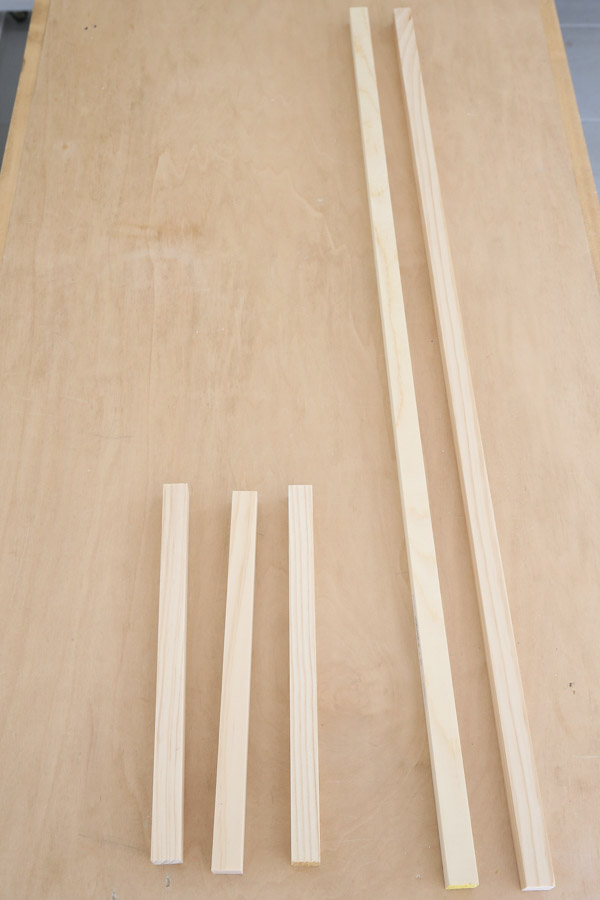
Cut List:
- (2) 3/4″ square dowels @ 35 1/2″ (shelf frame support)
- (3) 3/4″ square dowels @ 11″ (shelf frame support)
- (1) 1×2 @ 35 1/2″ (front trim of shelf)
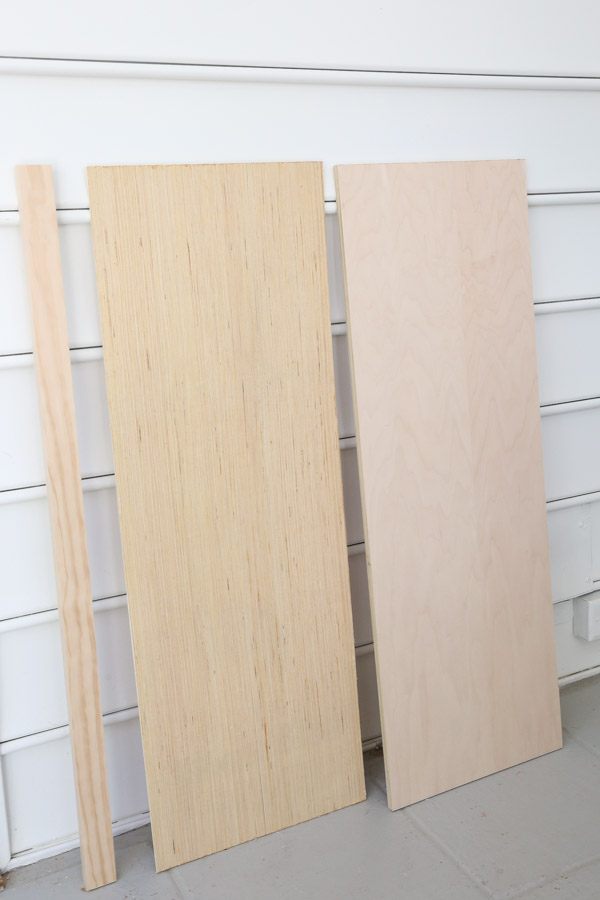
- (1) 1/2″ thick plywood board @ 12 1/2″ x 35 1/2″
- (1) 1/4″ thick plywood board @ 12 1/2″ x 35 1/2″
📩 Want to Save This?
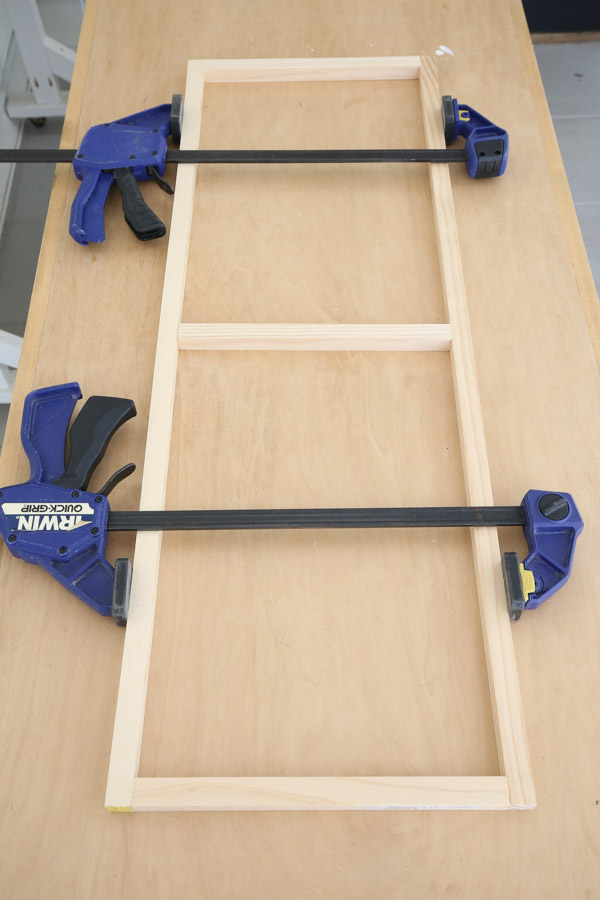
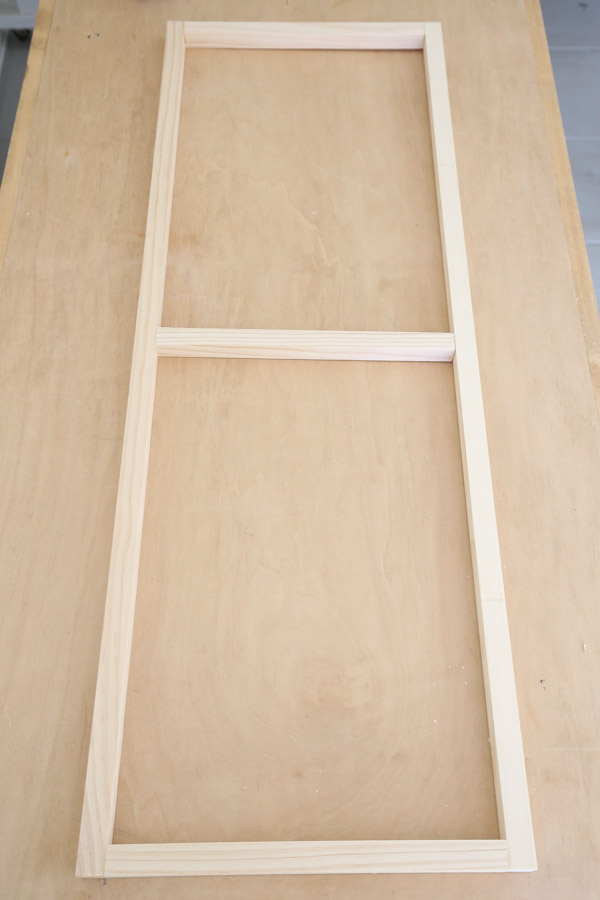
2. Build the floating shelf frame support
Begin by adding wood glue to the ends of the three shorter square dowels.
Then build the shelf frame support with the three shorter square dowels between the two longer square dowels using 1 1/4″ wood screws.
For easy assembly, clamp the frame together and pre-drill pilot holes for the wood screws and slowly screw them in to avoid splitting the wood. See this in action in the how do you make a thin floating shelf VIDEO tutorial!
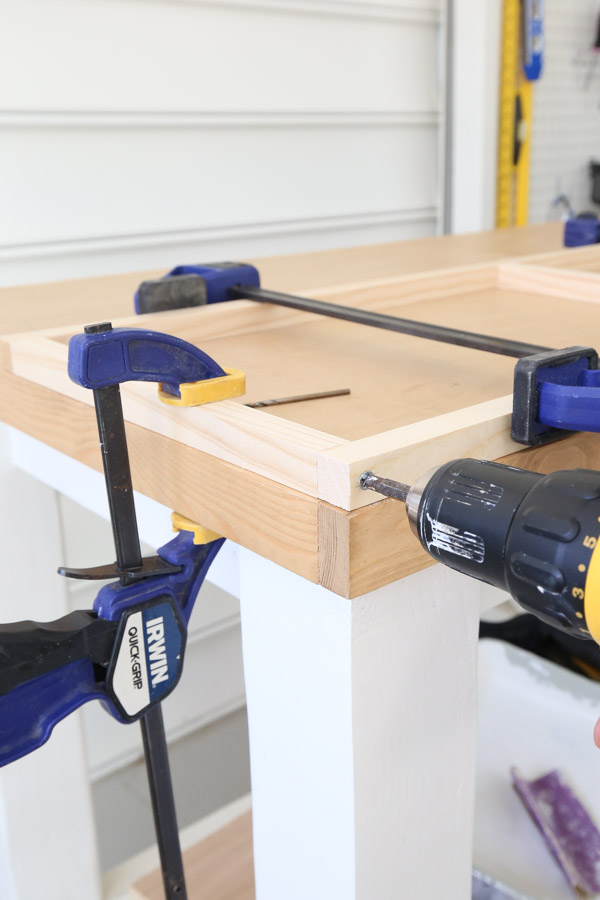
Also, make sure the screws are flat against the wood or a little countersunk beneath the surface.
3. Stain the thin floating shelf DIY
At this point it’s easiest to stain and add a top coat to the plywood and 1×2 trim for the floating shelf before installing it.
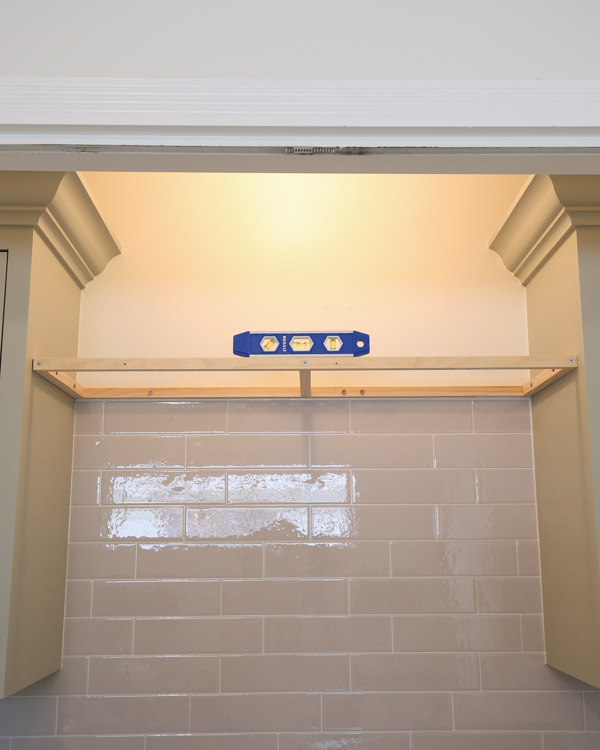
4. Install the shelf frame support to the wall
Use a stud finder to determine where the wall studs are located.
Then, install the shelf frame support to the wall studs with 3″ screws making sure that it is level.
Also, we screwed the shelf supports into our DIY wall cabinets on each side (with 1 1/4″ wood screws) to make the shelf extra sturdy.
5. Install the floating shelf lumber
Place the 1/2″ thick plywood on top of the shelf frame and the 1/4″ thick plywood below the frame and clamp in place. Attach the plywood to the frame with 1″ nails and a brad nailer.
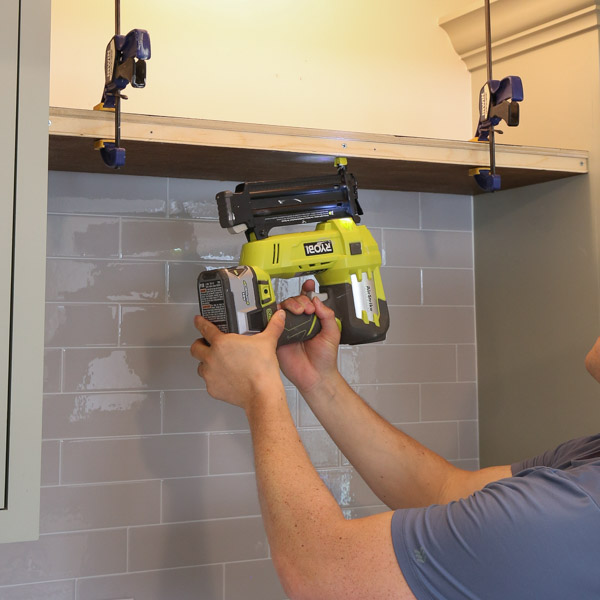
Next, clamp the 1×2 front trim board in place and attach it with 1 1/4″ brad nails. See all of this in action in the thin floating shelf DIY VIDEO tutorial!
The very last step is to touch up any visible nail holes with stainable wood filler and a little bit of stain.
And that’s it, a super easy and stylish thin floating wall shelf!
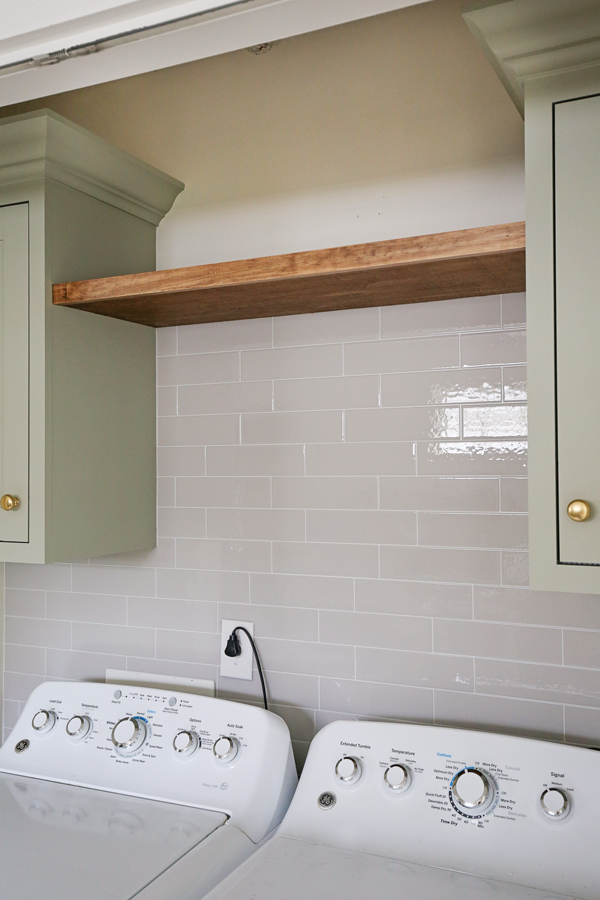
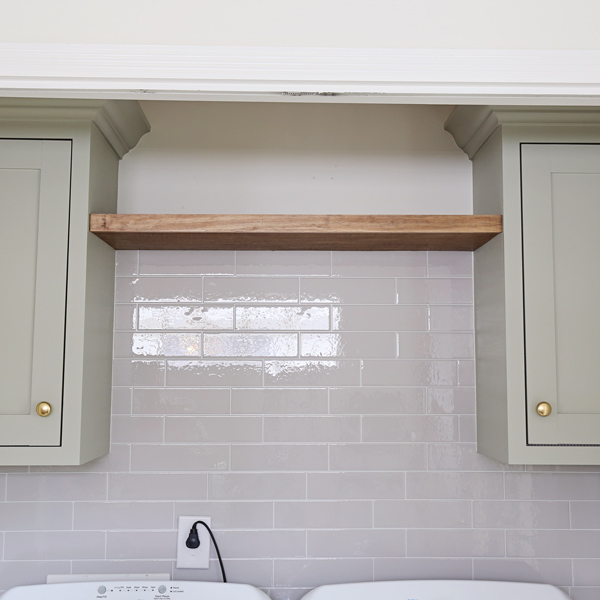
I love how our thin floating shelf DIY turned out! Let me know if you have any questions below in the comments!
For more floating shelf ideas and tutorials, check out our easy DIY floating shelf with metal brackets, DIY kitchen floating shelves and lessons learned, and DIY bathroom built in shelves.
I’ll be sharing the final laundry room makeover reveal very soon so make sure to follow along on Instagram and on YouTube!
Bailey
Saturday 14th of October 2023
Hello! Just want to make sure I have everything right, but if the plywood is 1/4” and 1/2” and then a 3/4” dowel, doesn’t that make the shelf 1 1/2” thick? How does the 1x2 fit on the front? Is it wider than the plywood? Thanks!
T
Friday 26th of January 2024
@Angela Marie Made, THANK YOU!! I had the same question!
Angela Marie Made
Tuesday 24th of October 2023
A 1x2's actual size is 3/4" x 1 1/2" so yes it will fit! I have more info on nominal sizes vs. actual sizes in this blog post! :) https://angelamariemade.com/intro-to-woodworking-lumber-size-guide-free-printable/
Ankit
Sunday 27th of August 2023
Angela, What is the type of the plywood did you use and the type of 1x2 hardwood. If possible can you please send the product links?
Ellen
Wednesday 13th of April 2022
Hi Angela, I am having my laundry room renovated tomorrow! Unfortunately, this comes to late for me to DIY it! But I LOVE what you did! I am hoping to install peel and stick tile backsplash myself. I hope my contractor can make the cabinets! I wish I had the talents you do!
Angela Marie Made
Monday 18th of April 2022
Thank you Ellen! You can definitely do the peel and stick tile :)
Marc Farrar
Saturday 26th of March 2022
Its not really a floating shelf when you attach it on both sides. Why got to all that trouble when you could have just bought a nice piece of 2x material.
Angela Marie Made
Tuesday 5th of April 2022
It's still floating when there is nothing underneath of it/visible brackets! Because I didn't want anything under it, this build method was the easiest and cheapest to do for the look I wanted.
Kathy
Saturday 26th of March 2022
Angela I need your help. In my laundry room, the dryer vent goes up the middle of my wall. I don’t know how to fix this so I can put cabinets. Is there a way I can send you a picture of what I am talking about. I would appreciate any help you could give me. I love how your laundry turned out. Beautiful.
Angela Marie Made
Tuesday 5th of April 2022
Thank you! You can cut out an opening for the cabinets to go around the dryer vent. We did this with the inside of our corner cabinet which you can see in this post: https://angelamariemade.com/how-to-build-a-wall-cabinet-and-door/