
Recently we installed DIY wood beams on our vaulted ceiling in our primary master bedroom makeover phase one!
I love the added character and warmth it added to our bedroom. Today, I am sharing all about the beams we used and an overview on how we installed them. These beams can be used on ANY ceiling, vaulted or standard.

Love how the beams look with our dreamy chandelier!
The wood beams are very DIY friendly or you could easily hire a handyman or another professional to install these!
Note, this post contains some affiliate links. I may earn a commission if you shop those links (at no cost to you). Thank you for supporting my small business. For more info see my disclosures here.
Where to buy wood beams
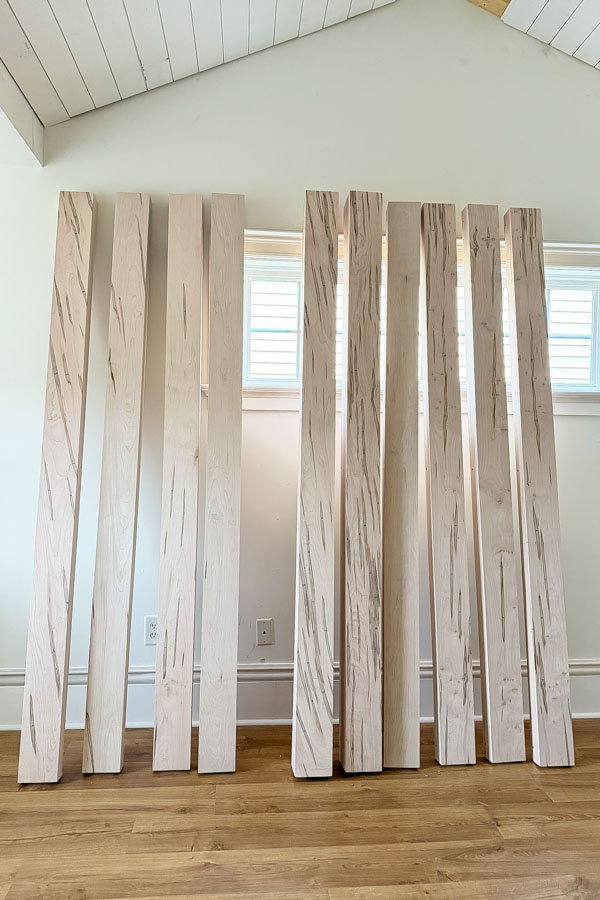
We used these pre-assembled real wood beams which made this process so much easier and faster!
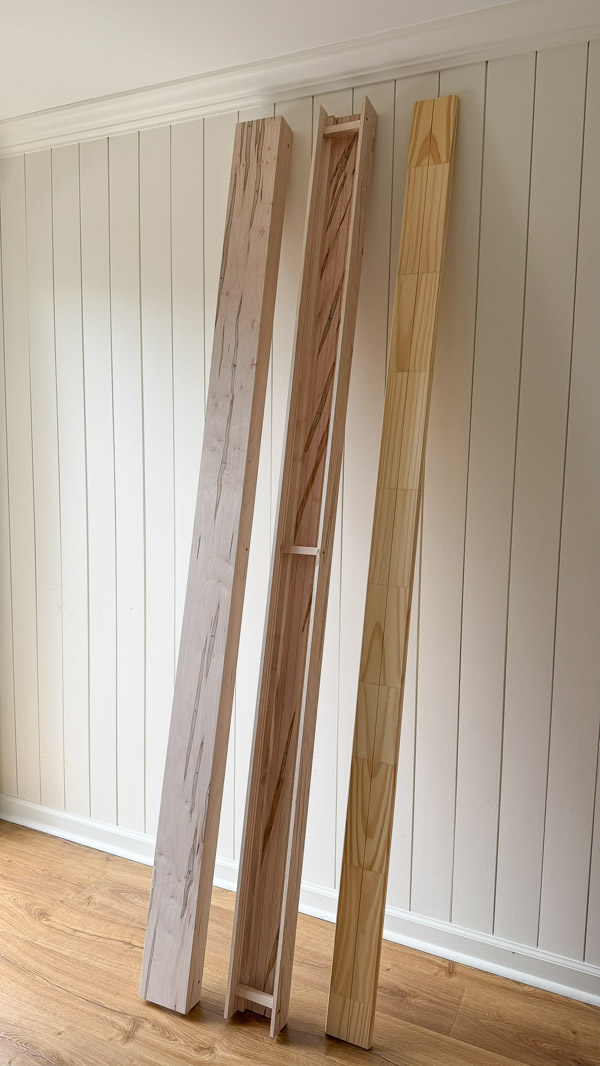
They come in both 3 inch tall and 5.5″ inch tall sizes which was great for our vaulted ceiling where we needed the taller, 5.5″ inch beam for the center beam and then shorter, 3″ beam on the sides, at an angle.
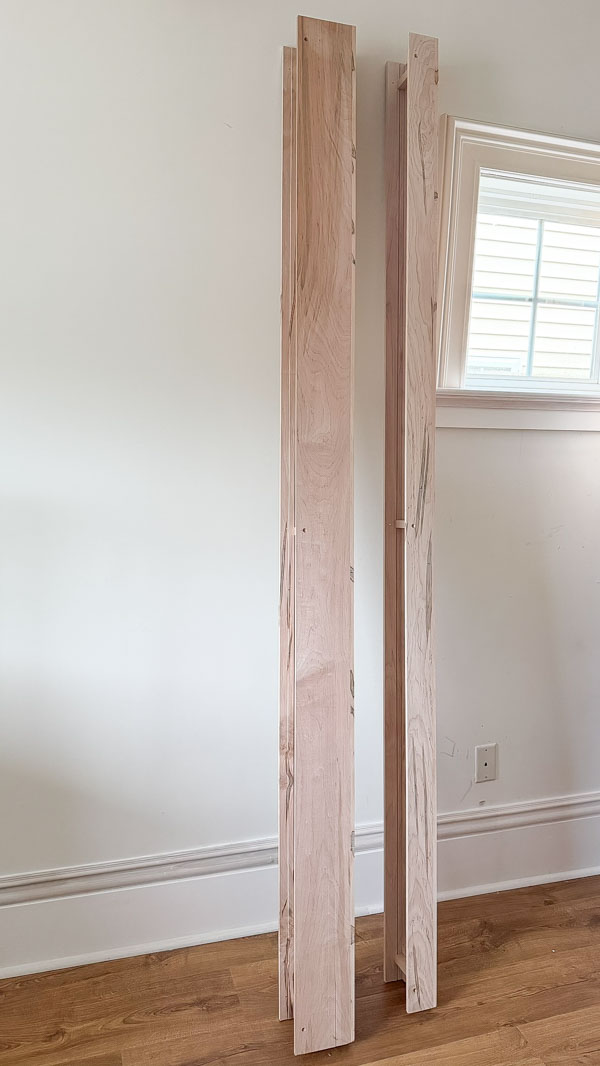
They come in multiple wood species too! We went with the more budget friendly maple wood. But, an oak wood beam would be stunning and I would love to use it for a future project!
The beams come unfinished so you can stain them any color you want.
Because we were using a maple wood species, it didn’t take regular wood stain that well (even with a pre-stain conditioner). So, we used a gel stain in the color coffee which worked great!
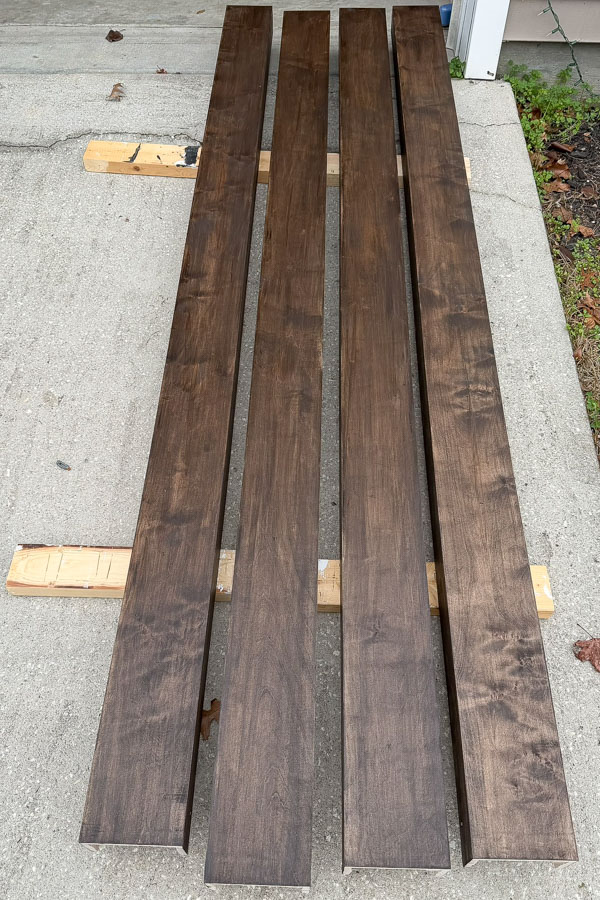
Faux wood beams – pre-stained and finished
If you want wood beams that are totally ready to go and already finished, these faux wood beams are a great option (also available here). The faux beams come in several finishes and have a wood texture to them!
Installing the easiest DIY wood beams
Part of what makes these wood beams so easy to install, besides that they are pre-assembled, is that they come with a mounting plate (a board) that’s the perfect size for the beams to attach to. And all the hardware needed is included along with the directions.
Note, all items used below can be found in my Lowe’s Storefront here
📩 Want to Save This?
1. Cut and install the mounting board
You just cut the mounting plate to size with a miter saw. Then, attach to the ceiling joists (use a stud finder) with the included screws. They also provide heavy duty toggle bolt hardware if you can’t find a ceiling joist.
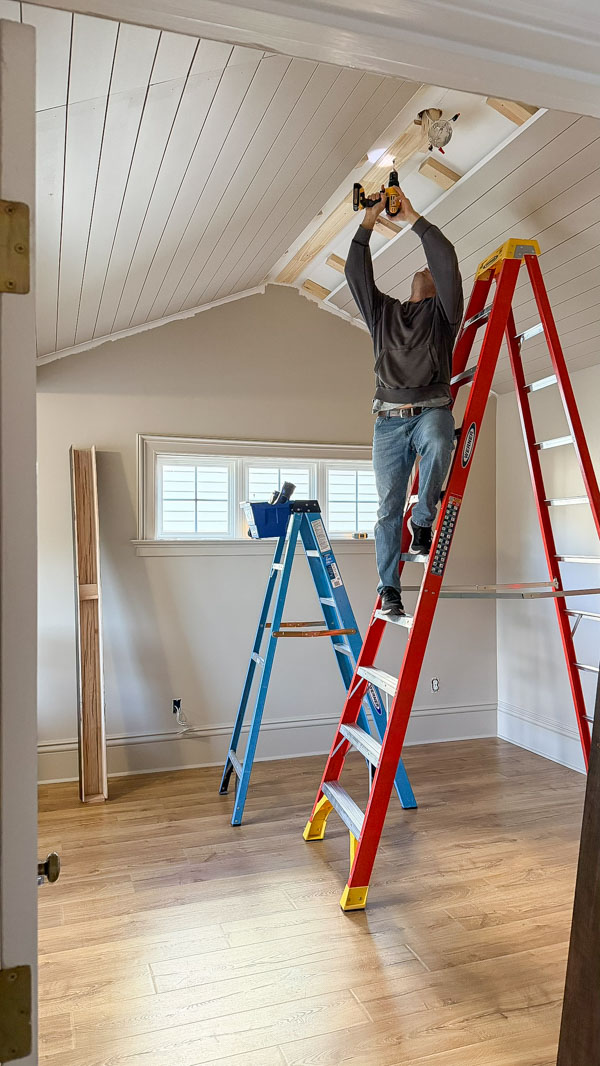
2. Stain, cut, and install DIY wood beam to mounting board on ceiling
After staining and cutting your wood beams to size, they get attached to the mounting plate board with screws through the pre-drilled holes on the sides of the beams.
Note, for the ceiling beams that were installed in the wall corners, we did add some 2×4 support blocks to the mounting blocks, so that we could nail the bottom of the wood beam to the blocking for extra security on the beam sides that bordered the wall.
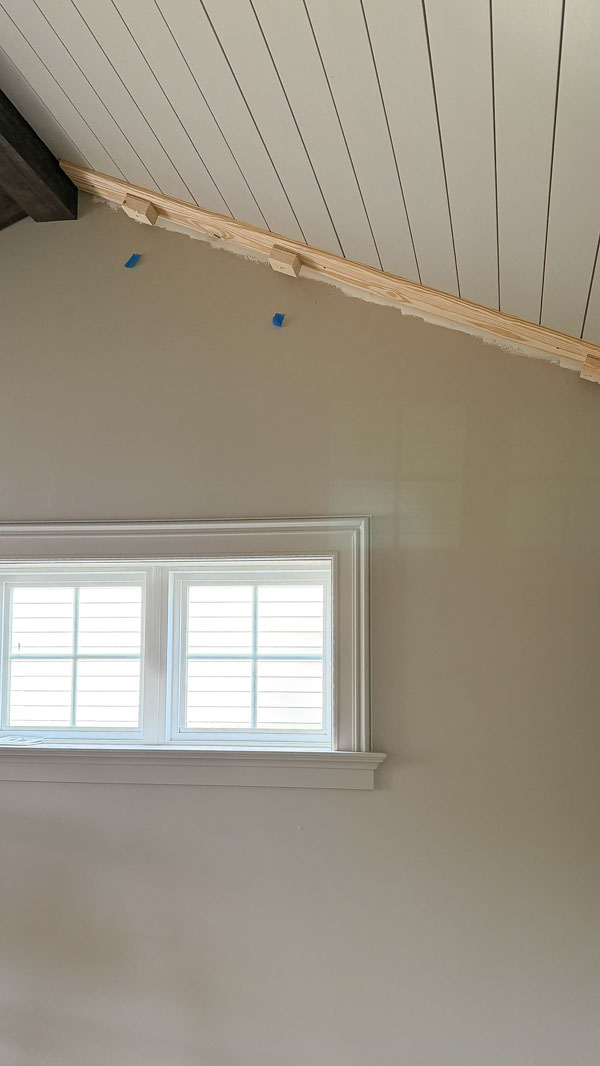
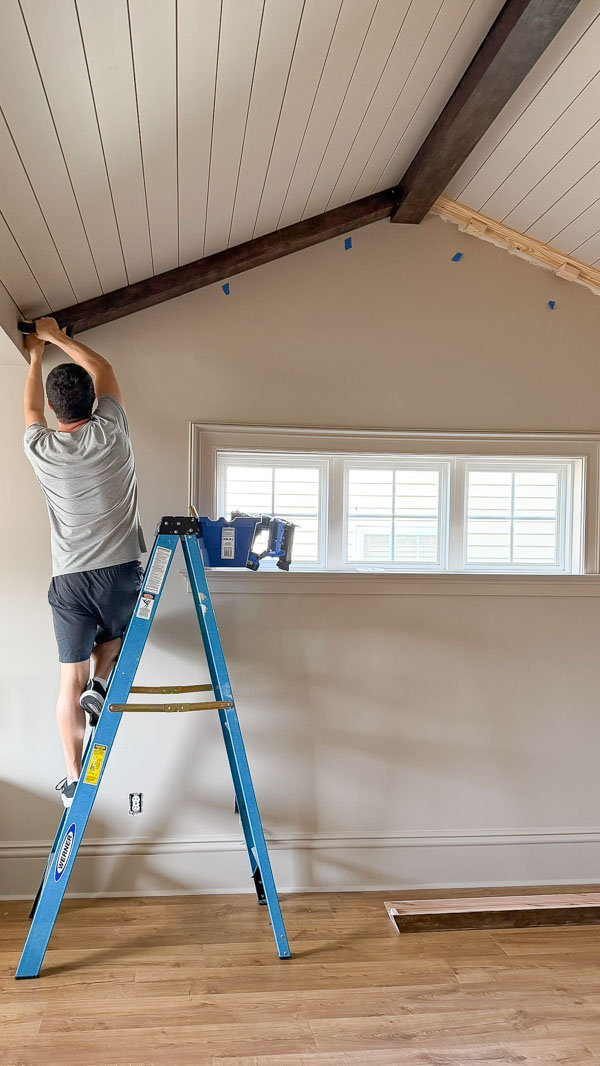
We didn’t even bother filling the holes on the beams at the end with stainable wood filler. We just used a stain marker to stain the hole dark and it blended right in with the black screws that came with the beams.
3. Add crown molding – optional!
Finally, we added an extra charming detail, with crown molding between the beams!
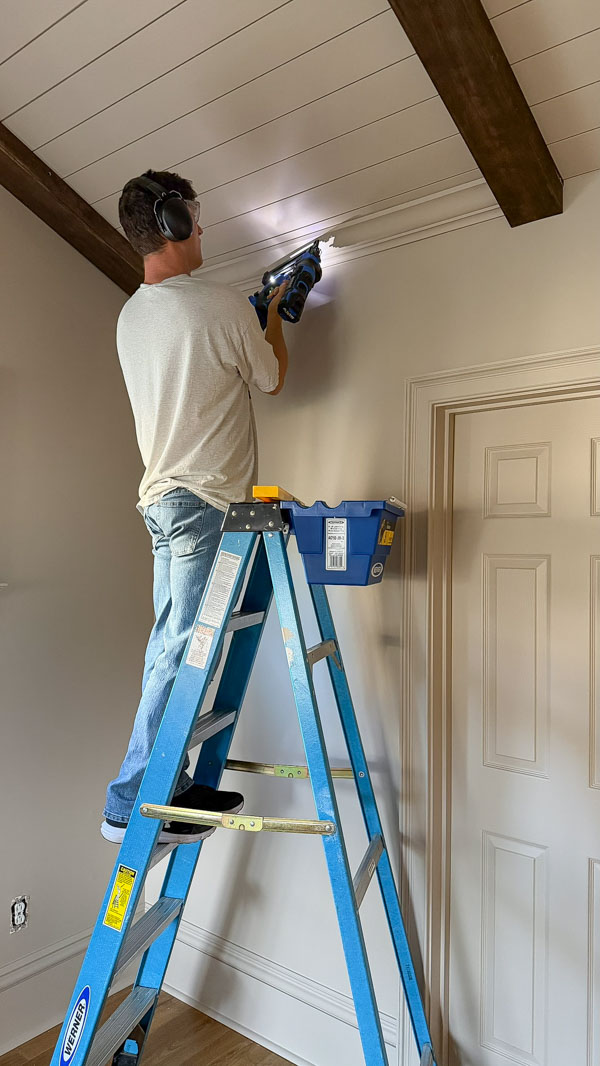
And that’s it! I am in love with the look of decorative beams and now I want to use them again! These easy DIY wood beams made all the difference! Maybe our living room or dining room ceiling next?!
Follow along for my latest projects and sneak peaks on Instagram, YouTube, TikTok, and Facebook!