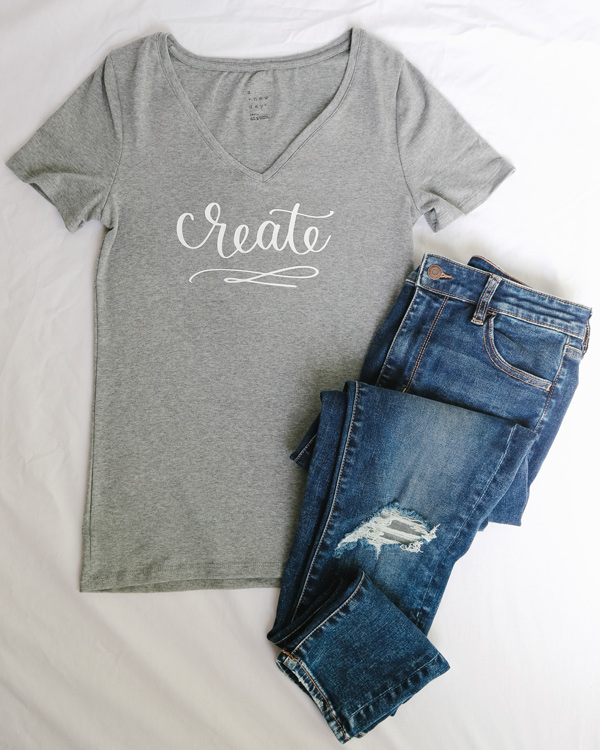
I’m taking a break from my DIY home decor posts this week to show you how to use heat transfer vinyl. Heat transfer vinyl is really cool because it allows you to transfer any design you’d like to fabric (t-shirts, pillow cases, banners, blankets, etc)! I’m going to show you how to use it to make a custom DIY t-shirt !
Note, this post contains some affiliate links. For more info see my disclosures here.
Whenever I’m doing any kind of DIY project, I usually just throw on an old t-shirt. I thought it would be fun to make a t-shirt that’s inspiring to wear while actually creating something or doing a DIY project. So, I whipped up this “create” design with my hand lettering!
In order to use heat transfer vinyl, you do need a vinyl cutting machine. I have a Silhouette Cameo which is what I used for this project, but a Cricut works great too! I’ve provided two free printable files in my free printable library, which you can sign up for in the link below. There is a Silhouette Studio file for the Silhouette Cameo and an SVG file for the Cricut. Note, the images in the files are mirrored already (see step #2 for more info).
How to Use Heat Transfer Vinyl:
Materials Needed:
- Silhouette Cameo or Cricut
- Siser EasyWeed Vinyl*
- Iron (or heat press)
- Parchment paper
- Custom design
- Vinyl Weeding tool
- Blank T-shirt – similar here
*I recommend using the Siser EasyWeed vinyl. I made my first 2 custom designed t-shirts almost 5 years ago with this vinyl. The t-shirts have been through the wash and dryer a lot. The vinyl held up for several years before it started showing any cracking.
1. Open Printable File in Silhouette Studio or Cricut Design Space
Download the free “Create” design printable in the Free Printable Library (get the password by signing up through the link below). *If you have already subscribed, you can find this printable in the Free Printable Library.
If you are using Silhouette Studio, download and open the Silhouette Studio file. If you are using Cricut, download and open the SVG file.
2. Cut the design out of the heat transfer vinyl with your Silhouette Cameo or Cricut
The design in the printable file is already scaled to size for a t-shirt, it’s about 7.5″ wide x 4″ tall. Feel free to resize if necessary.
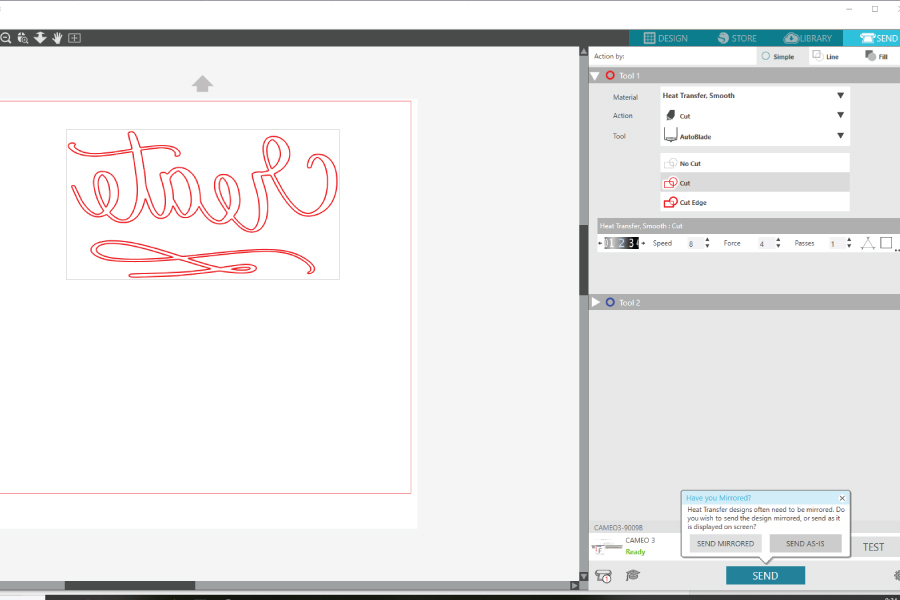
The design is also already mirrored. This means it’s a reflection of the design. When using heat transfer vinyl, you have to mirror your design since it cuts in the backside of the heat transfer vinyl. This will make sense once we get through this full tutorial but it’s a key difference between cutting with regular vinyl vs heat transfer vinyl.
Set your Cameo or Cricut cut settings to heat transfer vinyl, smooth. This is what my cut settings look like in Silhouette Studio which is the software I used. My design is already mirrored, so I selected “SEND AS-IS” after I clicked on “SEND”.
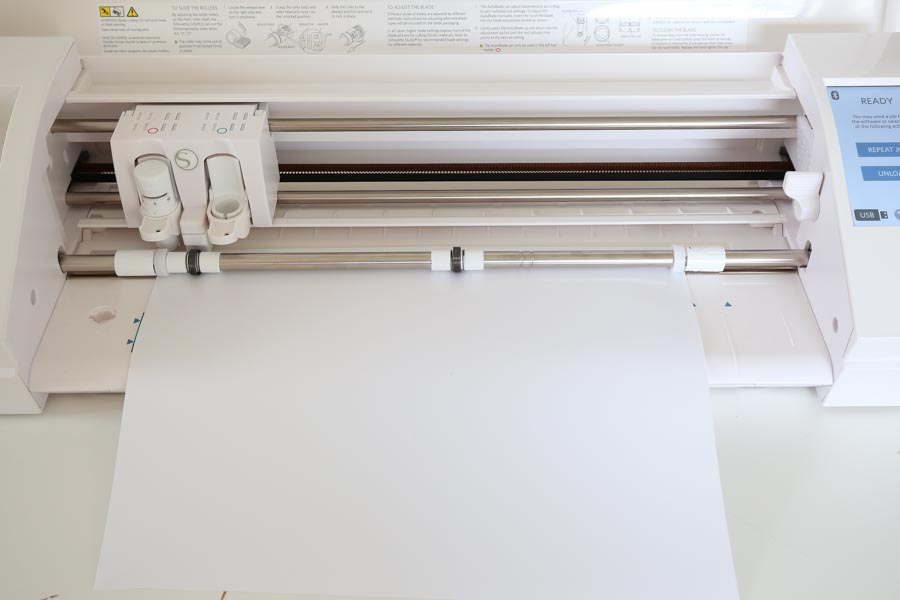
Make sure your heat transfer vinyl is loaded properly. Make sure the shiny side of the vinyl is facing down and the smooth side is facing up. Go ahead and send the design to be cut! Note, I don’t use a cut mat for cutting vinyl as it’s not necessary.
3. Weed the design out of the heat transfer vinyl
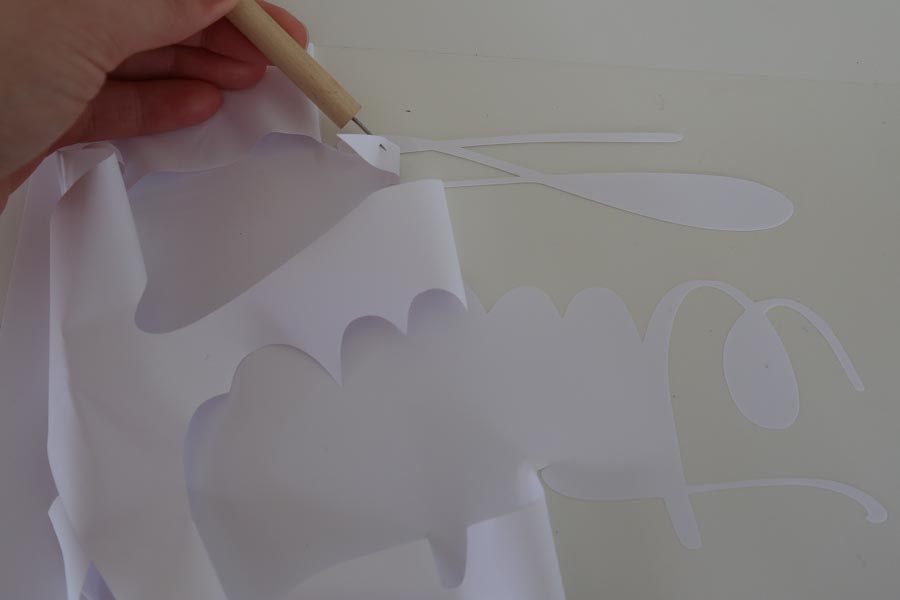
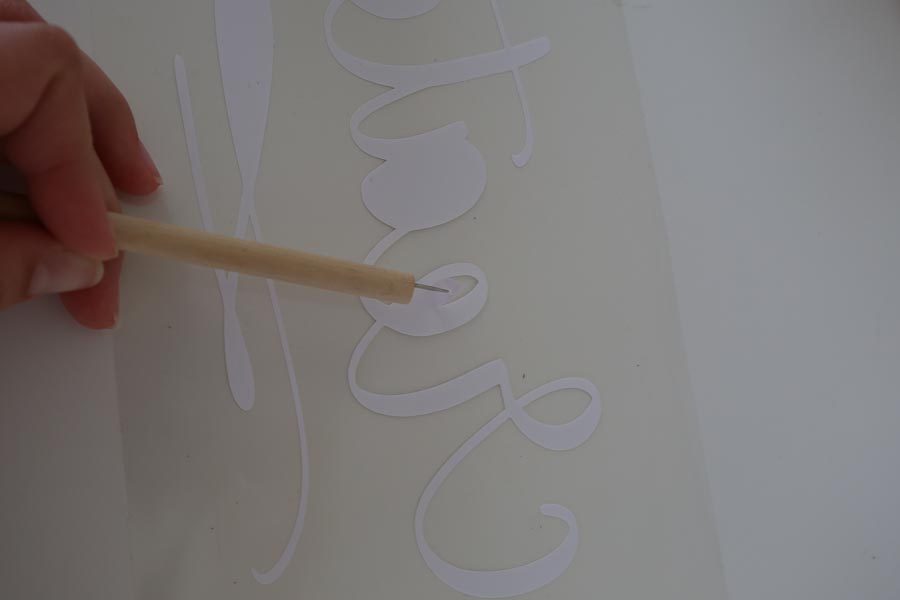
Once your cutting machine is finished, weed the design out. This basically means remove the excess vinyl so that just your design remains. Heat transfer vinyl is a little more difficult to remove than regular vinyl, so to make it easier, I cut the excess vinyl around my design so that there is less vinyl to weed. Then, I use a vinyl weeding tool to separate the plastic from the vinyl and I use my hands to pull the rest apart
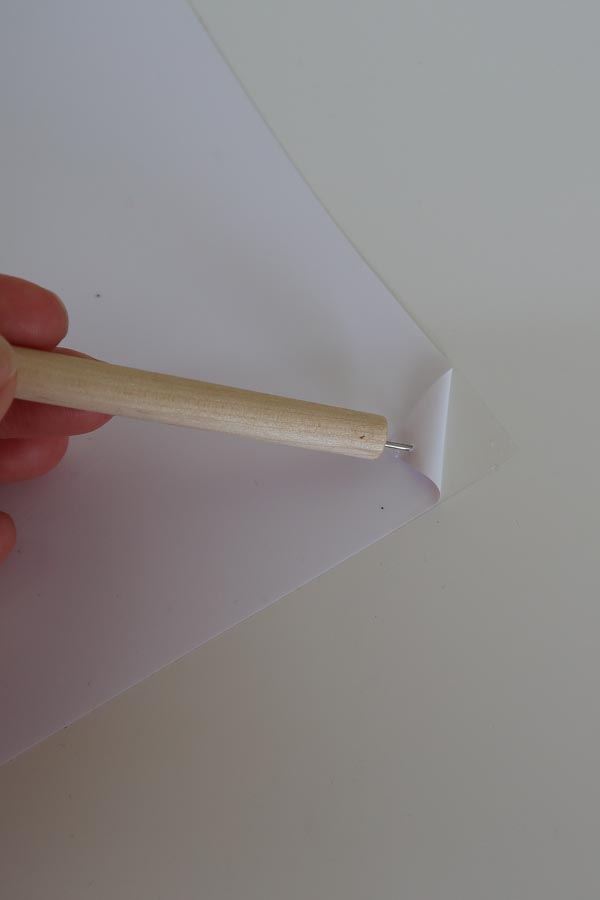
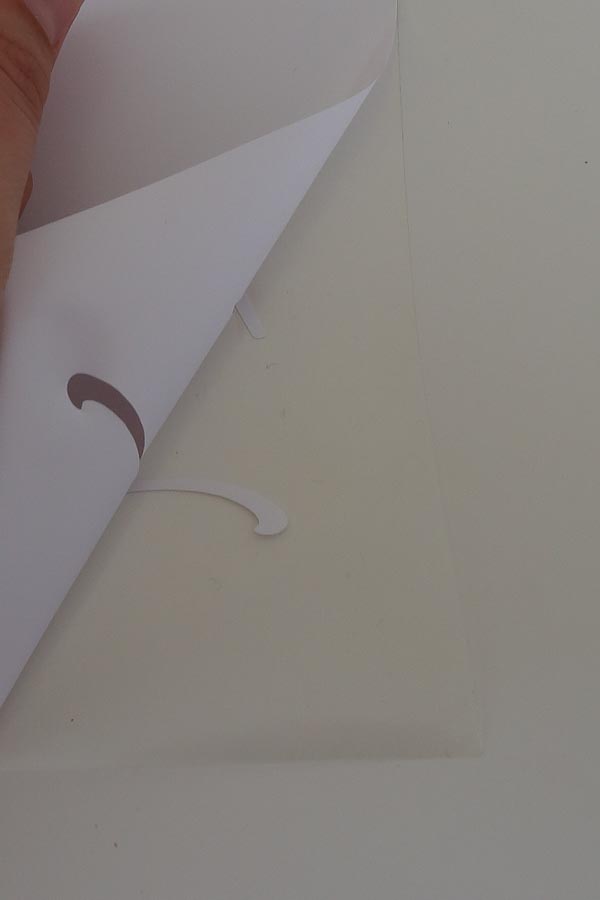
Also, I use my weeding tool to get any tough spots or small areas that are not easily accessible with my hands. You will notice that once the excess vinyl is removed, the plastic is sticky on one side. This is so your design can stay in place on your shirt when you do the transfer.
4. Prepare shirt for the heat transfer vinyl
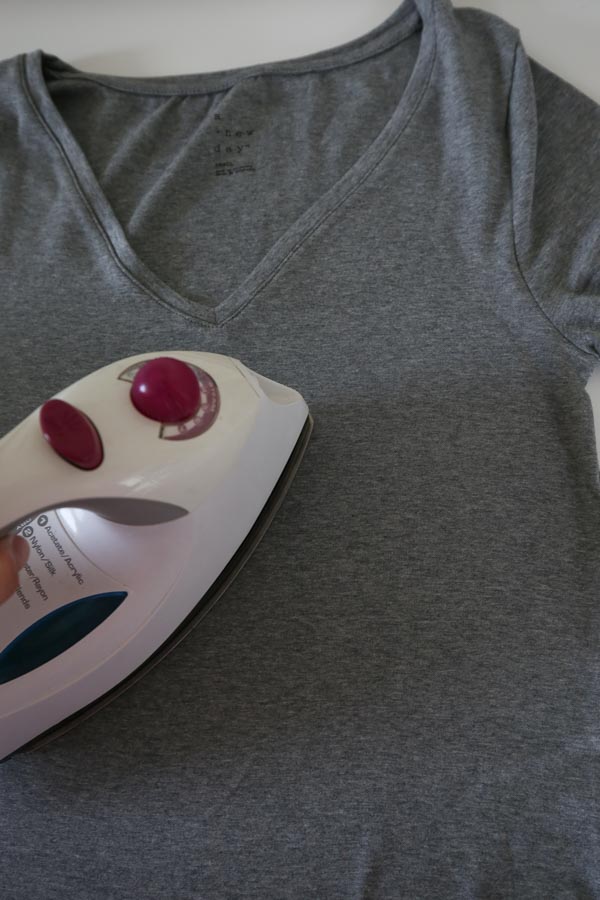
Set your iron to the setting between Cotton and Linen.
Prepare your t shirt for the heat transfer vinyl application by laying it out on a flat, hard surface (not an ironing board) and iron the area where the design is going so it’s totally flat and smooth, no wrinkles! Cotton t shirts work best with the Siser EasyWeed heat vinyl but my shirt (similar here) was a mix of cotton and modal which worked well too!
5. Lay design in place on the t shirt
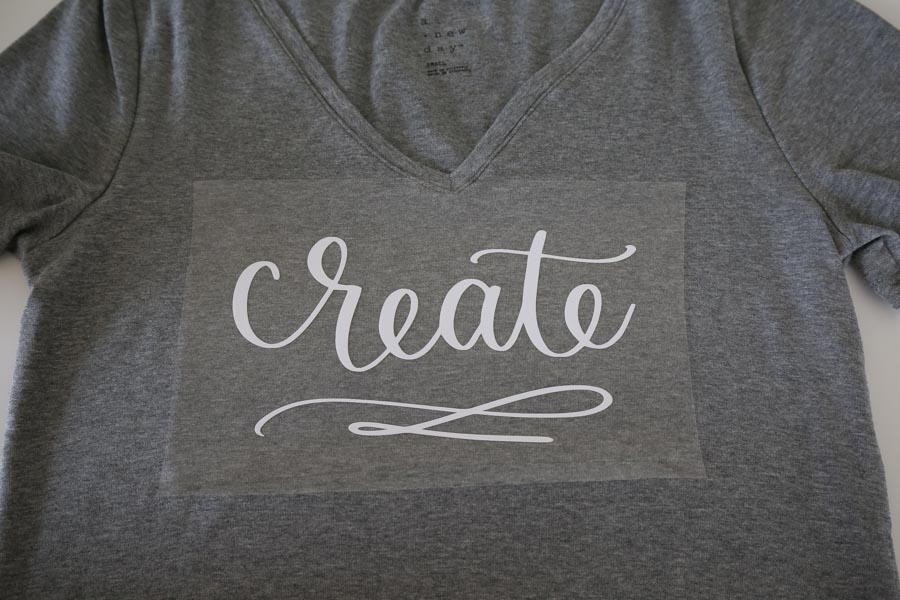
Lay your heat transfer vinyl with the design in place on your shirt. I kind of eyed my placement to make sure it was level. But, I did make sure it was centered by measuring an equal distance from the right side of the shirt to the right side of the design and then vice versa for the left side.
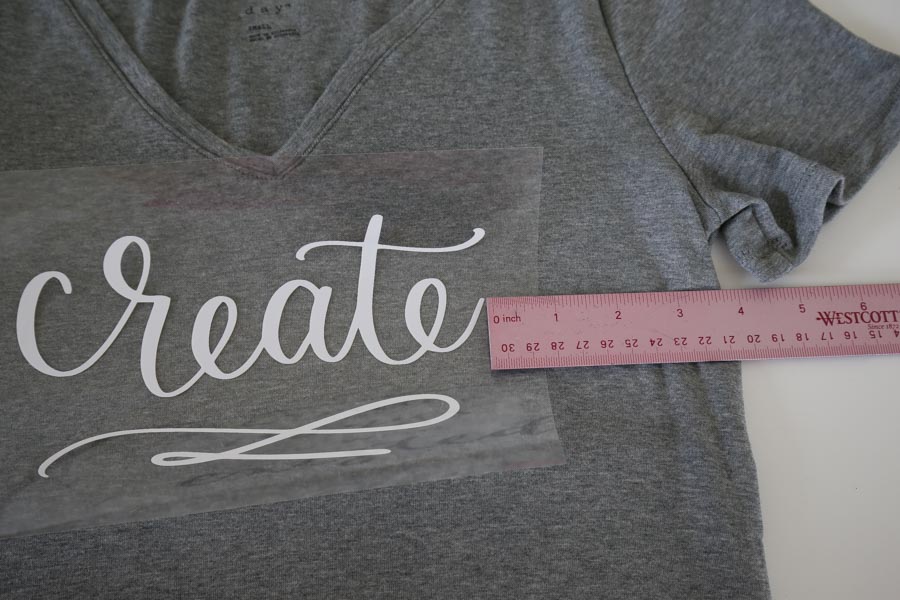
Once your design is in place, press down on it so that the sticky side of the plastic sticks to the t shirt to hold it in place.
6. Transfer design to t shirt
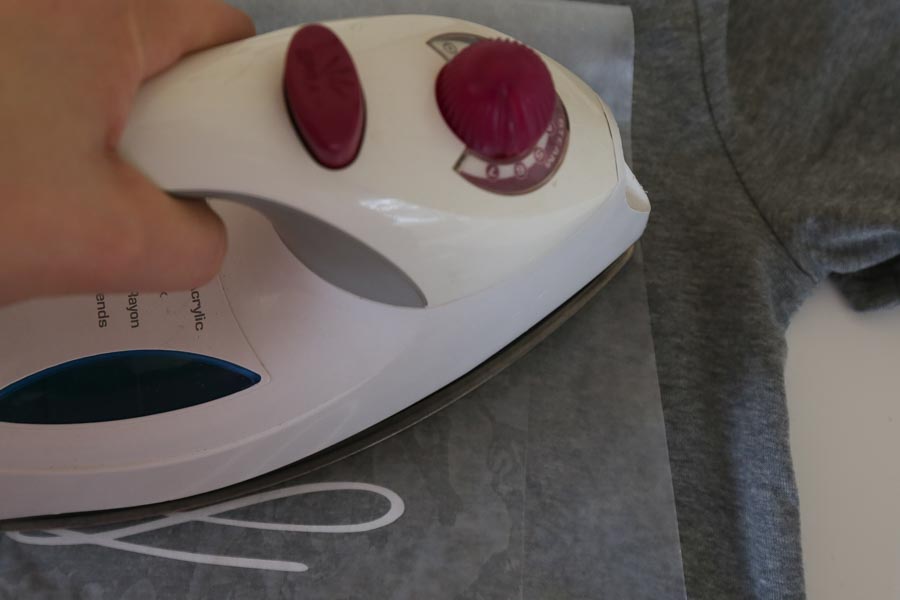
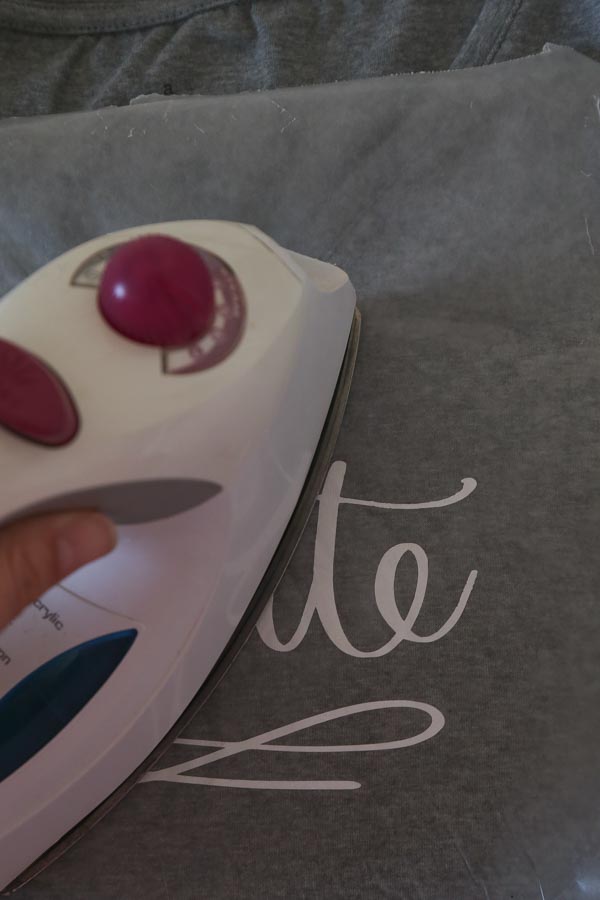
Time for the fun part! Lay a piece of parchment paper over the design. Then, working in one section at a time, use the iron and apply pressure down for 10-15 seconds. Don’t move the iron around.
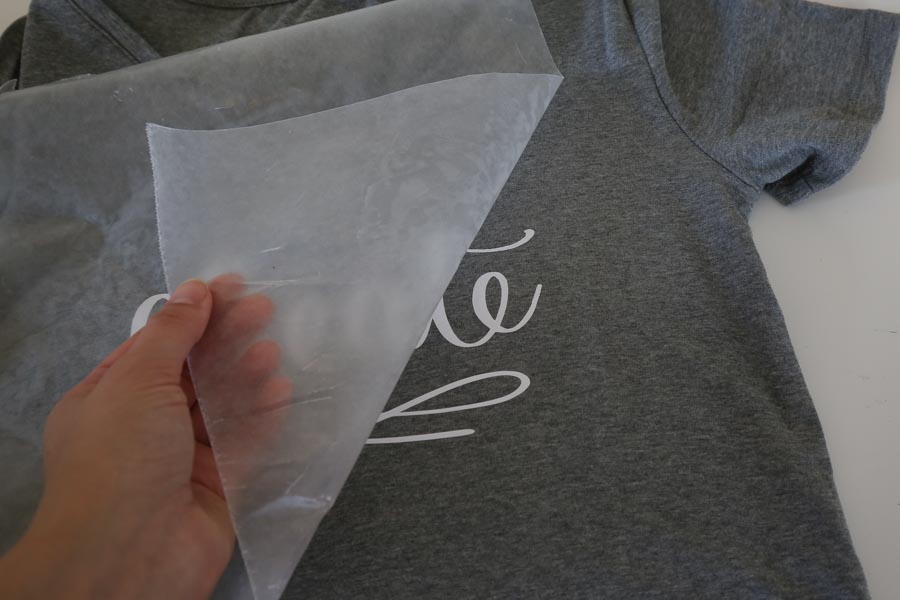
Next, slowly peel the plastic up and your design should be adhered to the fabric. If any part of the design comes up with the plastic, lay it back down with the parchment paper and apply heat and pressure with iron again for 5 -10 seconds.
Finally, lay the parchment paper back over the design (with no plastic this time).
Then, press with the iron again over the parchment paper for about 5-10 seconds. This time you can move the iron around more instead of working in sections. Remove the parchment paper and you’re finished!
And that’s how to use heat transfer vinyl! Pretty easy right?! The craft projects are endless with this stuff! Have you ever used the heat transfer vinyl before? If so, I’d love to hear what you made in the comments below!


Follow along on Instagram and Facebook for my latest projects, as well as Pinterest! Also, below is a printable card for this tutorial!

How to Use Heat Transfer Vinyl & Free Printable!
How to use heat transfer vinyl to make a custom designed T Shirt!
Materials
Tools
- Silhouette Cameo OR
- Cricut
- Iron (or heat press)
- Vinyl Weeding Tool
Instructions
- Open Custom Printable File in Silhouette Studio or Cricut Design Space
- Cut the design out of the heat transfer vinyl with your Silhouette Cameo or Cricut. The custom printable is already mirrored and all set to go. Make sure to set your Cameo or Cricut cut settings to heat transfer vinyl, smooth and that the heat transfer vinyl is loaded into your cutting machine with the shiny side facing down.
- Weed the design out of the cut heat transfer vinyl. Use a vinyl wedding tool to help.
- Set your iron to the setting between Cotton and Linen.
- Prepare your t shirt for the heat transfer vinyl application by laying it out on a flat, hard surface (not an ironing board) and iron the area where the design is going so it’s totally flat and smooth.
- Lay your heat transfer vinyl with the design in place on your shirt. Once your design is in place, press down on it so that the sticky side of the plastic sticks to the t shirt to hold it in place.
- Lay a piece of parchment paper over the design. Then, working in one section at a time, use the iron and apply pressure down for 10-15 seconds. Don’t move the iron around.
- Slowly peel the plastic up and your design should be adhered to the fabric. If any part of the design comes up with the plastic, lay it back down with the parchment paper and apply heat and pressure with iron again for 5 -10 seconds.
- Lay the parchment paper back over the design (with no plastic this time). Then, press with the iron again over the parchment paper for about 5-10 seconds.
- Enjoy your custom designed T Shirt!
Recommended Products
As an Amazon Associate and member of other affiliate programs, I earn from qualifying purchases.


ninesix
Tuesday 5th of February 2019
I love it, do you know how long it lasts on the clothes?
Angela Marie Made
Tuesday 5th of February 2019
Thanks! I made it with t-shirts about 5 years ago, the t-shirts have been through the wash and dryer a lot. The vinyl held up for several years before it started showing any cracking.So, I'd say a few years or so depending on how often it's washed.