While planning the office makeover for my mom, I knew that I wasn’t going to be able to make any DIY furniture builds due to the limited time.
To save time but still make a big impact in the space, I did an IKEA Billy bookcase hack with shiplap instead!
The IKEA Billy bookcase has long been a popular piece to use for custom built-ins which looks great.
However, I wanted to use the piece mainly for storage and as a focal point in the office, but I did not want to create any built-ins with it.
Since the bookcase is very simple, I decided to upgrade the piece and make it more cohesive with the office makeover design.
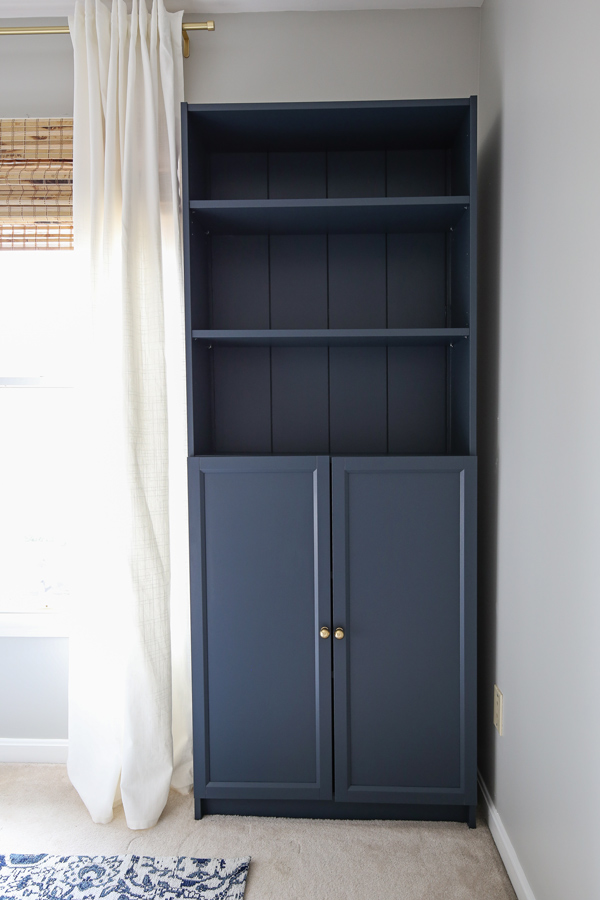
I did this by painting the bookcase with a rich, navy blue grey color, adding shiplap boards as the backing, and using beautiful, brass knobs on the doors (the doors were also from IKEA)! The step by step tutorial is below!
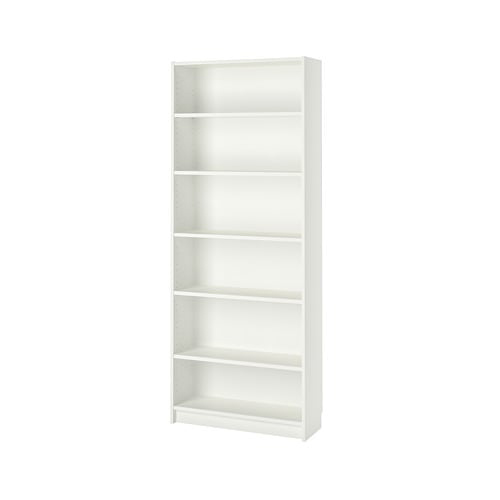
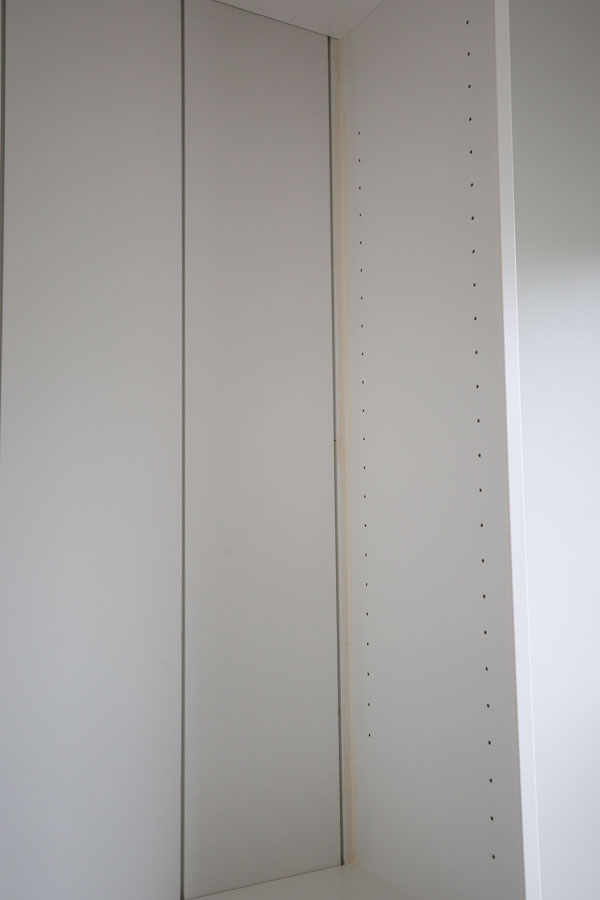
BEFORE PHOTO via IKEA:
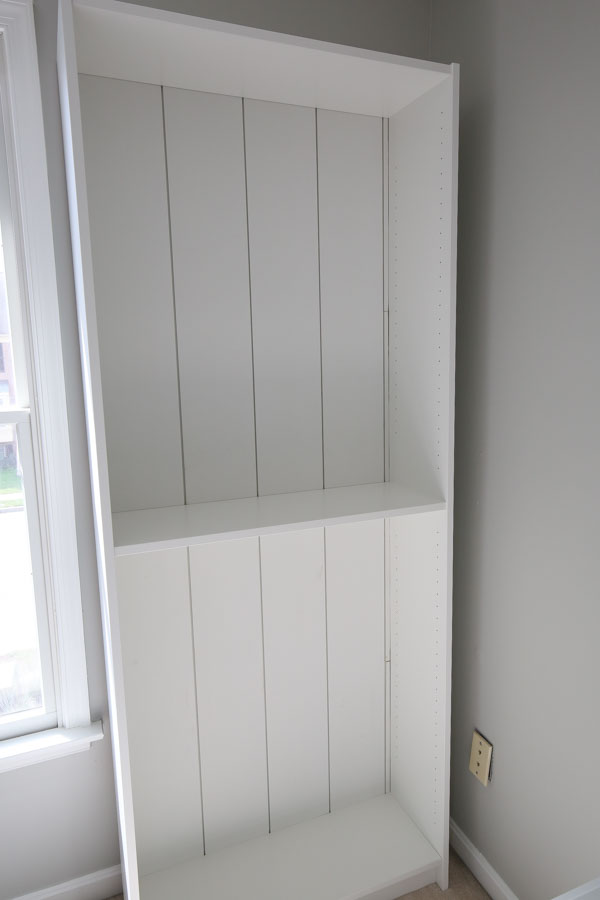
 AFTER PHOTO:
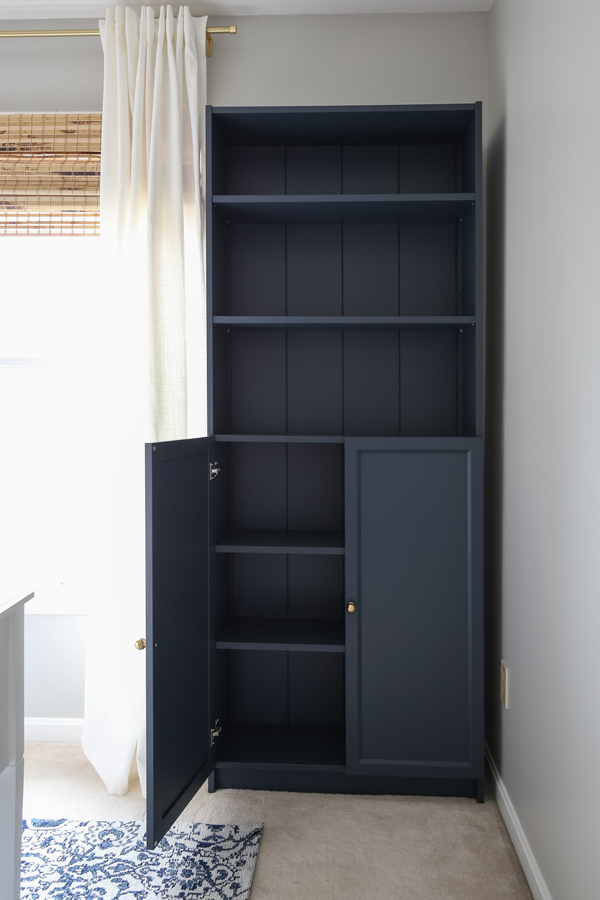
Note, this post contains some affiliate links. For more info see my disclosures here.
Billy Bookcase Hack with Doors and Shiplap:
Materials Needed:
- IKEA Billy bookcase
- (2) IKEA Oxberg Doors (optional)
- (2) Brass Cabinet Ball Knobs – similar here (optional)
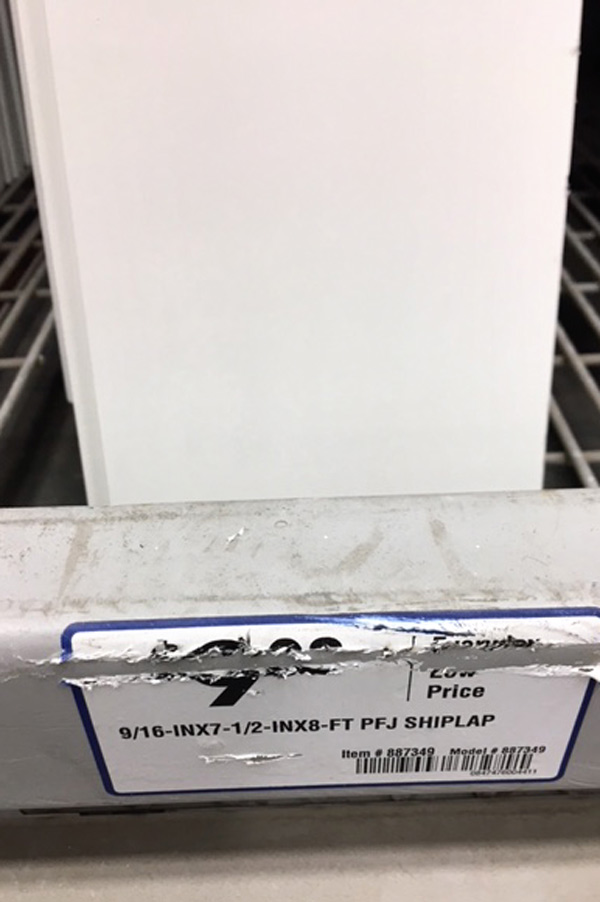
- (4 or 5) 7.5″ x 8ft Shiplap Boards or Tounge and Groove Boards*
- 1 1/4″ Brad Nails
- Paint – I used Blue Note by Benjamin Moore (eggshell) in their ben line
- 1 quart Shellac-based Primer
- Paint Roller and Paint Brush
- Inexpensive paint brush for primer (I used this one)
- Caulk (optional)
*See step 2 for details on shiplap boards
Tools Needed:
- Miter saw (optional)
- Brad nailer
- Circular Saw
- Drill
1. Assemble Billy bookcase using the included IKEA directions
Begin by assembling the bookcase using the directions included in the box. But, do not add the cardboard backing that comes with the bookcase and don’t add the shelves yet either.
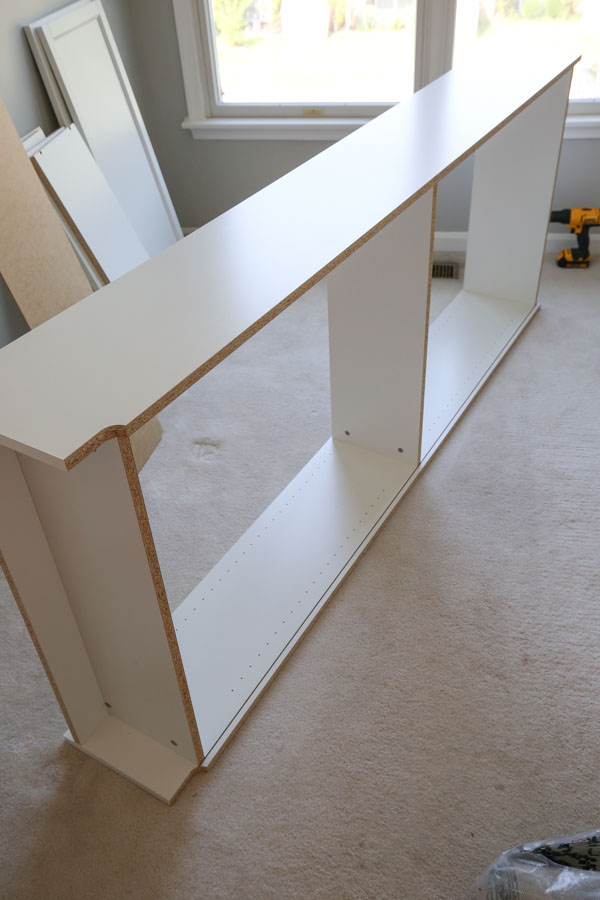
2. Add shiplap boards to back of bookcase
When I initially measured for the opening on the back of the bookcase it was 30″ wide. I picked out four 7.5″ wide shiplap boards which I found at Lowe’s. These are the boards I found in the store but I can’t find them online:
I love using these pre-primed boards as I explained in my how to paint shiplap tutorial because they make the finishing process quicker!
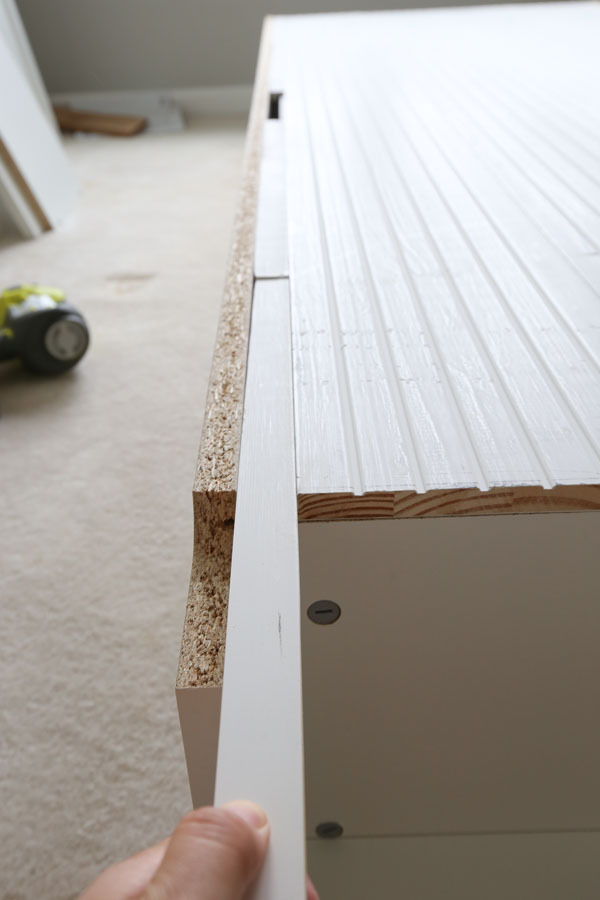
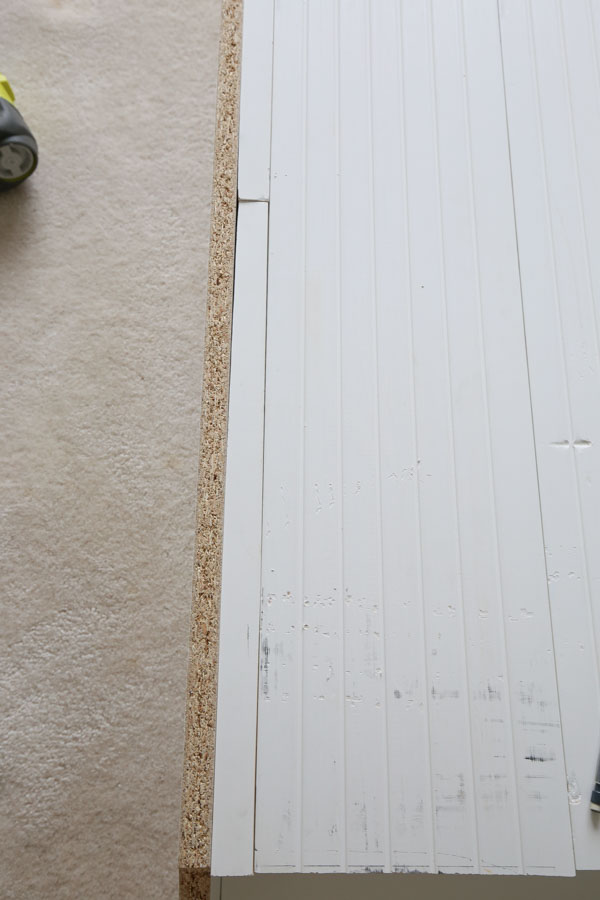
When I placed the four boards face down on the back of the bookcase, there was about a 1″gap! Ugh! I was expecting a perfect fit since 4 boards at 7.5″ equals 30 inches. But I didn’t account for the tongue and groove part which overlaps each board a little bit.
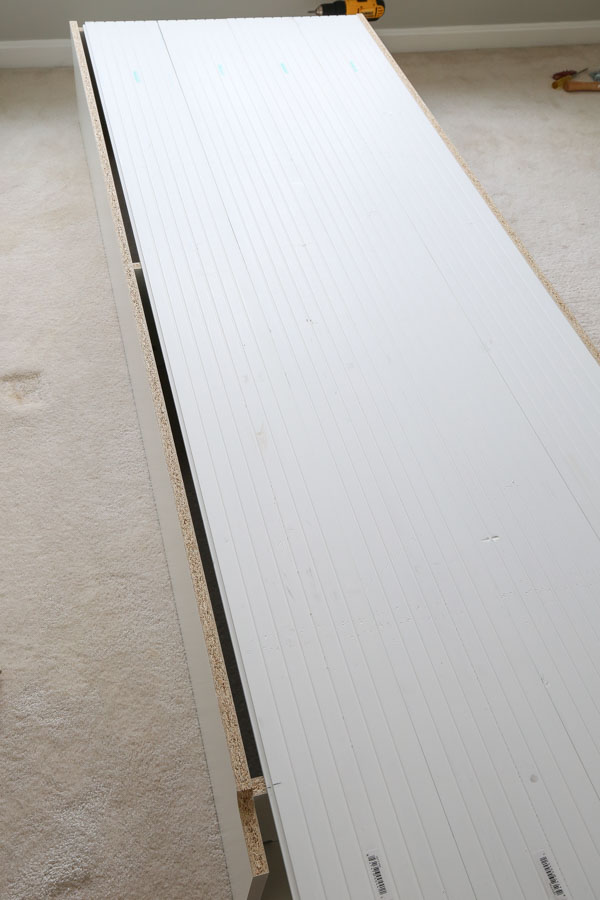
You can get a 5th board and rip it down to a 1″ width to cover the gap. However, I didn’t want to spend another $10 or go back to the store. So, we used our circular saw (you can also use a miter saw) and cut off the excess length on the 4 boards that needed to be cut off anyway to fit the back of the bookcase. This left me with 4 boards at about 20″ each.
We then stacked these boards and cut off about 1″ from one side of them using a circular saw.

I slid them into the gap to cover it. I used a little wood glue on the groove edge to hold them in place.
📩 Want to Save This?
This method ended up working great for us! If you want to use this same method, make sure you measure the exact size of your gap so the pieces fit perfectly. But, you can also just get 5 boards and rip the 5th board width to size as well.
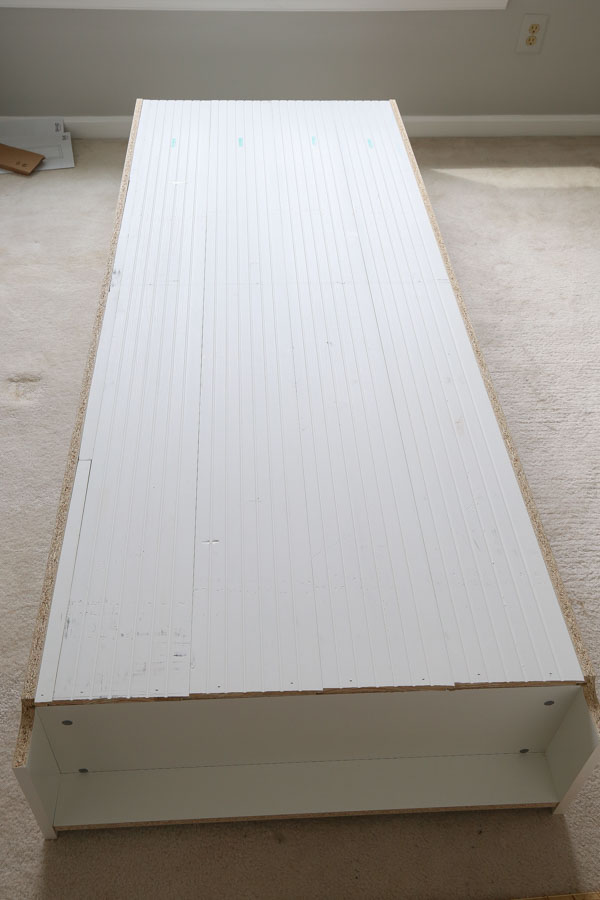
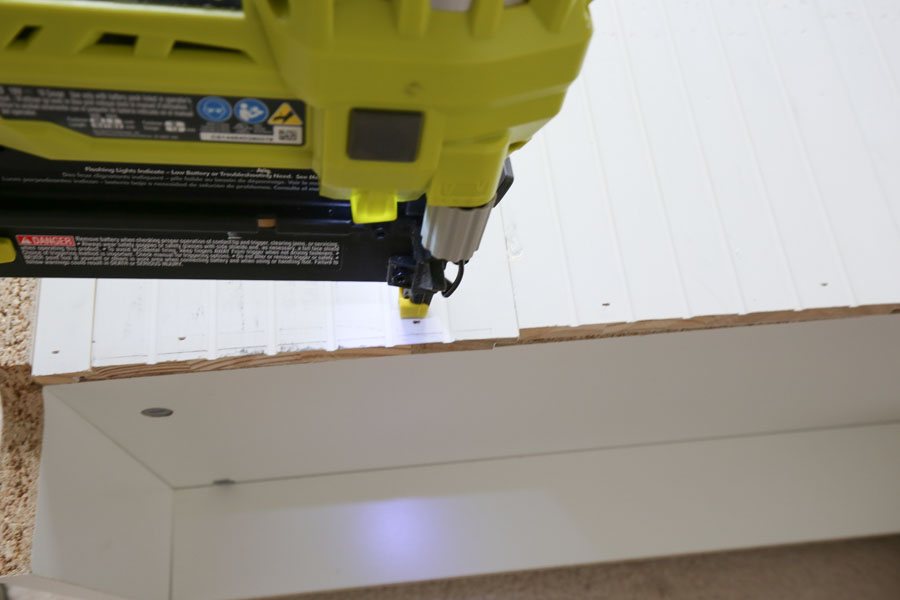
Finally, I attached all of the shiplap boards to the bookcase back with 1 1/4″ brad nails along the bottom, top, and middle edges using a brad nailer.
Go ahead and stand your bookcase up!
3. Prep bookcase and shiplap for primer and paint
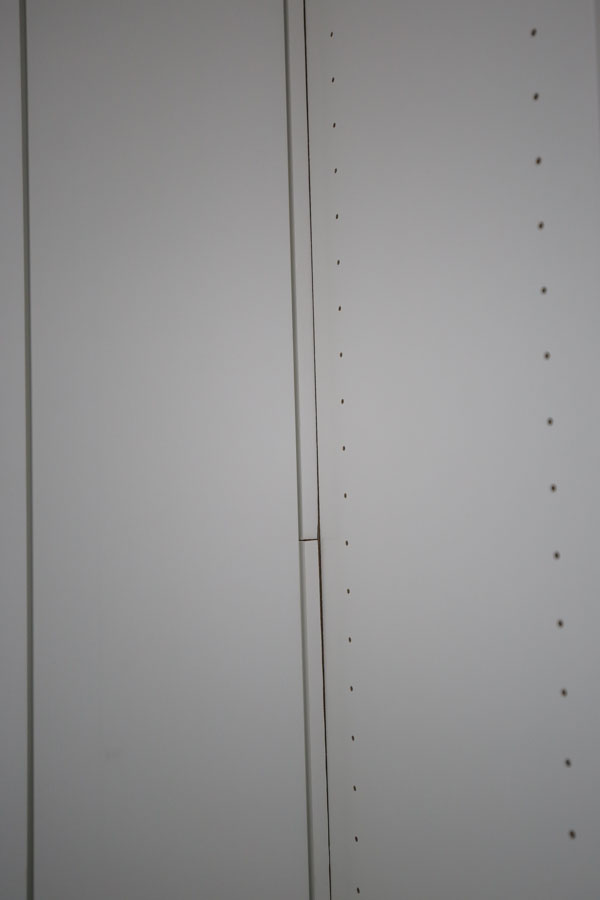
If you used the same method as I did in step #2 and you have a small gap along the side corner like I did from the custom cut board (shown in 1st photo below), go ahead and caulk it for a smooth transition line. It will look much better once painted!
4. Prime IKEA Billy bookcase with shiplap boards
Prime your IKEA Billy bookcase with a shellac, oil-based based primer and let it dry. I used this primer. Because the surface of the bookcase is laminate and almost like plastic, you need an oil-based primer to prevent peeling of the paint and to provide coverage.
First, I primed all the corners and places I couldn’t reach with a roller with a cheap, $1 chip paintbrush that I could throw away since I was using an oil based primer and didn’t want to have to clean a good brush with mineral spirits. Then, I rolled over the rest of the bookcase with a roller and the primer. You do not need to prime the shiplap boards if they came primed already like mine did.
5. Paint IKEA Billy bookcase hack
After priming, go ahead and paint your Billy bookcase with 2 coats of paint. Use a high quality paint brush for all the places you can’t reach with a roller, like the corners and shiplap board gaps, then roll the rest!
Note, it’s easier to paint the shiplap gaps as the boards are installed as explained in my how to paint shiplap tutorial. But, I forgot too and just painted after the install of the shiplap.
I used Benjamin Moore Blue Note paint in eggshell. I absolutely love this color, it’s so rich and beautiful! Also, I used the ben line of paint by Benjamin Moore since it’s more high quality which I’ve founds helps with the adhesion process when painting furniture as well as lasting better long term.
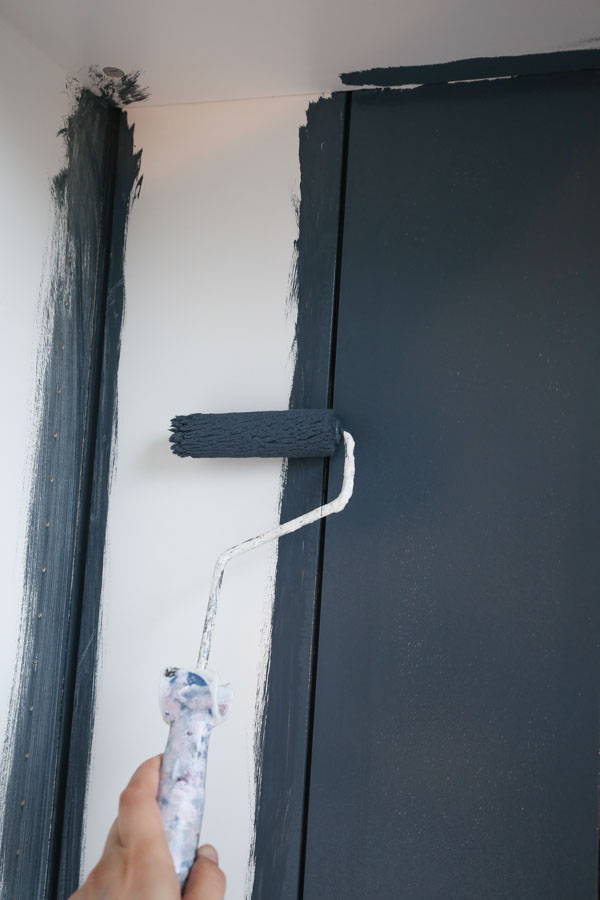
Also, if you are adding the IKEA Oxberg doors, make sure to paint those too! Once everything has been painted, let it sit for a few days for the paint to cure.
Finally, add your doors and shelves per the IKEA directions. After adding these pieces I did have to do a few paint touch ups! Lastly, I added these gorgeous, brass cabinet ball knobs (similar here) to the doors. I had to use a drill to drill through the partially pre-drilled holes that were already on the doors.
Once the bookcase was in place and all finished, we went ahead and secured it to the wall with the anchor hardware that came with the bookcase. I love how it turned out! I think adding the shiplap, rich paint color, and beautiful brass knobs really helped to transform the piece and make it a lovely focal point in the room!

I think it would have looked great without the doors too which would have really showed off the shiplap!

The final office reveal is coming up next and I can’t wait to share it with you all! Follow along on Instagram or Facebook for my latest projects, as well as Pinterest!
imee
Wednesday 30th of November 2022
Thank you so much for the shiplap idea. I am doing a makeover on my almost teenager son and this will be beautiful for his room.
Angela Marie Made
Friday 2nd of December 2022
That is awesome! You're so welcome :)
Kristina
Thursday 14th of May 2020
Hi! Random question... where are these curtain rods and curtains/shades from? Love them!
Angela Marie Made
Monday 18th of May 2020
IKEA and CB2. I have direct links and sources for them available in this post: https://angelamariemade.com/navy-and-grey-office-makeover-reveal/
Noemi
Sunday 12th of April 2020
Did you paint the bookcase once you built it minus the doors?
Angela Marie Made
Monday 13th of April 2020
Yes!
Elisha
Saturday 28th of March 2020
Looks beautitful and has inspired me. I'm looking at a combo of the Havsta cabinets for an office built in look, same blue color. Do you think this is also a paintable surface? Any suggestions for doors with the glass front? Think it'd work for spraying the paint on while disassembled? https://www.ikea.com/us/en/p/havsta-storage-combination-w-glass-doors-white-s29265981/
Angela Marie Made
Monday 30th of March 2020
Thank you Elisha! I haven't seen the Havsta cabinets in person, but I'm sure they can be painted as well! I would still use an oil/shellac based primer if the surface seems like it's a laminate finish. And yes I think spraying the paint on disassembled would be a good idea and make it easier. I would let it cure for several days though before putting together so the paint is less likely to chip when handling it. I'm not sure what I would do about glass doors!
Julie
Saturday 18th of January 2020
Love that you added the ship lap and paint. Since it has been a while, can I ask how it has held up? I would love to do something in my sons room but want to make sure paint is not chipping off
Angela Marie Made
Tuesday 21st of January 2020
Thanks! It held up well with just a few minor chips until my mom moved. In the moving process it did get several chips and needed to be touched up.