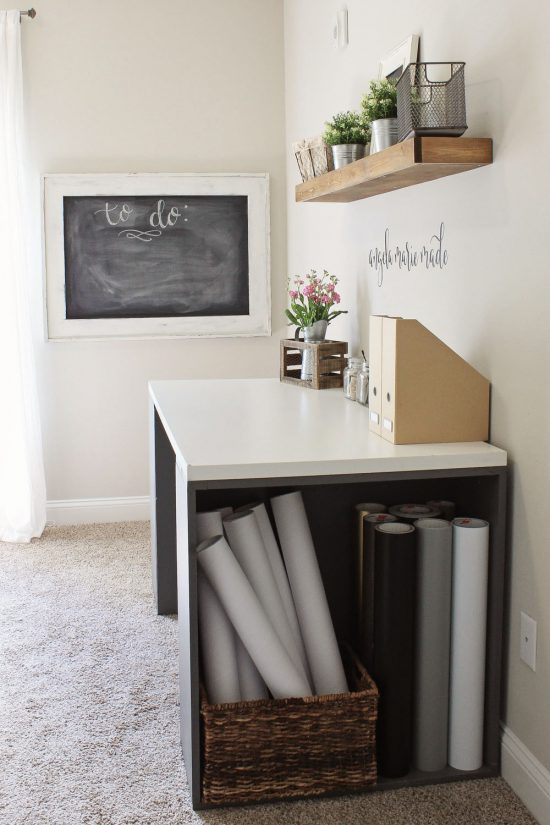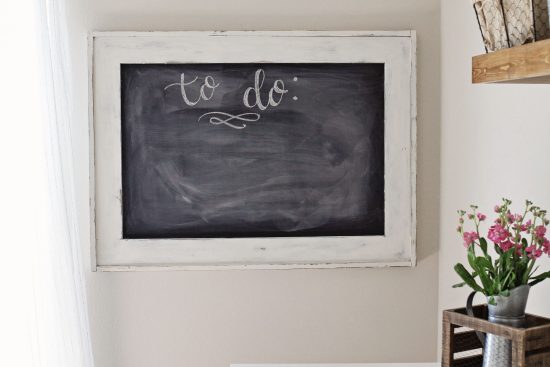
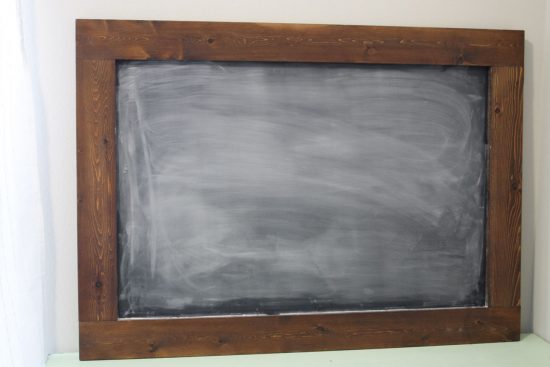
For the longest time I have been wanting to try milk paint. I typically use latex paint or chalk paint, but I’ve seen many awesome projects where milk paint was used and I really wanted to try it out to achieve a chippy finish! I had a chalkboard in my office that had a stained frame which I knew would look really cool if it had a distressed, white, paint finish to contrast with the black chalkboard. Here is the before photo of the chalkboard:
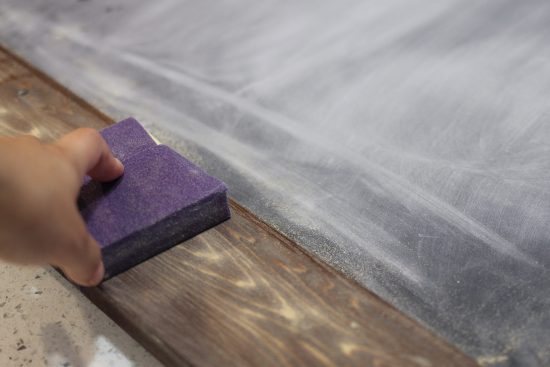
I decided to add some trim to the chalkboard to give it more definition and edges for distressing. I used Miss Mustard Seeds Milk Paint in Farmhouse White (loveeee this color). After using the milk paint, I didn’t quite get the chippy finish I anticipated at first. I sanded and distressed the chalkboard edges to get more of a rustic look, which resulted in this finish:
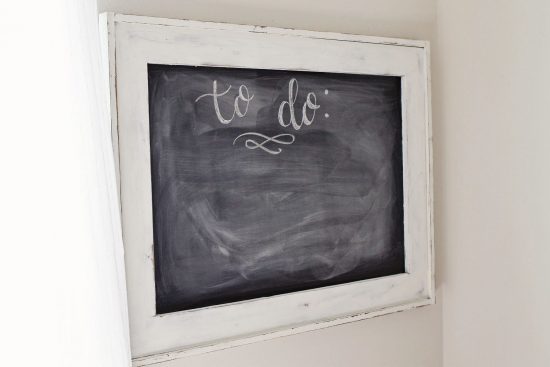
It didn’t chip quite like I imagined due to a preparation mistake I made. If you want a chippy finish, do not sand off all of the top coat or finish on your piece, only a little light sanding is necessary. A top coat will definitely help provide the resistance needed for chipping to occur. The original chalkboard frame I used had two coats of polyurethane and I sanded most of it off, which caused the milk paint to absorb in the wood instead of resisting it. However, if you do want the milk paint to be absorbed and not flake, raw wood or raw wood with stain is a great surface to start with! Either way you can sand your piece after painting, like I did with my chalkboard makeover, if you want to achieve a distressed finish.
After using milk paint for the first time in my chalkboard makeover, I am excited to use it again, especially on a vintage piece of furniture! Have you used milk paint before? What are your thoughts on it? Feel free to share in the comments below or on Instagram or Facebook.
You can check out the chalkboard in my full office makeover reveal here! Be sure to follow along on Instagram and Pinterest for my latest projects, fun updates, and sneak peeks!
