Ever since we bought our town home almost 6 years ago, I’ve been wanting to add beadboard to our half bathroom. I think a beadboard bathroom is so beautiful and classy looking.
Well, we finally finished the beadboard install and today I’m sharing how to install beadboard in a bathroom.
Although, this tutorial can be used for installing beadboard (also known as wainscoting) in any space really!
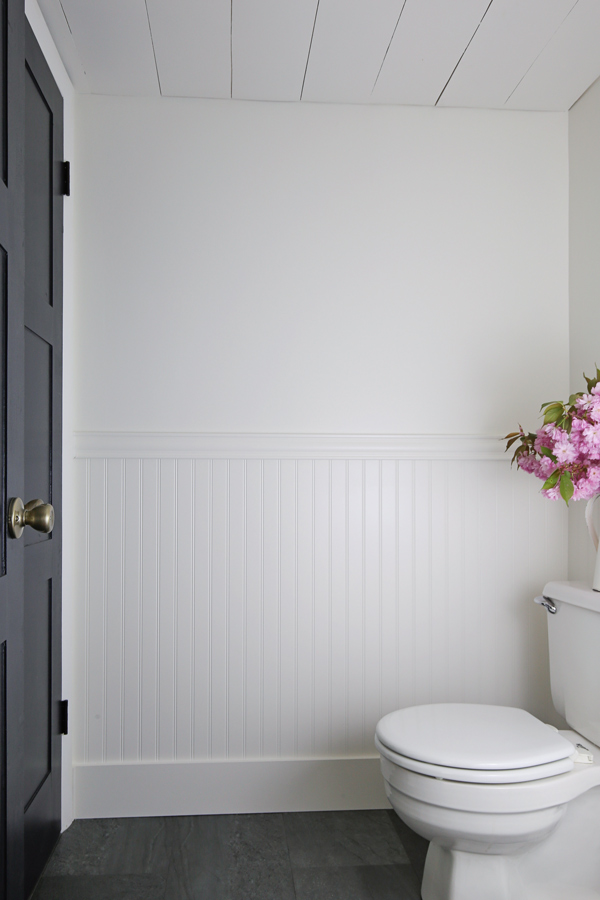
I love how the beadboard looks in our half bathroom makeover and it’s my favorite project so far in this space that we are making over for the One Room Challenge!
Note, if you are interested in floor to ceiling beadboard, make sure to check out my DIY beadboard wall!

In case you’ve missed any past projects, you can check them out here:
- ORC Week 1 – Half Bathroom Design Plan and Before Photos
- ORC Week 2 – DIY Panel Door, Demo, and Flooring
- ORC Week 3 – Shiplap Ceiling DIY
- ORC Week 4 – Vinyl Flooring Bathroom Update
Note, this post contains some affiliate links. I may earn a commission if you shop those links (at no cost to you). Thank you for supporting my small business. For more info see my disclosures here.
How to Install Beadboard in a Bathroom:
Materials
- Beadboard Panels (we used this beadboard)
- Chair rail moulding or trim (we used this moulding – similar here)
- Baseboard Moulding (I used 1/2″ thick MDF – see step #7)
- 1 1/4 brad nails
- Liquid Nails Construction Adhesive
- White paintable caulk for moulding
- Spackle
- Sandpaper
- Paint (we used Alabaster by Sherwin Williams in satin)
Tools
- Stud finder
- Miter saw
- Circular Saw
- Brad nailer
- Level
- Dremel tool (similar here), jigsaw, or drill (if needed)
- Measuring Tape
1. Measure wall width
Measure the walls that you are going to be adding the beadboard too and determine how many panels of beadboard you will need.
We bought our beadboard in 4ft x 8ft long panels and had our home improvement store cut them in half so we could fit them into our SUV to take home.
Also, if 4 feet beadboard panels are a little too tall for your walls, have your home improvement store cut the height down to the size you need. Or use a circular saw and make the cuts yourself.
We cut about 5 inches off the height of our beadboard panels so that we didn’t have to make weird cuts around where our mirror and light switches are located.
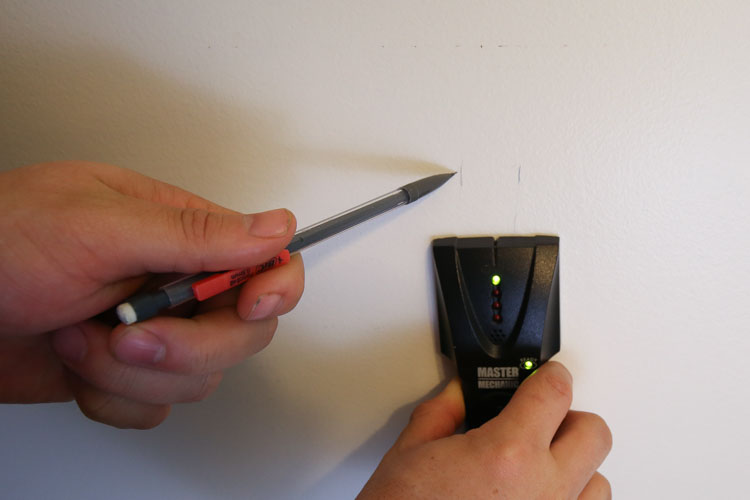
2. Mark Studs on the Wall
Use a stud finder and mark where the studs are on the wall. Make sure to mark right above where the top of the beadboard will hit.
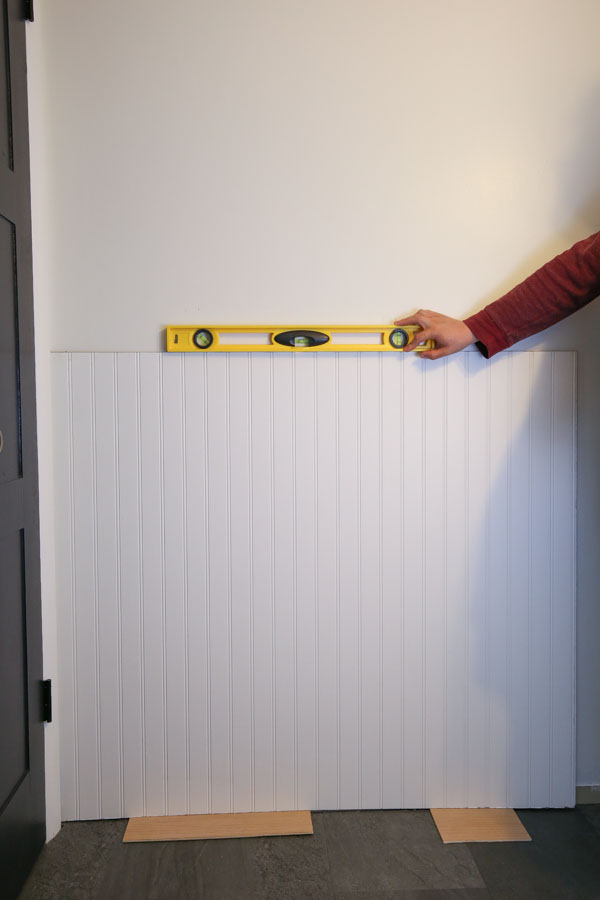
3. Attach first beadboard panel to wall
Line up your first beadboard panel to the wall, starting from one corner of the wall. You don’t want the beadboard to be resting on the floor, so raise it up a little bit off the floor. We used 1/4″ thick scrap plywood pieces to help do this.
Also, use a level to make sure the panel is level.
Once the beadboard is in place, apply construction adhesive to the back of the panel. Then, hold the panel up to the wall, make sure the panel is level again, and attach it with a brad nailer and brad nails.
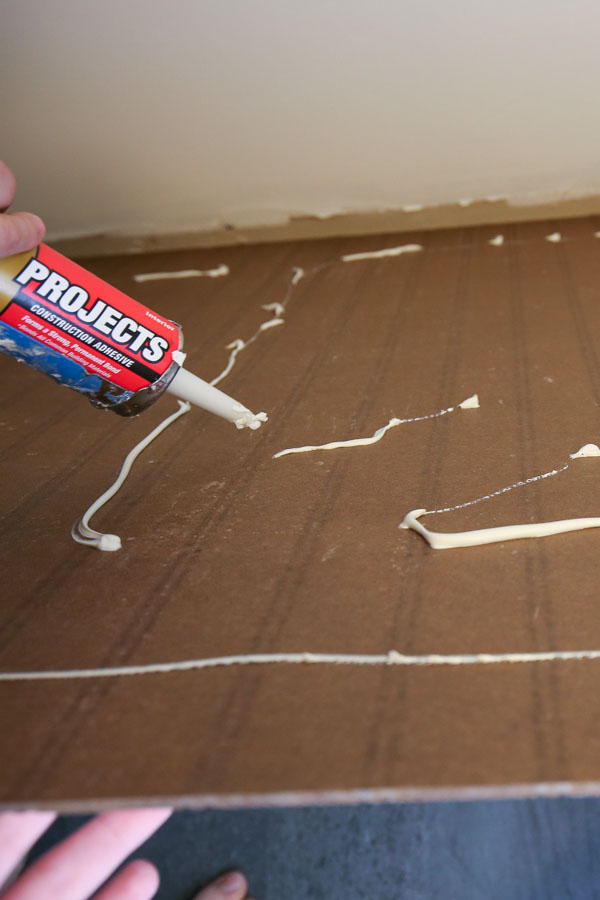
Make sure to place nails into the studs along the top and bottom of the beadboard panel, as well as a few in the middle.
4. Cut beadboard panel to size
Once you hit the end of the wall, measure the width from the edge of the last beadboard panel to the wall corner.
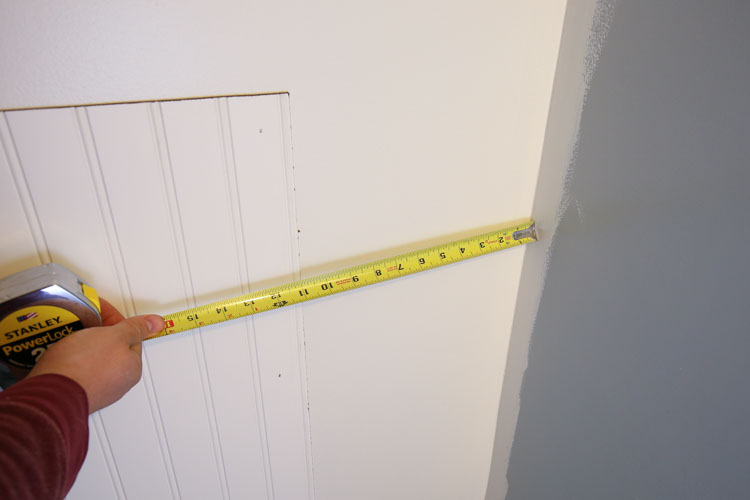
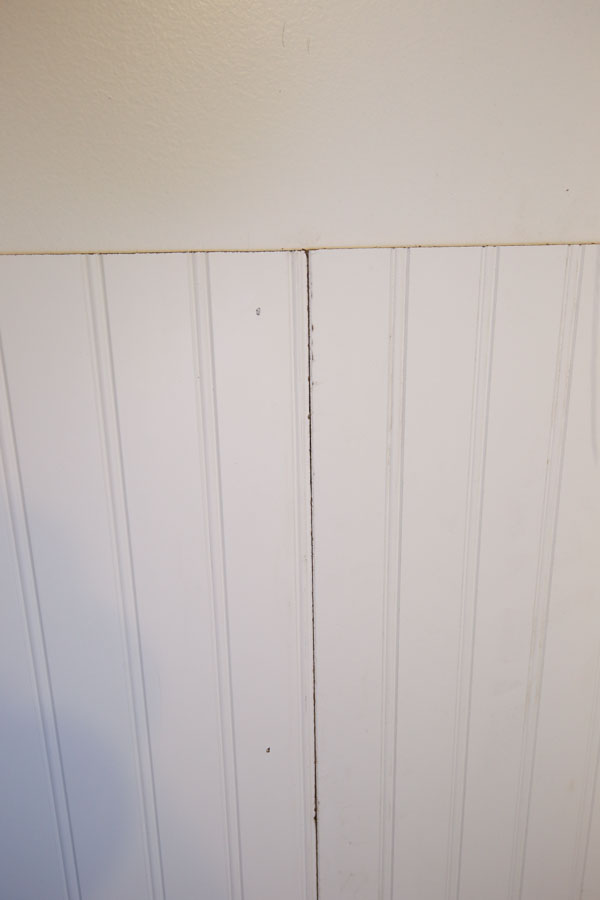
Then, use a circular saw to cut the next beadboard panel to the needed width. Try to cut the panel so that the beadboard design will line up with the next full beadboard as shown in the below photo.
We had to do this same step on our floor to ceiling DIY beadboard wall for our office.
Attach the cut beadboard panel to the wall with construction adhesive and brad nails.
Continue adding the beadboard panels to the walls until the room is finished. If you need to work around plumbing pipes or outlets, see the next step.
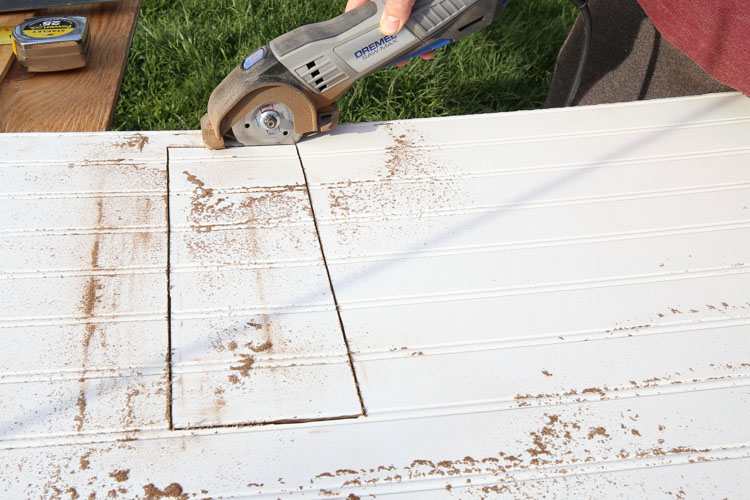
5. Make custom cuts for bathroom pipes and outlets
If you need to work around bathroom pipes, outlets, etc, measure and mark on the beadboard where the cut opening needs to be made.
Then, use a Dremel tool or jigsaw to cut the openings.
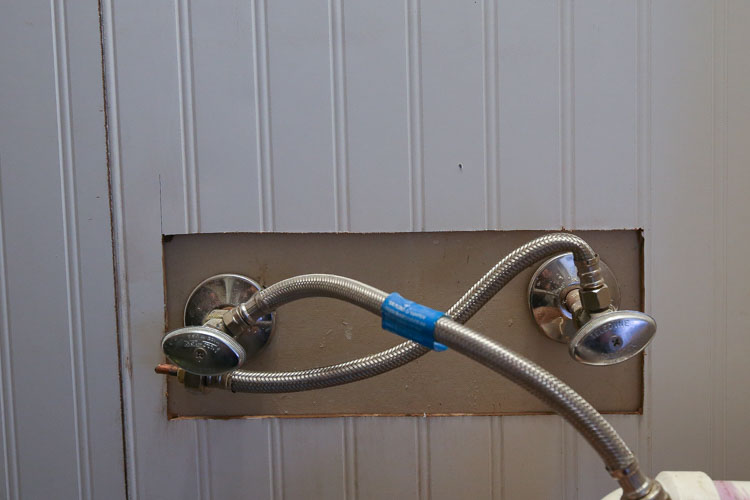
For cuts that don’t need to be perfect, like the cuts for the sink valves that will be hidden under the bathroom vanity, you can make the cut openings a little larger. We used our Dremel to cut a rectangle out of the beadboard, which worked great.
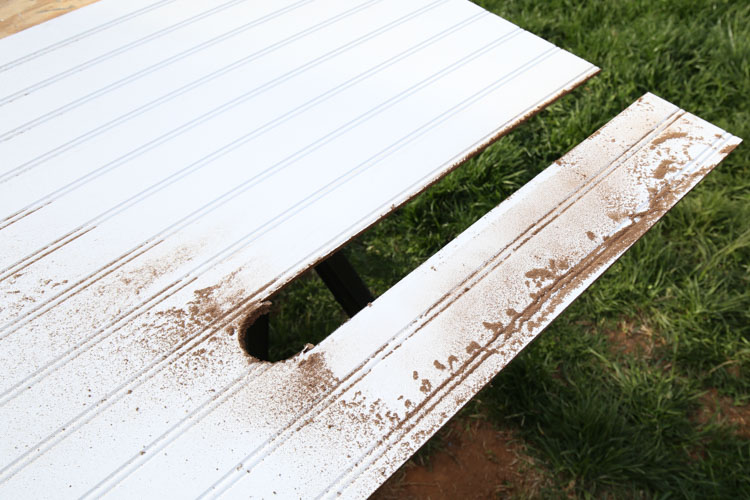
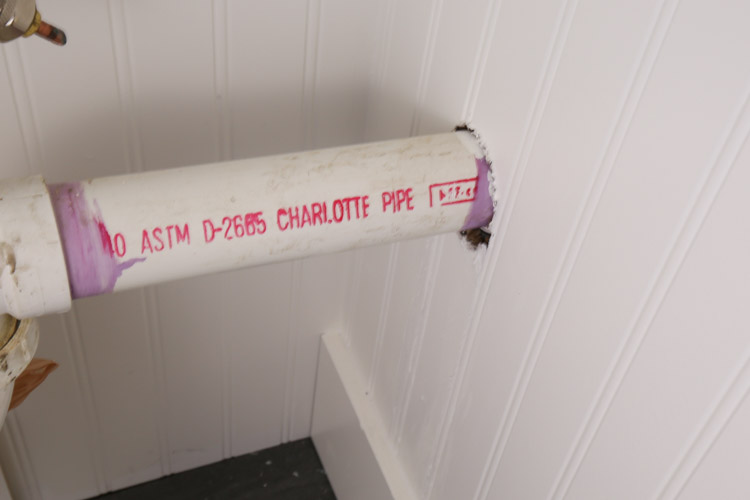
For more precise cuts for our PVC pipe and toilet pipe, we used a drill to cut a hole out of the beadboard.
Then, we used the Dremel to cut an opening from the edge of the beadboard to the hole so that we could slide the beadboard over the pipe.
Then, I filled the edge cut opening back in with the piece of beadboard we cut out and I caulked the seams.
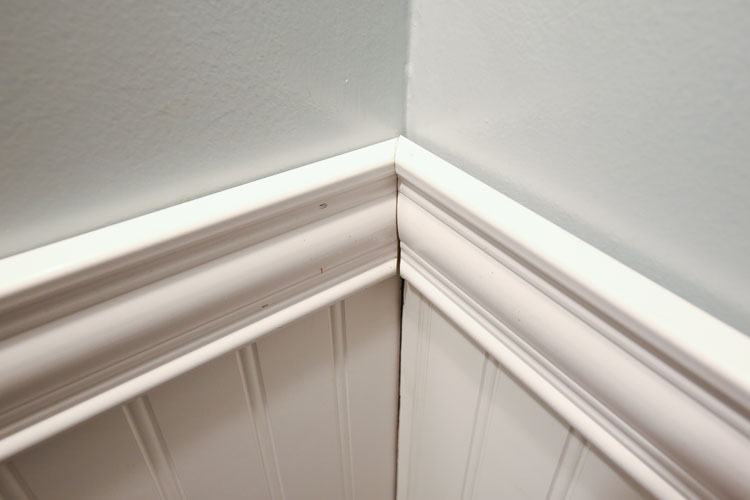
6. Install chair rail moulding to beadboard bathroom
Once the beadboard panels are installed on the walls, it’s time to install your chair rail moulding or trim to the top of the beadboard edge.
Chair rail moulding is a bit more expensive but it has a nice lip edge on the back of it so that it finishes off the beadboard nicely.
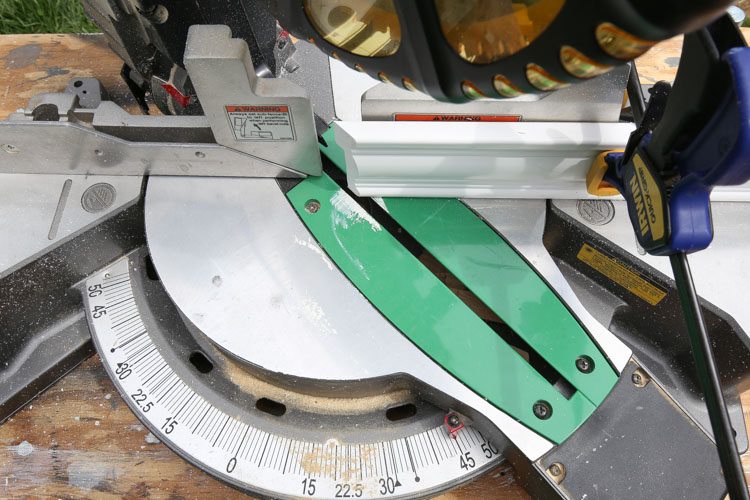
If your moulding is 8ft long, but your walls are less than that (like mine) or if you need to cut a corner to corner moulding piece, cut the edges at a 45 degree angle.
Otherwise, if your moulding ends are hitting doorway edges or connecting to another piece of molding on the wall (that’s not a corner), then you can do a straight 90 degree cut.
For the 45 degree corner cuts, you want the long point of the miter cut to the other long point to measure the width that you need on the wall.
My first wall is 5ft, so my moulding measured 5ft. long from the long point on one side of the molding to the other long point end. I held my moulding straight up when I made the 45 degree cuts, but you can also do a 45 degree bevel cut instead if that’s easier.
Mitered corners are tough to cut, so it’s okay if there is a little bit of a gap as this can be filled with caulk.
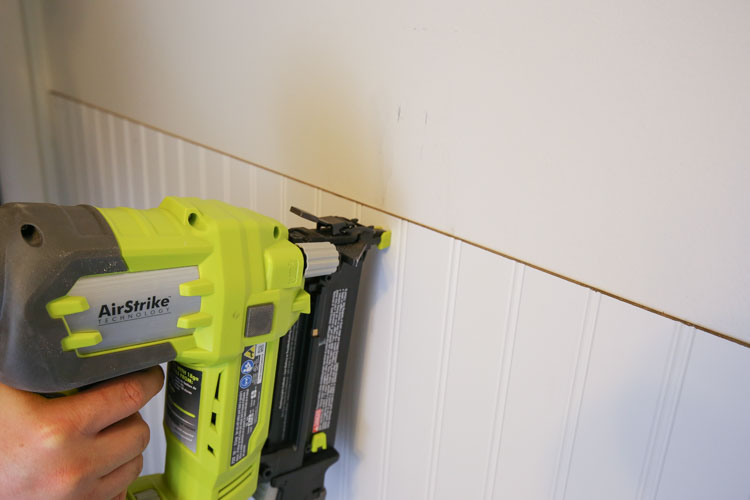
Attach the moulding to the wall with a brad nailer.
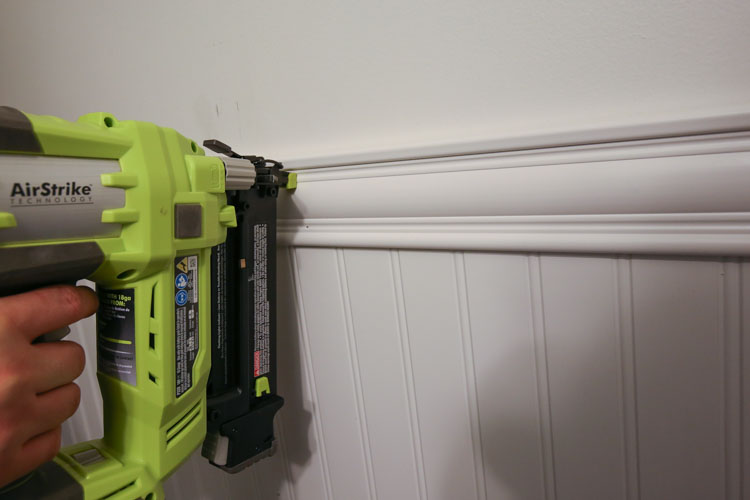
7. Install baseboard moulding to beadboard bathroom
Install your floor baseboard along the bottom of the beadboard wall using a brad nailer and brad nails. You can do 45 degree mitered cuts again for the corners a well.
Note, it helps to paint the baseboard first before installing to make your paint job easier later!
There are many different options for floor baseboard.
I really wanted a taller baseboard with straight lines since it’s so classic looking. However, it’s expensive to buy that style, so I bought a 2ft x 4ft panel of 1/2″ thick MDF board and ripped it down into 6″ boards. This saved me a lot of money!

After I cut my MDF baseboards to size, I painted them and then nailed them onto the wall. The paint must have swelled the boards slightly because I ended up needing to trim about an 1/8″ off of each board. Keep this is mind if you are using MDF.
Note, if you are painting your floor trim a different color than your beadboard, you can install it after painting the beadboard. We did this for our DIY beadboard accent wall in our office.
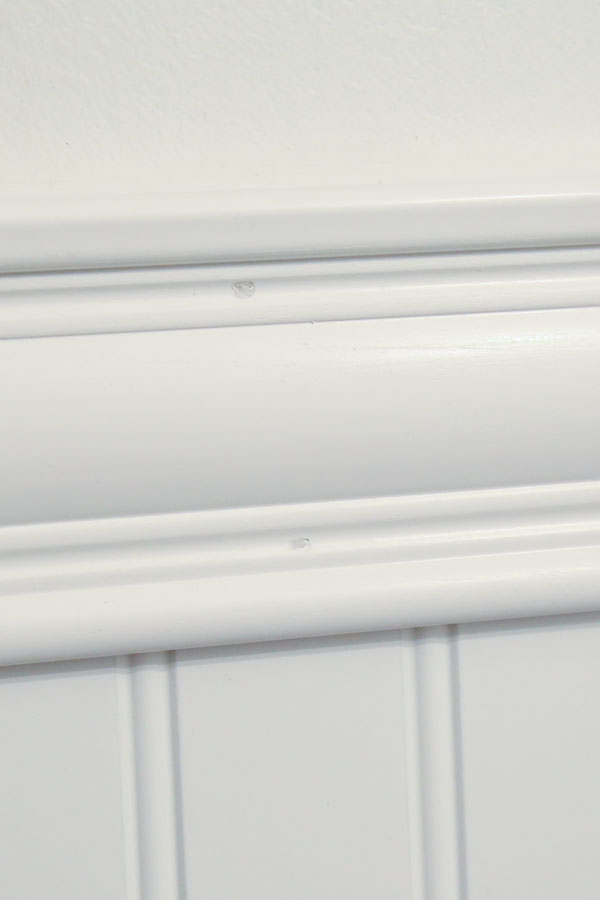
8. Fill nail holes, caulk, and paint
Now that your beadboard and moulding are installed, it’s time for the finishing steps!
Fill all the nail holes with light spackle, allow to dry, then lightly sand those spots so they are smooth. Then, caulk around the moldings, corners, and wherever two pieces of beadboard edges meet each other (including wall corners).
Finally, paint your beadboard and moulding! We used Alabaster by Sherwin Williams in Satin. I just love our beadboard bathroom!
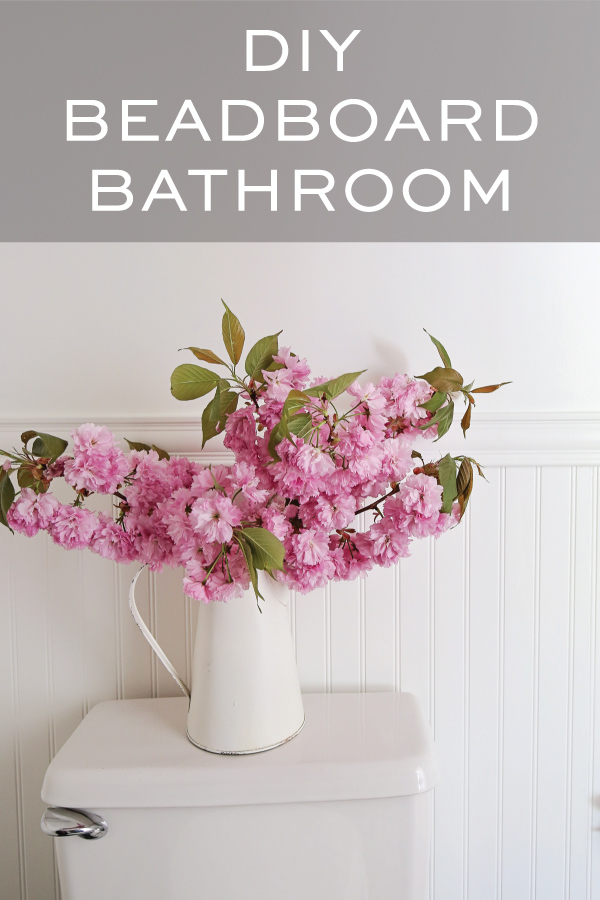
What do you think of our DIY beadboard bathroom walls?! If you want to save the tutorial for your home DIY projects, you can pin the pin below at the bottom of the post!
Make sure to check out our other DIY beadboard wall in our office! I go over how to install beadboard from floor to ceiling and we painted it in a beautiful color!
Follow along on Instagram and Pinterest for my latest projects and to stay up to date on our half bathroom renovation!
Also, check out the other ORC participants rooms here and see how their rooms are progressing! I can’t believe next week is the big reveal, I feel like I have a zillion things to do still haha!

Taylor
Sunday 31st of January 2021
I love the cozy vibes it gives off. Is your paint color on the wall also alabaster? Is it a different sheen?
Angela Marie Made
Monday 1st of February 2021
Thank you, we used Alabaster on the wall in the same sheen.
Colleen Manning
Saturday 2nd of January 2021
What kind of blade did you use in your Drexel tool to cut the beadboard for the plumbing?
Angela Marie Made
Monday 4th of January 2021
We used the 3" dremel sawmax blade for wood & plastic
Julie Rutili
Tuesday 10th of March 2020
I LOVE your project and thought you might suggest something for mine...I want to install PVC beadboard around my tub area but the two walls are angled. What do you suggest (time was out of our budget)? Thank you. :)
Angela Marie Made
Tuesday 10th of March 2020
Thank you! Can you explain a little more about the angled wall? Just trying to envision what it looks like!
Mallory
Friday 4th of May 2018
It looks great! Such a beautiful update for a small area. And I love that black door!
Angela Marie Made
Saturday 5th of May 2018
Thank you Mallory!!
Kristin @ Postbox Designs
Thursday 3rd of May 2018
I love seeing beadboard coming back! It was my first love before shiplap was even a thing :) It looks really great! I'm tackling my bathroom for ORC too-best of luck during this last week! :)
Maria Knowlton
Friday 31st of July 2020
It looks beautiful! But I have a quick question. When you added the chair rail, is it sitting above the MDF board (completely on the wall), overlapping the wall and MDF board, or completely on the MDF board? Thanks so much for any help you can give me!
Joanna
Monday 20th of April 2020
What color paint is on the wall above? The same?
Angela Marie Made
Thursday 3rd of May 2018
Thank you Kristin! I love beadboard and shiplap too, they are both so pretty!