
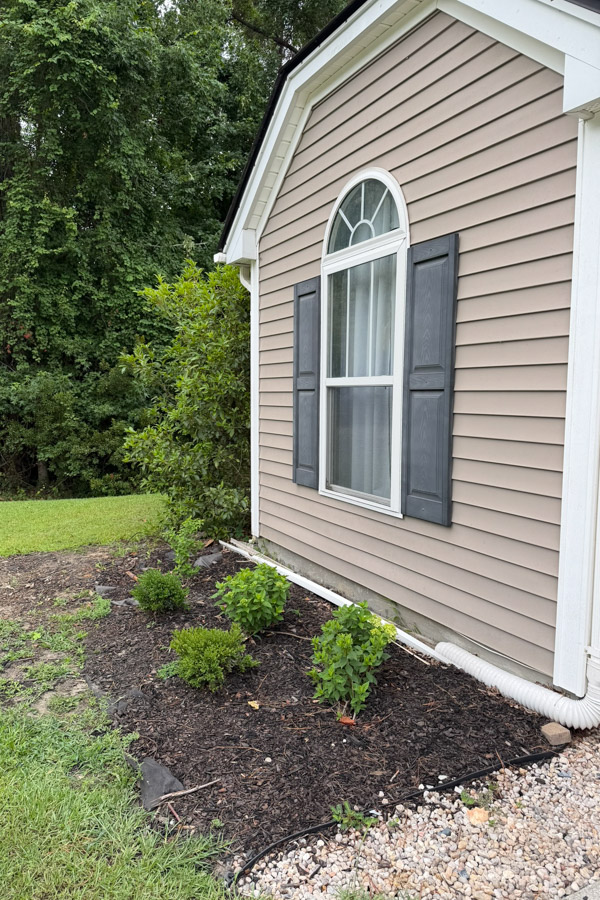
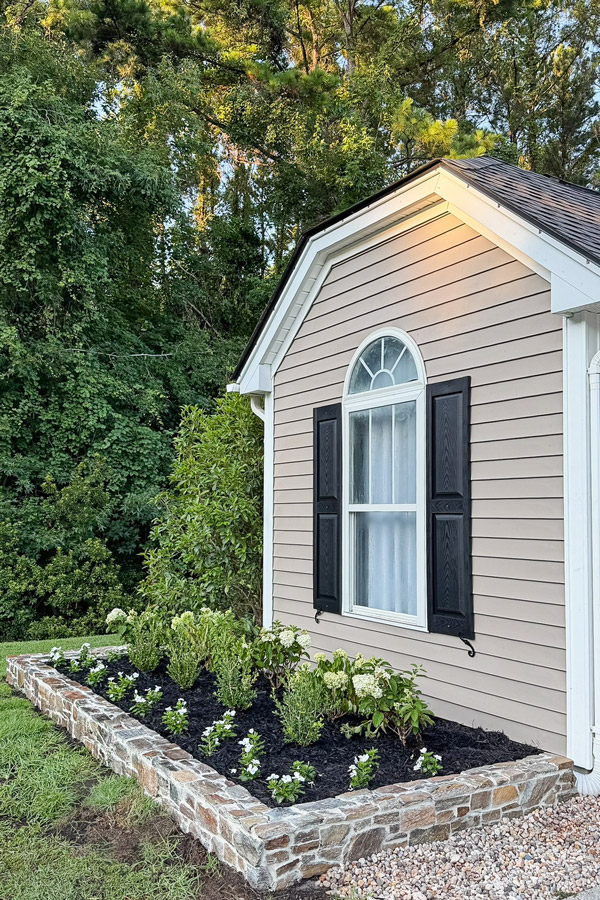
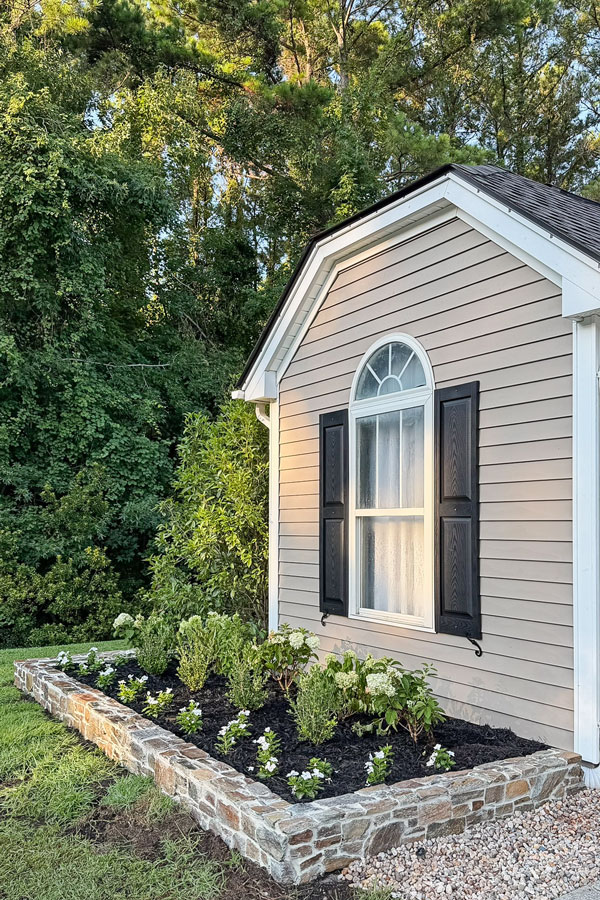
Our garden was looking quite sad the past few years and was in major need of a refresh. So, I came up with a garden makeover plan to elevate the exterior and add charm and curb appeal.
Here is a BEFORE AND AFTER!
Note, this post contains some affiliate links. I may earn a commission if you shop those links (at no cost to you). Thank you for supporting my small business. For more info see my disclosures here.
The Story of Our Garden Makeover
We have spent so much time improving the inside of our house over the past several years, that the exterior remained very neglected, except for removing a tree and the old pavers that were here.
Also, I wasn't sure if I would even share it because it's a very builder grade looking area and I just didn't know what to do for awhile to make it share worthy!
I wanted to keep this makeover very doable and nothing extreme since this isn't our long term house. I kept coming back to the idea of adding stone, one of my favorite natural elements and that's really what made this makeover!
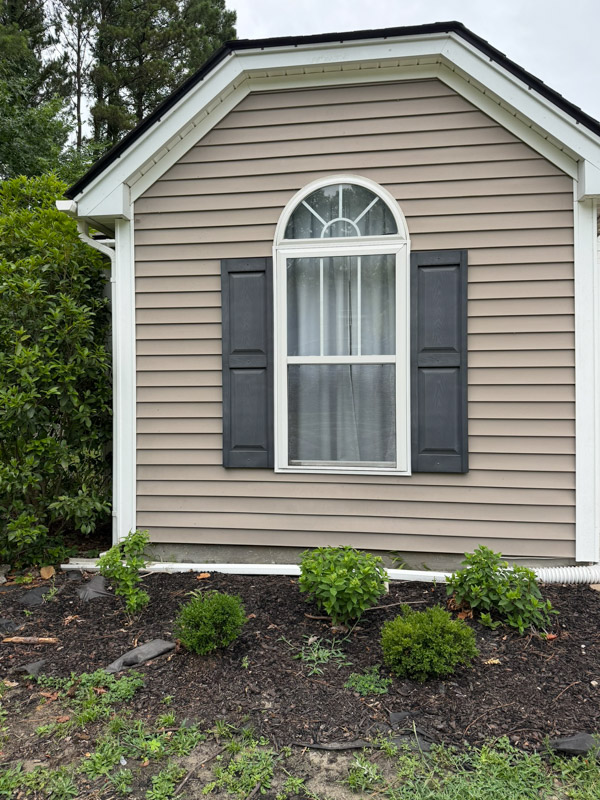
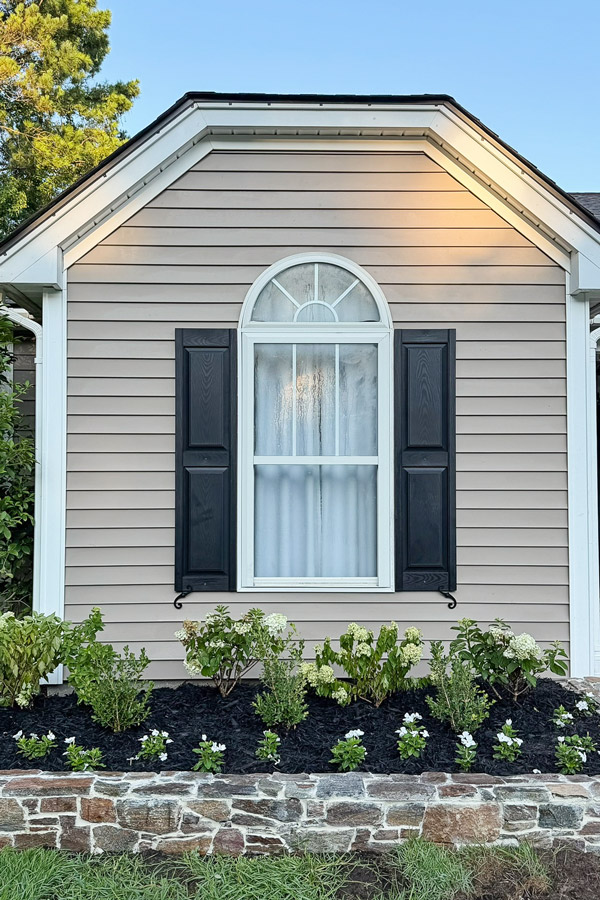
Here is another before and after!
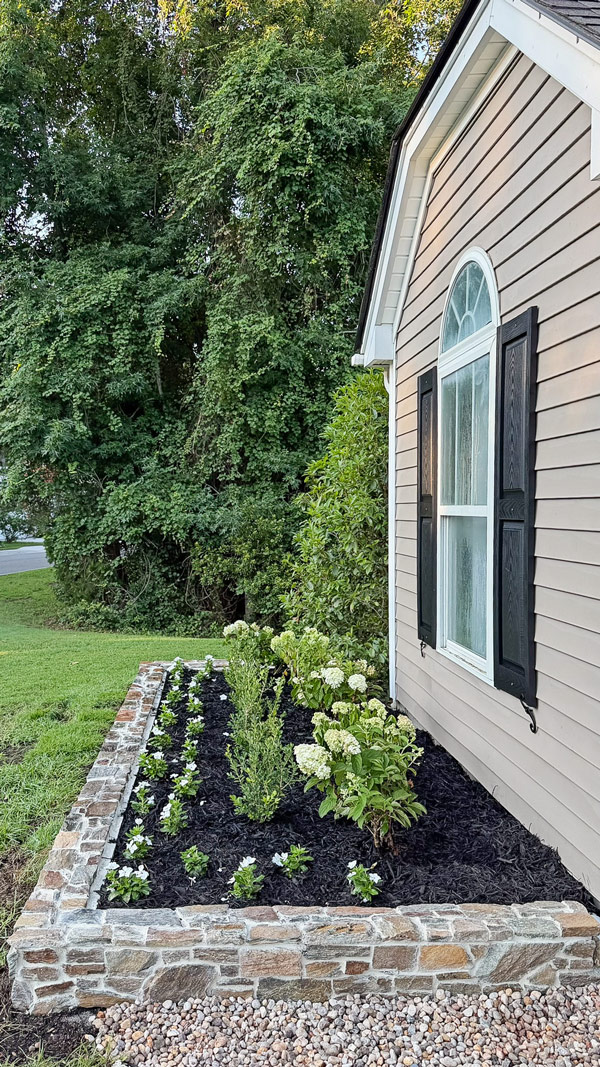
DIY stone wall for the garden
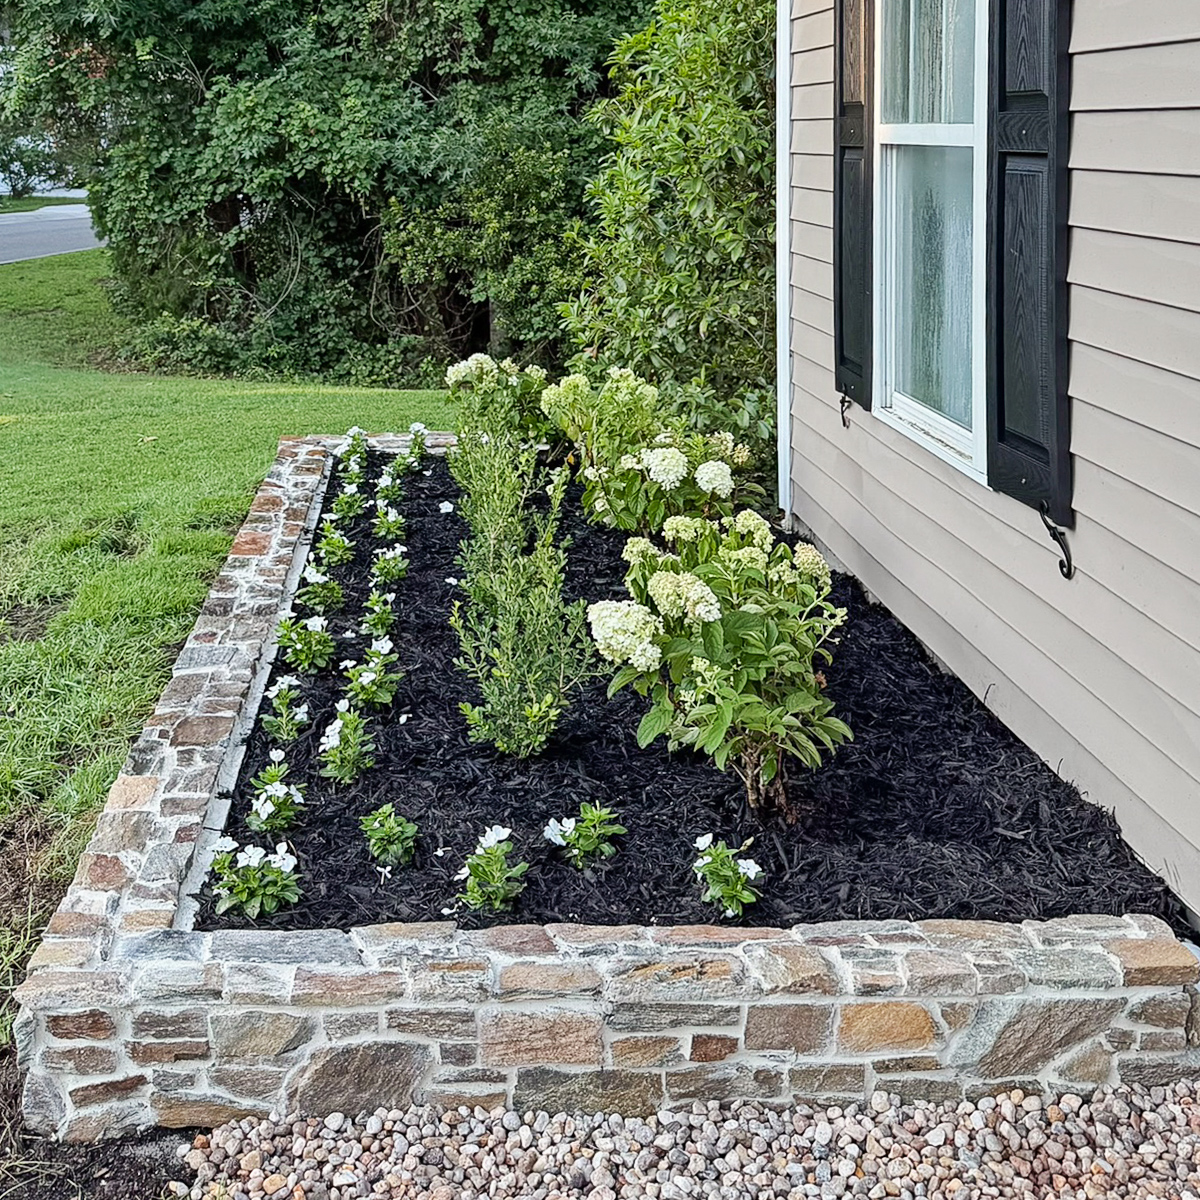
A stone wall is one of the best ways to add charm to any space, so I knew a stone garden bed wall was the way to go.
I wanted to keep this project simple and something we could DIY, so we ended up using cinder blocks as the garden wall base, then adhering slate stone ledgers to them. We filled the gaps in with this grout in the color biscuit.
I plan to share a more in depth overview of the process soon if you are interested in doing a similar project!
Elevating the Exterior Window
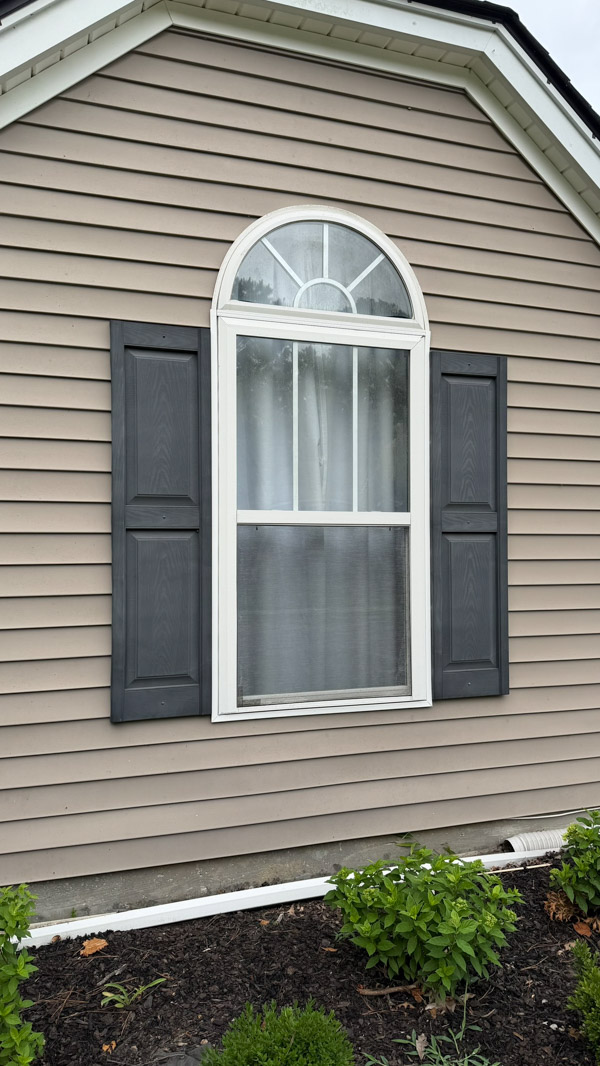
Next, we removed the old, dingy, warped shutters and power-washed the vinyl.
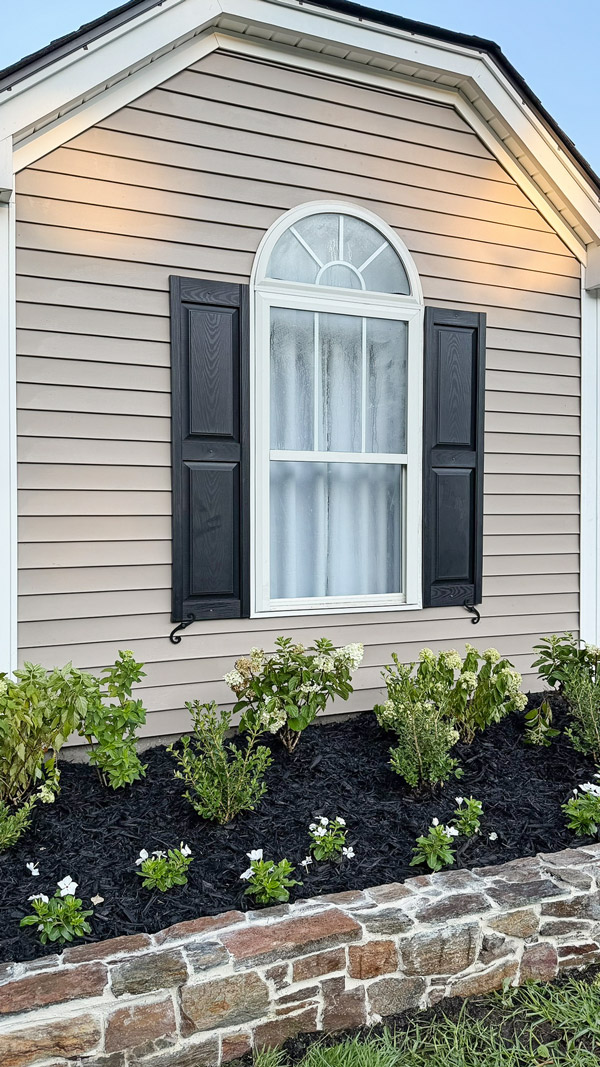
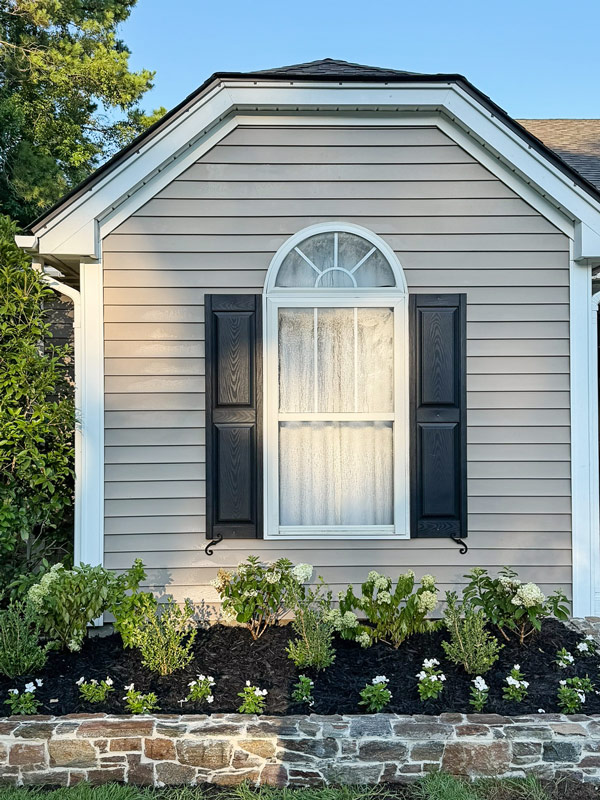
New window shutters were installed in black. I would love to get the window itself replaced, but will save that for another day and hire that one out!
📩 Want to Save This?
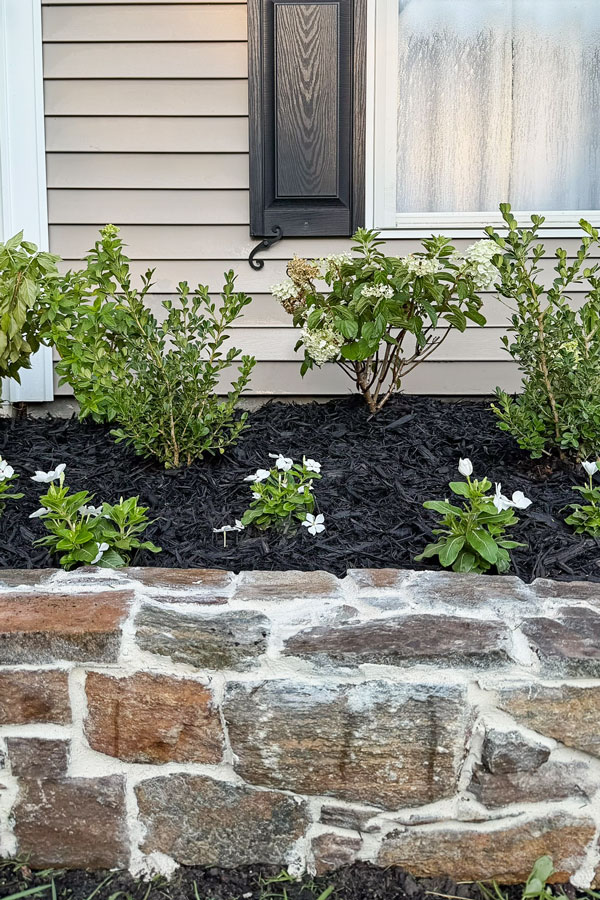
The final detail for the window was installing these S hooks for a charming detail! Most of the historic homes here in Charleston have these S hooks (for holding back shutters) and I just love the look!
Here is a BEFORE AND AFTER!
Here is another look at the cute S hook!
Updating the garden landscaping
Finally, we finished the garden off with fresh landscaping.
We added drainage rock, peat moss, top soil, and black mulch followed by little lime light hydrangeas and little hottie hydrangeas (very similar). We also added boxwoods and vinca flowers.
The last step was fresh pea gravel on one side of the wall and sod. We didn't have many good sod options locally, so we added what we could find, but it could use some more! I wish grass grew faster.
It wasn't ideal to plant everything in one of the hottest months of the year, but this project needed to get done before our 3rd baby arrives, and we are watering a lot!
We get extreme heat and sun in this garden, so there are very few flowers/plants that can do well here. The deer are a constant problem too, so I need to protect these hydrangeas!
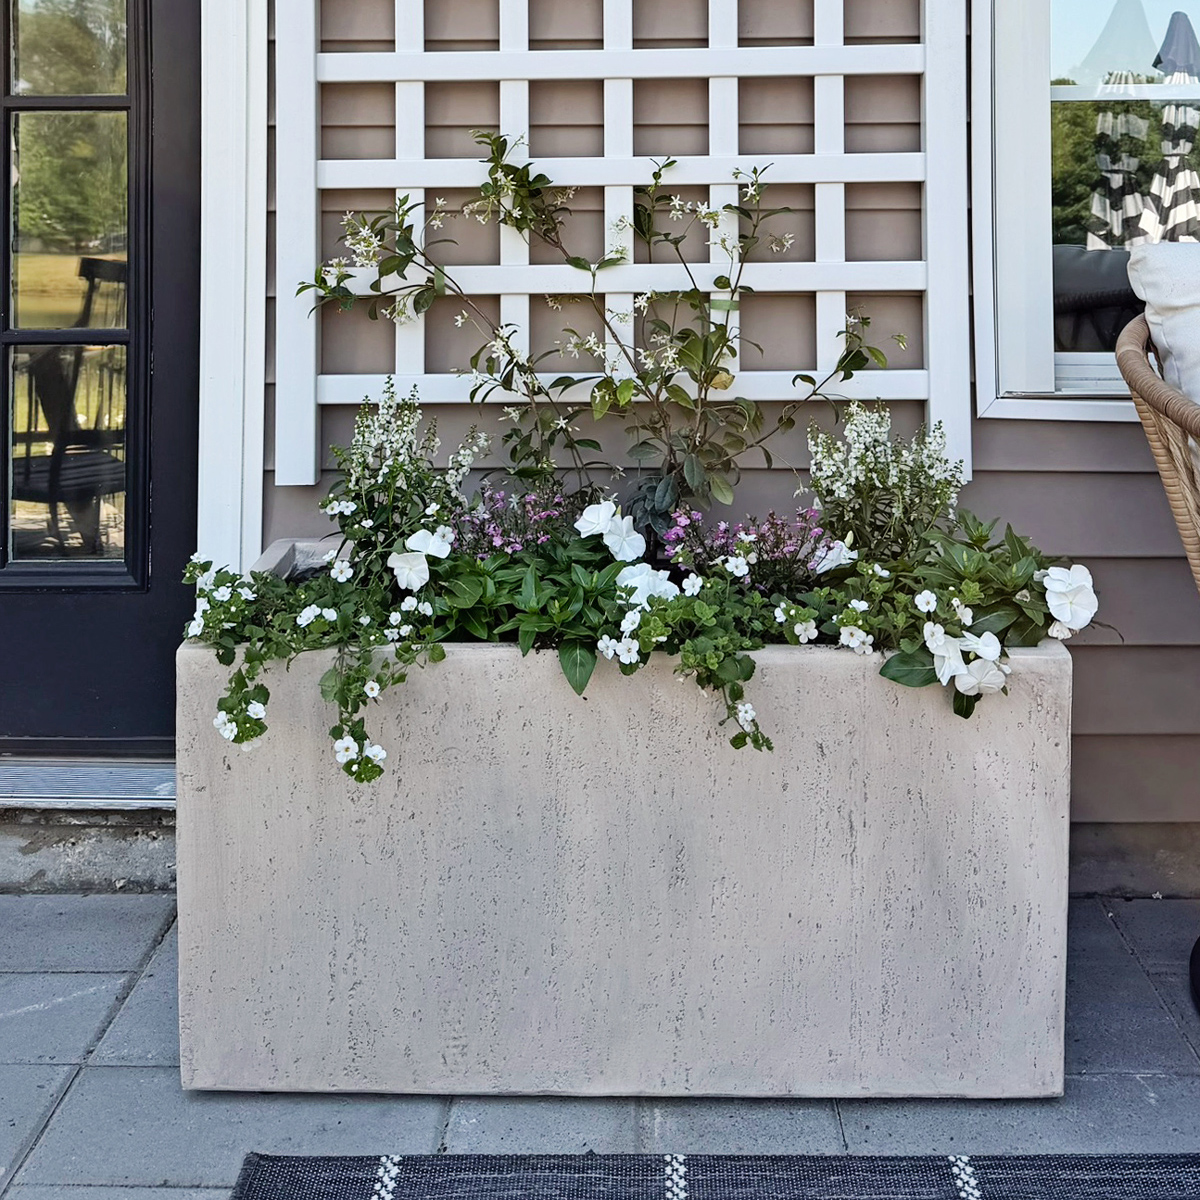
I plan to add a window flower box next to fully complete this makeover (by the fall)! Stay tuned!
I love how this garden turned out and that it finally matches the level of the interior of our home much better now!
All Products Used
- Slate stone ledgers (also available here!)
- Grout (in the color Biscuit)
- Window shutters
- S hooks for shutters
- Little lime light hydrangeas
Follow along for my latest projects and sneak peaks on Instagram, YouTube, TikTok, and Facebook!

Looks lovely! You are so clever with great ideas! Could you give me an estimate of what that area cost you for just the "bricking" part. I'm just curious! Thanks, and keep the ideas coming! 🙂