
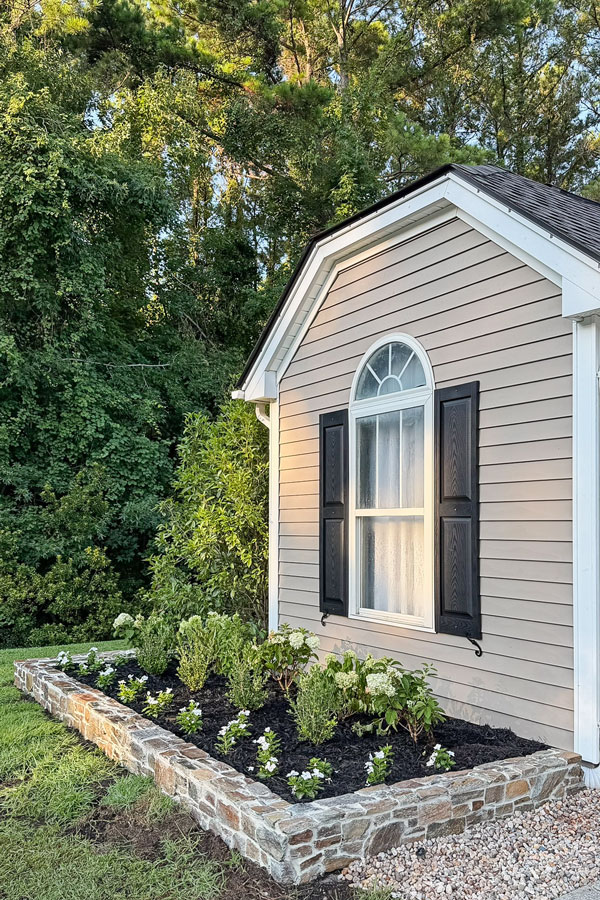
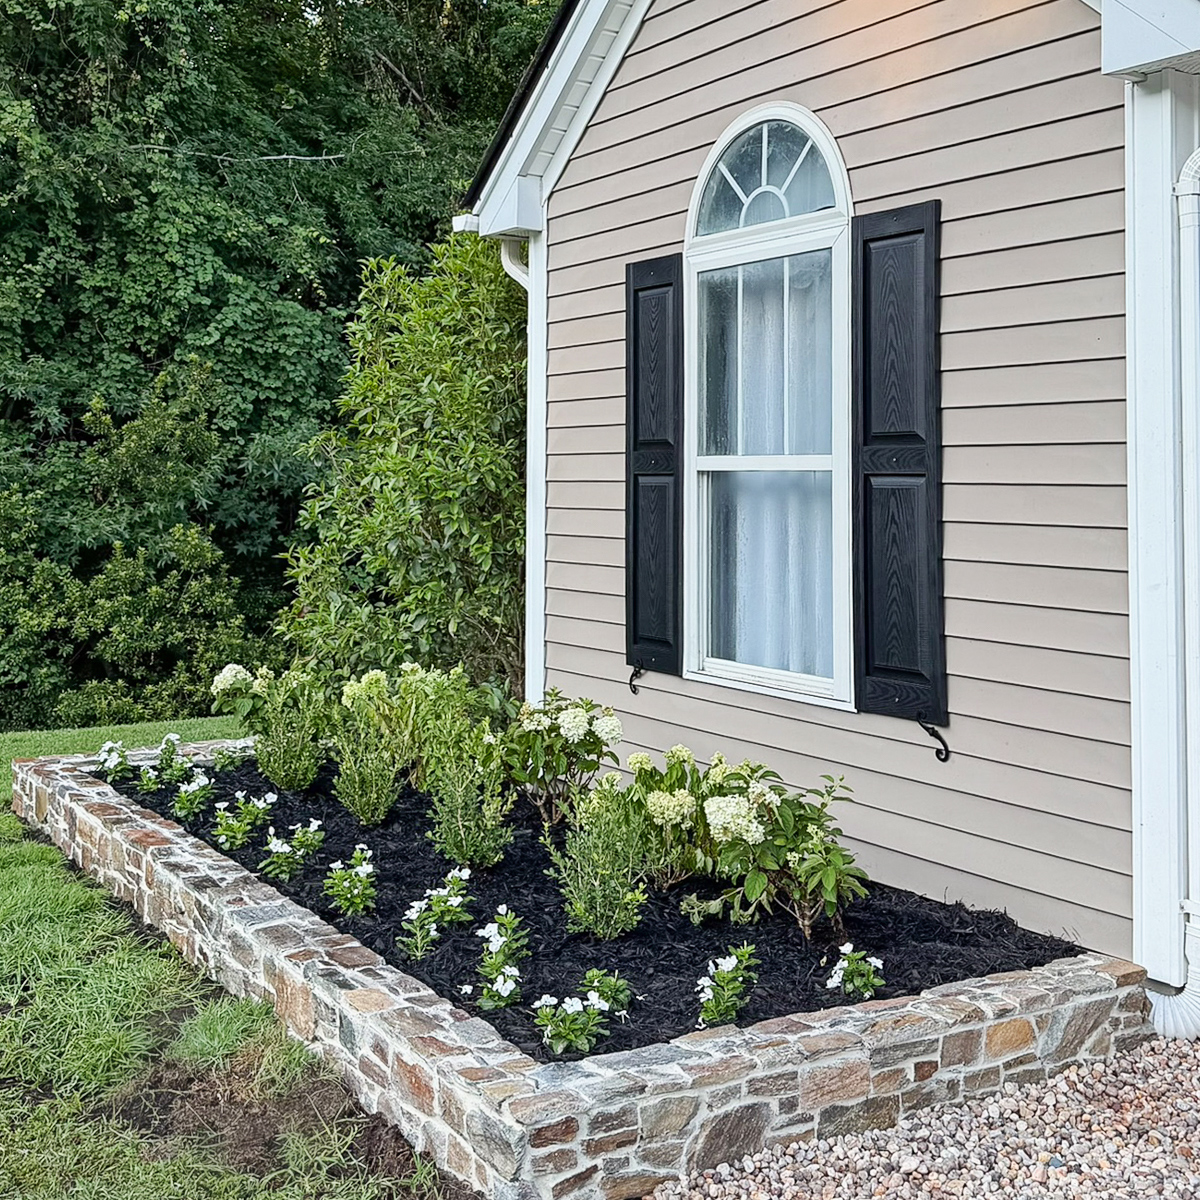
Sharing a DIY summary of how we built our DIY stone wall for our garden bed!
A big part of our garden makeover was installing our DIY stone garden wall. I wanted to share a more detailed overview of how we built it and a list of materials that we used in case you are interested in doing a similar project!
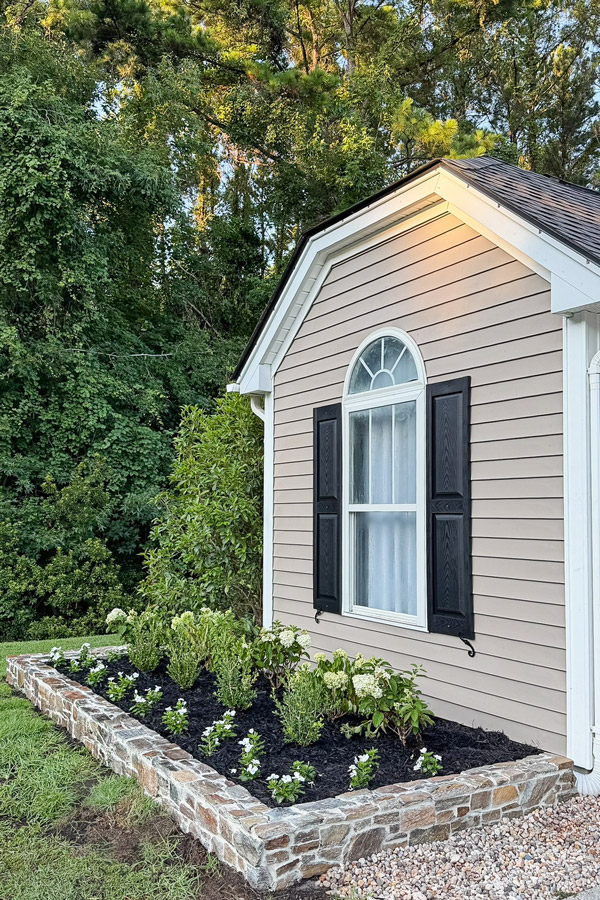
You can see my DIY Stone Wall for a Garden Bed video here on Instagram to see it all in action (coming soon)!
Note, this post contains some affiliate links. I may earn a commission if you shop those links (at no cost to you). Thank you for supporting my small business. For more info see my disclosures here.
Stone Used
The key to this project was the stone ledgers. We used these slate stone ledgers that come with a wire backing and are about 1" thick. I ended up finding them here with free shipping to the store, which saved quite a bit of money in shipping. But, I did still order the corner stones through the original shop.
Note, the stone ledgers come four pieces at 8" x 22" per case. The corner pieces come one piece per order. So we ordered 2 corners.
Materials Used
- Slate stone ledgers (also available here!)
- Paver base
- Cinder blocks
- Hand Tamper
- Exterior construction adhesive
- Grout (in the color Biscuit)
- Grout sponge
- Grout bag
- ⅜" backer rod
- Brick hammer (for breaking stone)
- Chisel (for breaking stone)
- Cutting pliers
- Floral wire netting
DIY Stone Wall for a Garden Bed
1. Install Cinder Blocks
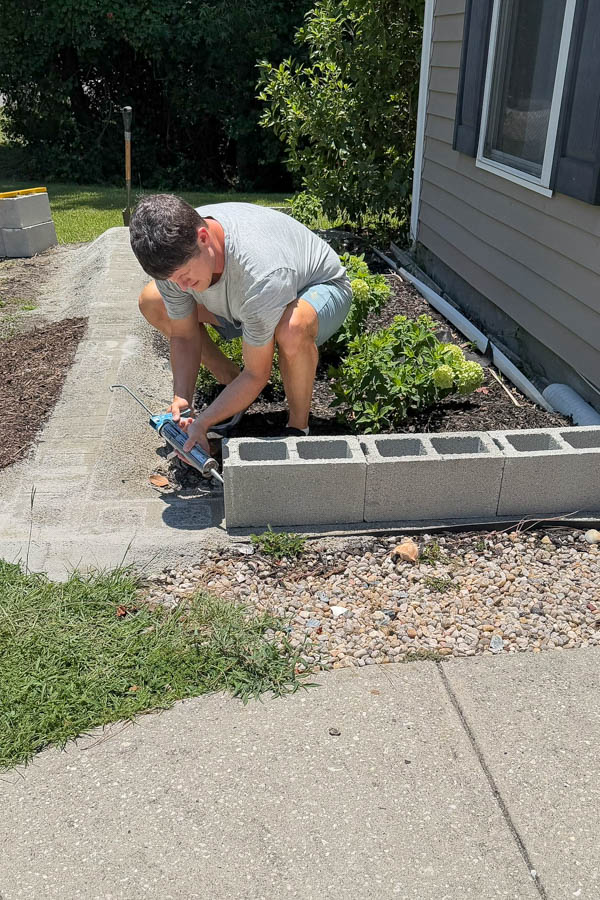
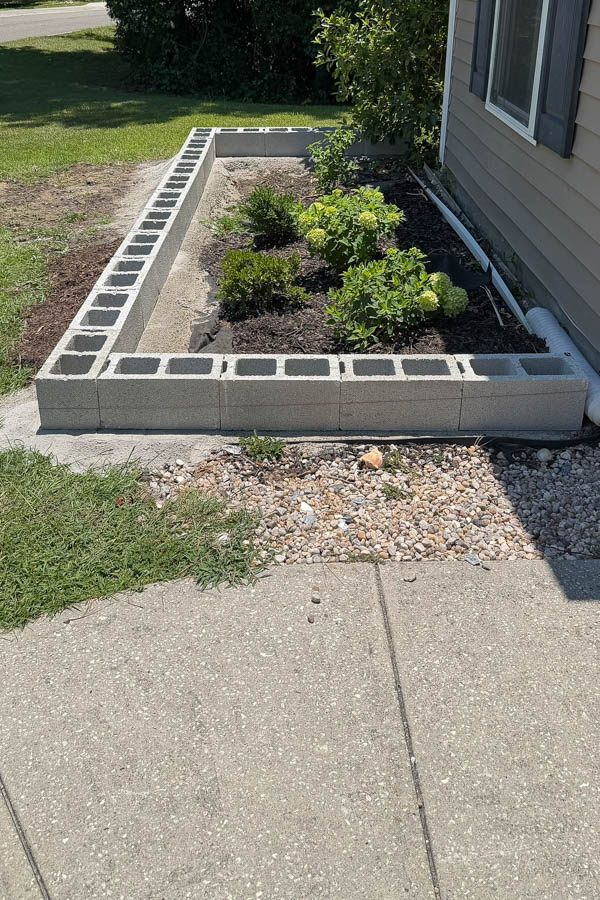
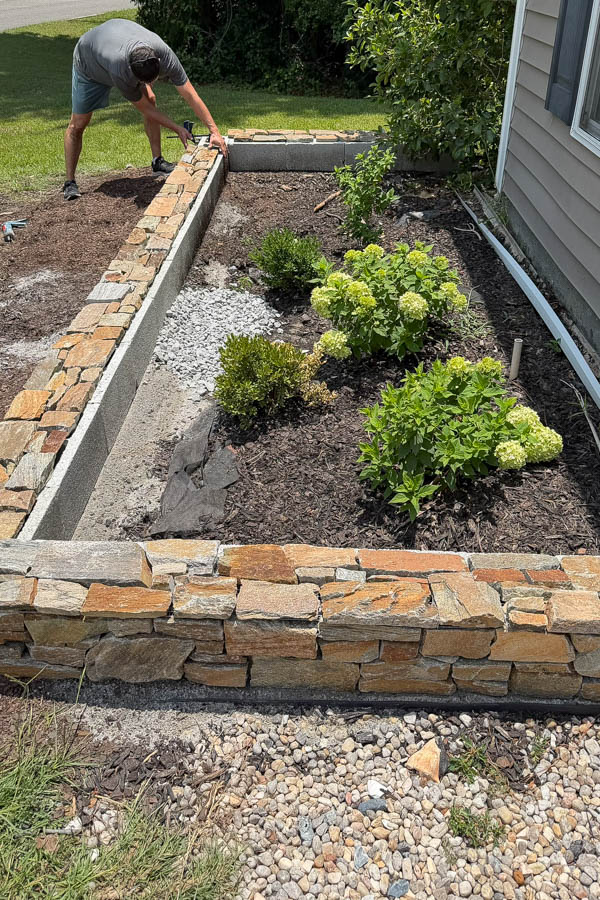
The first step was to install cinder blocks for the wall. Brandon used a hand tamper and lots of paver base to create a smooth, level, and square base to lay the cinder blocks on top of first.
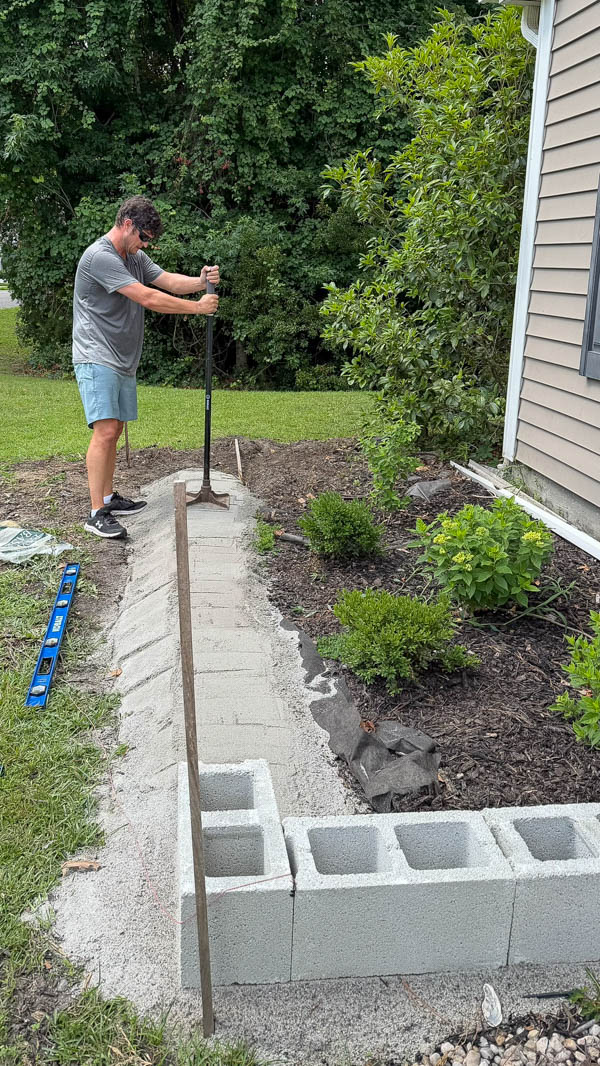
Then, he laid the cinder blocks down, ensuring they were level and square, and attached them together with this extreme, exterior adhesive (which works incredibly well)!
2. Install Stone Ledgers
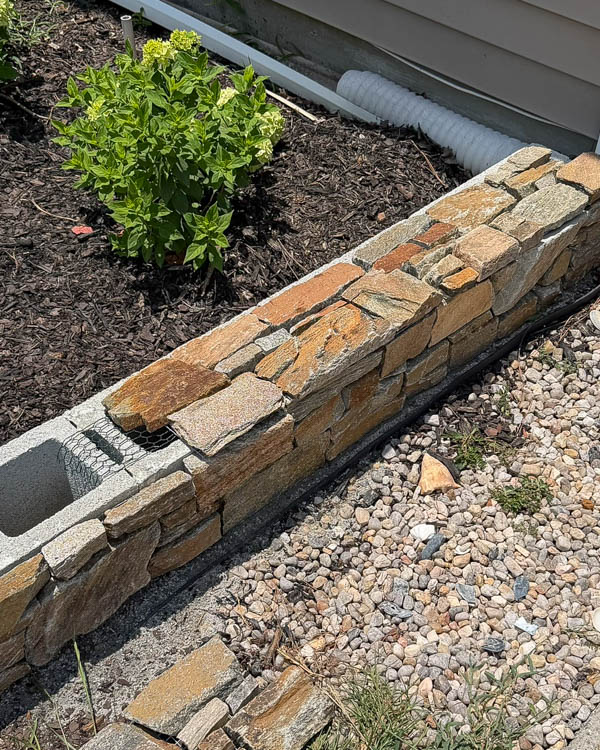
Next, the stone ledgers were attached to the cinder blocks. We pre-planned the layout on these as well.
We did try using mortar at first and it was very messy, so we just switched back to the exterior adhesive instead (which can be used on masonry/stone).
📩 Want to Save This?
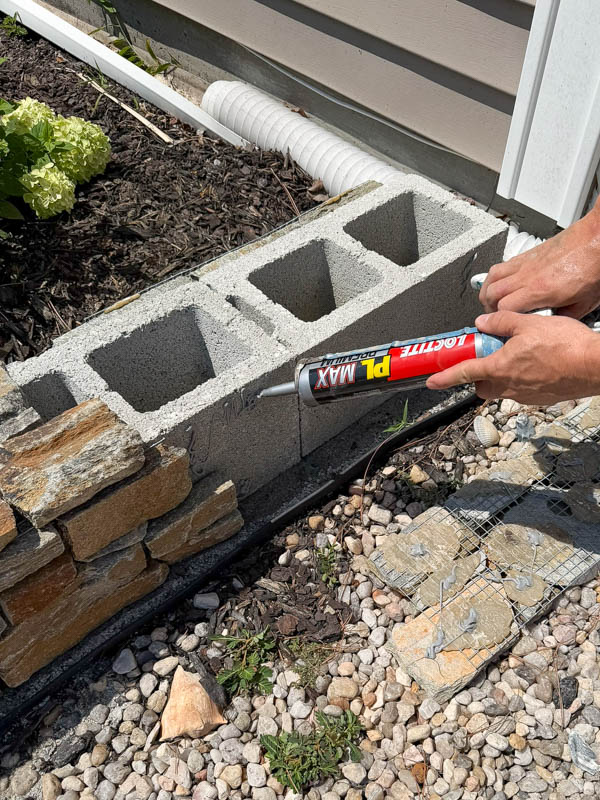
To keep the stones in place while the adhesive dried, Brandon used clamps and extra stone ledgers on top as needed. Alternatively, you could use concrete screws with a masonry drill bit and just screw the wire backing on the ledgers to the cinder blocks. If the stone wall were any taller, we would have done this.
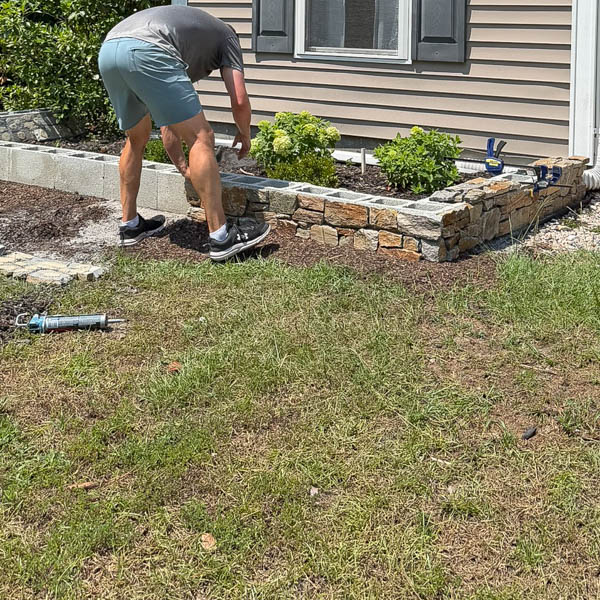
Also, there were a few pieces he needed to break the stone and he used this hammer and chisel, as well as wire cutters for the wire backing.
For the top of the cinder blocks, where they had holes, we had a few spots where we used floral wire netting for additional support of any loose stone pieces that were filling in gaps.
3. Grout
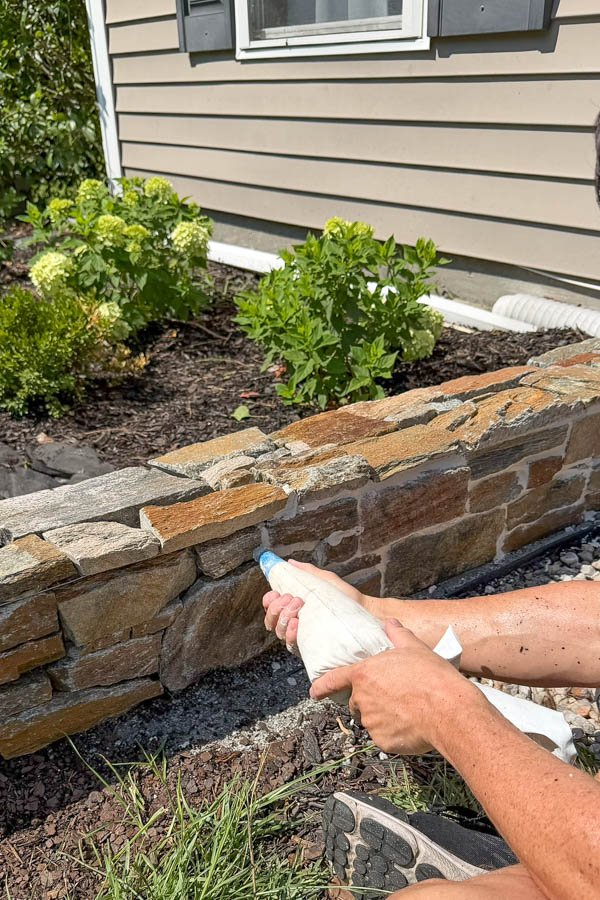
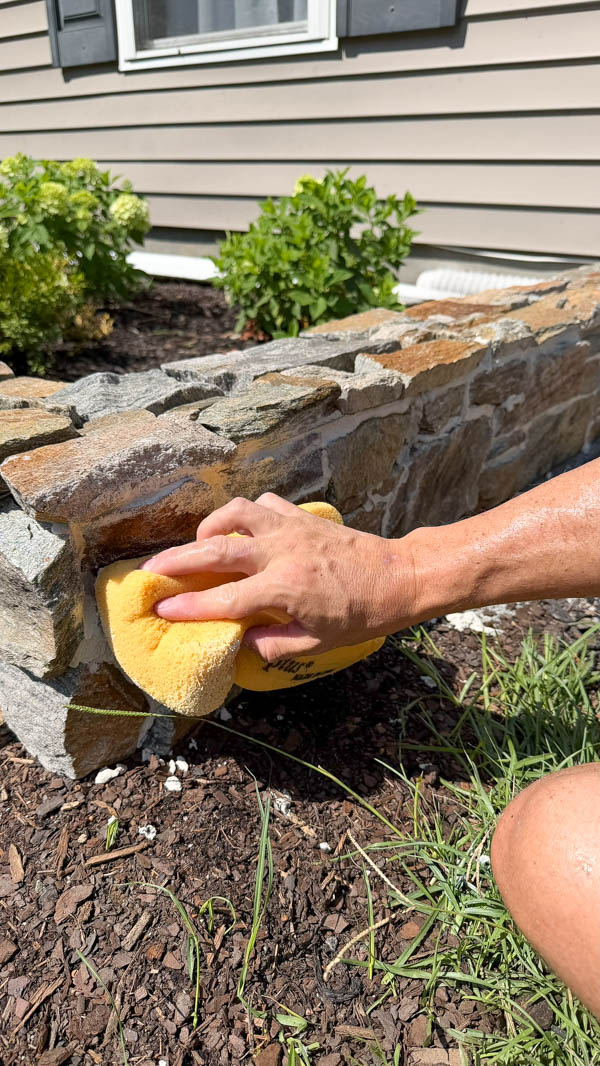
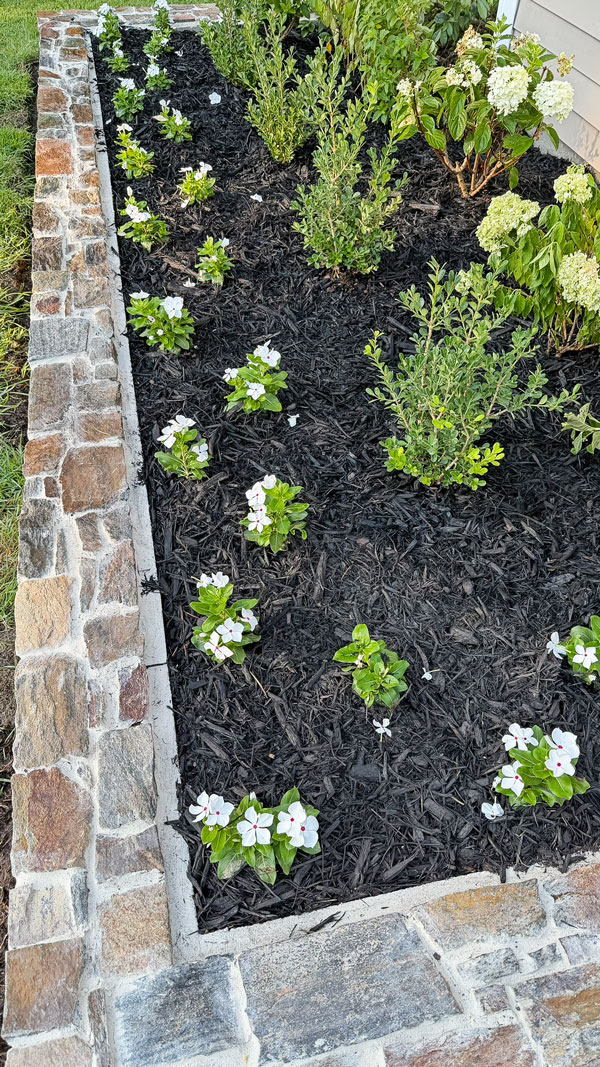
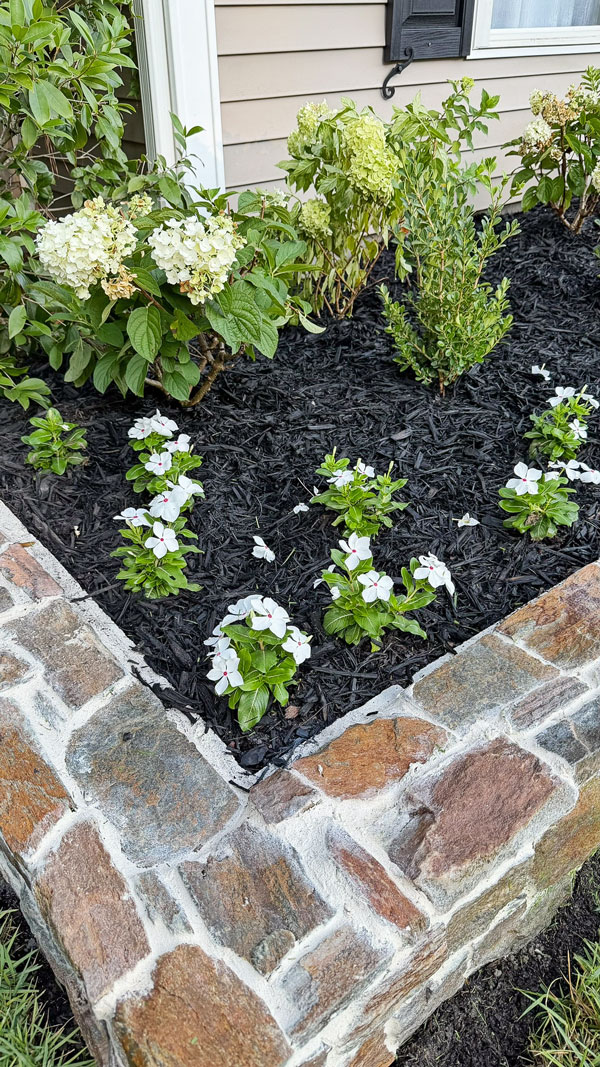
All of the stone gaps were filled in using this grout in the color biscuit with a grout bag. Just like with our DIY brick fireplace, the grout lines were smoothed down with a damp grout sponge.
Also, we used backer rod to pre-fill in extra large gaps before grouting them.
And for the remaining 1" exposed cinder block edge on the back top, we smoothed out grout over it.
4. Landscape
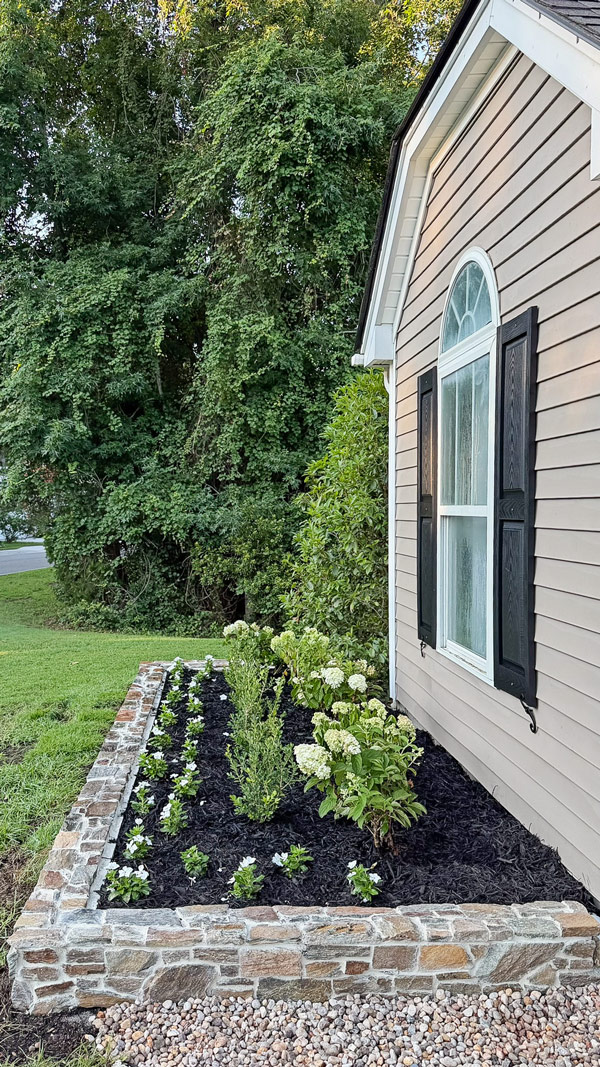
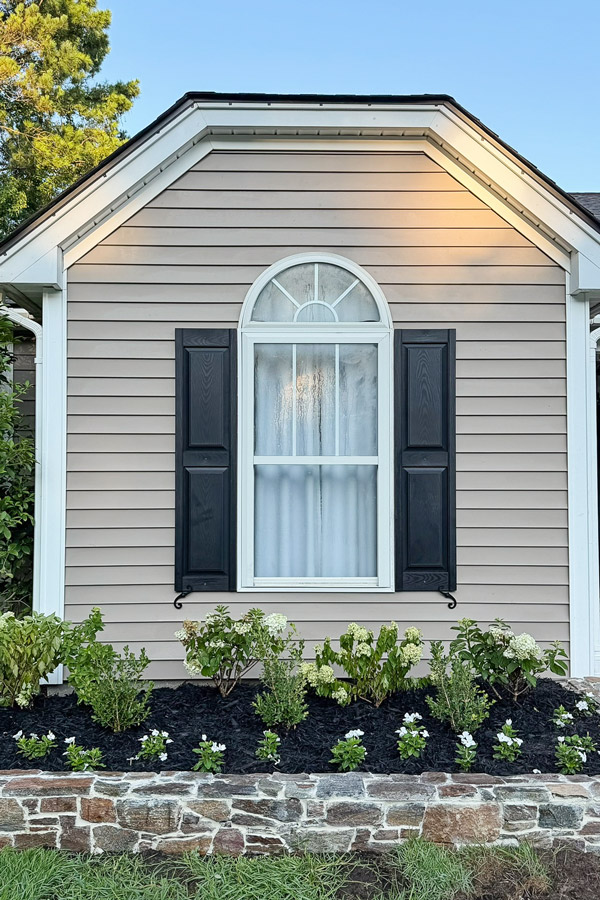
Finally, we filled everything in with fresh landscaping and flowers, including gravel for drainage! I shared the details of what we used in our garden makeover!
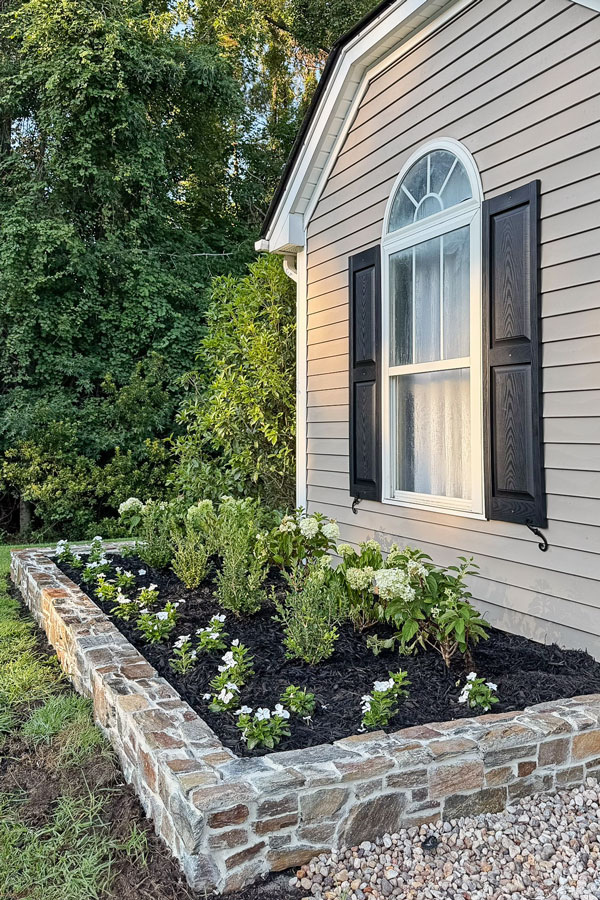
I love the charm and character our DIY stone wall added to our garden and curb appeal. And now I want to add more stone to our exterior!
Follow along for my latest projects and sneak peaks on Instagram, YouTube, TikTok, and Facebook!

This looks amazing! Well done, and thanks for sharing the detailed instructions.
Thank you! 🙂
Update to my previous comment - I emailed the company about the stone ledgers - and they updated the tearsheet and it now shows they are, indeed, rated for exterior use. I guess they had a snafu on their website briefly. Wheeewww!
I think I will definitely try this project!!! What a great look and an amazing find on those slate ledgers! I had no idea they even made things like that you could use outside! Yours looks beautiful!
Thank you! Good to know they are indeed meant for exterior use.