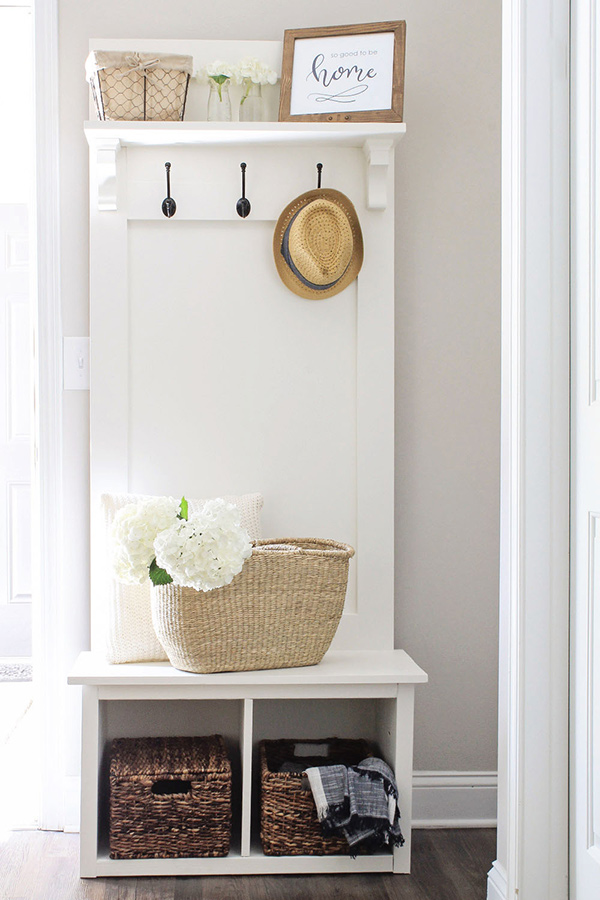
Since we moved into our apartment, I really wanted to build a cute DIY hall tree bench for a little corner by our front door where we desperately needed some organization and a place to put keys, dog leashes, shoes, jackets and more.
We live in a small apartment right now and this DIY hall tree bench is perfect for providing organization for small spaces! And I’m obsessed with it now!
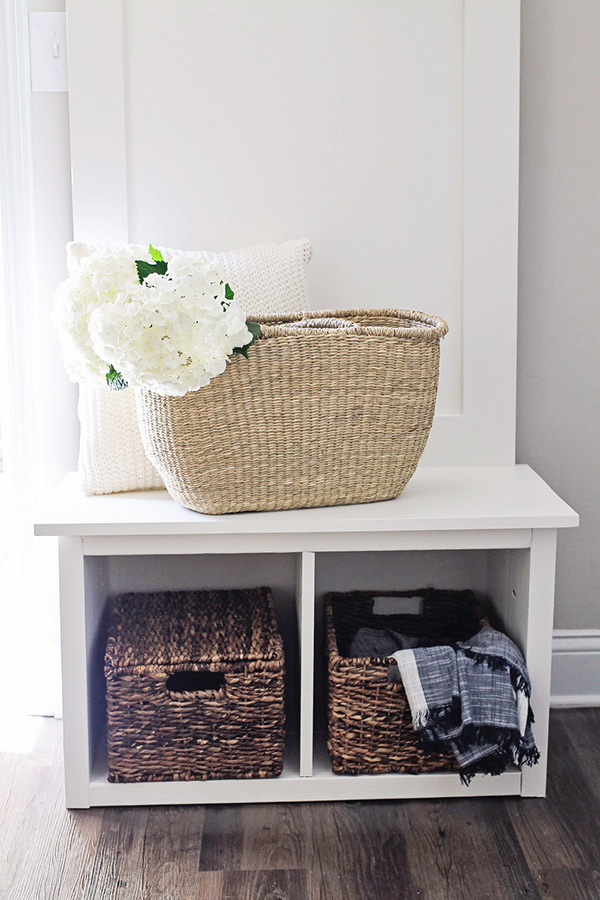
Every time I walk by it, it’s just so cute to look at it and it provides so much needed function to our entryway! And Brandon loves it too! Win-Win!
I want to keep it real with you guys, so here is an embarrassing photo of what the area looked like before and as you can see we really needed something more functional (and pretty):
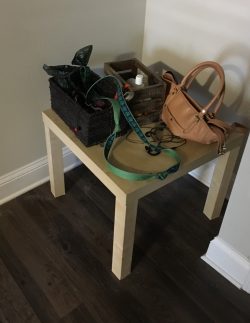
Talk about a hot mess, right?! Finally, I decided to build a custom entryway hall tree bench! With Brandon’s help we were able to get it built and painted within two afternoons, it was definitely a more simple/easy project build!
Total build cost for this Entryway Hall Tree Bench DIY was about $92! Other hall trees this size retail around $250-$500, definitely a huge cost savings by building one.
The final size of the Entryway Hall Tree Bench: 31″ wide x 76″ tall x 16 1/4″ deep.
I’ve included the full detailed tutorial on how to build this Entryway DIY Hall Tree Bench below along with printable hall tree plans.
And I’ve also included the steps as well on my post on buildsomething.com.
Also, if you are looking for a more simple entryway bench, check out my DIY entryway bench for $10 here! Or if you are interested in a built in bench, see my DIY built in entryway bench!
Note, this post contains some affiliate links. For more information see my disclosures here.
How to build a DIY Hall Tree Bench:

Materials:
- (2) 2×8 @ 8ft
- (1) 1 x8 @ 6ft
- (1) 1×4 @ 8ft
- (1) 1×4 @ 10ft
- (1) 1×16 @ 48″ Laminated Panel Board
- (1) 1/4″ thick, 4ft x 8ft Plywood board
- (2) Wood Corbels
- (3) Coat Hooks
- 2″, 1 1/2″, & 3/4″ Wood Screws
- 2 1/2″ and 1 1/4″ Kreg screws
- 3/4″ and 1″ Brad Nails
- Wood Glue
Tools:
- Kreg Jig
- Drill
- Miter saw
- Circular Saw or table saw (or have your home improvement store make the cuts)
- Clamps
- Brad nailer
1. Build the sides of the bench
Click here for the printable DIY hall tree plans which include the cut list and step by step building steps with easy to follow diagrams!
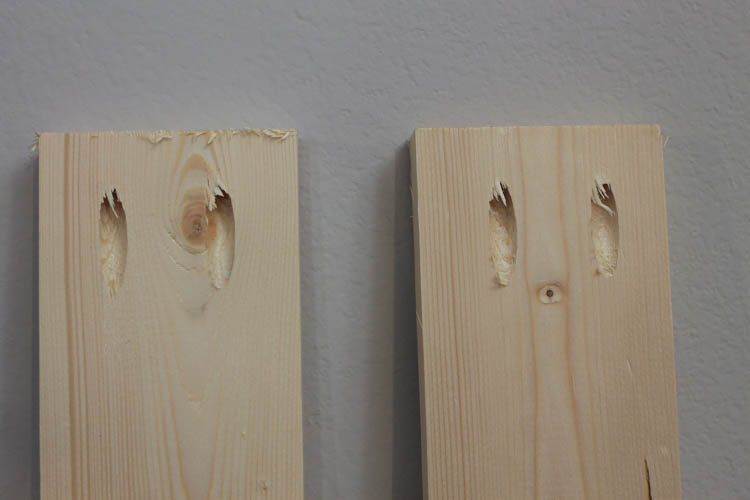
Use a miter saw and cut four 2×8 pieces @ 17″ each. Then, for two of the 17″ pieces, add 2 pocket holes on one side with the Kreg Jig.
*Tip: See my how to use a Kreg Jig post for an easy, step by step tutorial and video tutorial on how to use the Kreg Jig!
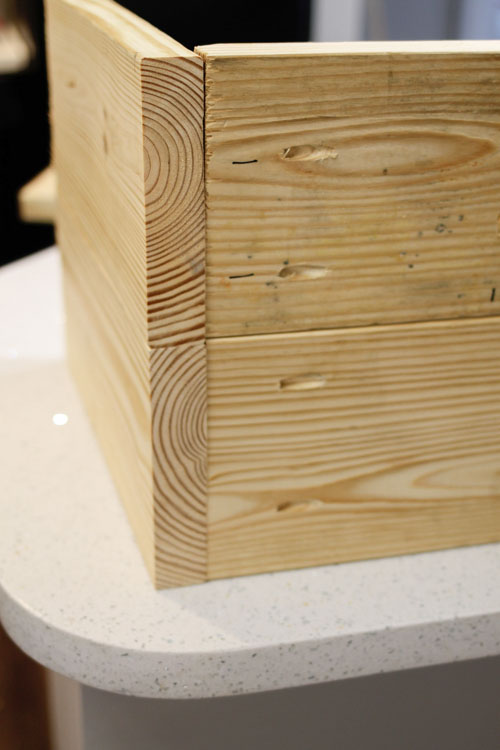
Using 2 1/2″ Kreg screws and wood glue, join one piece together that has pocket holes with a piece that has no pocket holes.
Repeat these pocket hole steps for the other two 17″ pieces. You now have the bench side pieces.
2. Build top and bottom bench pieces
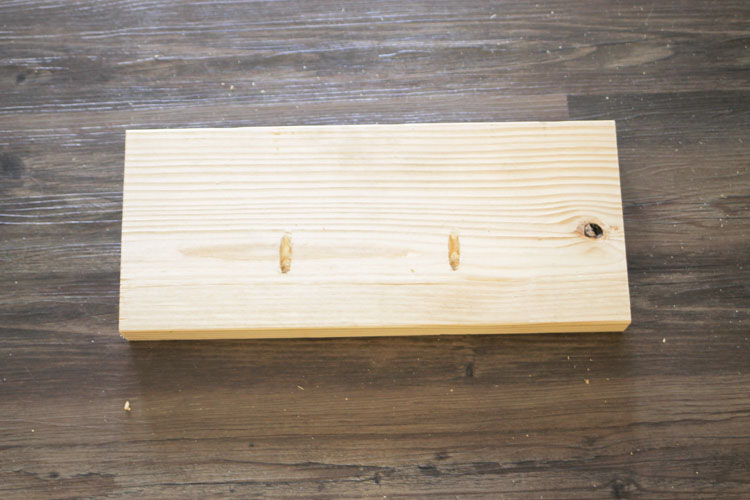
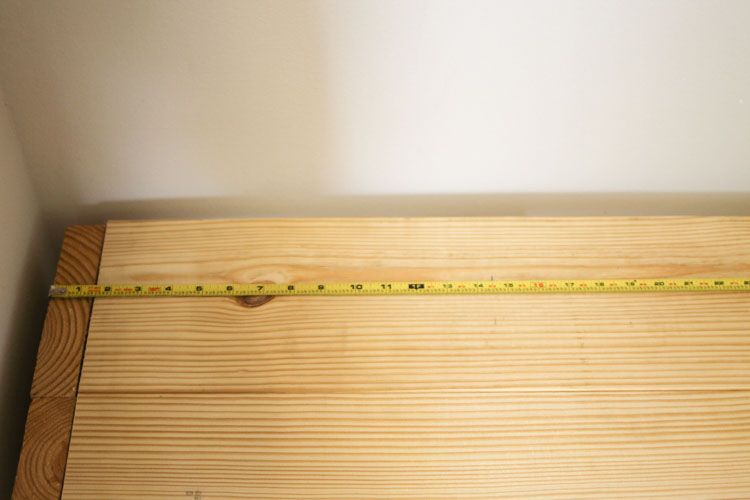
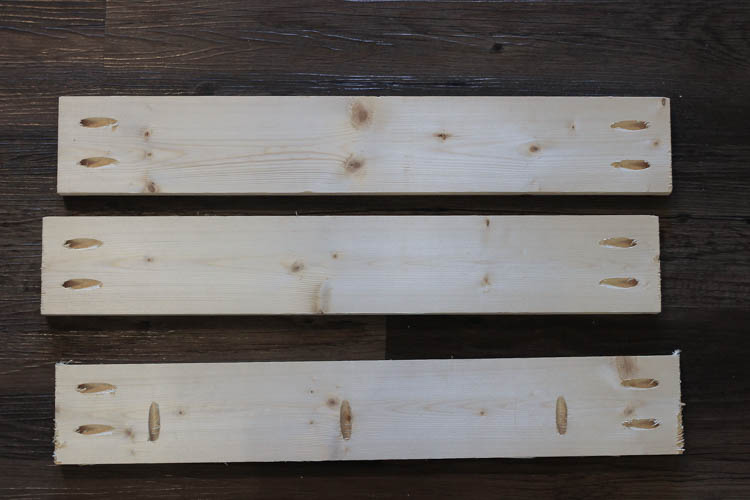
Use a miter saw and cut four 2×8 pieces @ 26″ each.
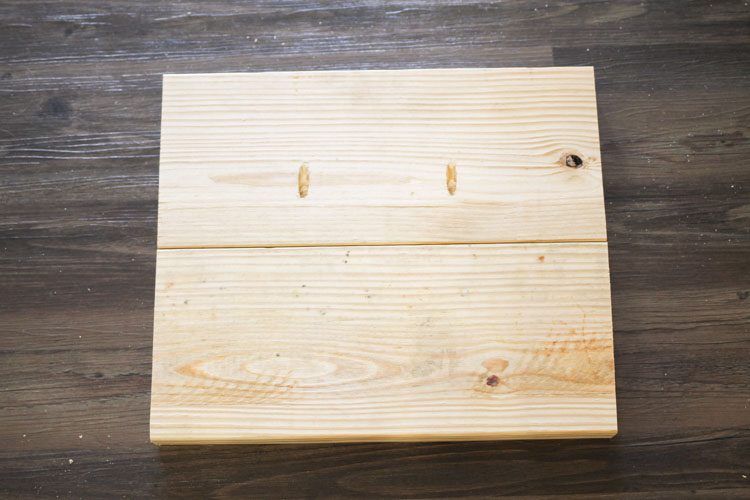
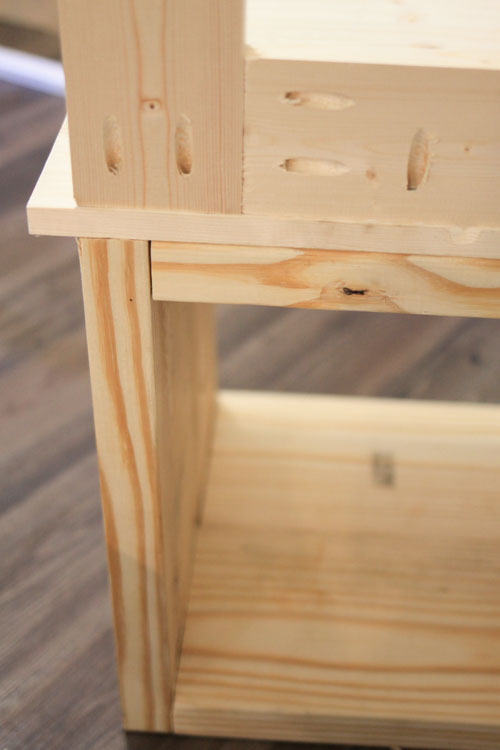
On two of the pieces, add two pocket holes to all ends, then add three pocket holes down the middle of the boards as shown in the photo. Join the two boards together with the middle pocket holes using 2 1/2″ Kreg screws and wood glue.
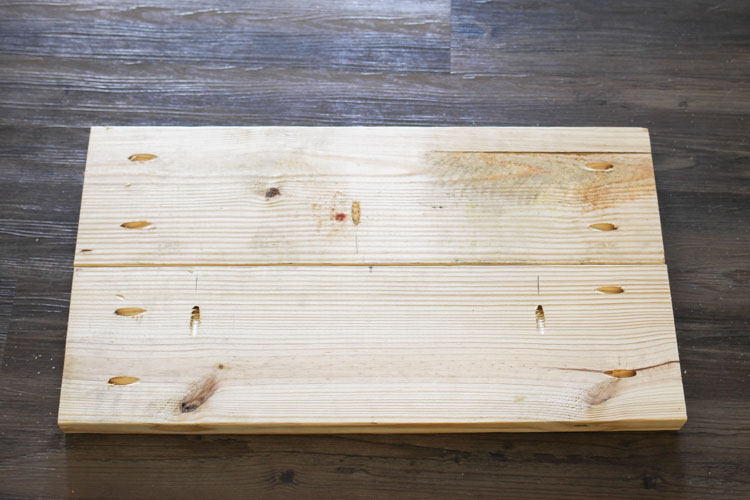
Repeat these pocket hole steps for the other two 26″ pieces. You now have the bench top and bottom pieces.
3. Attach bench sides to bench bottom
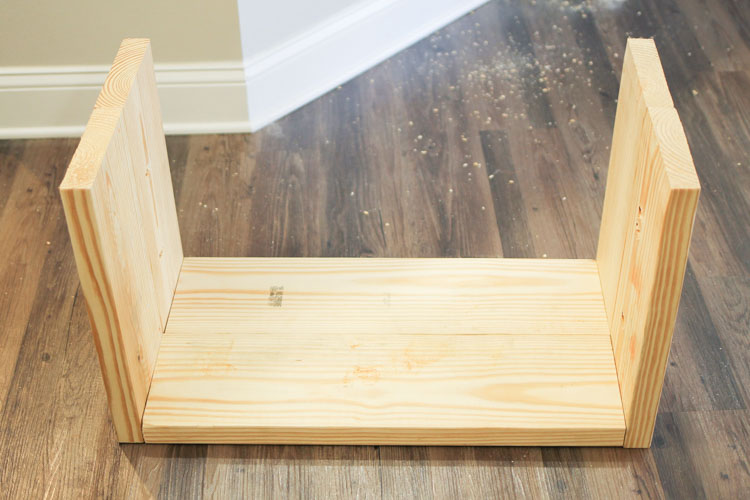
Join your bottom bench piece (pocket hole side facing down) into your two side pieces with 2 1/2″ Kreg screws and wood glue.
After the two side pieces are attached the bench will look like the below photo:
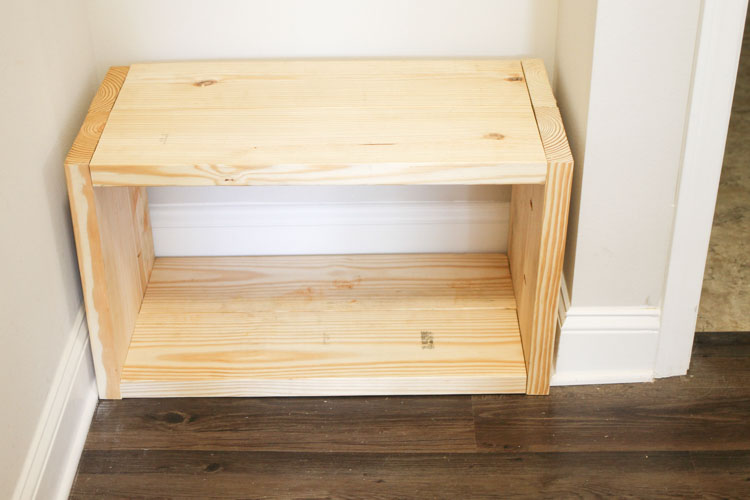
4. Attach bench top to bench sides
Join your top bench piece (the other two 26″ pieces that are joined) into your two side pieces with 2 1/2″ Kreg screws and wood glue.
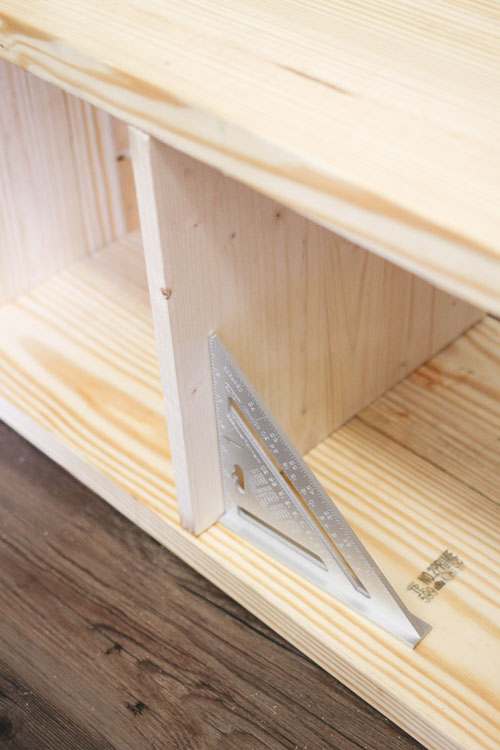
5. Attach bench cubby divider
Measure the exact height and width for a bench cubby divider. The cubby divider dimensions should be 14 1/2″ x 14″, but you will need to measure for exact measurements at this point for a perfect fit.
Use the 1×16 @ 48″ Laminated Panel Board and cut the needed size from this board for your cubby divider.
Next, on your bench bottom and top frame pieces, measure and mark 14 1/2″ in from the edges (the center point for your divider).
Line up your cubby divider at this center point. Then, use 2″ wood screws and drill them through the top of the bench piece to secure the cubby divider into place (it is best to make pilot holes first to avoid wood splitting). Make sure to sink the wood screw head below the surface of the wood so it doesn’t stick up.
Flip the bench frame over and repeat again from the bottom side of the bench.
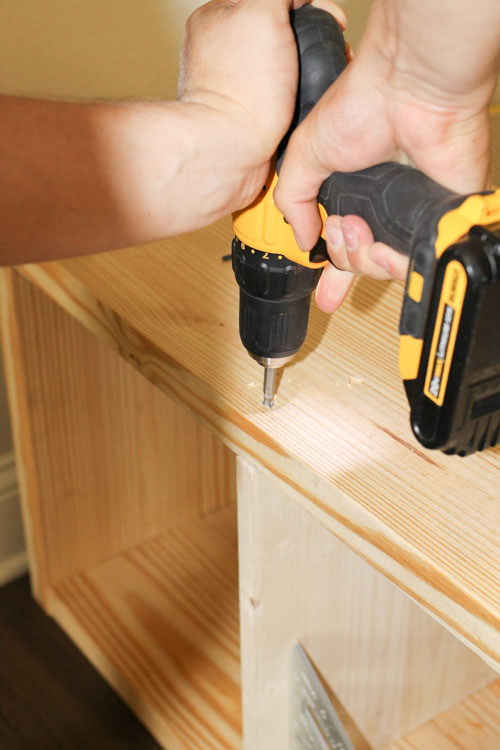
6. Attach bench top seat board
Use the remaining piece leftover from the 1x16x48″ board panel and cut a bench top seat 31″ long for your bench seat.
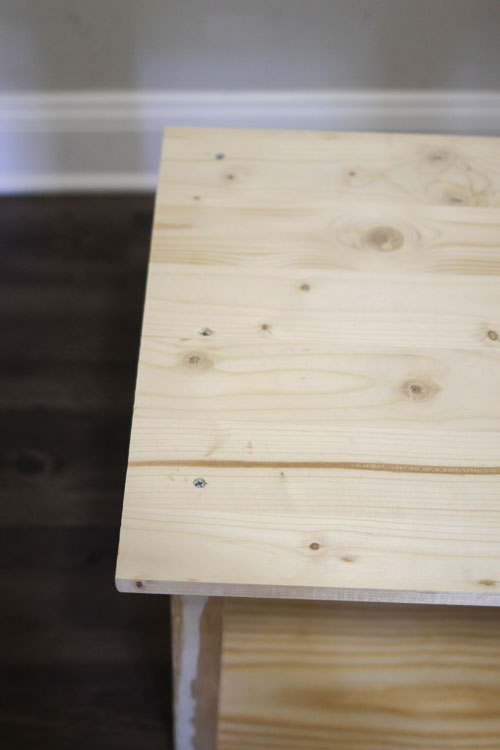
Center your bench top seat piece on top of your bench frame and make sure the back edge of the bench top seat is flush to the back edge of the bench frame.
You don’t want the bench top seat to hang off the back edge of the bench frame, you only want it to hang off the front edge. Clamp the bench top seat in place.

Attach the seat to the bench frame using three 1 1/2″ wood screws on each side of the bench top seat.
📩 Want to Save This?
Again make sure to create pilot holes first and make sure to sink the wood screw head below the surface of the wood so it doesn’t stick up. Note, these holes will easily be filled with spackle or wood filler in the finishing process.
7. Build DIY hall tree frame
Using your 1x4x10ft piece and a miter saw, cut two 58 1/4″ pieces. Then, add two pocket holes to just one end on each of the two pieces.
Next, cut four 22″ pieces from your 1x4x8ft piece. On all four pieces, add two pocket holes to each end. Then, on just one of the four 22″ pieces, add three additional pocket holes along the middle on just one side.
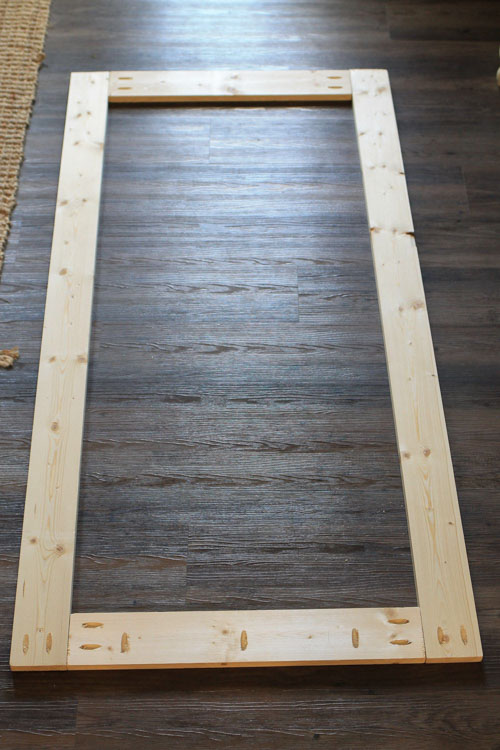
Attach two of the 22″ frame pieces to the two 58 1/4″ frame pieces using 1 1/4″ Kreg screws and wood glue.
*Make sure you attach the 22″ piece with the three extra pocket holes to the frame sides that have two pocket holes at the ends as shown in the photo as this will be the side that is attached to your bench.
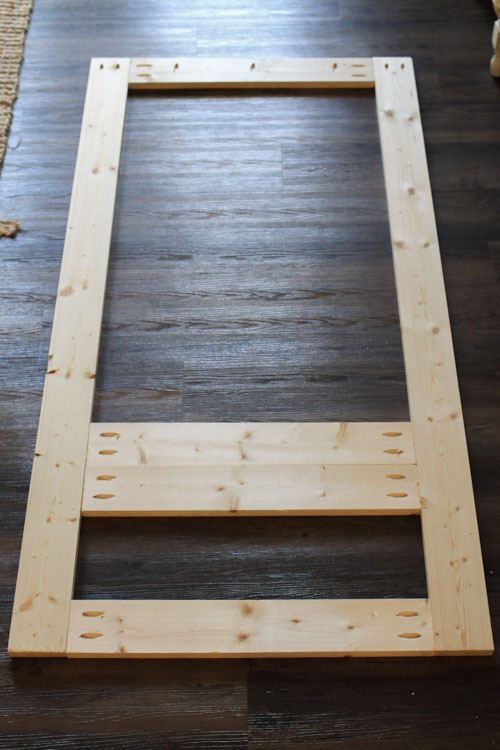
Attach one 22″ piece to the tree frame 10″ down from the top edge using 1 1/4″ Kreg screws. Note the top edge of the frame is the part that does not have the 3 extra pocket holes along the bottom side.
Then, add your last 22″ piece directly below the previous one.

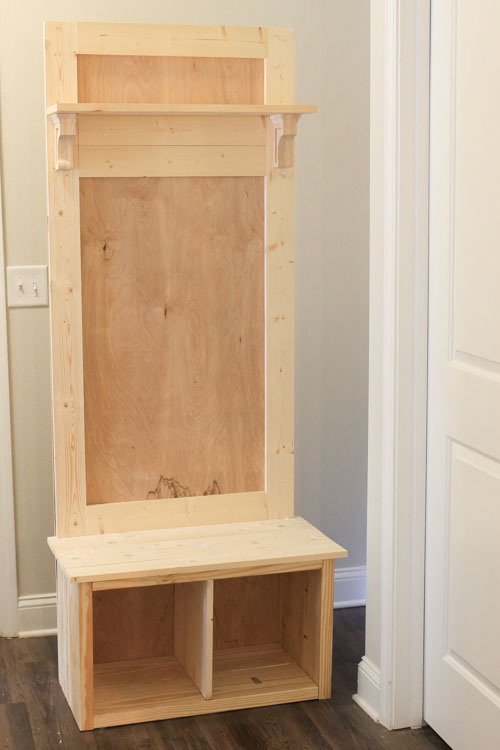
Once those boards are attached, your hall tree frame is complete and will look like the below photo:
8. Attach hall tree frame and backing to bench top
Line up your hall tree frame with your bench and attach it with 1 1/4″ pocket hole screws and wood glue. It helps to use clamps for this step.
Next, for the backing of the hall tree frame, use a circular saw and cut your 1/4″ thick 4ft x 8ft plywood to 29″ x 76″. Clamp the backing plywood board to the DIY hall tree frame.
Attach it to the back of the hall tree bench with a brad nailer and 3/4″ brad nails and wood glue. Alternatively, you can use 3/4” wood screws instead of brad nails.

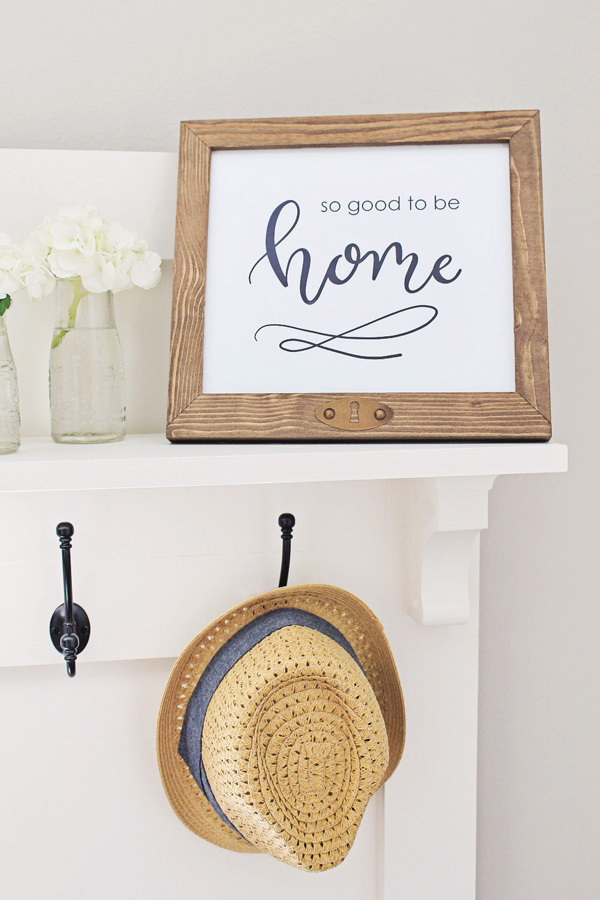
9. Add shelf and corbels to the front of hall tree
Cut your 1x8x6ft to 29″ long to create your shelf piece.
Then, add the two wood corbels to the front of the frame making sure that the top edges are lined up with the top middle 1×4 piece.
For attaching the wood corbels, follow the instructions that came with it. We used 3/4″ wood screws for attaching ours. Finally, attach your shelf on top of the wood corbels using 1″ brad nails and wood glue.
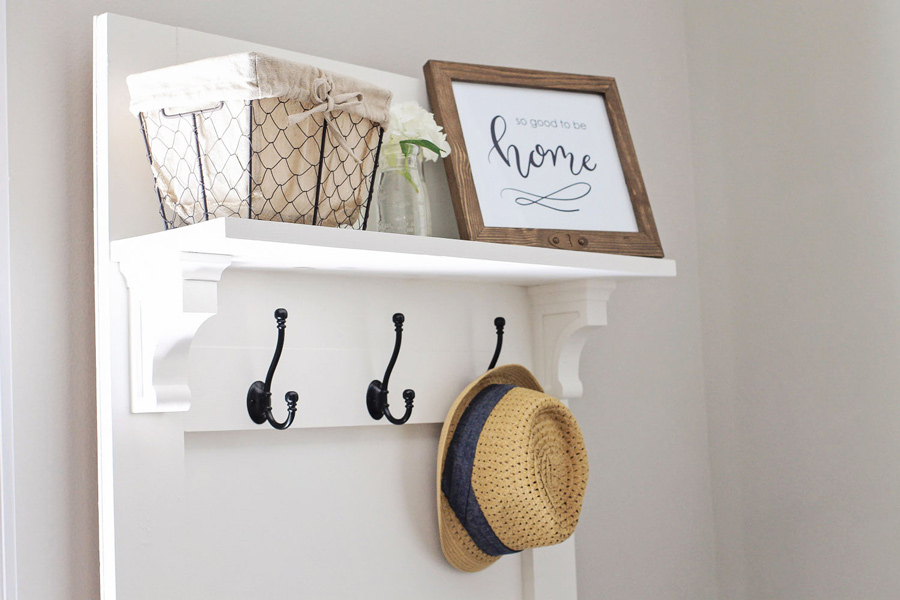
9. Add coat hooks and paint your entryway DIY hall tree bench!
Yay! Now that your hall tree is all built, add wood filler over the screws on the bench top seat (if desired) and sand any necessary areas of the hall tree bench.
Then paint or stain. I painted my hall tree with White Dove by Benjamin Moore in eggshell.
Lastly, add your three coat hooks under the shelf.
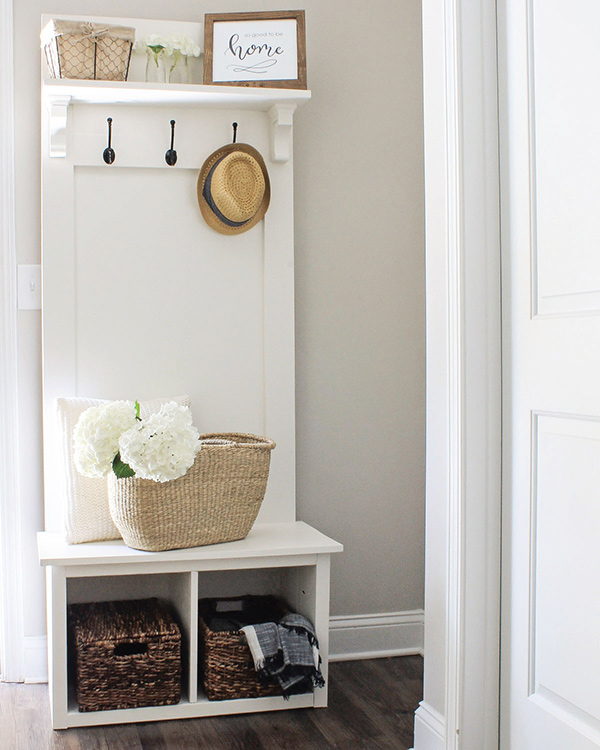
What do you think of my Entryway Hall Tree Bench DIY?! I think it would also work great in mudrooms, hallways, laundry rooms and more!
And again, if you want to see other bench options, check out my easy DIY entryway bench and DIY built in entryway bench!
Don’t forget the printable DIY hall tree plans too!
Would you be able to use an organizer like this in your entryway? Feel free to share in the comments or on Instagram or Facebook! You can also follow along with my latest projects on Pinterest!
I’d love to see photos of your DIY hall tree bench! Feel free to share with me on Instagram or Facebook or e-mail pictures to [email protected]!
If you want to save this tutorial for later, Pin It here:
Stephen
Monday 28th of February 2022
Hi!..love the design…quick question, what is the exact size of the corbels you used?…there are a few options on the Amazon link…thank u!!
Angela Marie Made
Monday 28th of February 2022
Thank you! It was the 6" high corbel
Emily
Monday 14th of June 2021
What is the depth?
Angela Marie Made
Tuesday 15th of June 2021
16"
jessica
Thursday 10th of September 2020
is there a way I can get a full cut list
Angela Marie Made
Friday 11th of September 2020
Unfortunately, I do not have a condensed build plan but all the cuts are listed in the post.
Corey
Tuesday 8th of September 2020
I just finished mine and it turned out great but I found with the back the it was very wobbly so I used my speed square and made two triangle braces to help stabilize the back.
Eddie
Friday 28th of April 2023
@Corey, Where did you add the braces? Can you share a picture?
Angela Marie Made
Friday 11th of September 2020
Thanks for the tip!
Kim Haubrich
Saturday 5th of September 2020
I need mine to be 27" wide overall for my space. Can you tell me what I need to do to get that.
Angela Marie Made
Monday 7th of September 2020
I would just take the difference of the width measurements from my tutorial.