
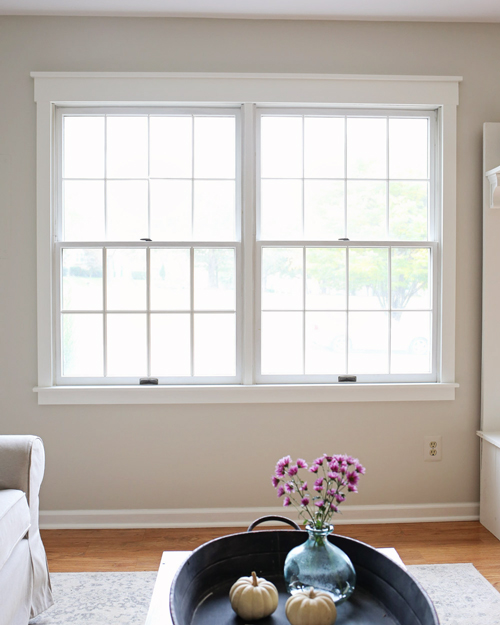
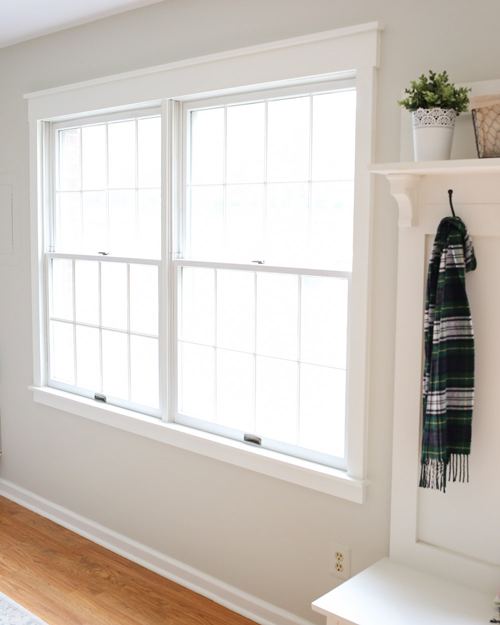
The longest wall in our living room has a large two pane window taking up a large portion of it. Although the window was serving its purpose as a window does, I wanted to enhance it as more of an architectural focal point in the room to add more style and character to our basic builder grade living room.
Besides upgrading the blinds and adding pretty curtains and hardware, I knew updating the window trim would be one of the best ways to do this!
Overall I kept the trim design very simple and designed it so it would work well with outside mount blinds (which I added right after this project), since unfortunately I’m unable to have inside mount blinds with my windows.
Originally, I had wanted a more farmhouse style like a pin I saw on Pinterest from Love Grows Wild. But, I went for the more simple design instead which would work with the blinds.
Note, I have completed three other types up window trim update. Check out my craftsman style DIY window trim, quick and simple DIY window trim, and how to add window trim between windows!
This project cost me about $45 for all the materials, including primer. I did have the paint on hand already. If you have a smaller window it will be less, but I think it’s still very budget friendly and greatly improves the room!
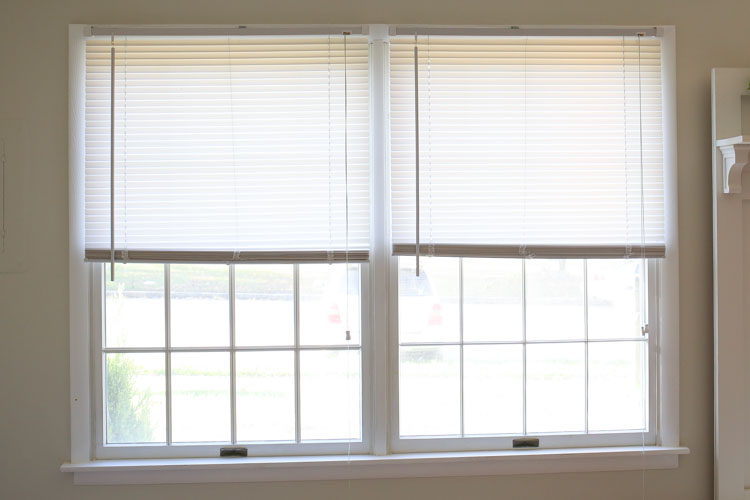
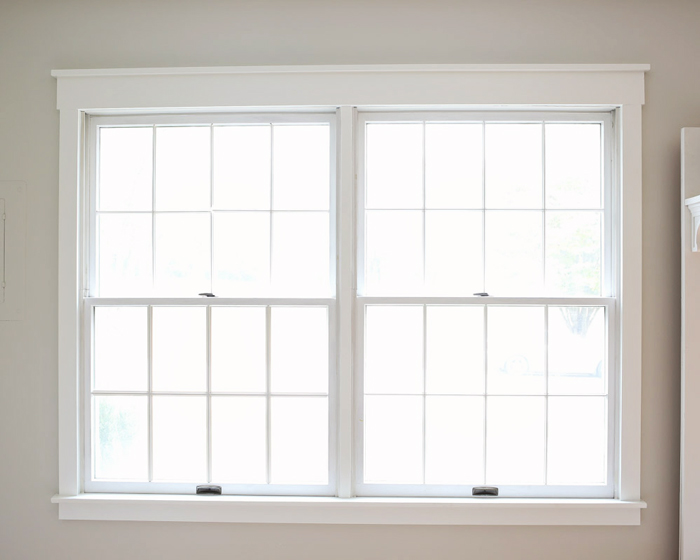
Here is what the window looked like before I updated it, along with some cheap plastic blinds that I didn’t like either.
BEFORE:
Note, this post contains some affiliate links. For more info see my disclosures here.
How to Update Window Trim:
Materials
- (2) 1x3s @ 6ft and (1) 1×3 @ 8ft*
- (1) 1×5 or 1×6 @ 8ft*
- (1) 1×2 @ 8ft
- 1 1/4 brad nails
- 1 1/2 drywall screws (optional)
- Spackle
- Primer
- Paintable Caulk
- Paint (I used Simply White by Benjamin Moore in Semi-Gloss)
Tools
- Utility Knife
- Wonderbar Prybar
- Hammer
- Miter saw (or have your home improvement store make the cuts)
- Brad nailer
- Drill (optional)
- Clamps (optional)
- Stud Finder (optional)
- Tape Measure
- Paint Brush and Rollers
*Since I wanted to keep this project as simple and inexpensive as possible, I decided to use 1x3s on the window sides instead of 1x4s to avoid having to extend the window sill length or replacing the window sill. But, if you have a long enough window sill already, 1x4s would look even better! Also, I used a 1×5 on the top, but if you are using 1x4s on the sides, I recommend using a 1×6 on the top instead.
**Adjust wood material lengths needed based on the size of your window.
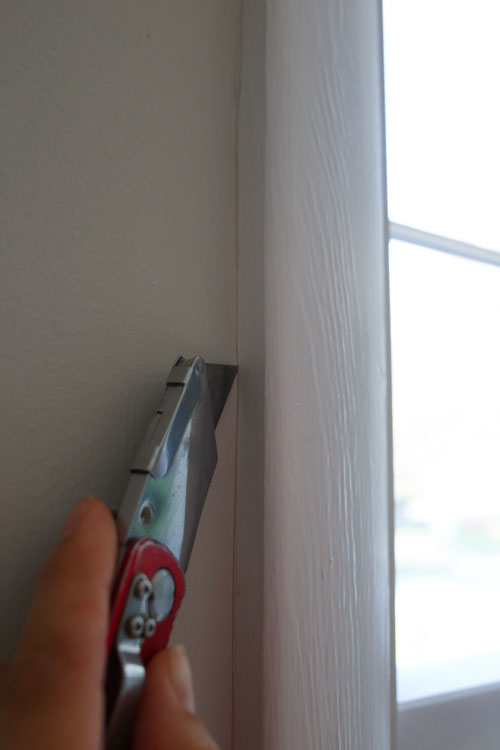
1. Remove old window trim molding
First, remove the old window trim. If you don’t have any window trim, then you can skip this step!
Begin by using a utility knife and scoring along the old caulk edges.

Second, use a prybar and hammer to lift the old window trim off the wall. If you are taking too much paint/drywall off the wall during this step, go back over your score lines with the utility knife.
This is the same method I used to remove the old trim for our simple and quick DIY window trim too!
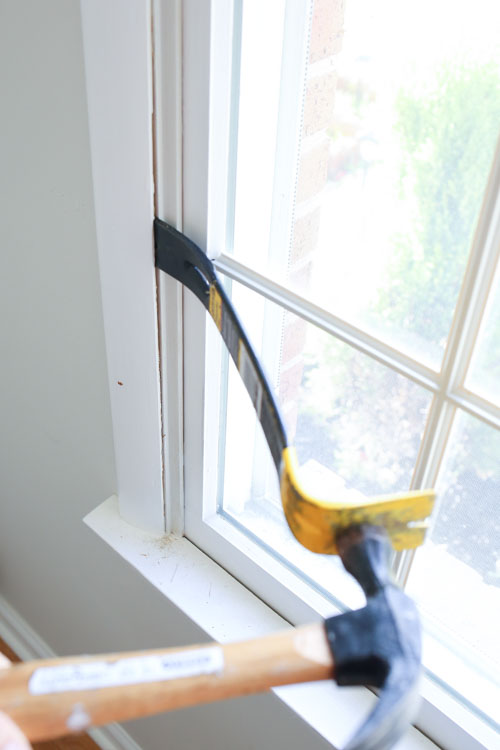
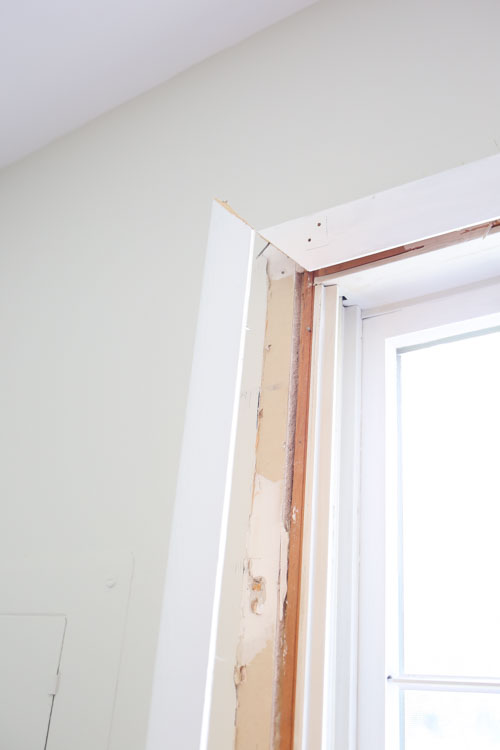
After the molding is removed, use your hammer to remove any remaining nails in the wall. And if any old caulk is left on the wall, scrape it off with the utility knife.
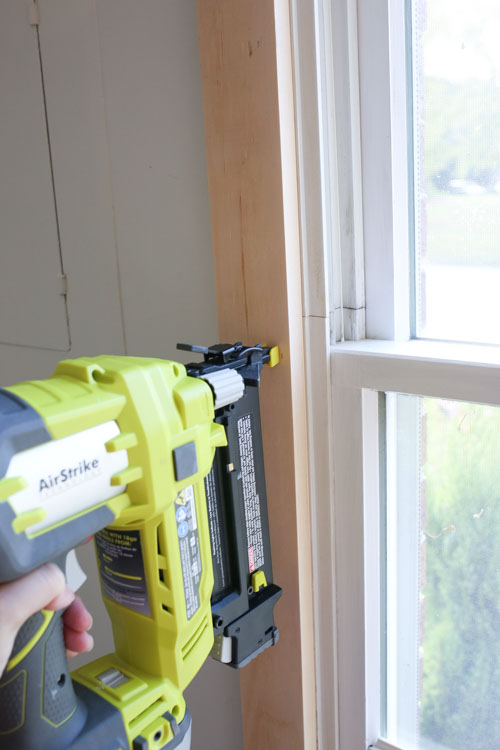
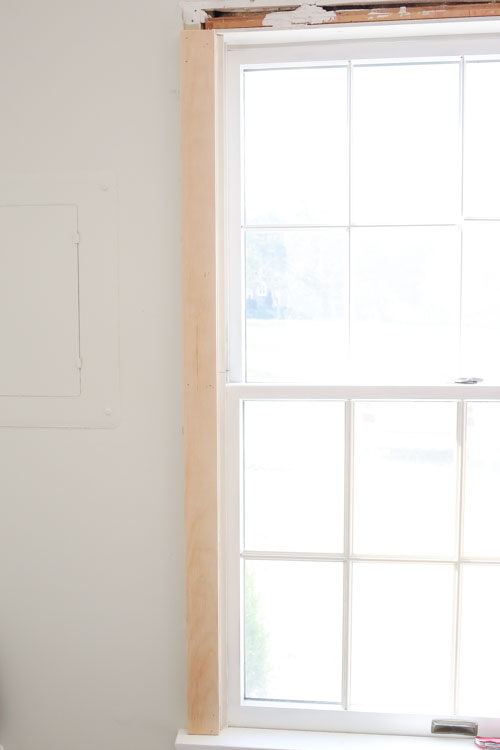
2. Attach side window trim
Measure from the window sill to the top edge of the window on both sides. Then, cut the 1x3s to these measurements using a miter saw (or have your home improvement store make the cuts).
Attach the 1x3s to both sides of the window with a brad nailer and 1 1/4 inch brad nails.
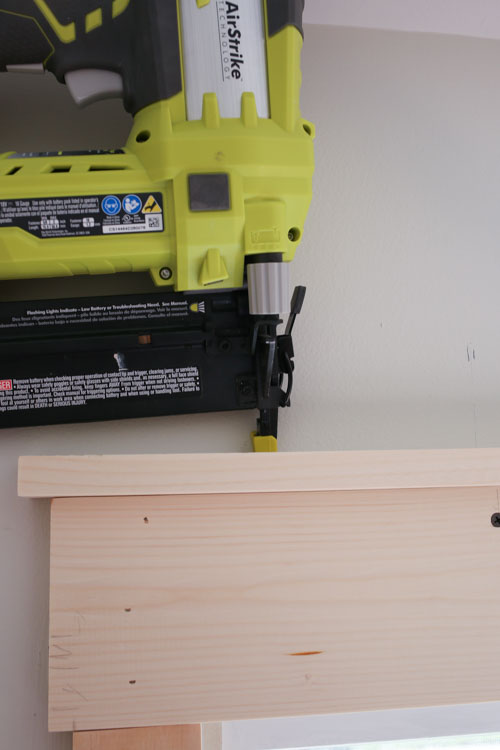
3. Attach top window trim
Measure from the side window trim outer edge to the opposite side window trim outer edge and add 1″ to the measurement. Then, cut the 1×5 to this measurement. Mine was 79″ wide.
Center the 1×5 on top of the window. There should be a 1/2″ overhang on both side trim pieces. Attach the 1×5 to the wall with a brad a nailer and 1 1/4 inch brad nails.
Next, I used a stud finder, drill, and 4 drywall screws to secure the board into the wall studs because I was going to be hanging my new blinds from the board. I countersunk the screws beneath the surface of the wood so I could easily fill them with spackle.
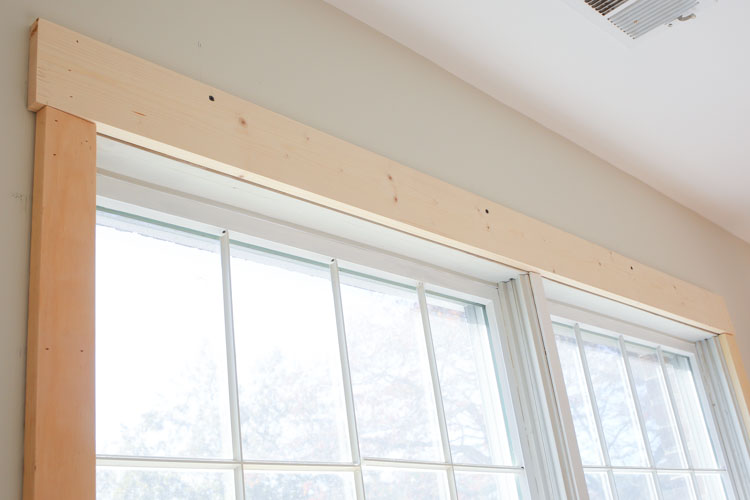
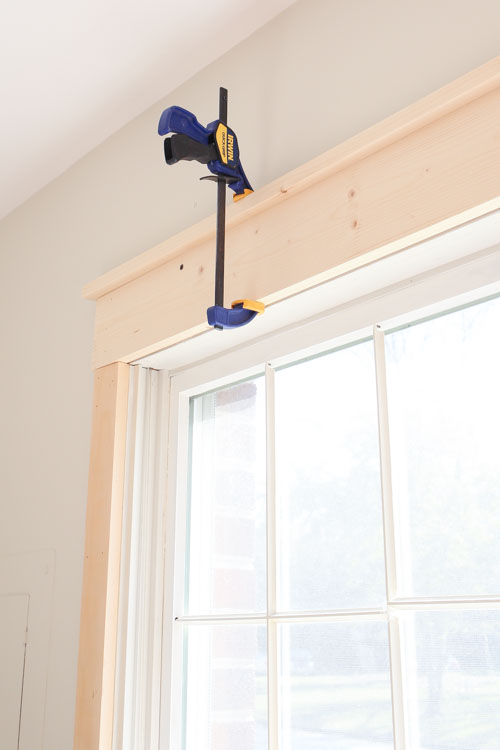
4. Attach final top window trim
Calculate the 1×2 measurement by adding 1″ to the 1×5 board size. Cut the 1×2 to size.
Next, attach the 1×2 (allowing for 1/2″ overhang on each side) using a brad nailer and nailing from the top. It helps to use a clamp to hold this piece in place while nailing.
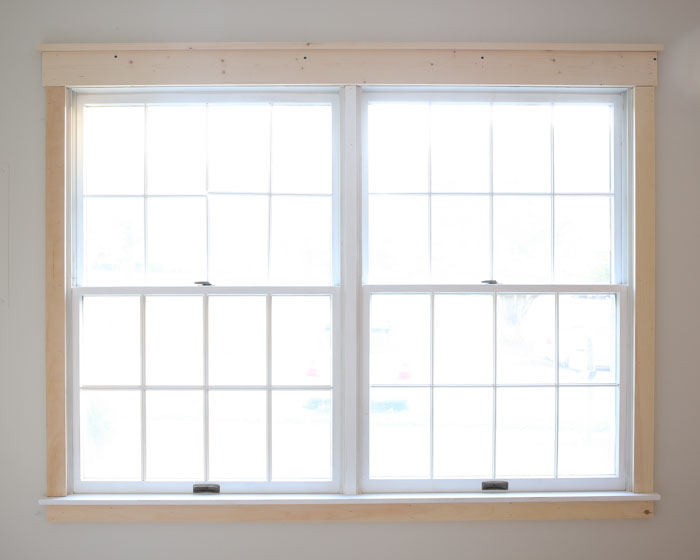
5. Add Bottom Trim
Lastly, cut your last 1×3 to size for the bottom trim and attach to the wall. You want it to line up with the outer edges of the side trim boards as shown:
5. Prep for Paint and Paint
Yay, the building part is over! Now, caulk all edges with paintable caulk and fill all nail (and screw) holes in with spackle. Also, a few of my boards had some knot holes that I filled too with spackle. Let the spackle dry and lightly sand any excess off.
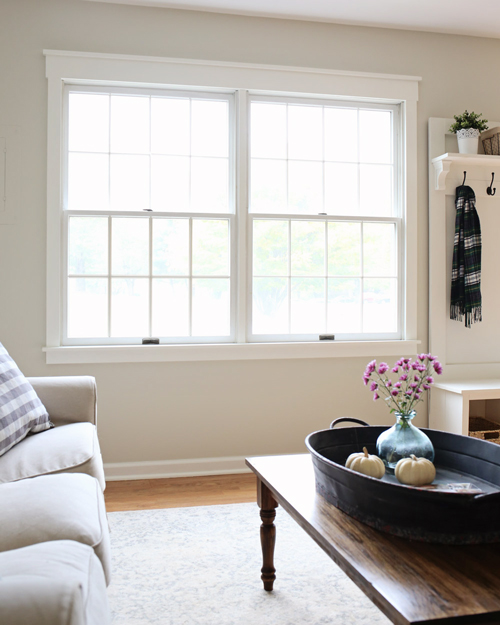
Prime and then paint your boards. I used Simply White by Benjamin Moore in Semi-Gloss which matches the rest of my trim in the living room.
What a difference some nice, custom trim makes! And overall it was a pretty simple project with a big impact! I love it!
📩 Want to Save This?
Make sure to check out my craftsman style DIY window trim tutorial, simple and quick DIY window trim, and how to add window trim between windows for more ways to update your windows and add character!
And here’s a close up:
I’d love to do this custom window trim on all our windows now ha! We’ll see though! After I took these photos, I added beautiful, bamboo roman blinds that I am excited to share about soon! And I’m also planning on adding some white or cream colored curtains to finalize the whole new look! Stay tuned!
Follow along on Instagram and Facebook for my latest projects and for all the updates on our living room makeover!
Melinda L Houser
Saturday 1st of December 2018
Angela, love the look. I really think window trim completes the job. How would you trim out the bottom if there was no windowsill originally? Love to hear what you think
Angela Marie Made
Monday 3rd of December 2018
Thank you Melinda! If there was no window sill, I would still use the 1x3 at the bottom. But I may of extended the length of it so it's the same as the top board length or I'd just keep it the same length as is currently shown, depending on which way looked better!
Jean
Sunday 5th of November 2017
So much brighter and appealing! Love it!!
Angela
Monday 6th of November 2017
thank you!