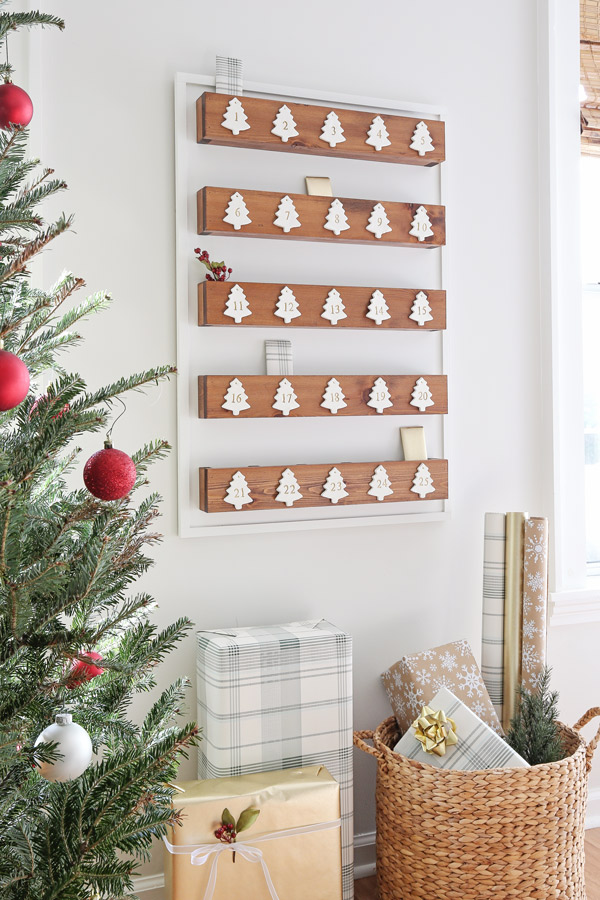
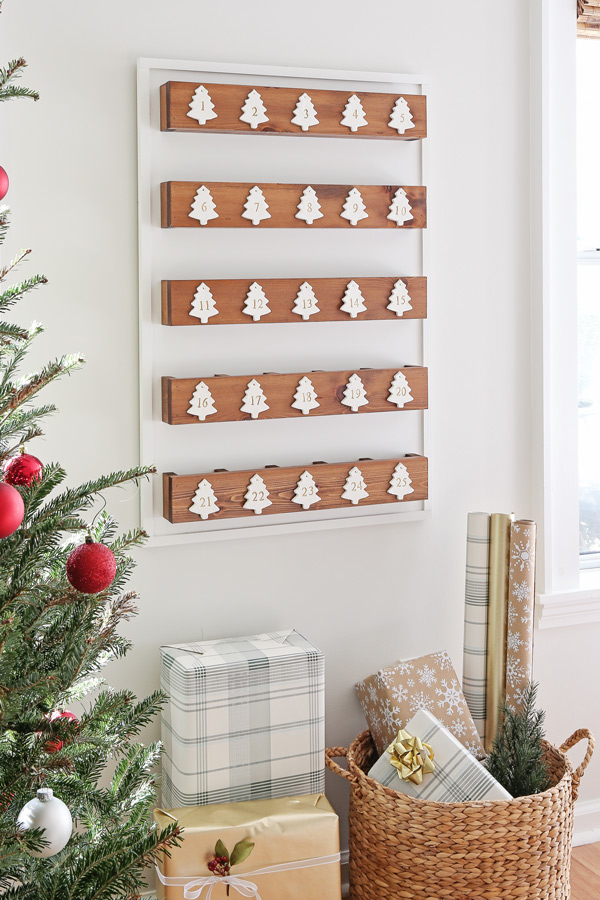
Learn how to build a classic, whimsical, and wooden DIY advent calendar!
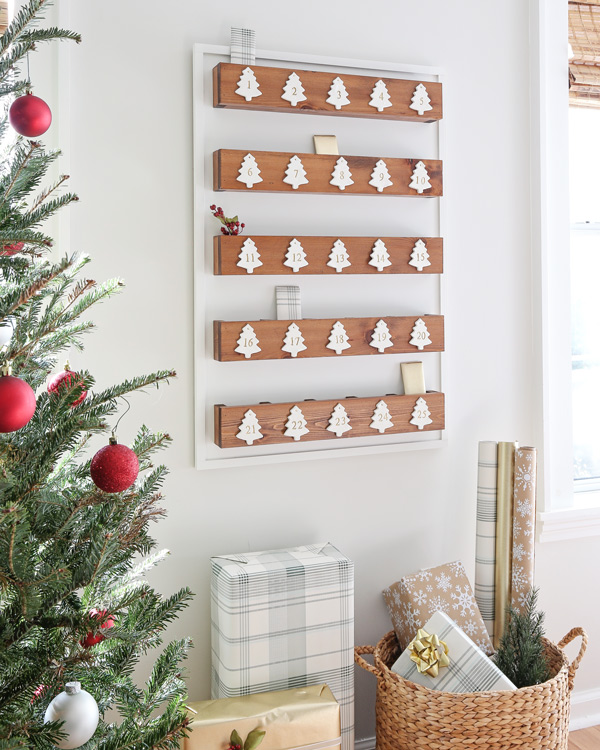
For Christmas this year, I wanted to make a classic and pretty advent calendar that would last for years to come. And that’s what inspired my design and the materials that I used for this DIY wooden advent calendar.
This is our Day 5 project for the 10 Days of DIY Challenge & Giveaway going on right now, don’t forget to enter the giveaway here!
For the wood, I used cedar because I love the look of it and it’s a more lightweight wood. You can use any type of wood though!
Note, if you do use cedar from the home improvement store, measure the actual width and make sure it’s correct (1.5″ for 1x2s and 3.5″ for 1x4s). Some of our boards were milled a little bit less than what they should have been and we had to adjust a few cuts!
Final Size of Advent Calendar: 25.5″ wide x 36″ tall
Note, this post contains some affiliate links. I may earn a commission if you shop those links (at no cost to you). Thank you for supporting my small business. For more info see my disclosures here.
How to Build a DIY Advent Calendar with Wood:
Materials:
- (1) 1×4 @ 10ft cedar wood
- (3) 1×2 @ 8ft cedar wood
- 1/2″ thick plywood panel at 2ft x 4ft
- (4) 3/4″ x 3/4″ @ 3ft Square poplar dowel
- Paint (I used White Dove by Benjamin Moore)
- Primer
- Paint rollers
- 1 1/4″ brad nails
- 1 3/4″ self tapping screws
- Wood glue
- Wood stain (I used this color)
- Polyurethane (optional)
- Paintable caulk
- Spackle
- Polymer clay (optional – see step #7)
- Rubber number stamps (optional – see step #7)
- 3″ Christmas tree cookie cutter (optional – see step #7)
- Brass plated nails (we used these 5/8″ nails)
Tools:
- Miter saw
- Drill
- Brad nailer
- Clamps
- Tape Measure
- Hammer
Video Tutorial:
Subscribe to my YouTube Channel here!
1. Make initial lumber cuts for the advent calendar
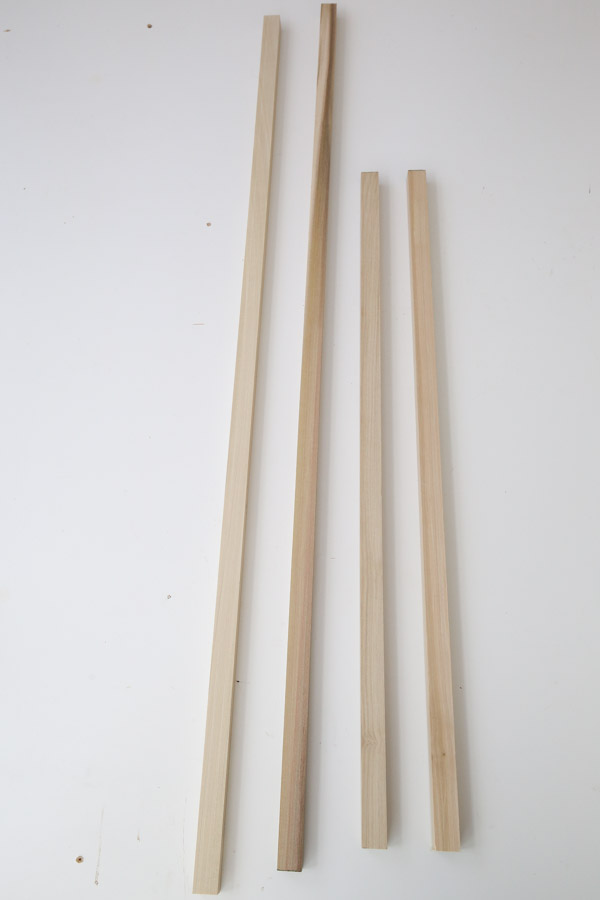
Cut the 2ft x 4ft plywood sheet to 3ft long. We had our plywood cut at the home improvement store, but you can also use a table saw or circular saw and straight edge guide.
For two of the 3 ft square dowels, cut them to 25 1/2″ long and keep the other two at 3ft.
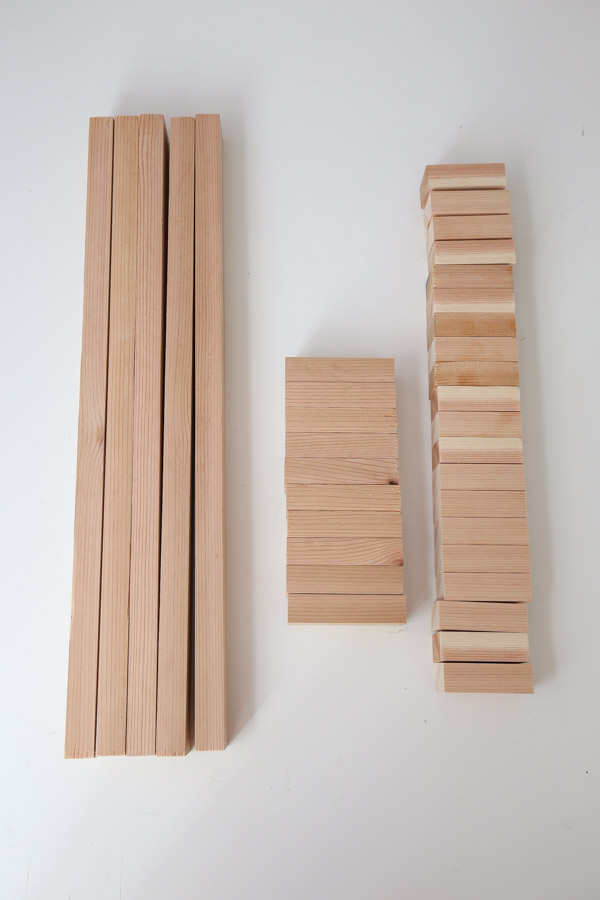
Make the following cuts from the 1x2s using a miter saw:
- 10 pieces @ 3 1/2″ (for the sides of each shelf)
- 20 pieces @ 2 5/8″ (for the middle cubby dividers)
- 5 pieces @ 20 1/2″ (for the bottoms of each shelf)
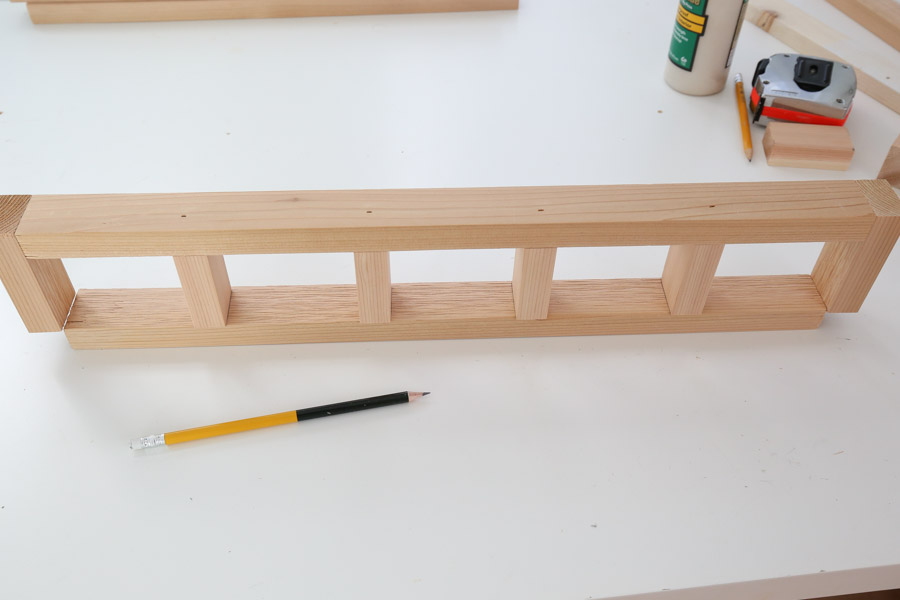
2. Attach 1x2s together to form the frames of the advent calendar cubbies
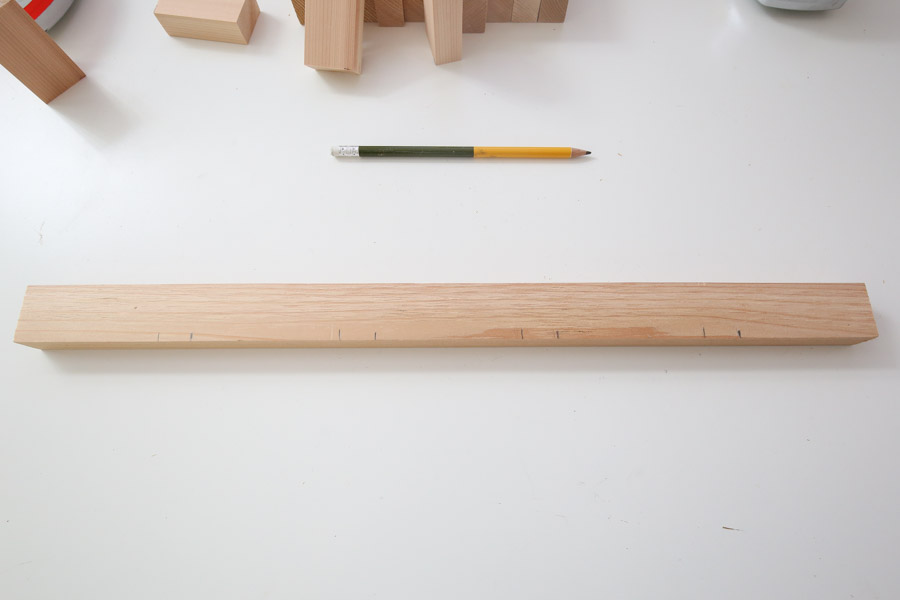
Begin by measuring and marking 3 1/2″ in from the edge of one of the 20 1/2″ 1x2s which will be used for the bottom of one of the cubby shelves.
Then, place another 1×2 at this mark and mark on the other side of it. Continue this process until you have 4 board spots marked that are each 3 1/2″ apart.
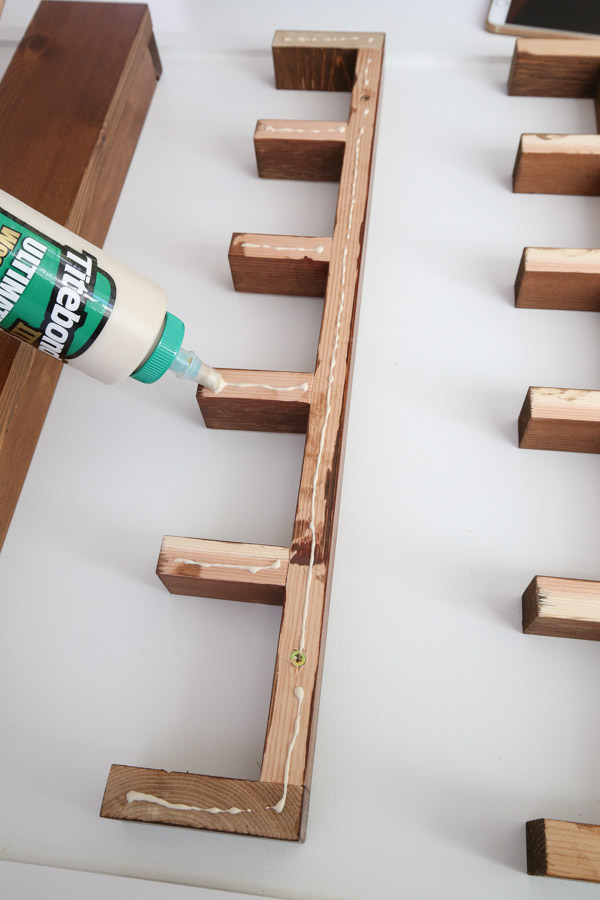
Use wood glue on the bottom of four of the 2 5/8″ 1×2 boards and set them in place at the marked spots to form the cubby dividers.
Then, place a scrap board on top of them and clamp together to hold them in place for nailing. Attach the 1×2 board dividers to the bottom board with 1 1/4″ brad nails.
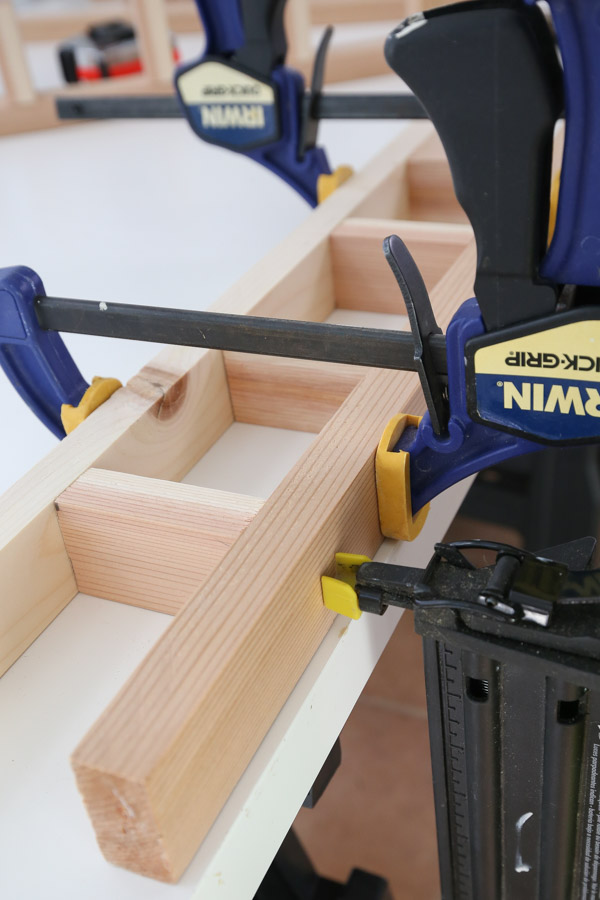
Next add a 3 1/2″ 1×2 on each end of the frame to form the cubby shelf ends.
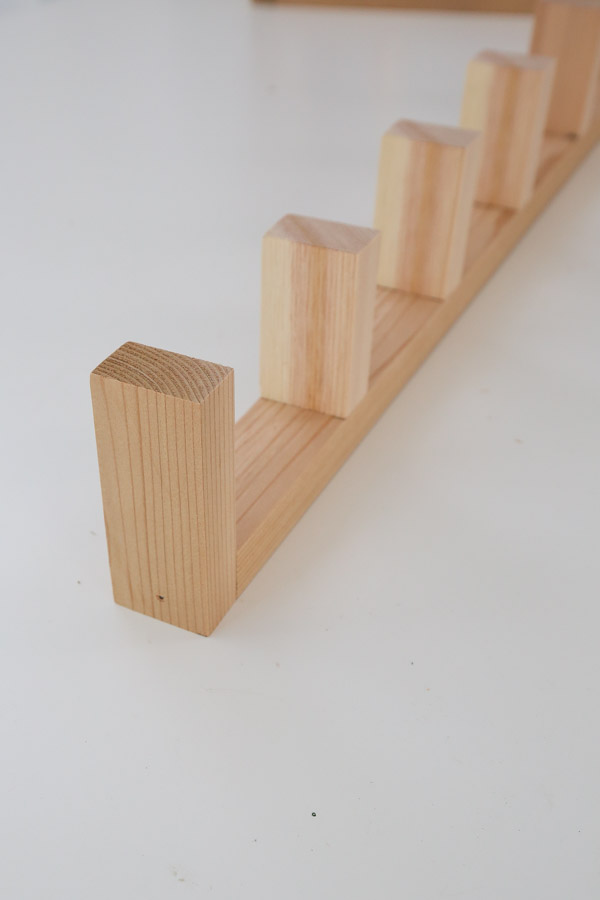
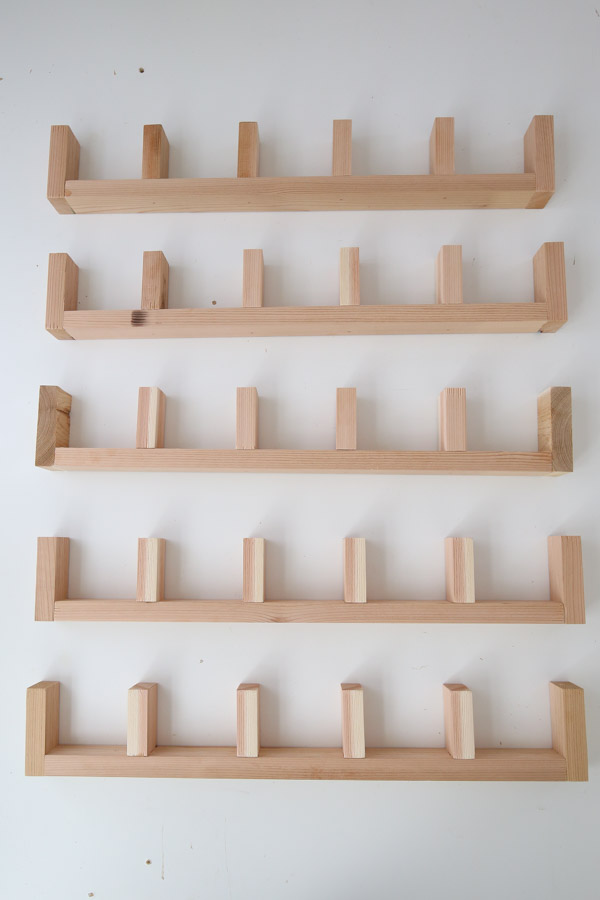
Repeat this process for the other 4 cubby shelves. Note, for the intial marking step, we just turned our first shelf upside down and used it to easily make the marks on the other boards.
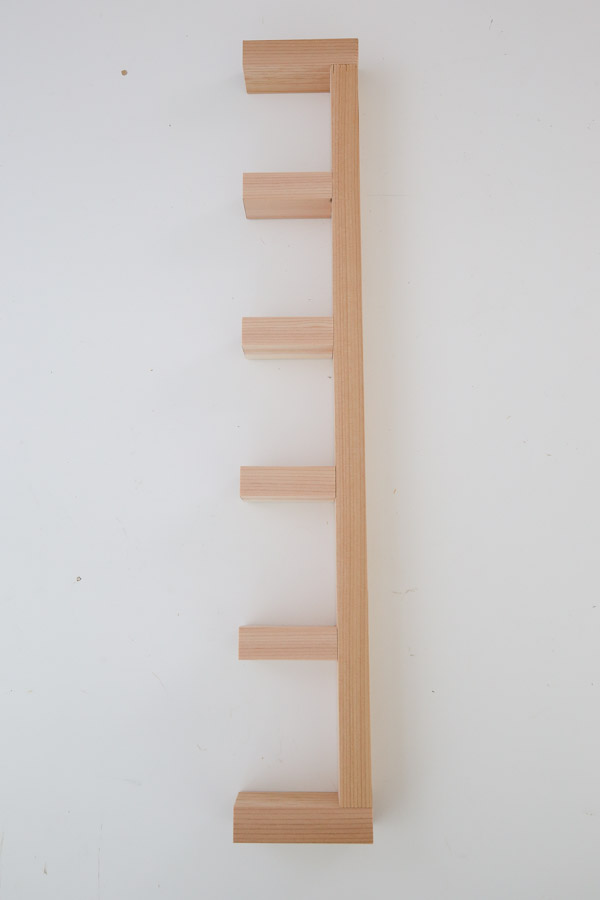
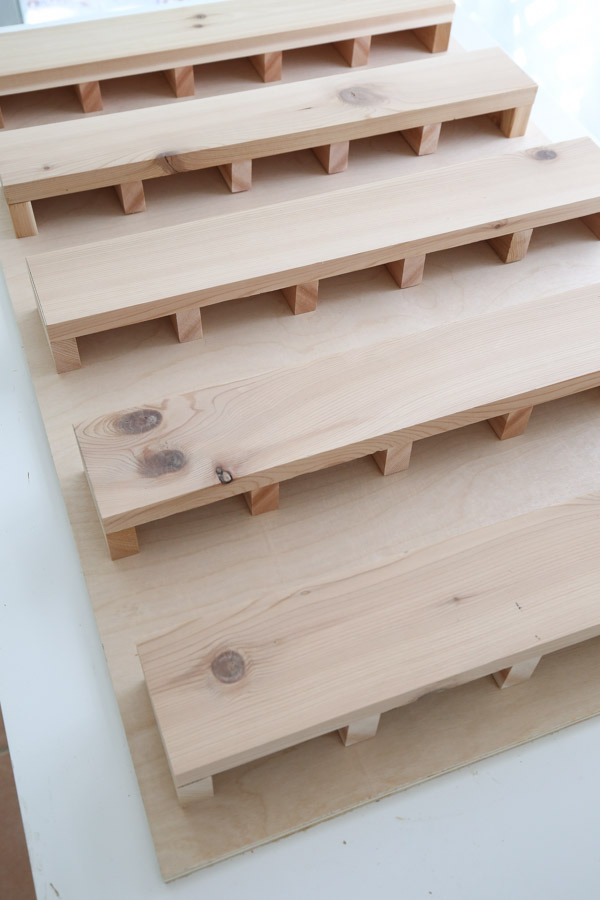
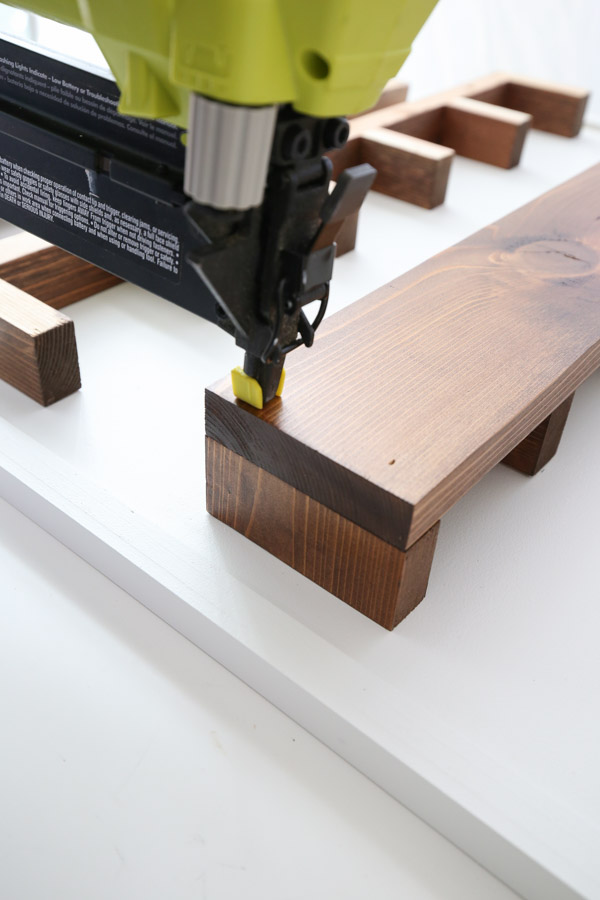
3. Cut 1x4s to size for cubby shelf fronts
Measure each of the 5 cubby shelves and cut a 1×4 to size for each of them to create the cubby shelf front boards. Test each one and make sure it’s a perfect fit! The 1x4s should be 22″ but it’s best to custom measure each one since we want a perfect fit on the fronts and there may be a tiny variation!


Now your DIY advent calendar boards are all ready for painting, staining, and assembly.
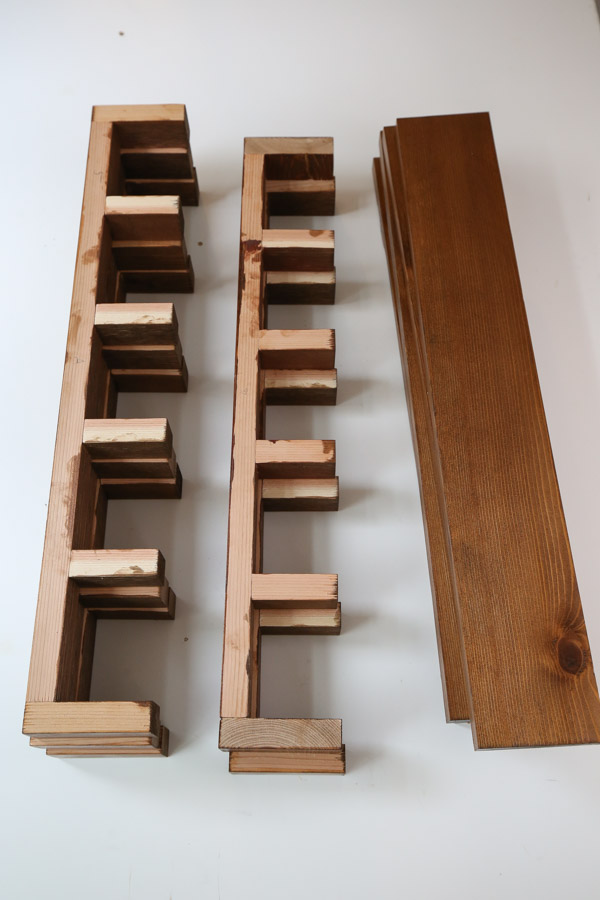
4. Stain the cubby shelf boards
At this point it is easier to paint and stain the boards before assembling.
Prime the plywood board and square dowels with a paint roller. After the primer dries, add two coats of paint. We used white dove by Benjamin Moore in eggshell.
Next, stain the 1x2s and 1x4s. We started with a pre stain wood conidtioner and then used one coat of Minwax English chestnut for our stain. We also used two coats of polyurethane the next day.
📩 Want to Save This?
We only stained the areas of the boards that are going to show once the advent calendar is assembled.
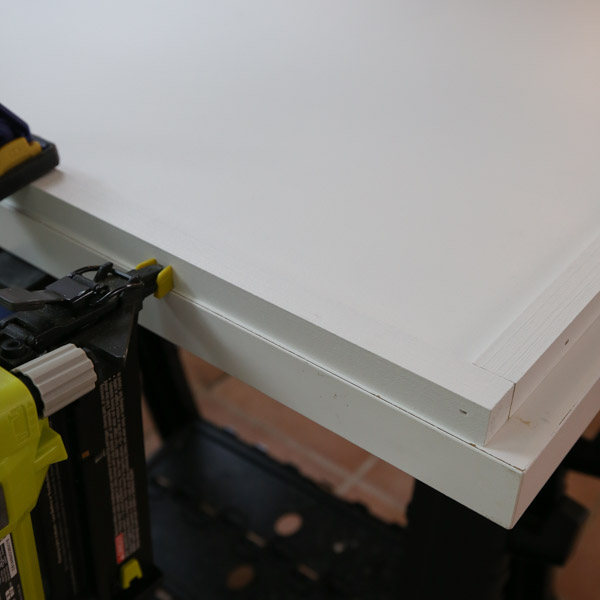
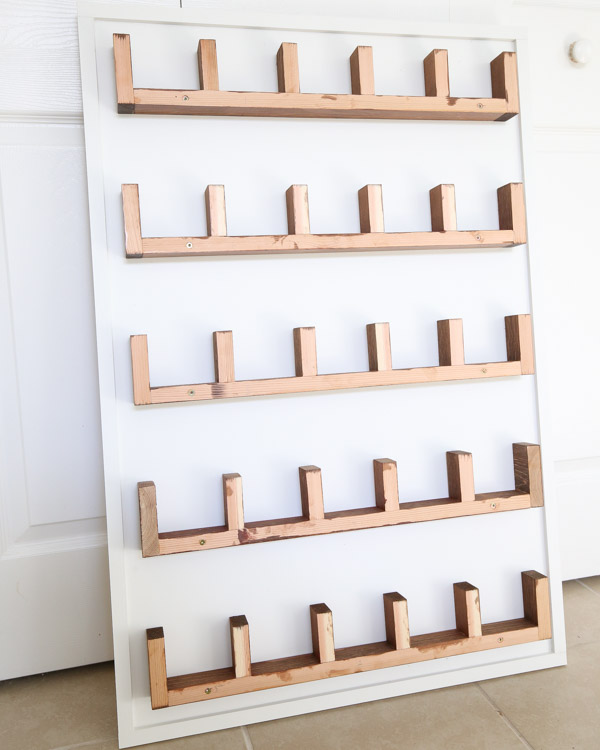
5. Frame the DIY advent calendar with the square wood dowels
Trim out the plywood board with the square dowels. Use the two, full 3ft boards on the sides and the 25 1/2″ boards on the top and bottom.
Attach the dowels with wood glue and 1 1/4″ brad nails.
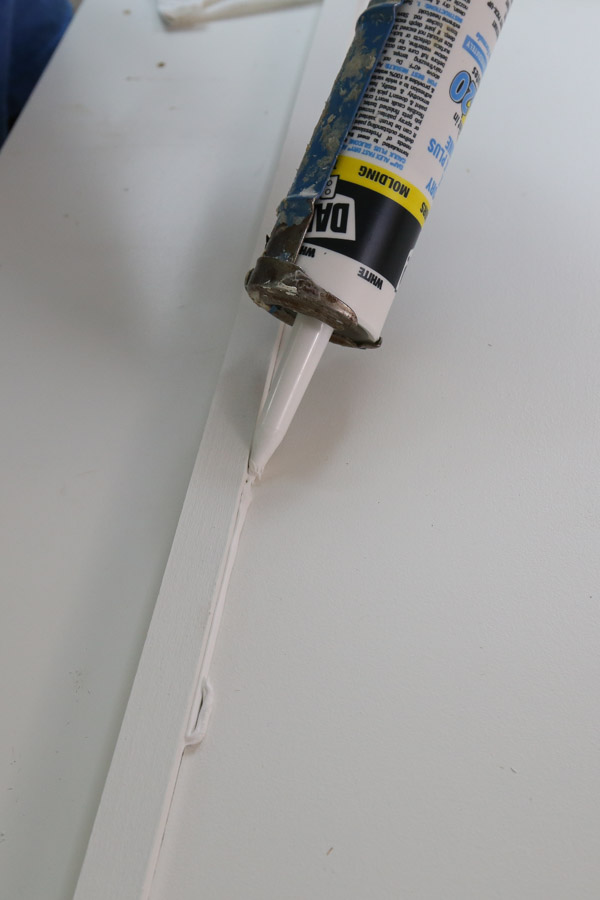
We also added caulk on the frame seams and spackle on the nail holes, then did paint touch ups.
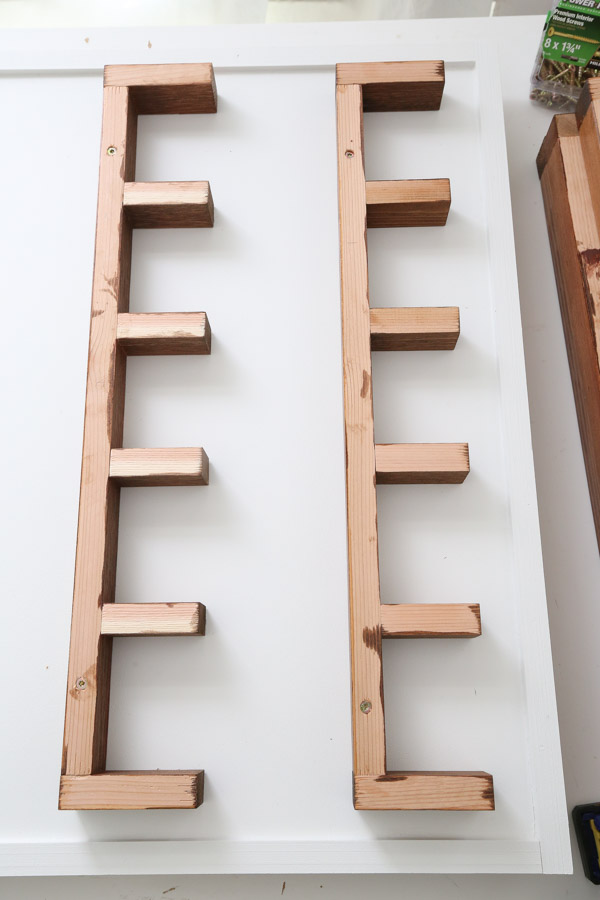
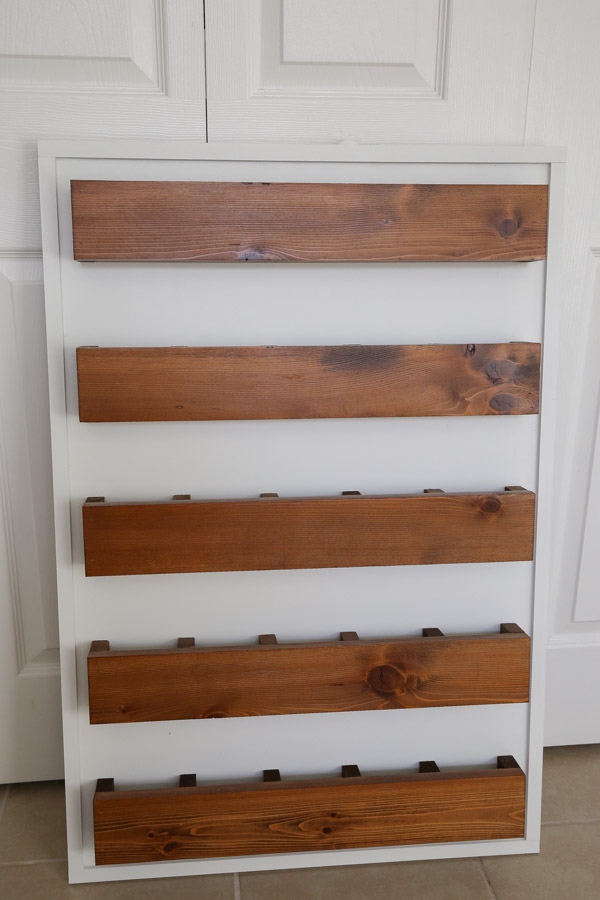
6. Attach all the boards together to complete the DIY wooden advent calendar build
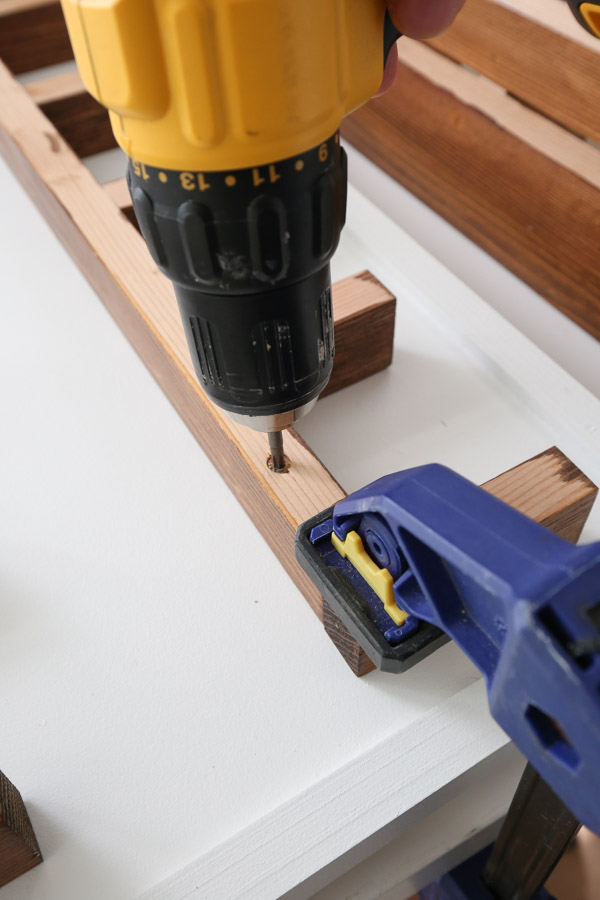
Once all the boards are dry, it’s time to assemble the advent calendar. Use wood glue and 1 3/4″ self tapping screws to attach the 1×2 shelves in place. You can use regular wood screws too just make sure to use pilot holes first if so!
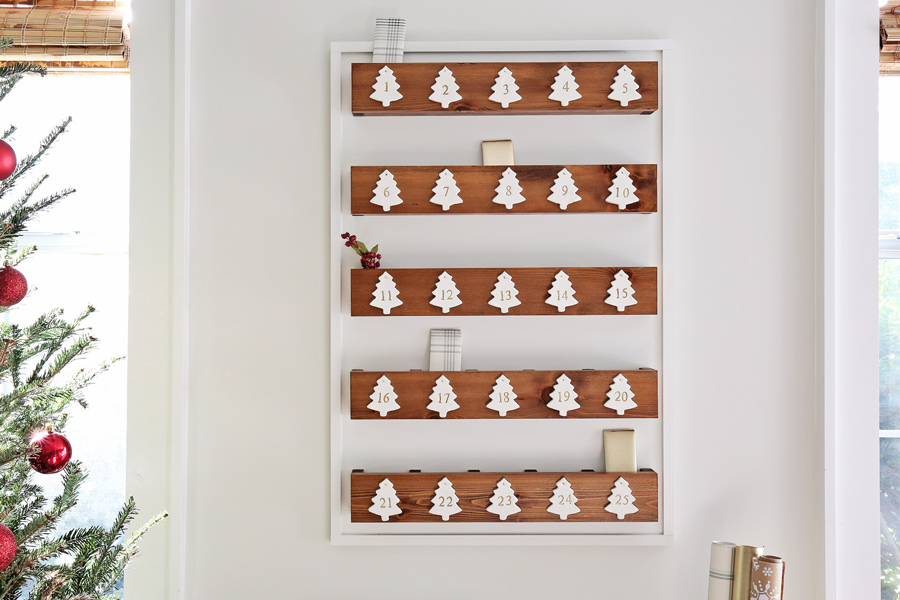
Attach the first shelf 1 1/4″ down from the top of the plywood and centered. Then attach the rest of the shelves 4 inches apart from each other and then 1 1/4″ spacing will remain under the last shelf. About a 1″ space will remain on each side of the shelves
You can see all of this in action in my DIY advent calendar video!
Make sure that the screws are countersunk beneath the surface of the 1×2 a little bit.
Next, attach the 1×4 cubby shelf fronts with wood glue and 1 1/4″ brad nails.
Now your DIY advent calendar build is complete and it’s time to add the numbers!
7. Add the numbers
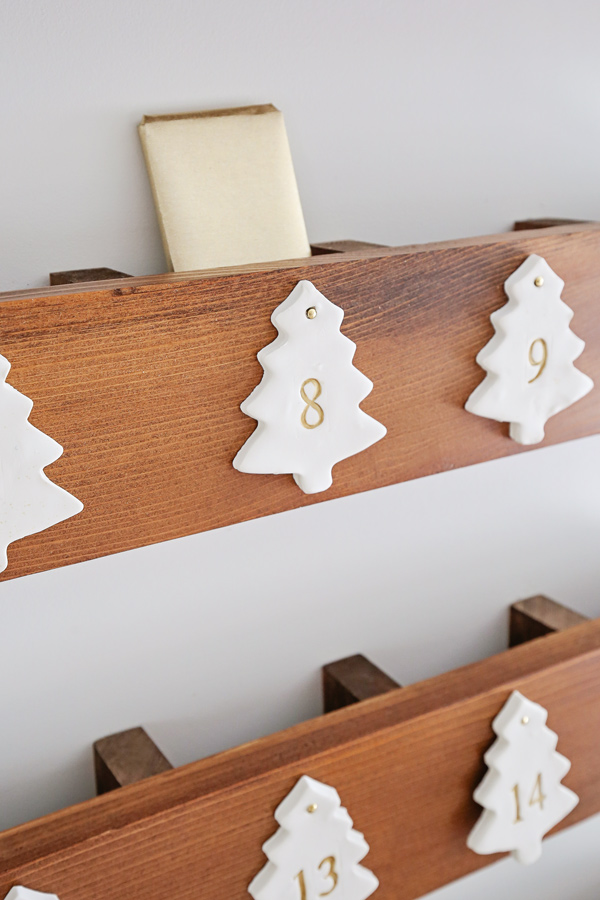
For our advent calendar numbers, I originally ordered these cute Christmas tree clay ornaments with numbers.
They shipped from Europe and ended up getting lost in the mail (I’ve been waiting over a month for them)!
So last minute we decided to make them to complete my vision for this DIY wooden advent calendar design!
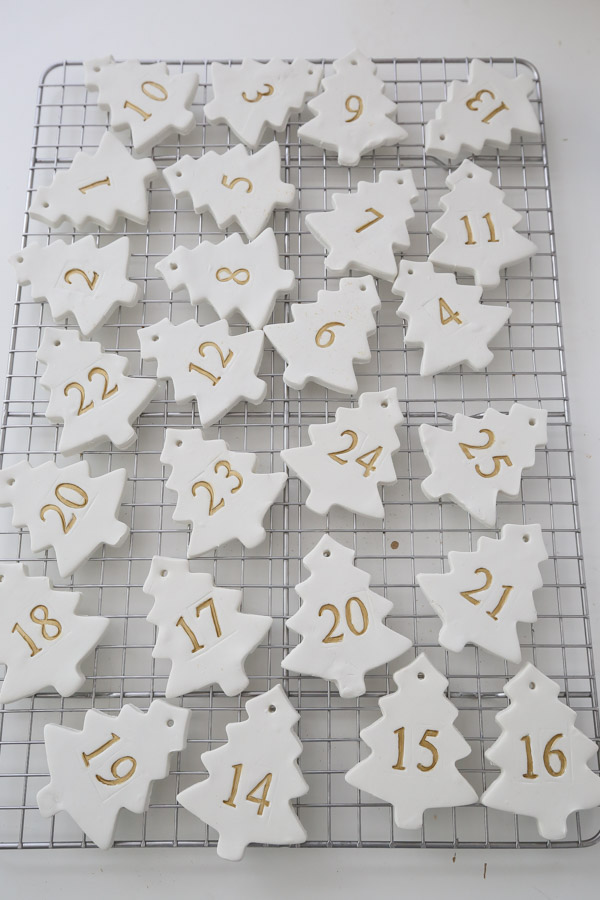
Brandon made the DIY clay ornaments with this polymer clay and the 3″ Christmas tree cookie cutter in this pack by using a dough roller to roll the clay out to 1/4″ thick. He stamped the clay with rubber number stamps and made a hole at the top with the round end of a kebob stick.
We followed the directions according to the clay package for making and baking them.
Then, my awesome assistant painted the numbers with gold acrylic paint!
You can use anything you want for the numbers though! I even bought these wood Christmas tree shapes and was going to spray paint them white and use gold number stickers or vinyl as my back up plan. So, that’s another idea too!
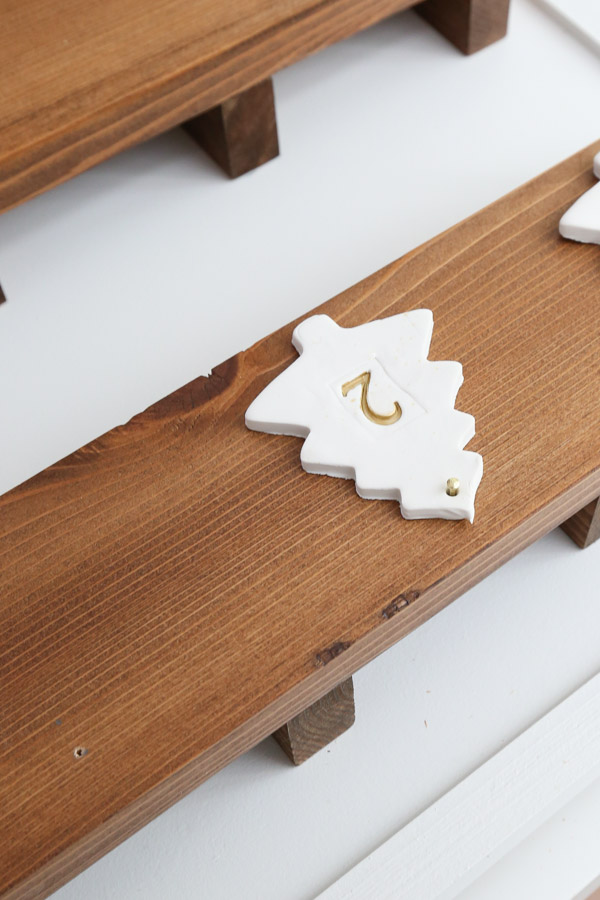
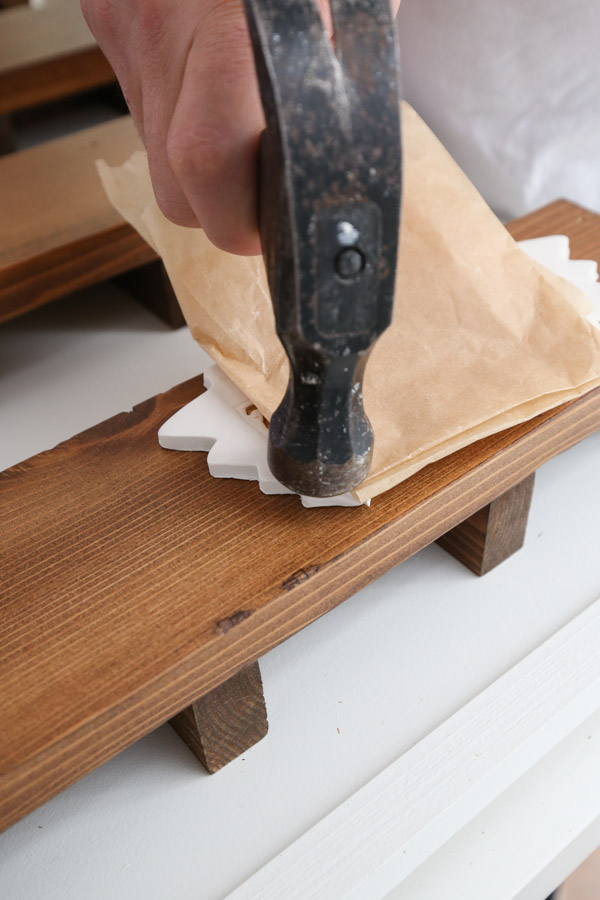
We attached the clay ornaments in place for each cubby on the 1x4s with brass plated nails.
First, we marked our hole location and pre-drilled small holes. Then, we pushed the nail through the ornament hole into the pre-drilled holes and gently hammered into place. We used parchment paper to avoid getting marks on the white clay.
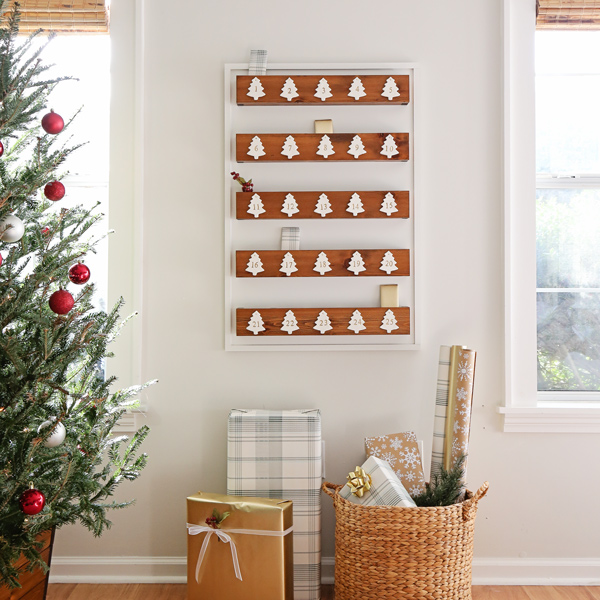
I love how our DIY advent calendar turned out and I’ve been having so much fun shopping for little presents to fill it with!
Make sure to join our Woodworking for the Home Facebook group and share this project there if you make it! Or tag me on social media @angelamariemade or #angelamariemade!
Don’t forget to enter our holiday giveaway and check out all of the other fun projects in our 10 Days of DIY Challenge & Giveaway!
Want to save for later?! Pin it here:

Follow along for my latest projects and sneak peaks on Instagram, YouTube, TikTok, and Facebook!
Catherine
Saturday 20th of November 2021
I love this so much <3!!!! thank you for posting!!