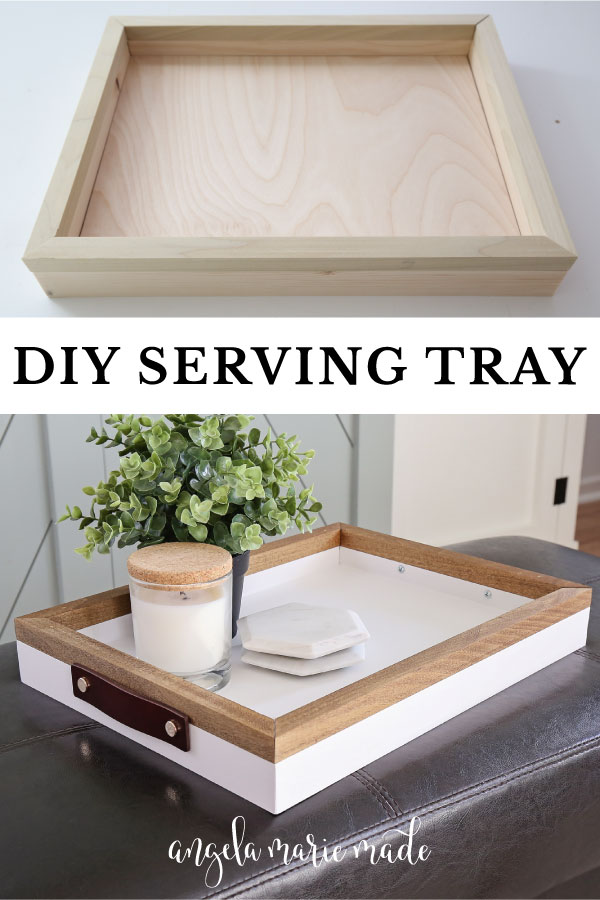
Learn how to make a stylish DIY serving tray with handles!
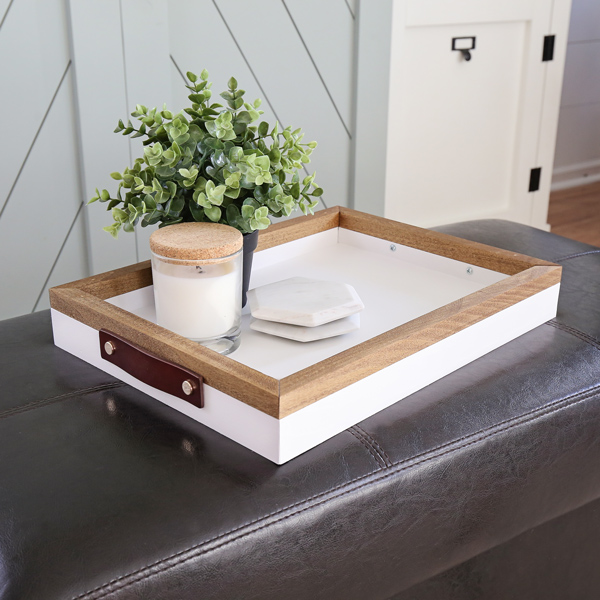
This DIY wood serving tray is really easy to make, you only need three tools, a brad nailer, drill and a miter saw!
This is our Day 4 project for the 10 Days of DIY Challenge & Giveaway going on right now, don’t forget to enter the giveaway here!
It can be used in so many ways, and provide both function and decor to your home!
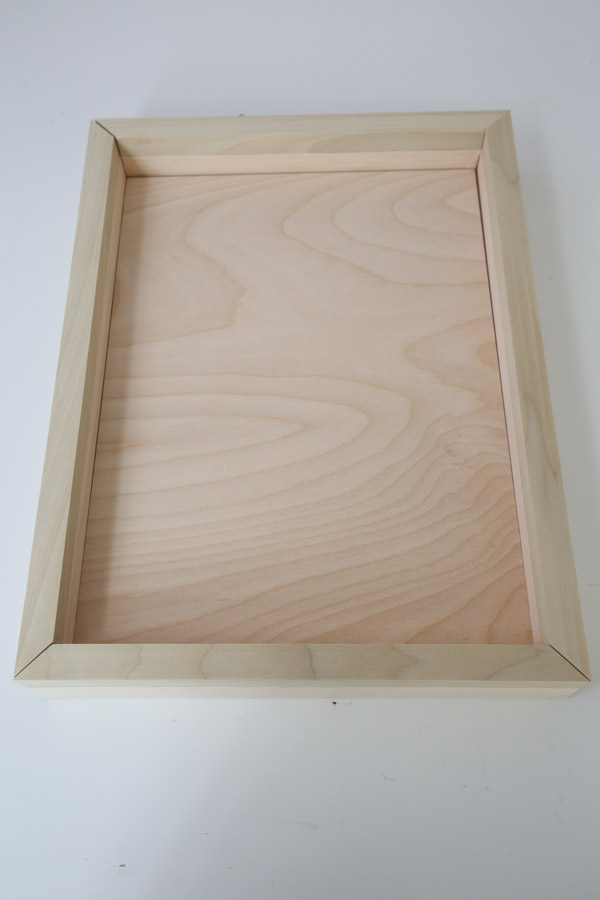
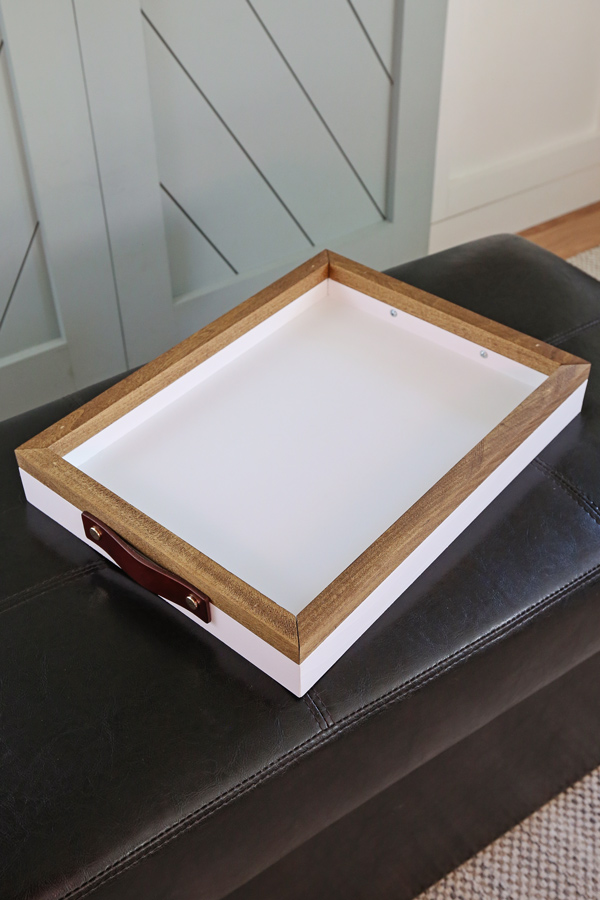
Final Size of Serving Tray: 12″ wide x 16″ long x 2 1/4″ tall
Note, this post contains some affiliate links. I may earn a commission if you shop those links (at no cost to you). Thank you for supporting my small business. For more info see my disclosures here.
How to Make a DIY Serving Tray:
Materials:
- (1) 1×2 @ 8ft
- (1) 2ft x 2ft plywood @ 3/4″ thick
- (2) 3/4″ x 3/4″ @ 3ft Square poplar dowel
- 1 1/4 brad nails
- Wood stain (We used this stain)
- Paint
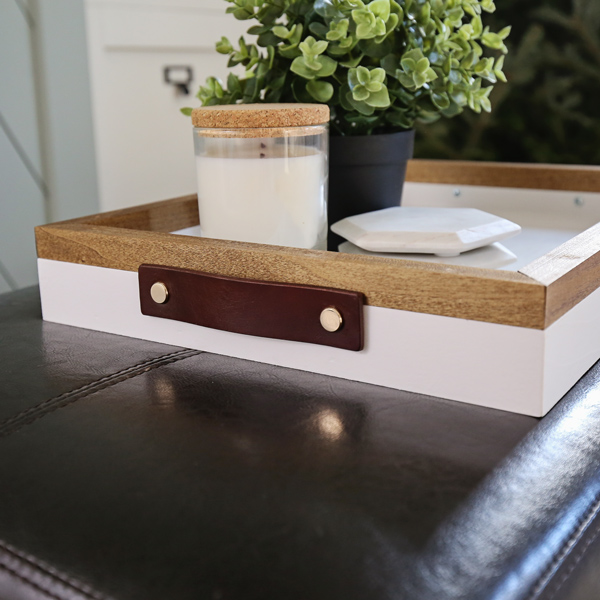
- Pair of cabinet pulls (I used these leather drawer pulls)
Tools:
- Miter saw
- Brad nailer
- Drill
- Clamps
- Tape Measure
- Wood Glue
Video Tutorial:
Subscribe to my YouTube Channel here!
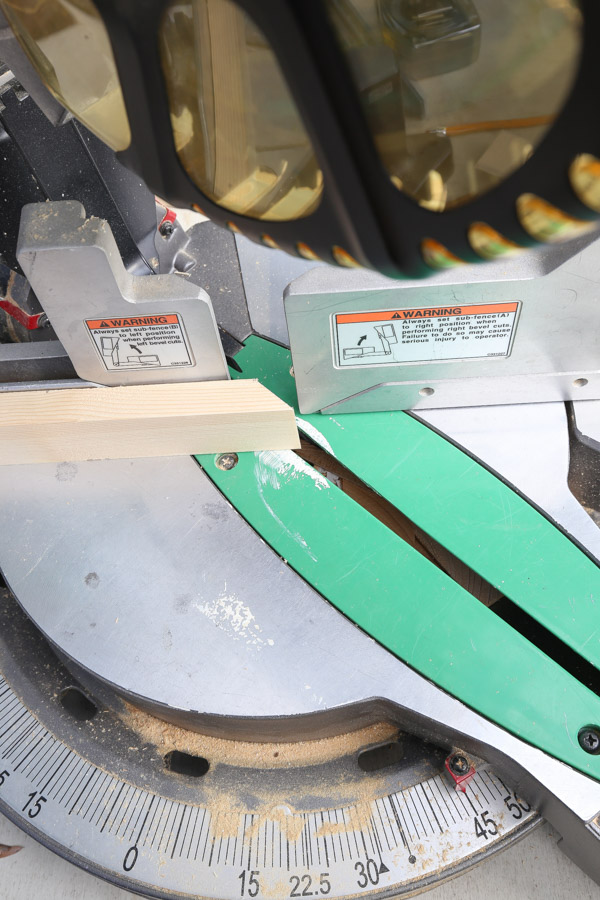
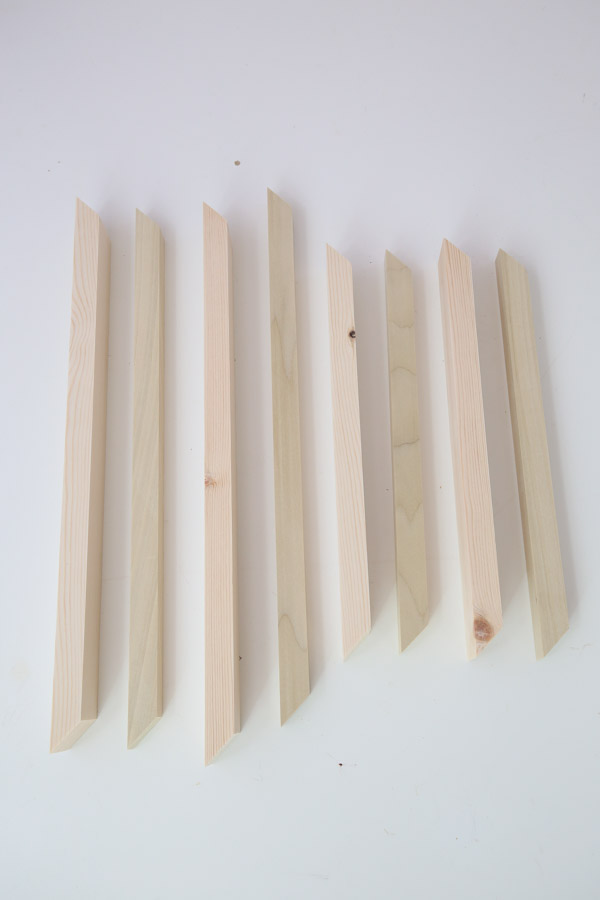
1. Make the lumber cuts
Cut the plywood sheet to 10 1/2″ x 14 1/2″. We had our plywood cut at the home improvement store.
Make the following cuts from the 1x2s with 45 degree cuts using a miter saw:
- (2) @ 10 1/2″ from short point to short point
- (2) @ 14 1/2″ from short point to short point
Make the following cuts from the 3/4″ square dowels with 45 degree cuts using a miter saw:
- (2) @ 10 1/2″ from short point to short point
- (2) @ 14 1/2″ from short point to short point
Note: We cut our 1x2s and 3/4″ square dowels at a 45 degree angle for clean ends but you can do straight 0 degree cuts if you want to make this project even more simple.
2. Line up all the boards
Before assembling the DIY serving tray, line up all of the boards to make sure everything will be a perfect fit, with the 1x2s against the plywood and the square dowels on top of the 1x2s.
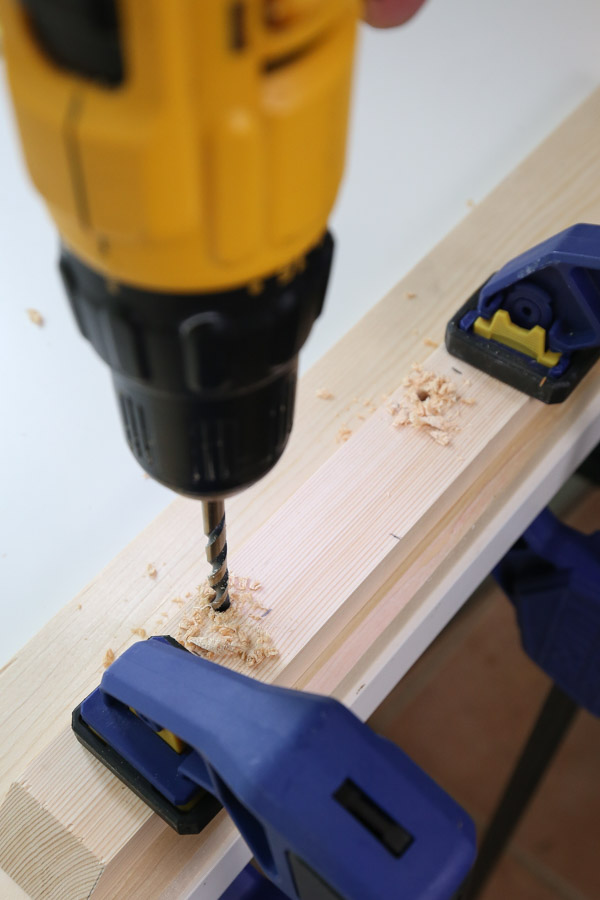
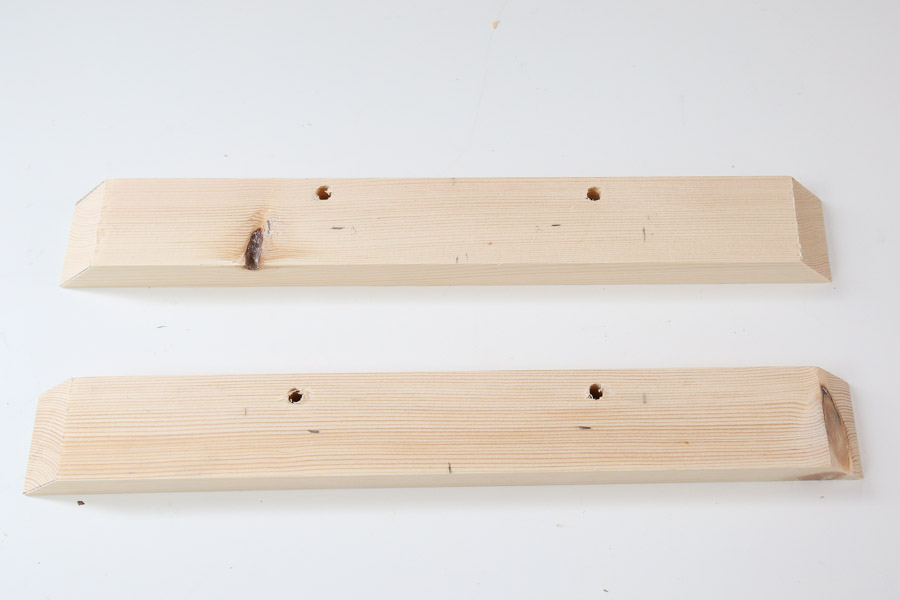
3. Drill holes for the handles
Using one of the 1x2s at 10 1/2″, mark the center with a pencil at 5 1/4″. Then make a pencil mark on the left and right side of the center mark at 2 3/4″. Finally make 2 more pencil marks 5/8″ from the bottom of the 1×2.
Line up the bottom edge of the handle with the 5/8″ marks and in between the 2 3/4″ marks. Hold the handle in place and trace the circle where the handle holes are on the 1×2.

Use a 1/4″ drill bit and drill a hole through the 1×2 where you marked the circles for the handle screw holes. Align the tip of the drill bit with the center of the hole marked as best as you can.
📩 Want to Save This?
Repeat these steps for the second 1×2 @ 10 1/2″.
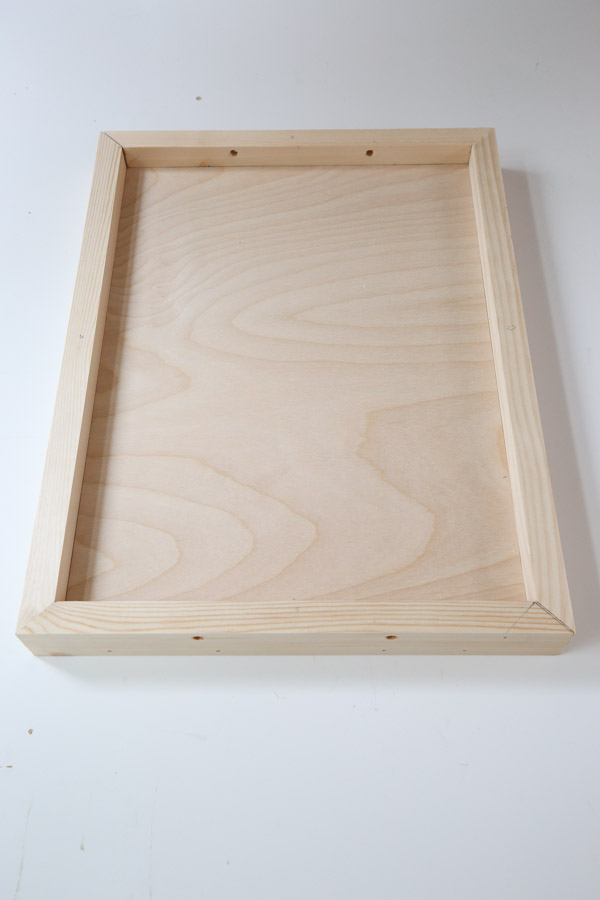
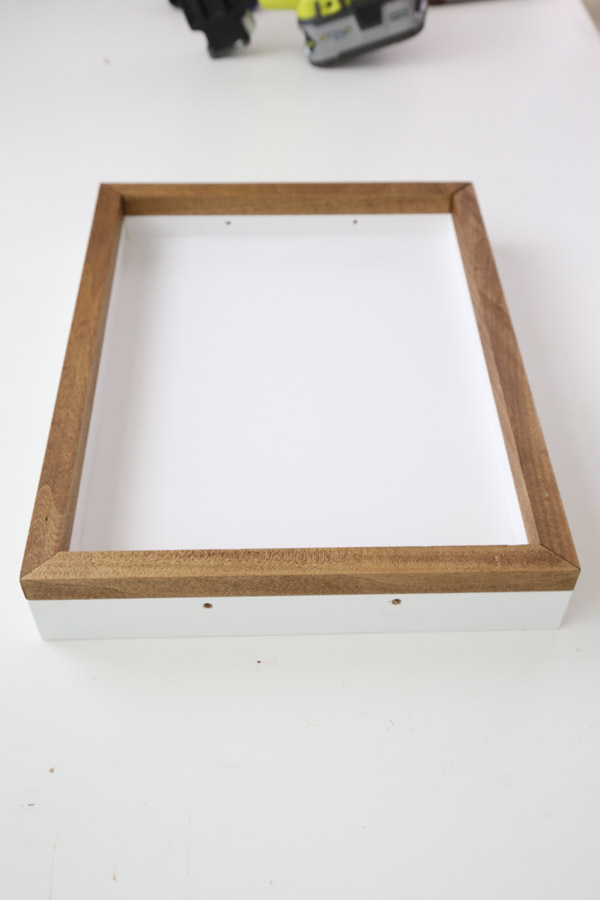
4. Assemble the 1×2 frame to the base
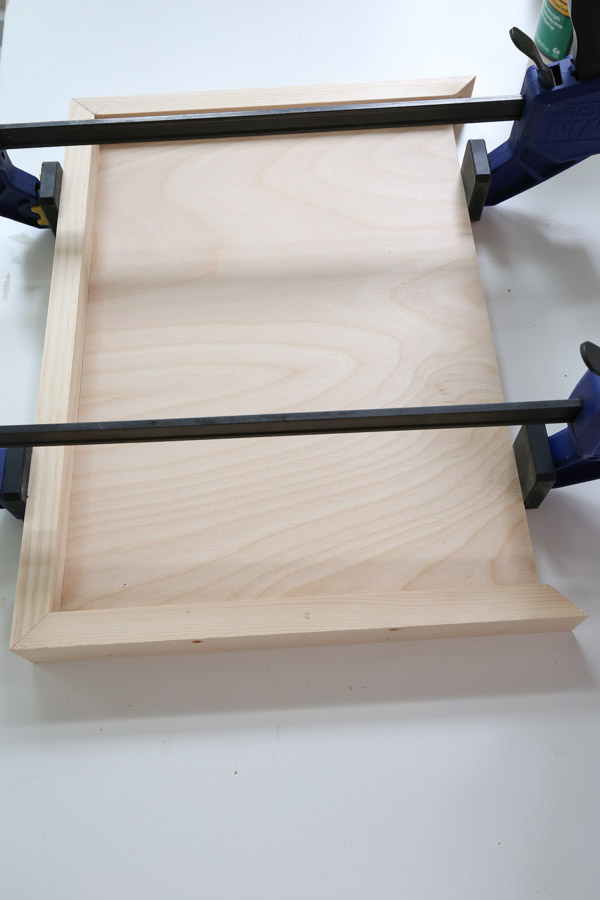
Attach one of the 10 1/2″ 1x2s with wood glue and 1 1/4″ brad nails to the side of the plywood so that the short points are flush with the plywood edges. Use clamps to help hold the wood in place. And make sure the handles holes are above the plywood.
Repeat this process for the other 3 sides.
5. Apply the paint and stain to the DIY wood serving tray boards
Prime and paint the plywood and 1×2 frames. We used simply white by Benjamin Moore.
Stain the 3/4″ sqaure dowel boards. We used Early American by Minwax.
Allow everything to dry.
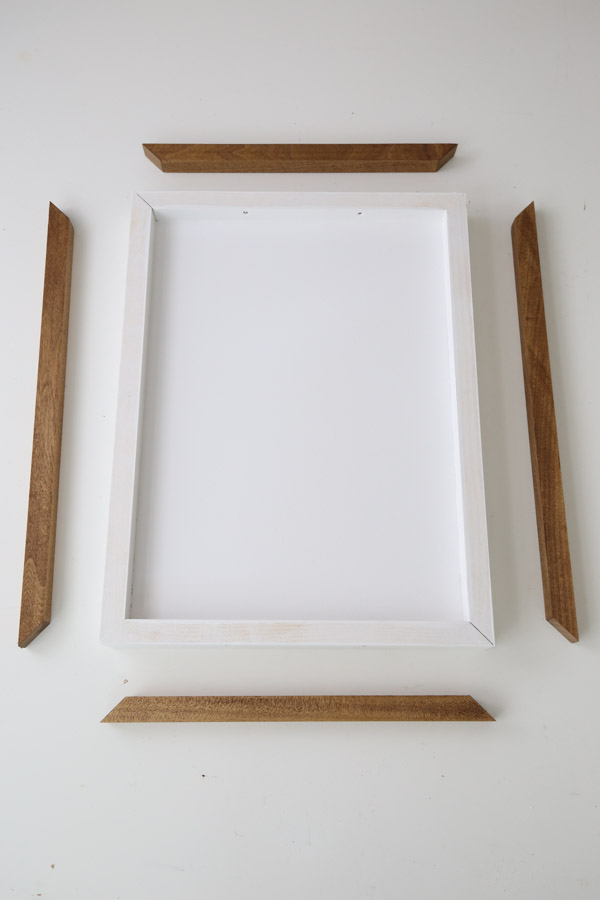
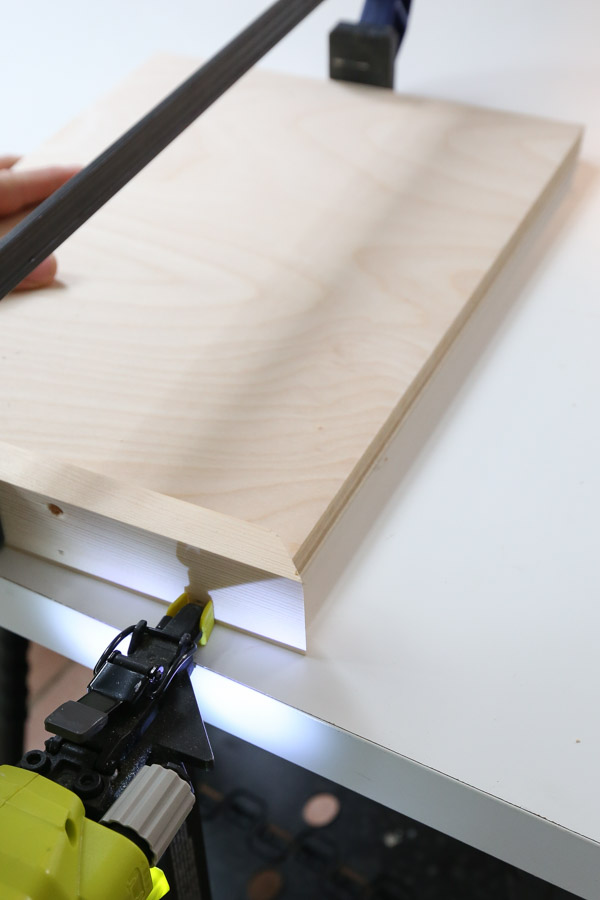
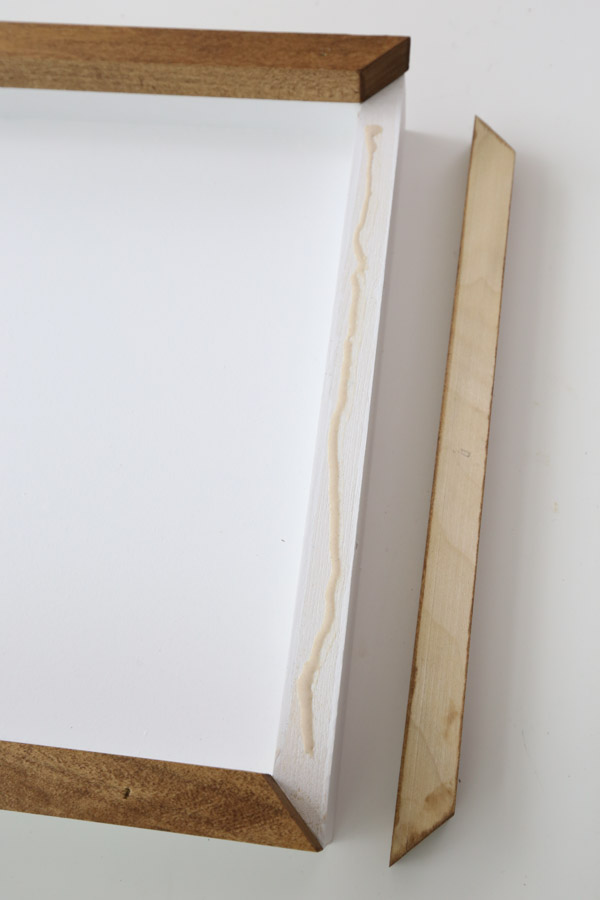
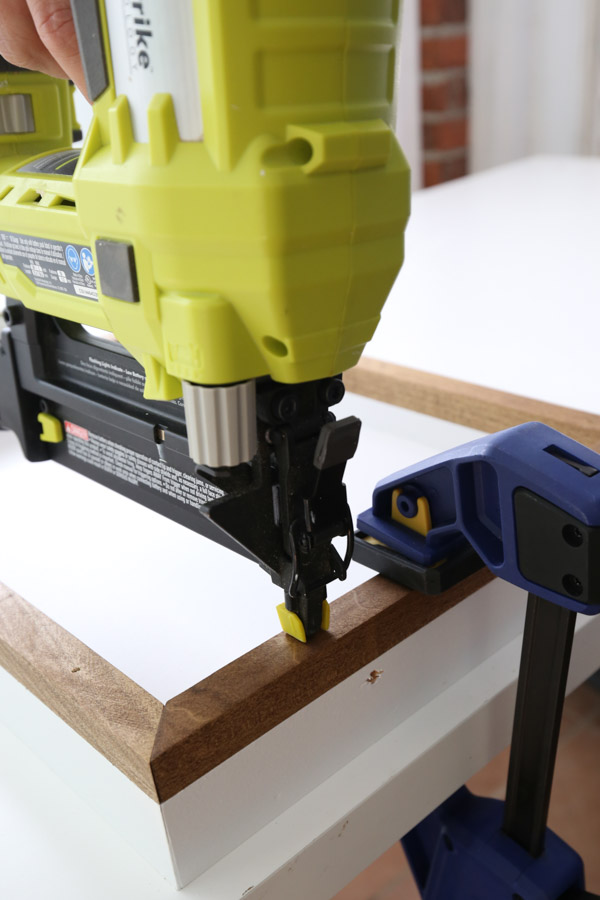
6. Install the square dowel boards on the tray edges
Attach the square dowels boards with wood glue and brad nails on top of the 1×2 tray edges.
We lined up all the square boards in place and then clamped one board down at a time to nail it in place on the tray. You can see all of this in action in our step by step video on how to build a serving tray!
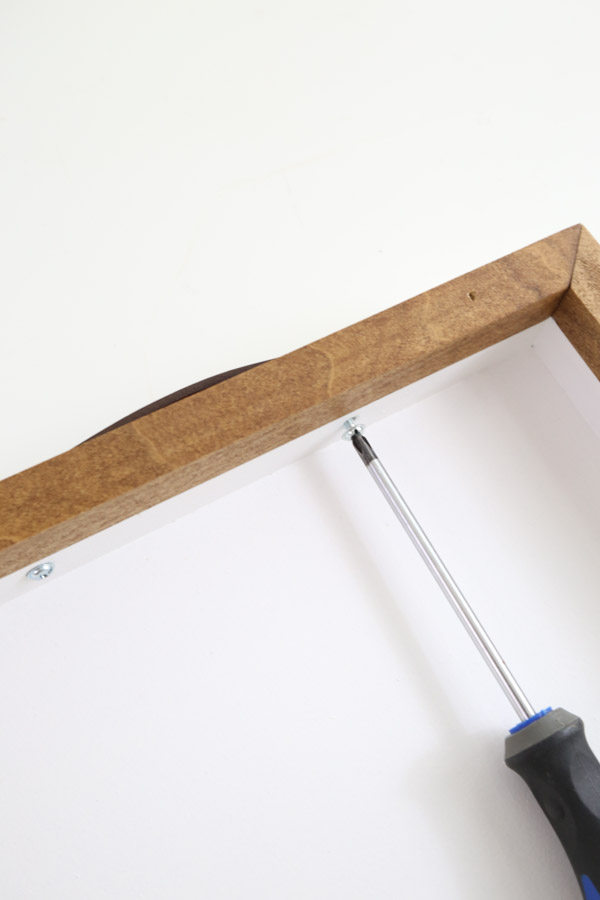
7. Install handles on the DIY wood serving tray
The last step is to install the handles using the pre-drilled holes and a screw driver with the screws that came with the handles. I used these leather drawer pulls.
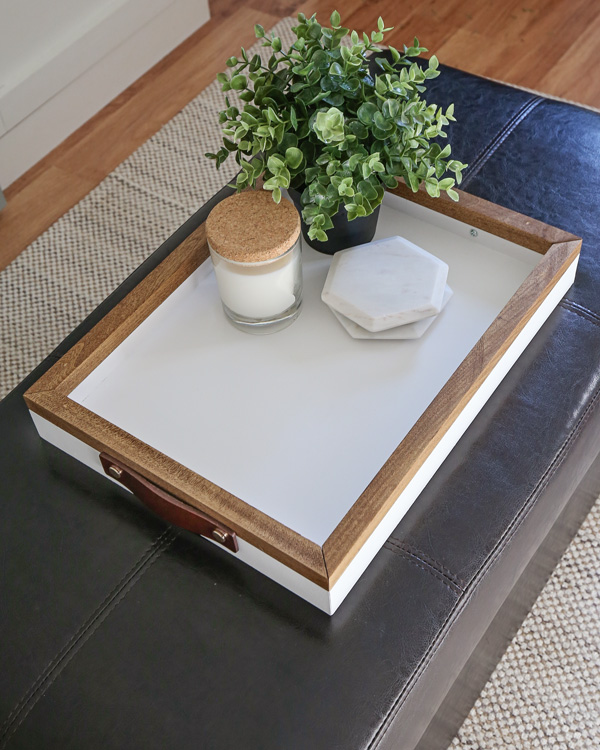
And that’s it, enjoy your handmade, DIY wood serving tray!!!
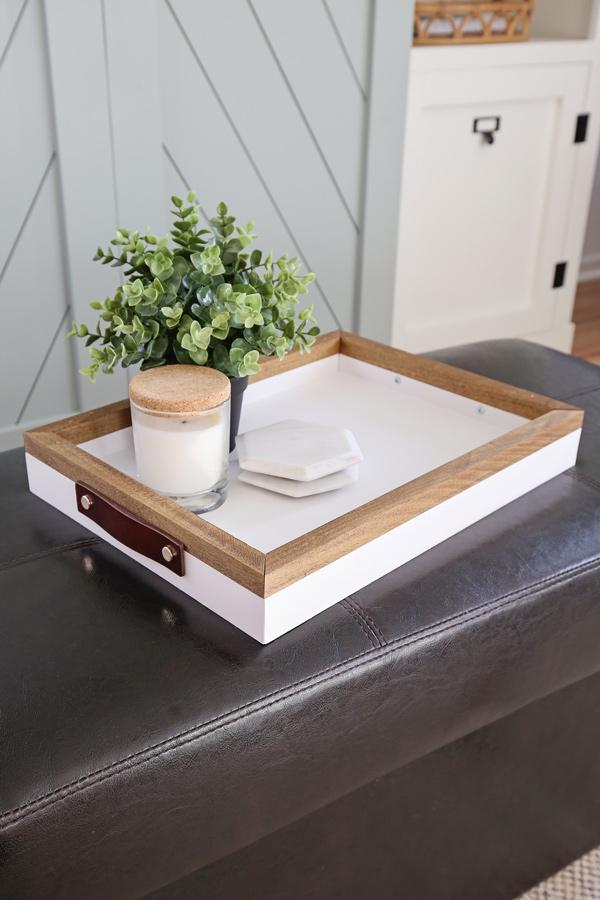
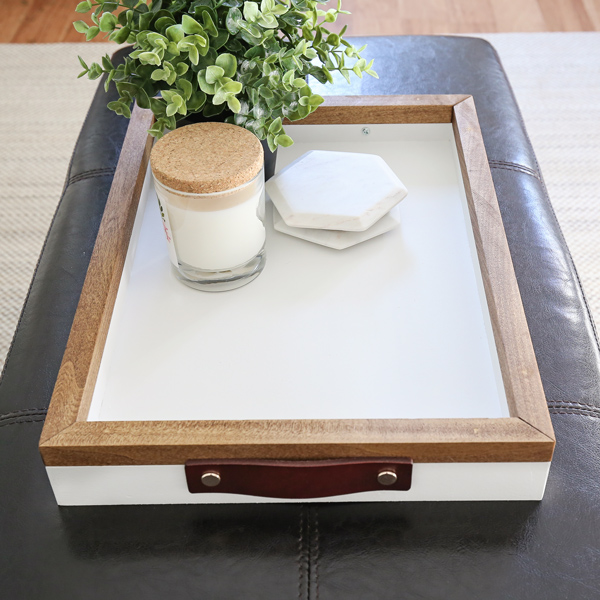
What do you think of our DIY serving tray? What would you use it for? I’ve been using mine on our ottoman and on our entertainment center shelf!
Make sure to join our Woodworking for the Home Facebook group and share this project there if you make it! Or tag me on social media @angelamariemade or #angelamariemade!
Don’t forget to enter our holiday giveaway and check out all of the other fun projects in our 10 Days of DIY Challenge & Giveaway!
Follow along for my latest projects and sneak peaks on Instagram, YouTube, TikTok, and Facebook!
Linda
Tuesday 26th of April 2022
I'm in love with this tray, gotta go buy lumber. Could you please tell me the beautiful color behind the ottoman with tray? On the cabinet doors. Green? Gray? It's gorgeous!
Jennifer
Sunday 24th of January 2021
I love your diy projects and detailed explanations! Looking forward to making your trays for family as gifts.
Angela Marie Made
Monday 25th of January 2021
Thank you so much!!