Learn how to build a DIY kids bookshelf that’s functional and beautiful for storage and organization!
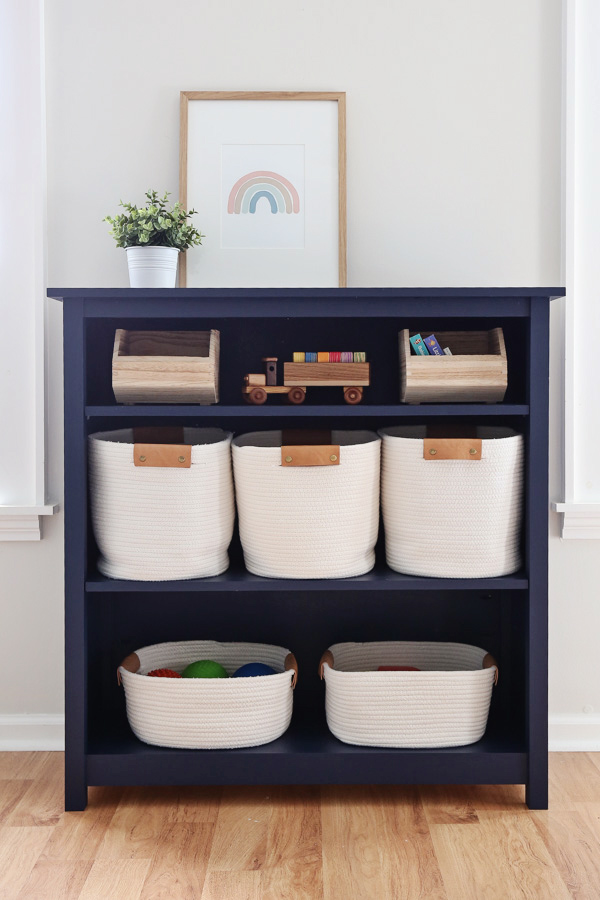
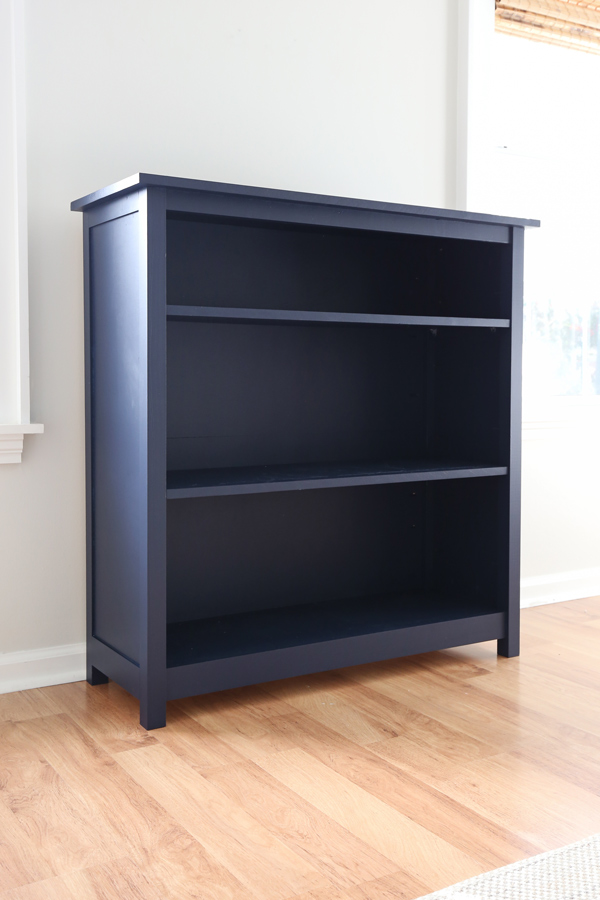
In our living room, we really needed a DIY bookshelf to organize all of our son’s toys. This three shelf bookshelf was the perfect solution for his toy storage but it would also work great for any kind of storage that you need in your home with its classic and beautiful look!
Note, this post contains some affiliate links. I may earn a commission if you shop those links (at no cost to you). Thank you for supporting my small business. For more info see my disclosures here.
Also, if you need more DIY kids storage ideas, check out our DIY toy box and DIY kids bookshelf for walls (it’s perfect for displaying books)!
I designed this bookshelf to be made using just one 4ft x 8ft sheet of 1/2″ plywood in order to save money and material. I also made it so that the top and middle shelf can be adjusted if you want to change the height!
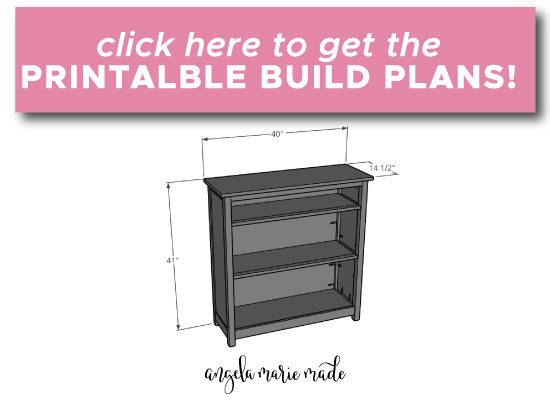
You can get the printable DIY kids bookshelf plans for easy building below!
Final Bookshelf Measurements: 41″ tall x 40″ wide x 14.5″ deep
How to Build a DIY Kids Bookshelf:
Materials:
- (1) 4ft x 8ft plywood @ 1/2″ thick*
- (1) 3/4″ x 16″ x 48″ edge glued panel board
- (2) 2×2 @ 8ft
- (3) 1×2 @ 8ft
- (1) 1×3 @ 6ft
- 1″ wood screws
- 1 1/4″ brad nails
- 1 1/4″ and 1″ Kreg screws
- 1/4″ wood shims or paint sticks or scrap wood
- Wood Glue
- (8) Shelf pins
- Paint & Primer (or wood stain)
- Spackle or stainable wood filler
Tools:
- Kreg Jig
- Miter saw
- Circular Saw or Table Saw
- Drill
- Brad nailer
- Clamps
- Kreg right angle clamp (optional)
- Tape Measure
*I used this formaldehyde free plywood that was also pre-sanded
Video Tutorial:
Subscribe to my YouTube Channel here!
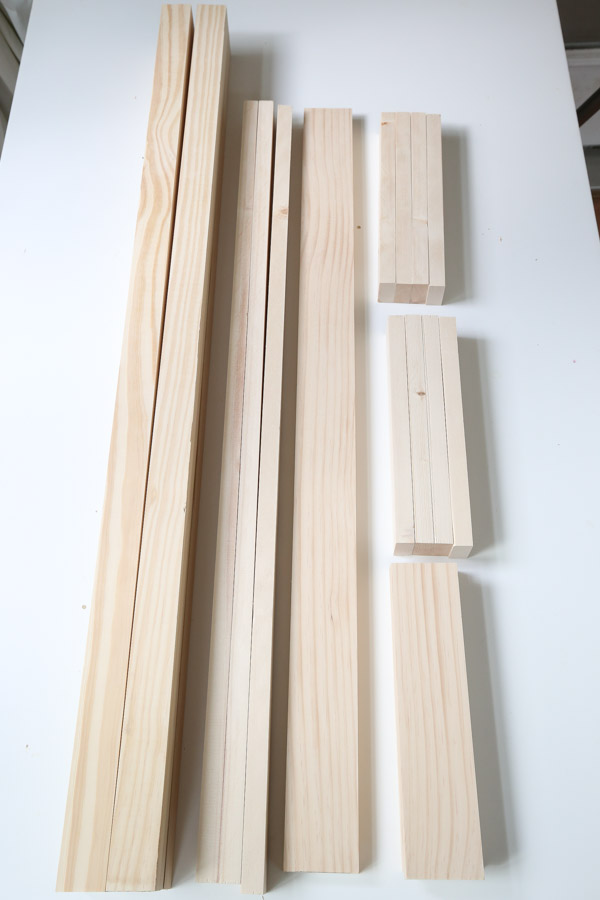
1. Make initial lumber cuts for the bookshelf
Click here for the printable build plans which include the cut list and step by step building steps with easy to follow diagrams!
Begin by making the initial lumber cuts.
Use a table saw or circular saw and straight edge guide to make the plywood and edge glued panel cuts.
Make the following cuts from the 4ft x 8ft plywood:
- (1) piece @ 35″ x 38 1/2″ (for the back board)
- (2) pieces @ 10 1/2″ x 34 1/2″ (for the sides)
- (2) piece @ 34 7/8″ x 11″ (for the top & middle shelves)
- (1) piece @ 35″ x 11 3/4″ (for the bottom shelf)
Make the following cuts from the 16″ x 4ft edge glued panel:
- (1) piece @ 40″ x 14 1/2″ (for the top)
Use a miter saw and make the following cuts from the 2×2s:
- (4) 2×2 @ 40 1/4″ (for bookshelf legs)
Make the following cuts from the 1×2s:
- (8) 1×2 @ 10 1/2″ (for bookshelf sides and inside shelf supports)
- (1) 1×2 @ 35″ (for bookshelf top)
- (2) 1×2 @ 34 7/8″ (for bookshelf shelves)
Make the following cuts from the 1×3s:
- (1) 1×3 @ 35″ (for bookshelf bottom trim)
- (2) 1×3 @ 10 1/2″ (for bookshelf sides)
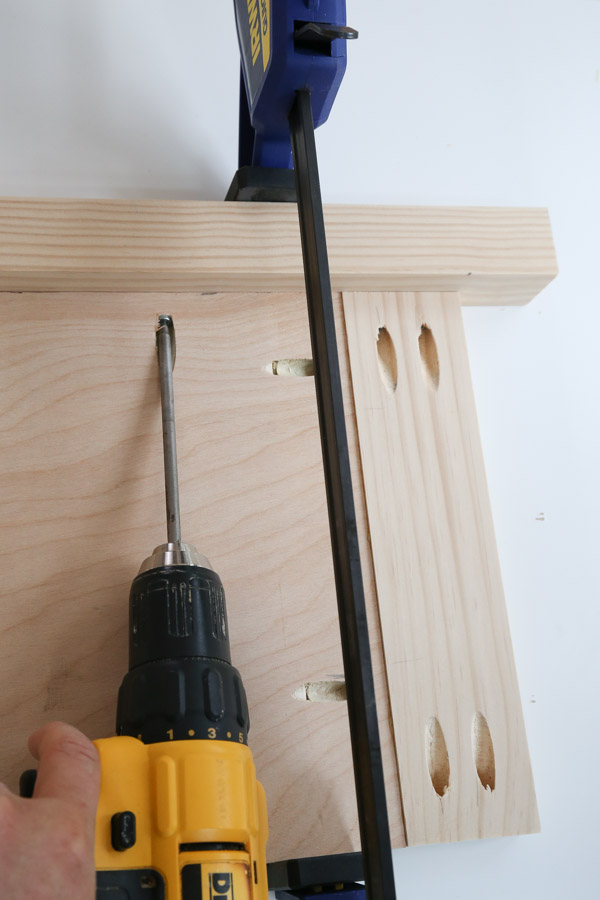
2. Add pocket holes to boards
Use a Kreg Jig and add pocket holes on all sides of the two plywood side boards @ 10 1/2″ x 34 1/2″ and on just three of the sides of the bottom shelf @ 35″ x 11 3/4″.
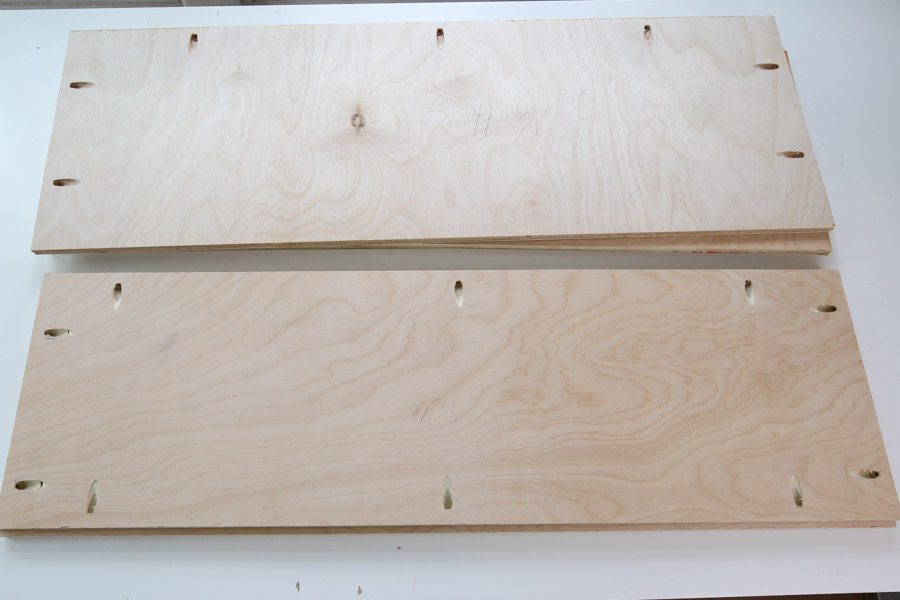
For the top and middle shelves, add pockets holes along one of the long edges.
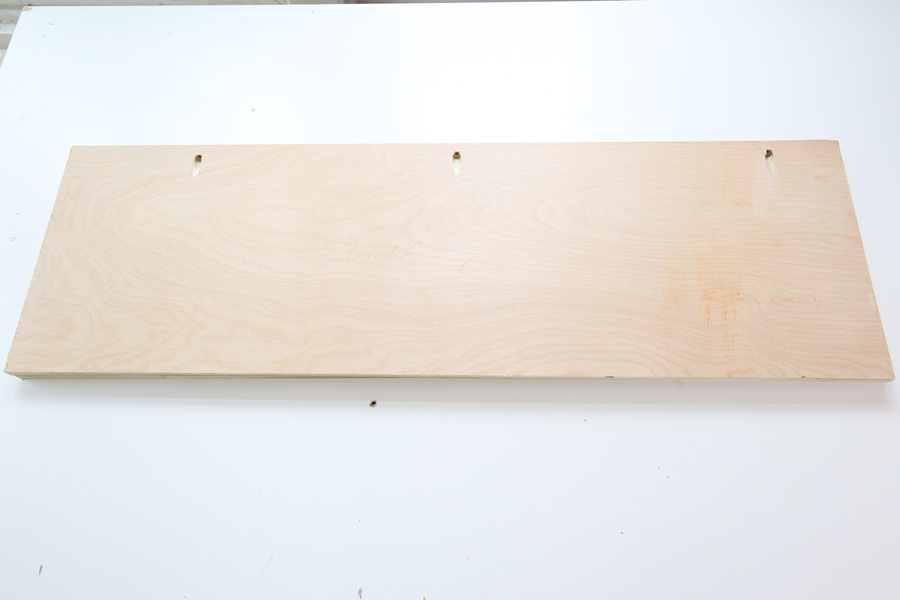
Also add 6 pocket holes along each side of the plywood backing board.
Make sure the Kreg Jig is set for 1/2″ thick wood for these plywood pocket holes.
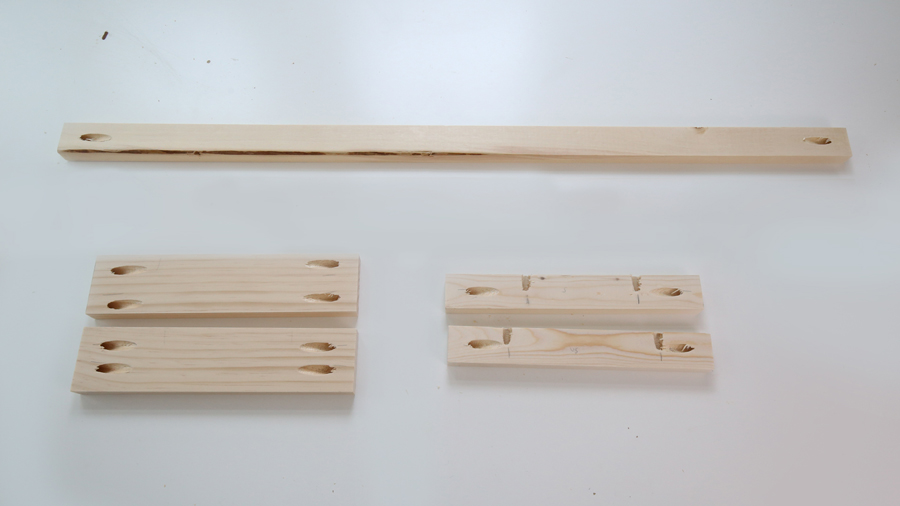
Then, add pocket holes on both sides of the 1×2 top trim board @ 35″ and the 1×3 side trim boards @ 10 1/2″.
For the two 1×2 side trim boards @ 10 1/2″, drill pocket holes on the sides and along one long edge as shown below. Make sure the Kreg Jig is set for 3/4″ thick wood.
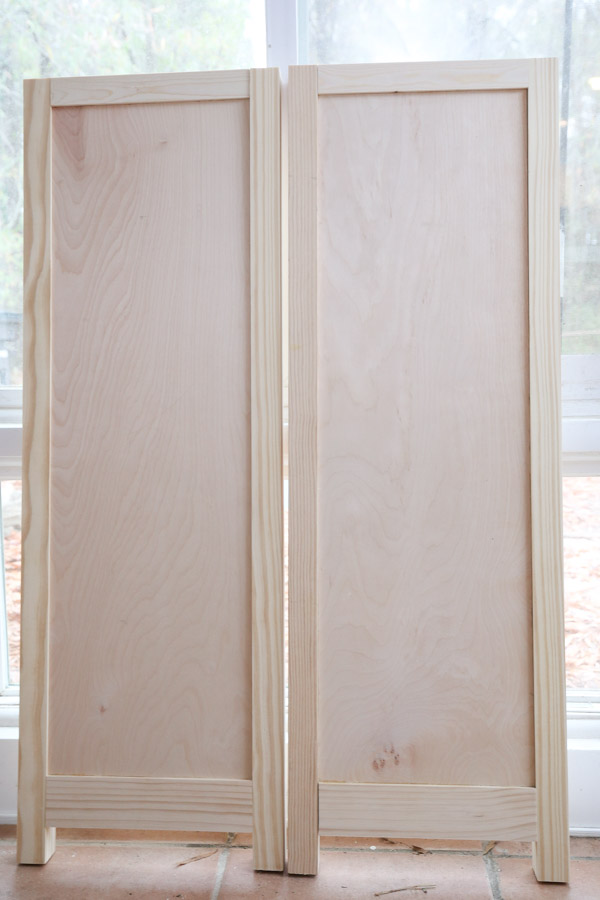
3. Assemble side frames of the bookshelf
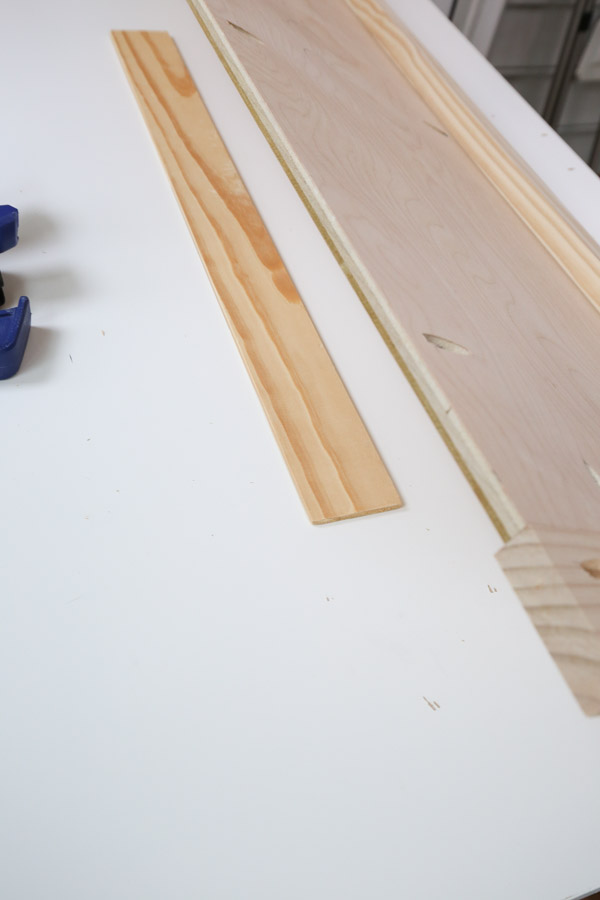
A. Add the bottom and top trim boards to the side frames
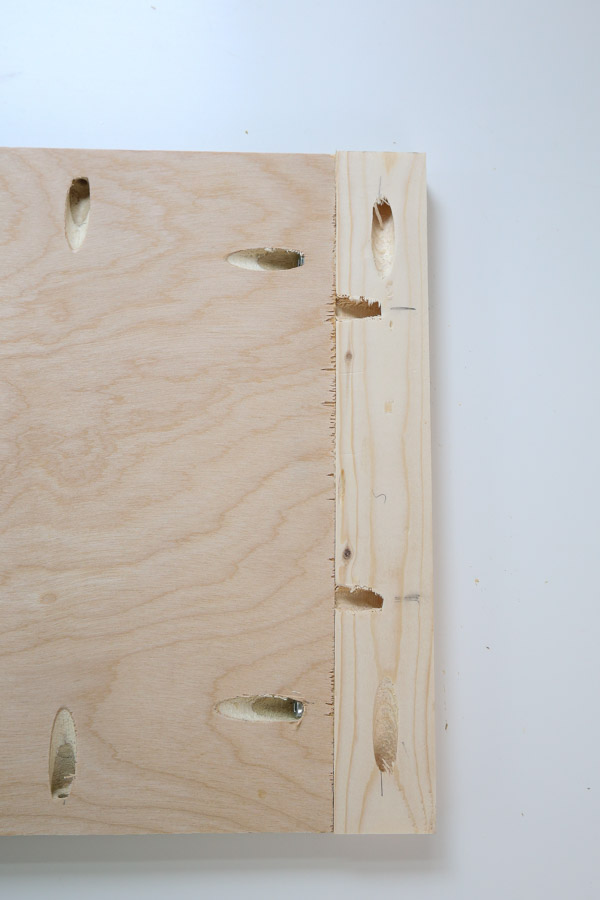
Attach one plywood side frame piece together with a 1×3 board on the bottom of it. Make sure that the back of the plywood is flush with the back of the 1×3. We used 1/4″ scrap wood to help with this part.
Use 1″ Kreg screws and wood glue to attach the boards together. Our Kreg clamp also helped with this step.

Next attach the 1×2 side trim board on the other side the same way as the 1×3.

Make sure that the pocket holes along the long edge of the 1×2 are facing upwards since these holes will be used to attach the top board.
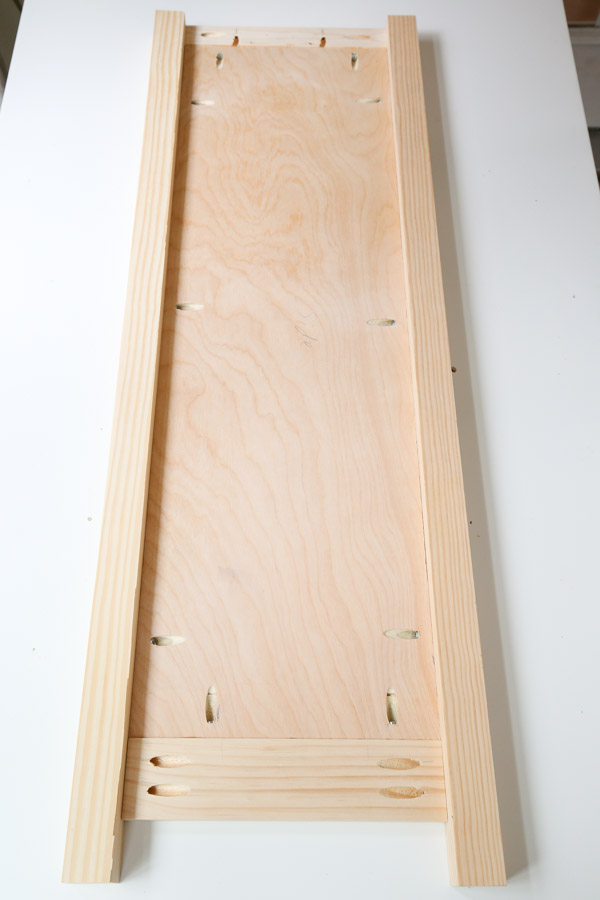
B. Attach the bookshelf legs to the side frames
The next step is to attach the two 2×2 bookshelf legs on each side, with the 2x2s aligned with the top of the 1×2.
Use 1″ Kreg screws for attaching the plywood into the 2x2s and then 1 1/4″ Kreg screws for attaching the 1×2 and 1×3.
📩 Want to Save This?
Also, we used our 1/4″ scrap wood under the edge of the plywood (towards the middle) to help ensure that the leg was attached evenly along the plywood (we wanted a 1/4″ inset from the front all the way down the leg with no drooping of the the plywood in the middle).
C. Install the 1×2 shelf supports
After the 2 legs have been attached to the side frame, it’s time to add the 1×2 shelf supports.
From the bottom of the 1×2, we measured and marked 7″ and then 20 3/4″ for our top and middle 1×2 shelf supports @ 10 1/2″. The top edges of the boards will be aligned with these marks.
The bottom shelf support should be lined up with the top of the 1×3. Attach the shelf supports with wood glue and 1″ wood screws.
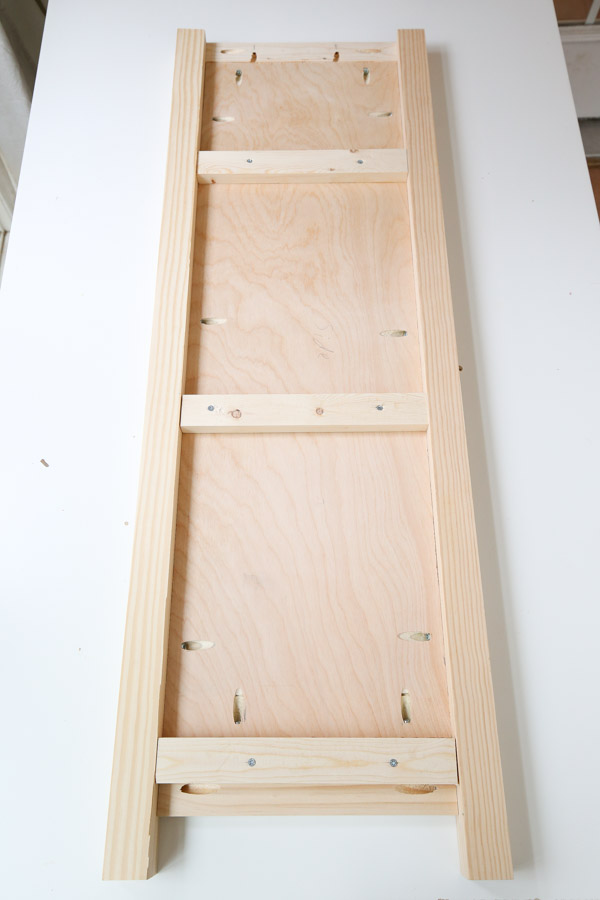
You can place these 1×2 shelf supports for the top and middle shelves wherever you want your shelves to go and you can add more if you want multiple height options for the shelves.
Mine are placed so that there will be one 7″ space for top shelf and two 13″ spaced shelves for the lower two. The top and middle shelf front thickness will be 3/4″.
Repeat the above process again to create a second side frame piece. Also, you can see all of this in more detail and in action in the DIY bookshelf video!
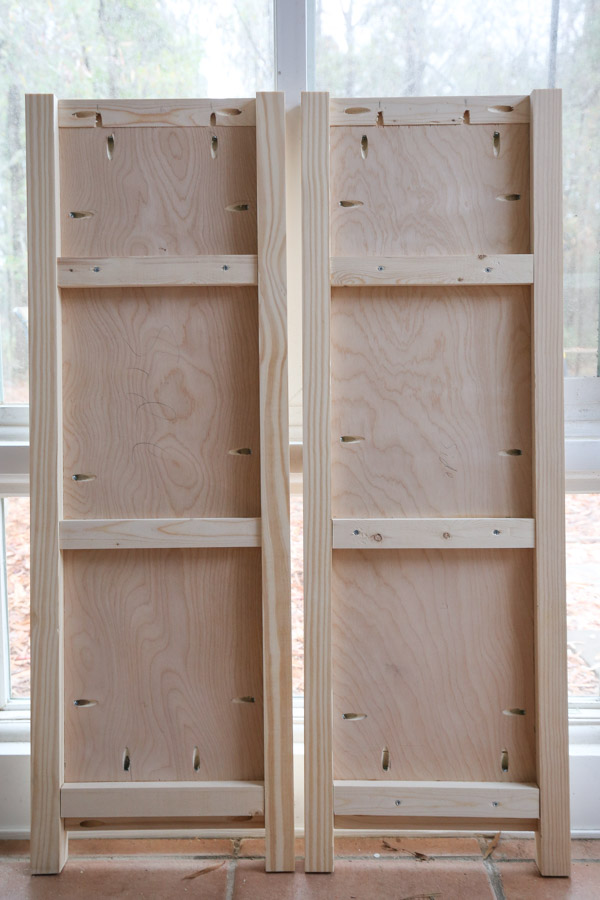
I just realized in the above photo that the screws are missing on the lower two supports on the left side, haha! We did add the screws into these after this photo.
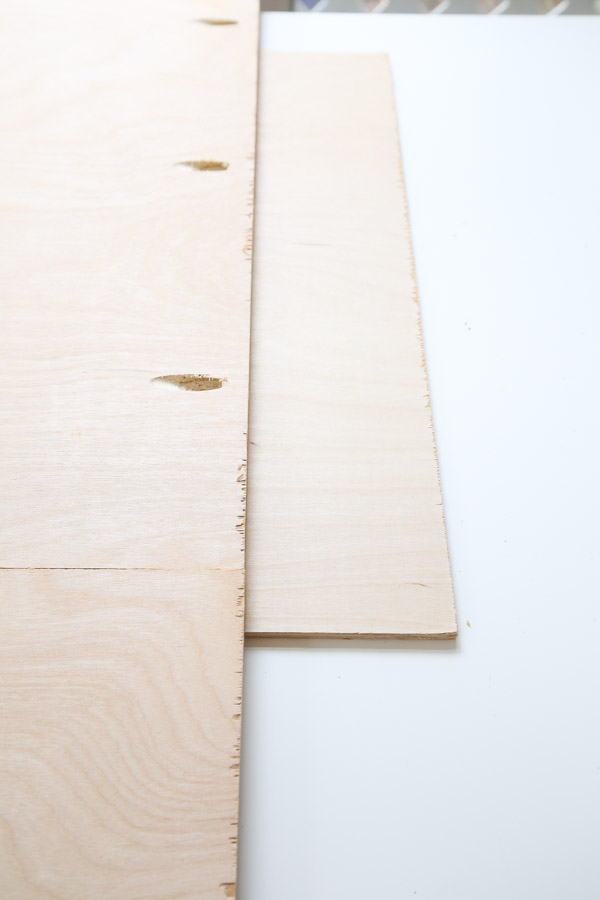
4. Attach the back of the bookshelf to the sides
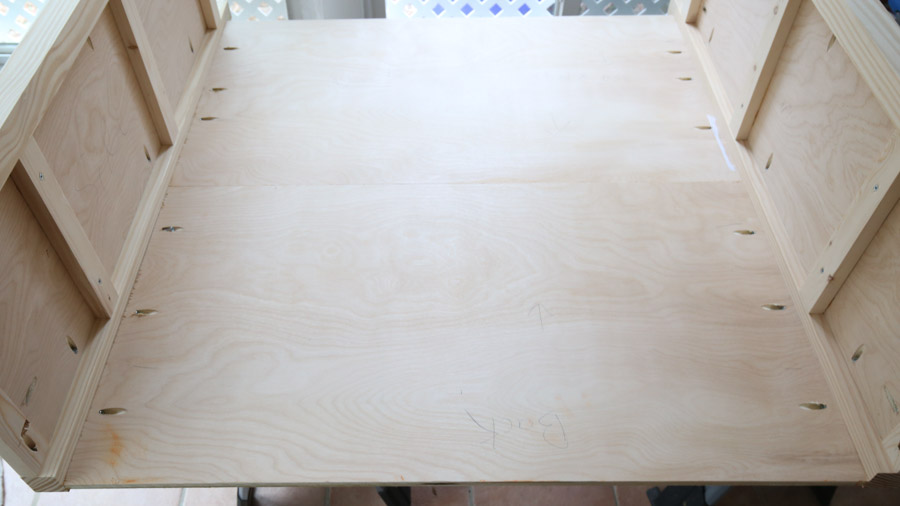
Note, we initially cut our plywood the wrong way before we finalized all of our cuts so we had to laminate our back board back together with wood glue. So, that’s why our backing board isn’t one full piece in the photos below like it should be per the build plans.
Place 1/4″ scrap wood under the plywood backing board sides. This is to help the 1″ Kreg screws go into the 2x2s more securely. So, there will be a 1/4″ inset on the back side from the 2×2 legs.
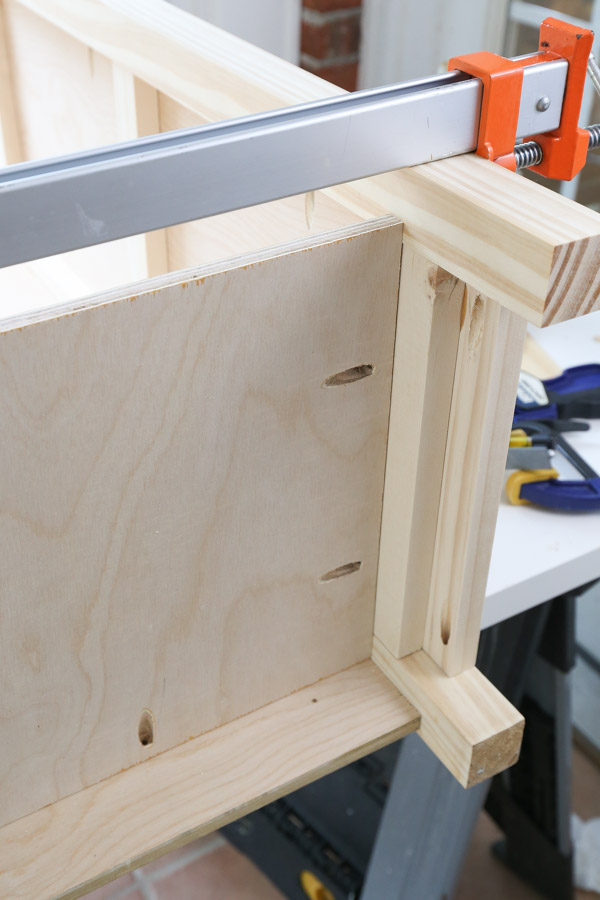
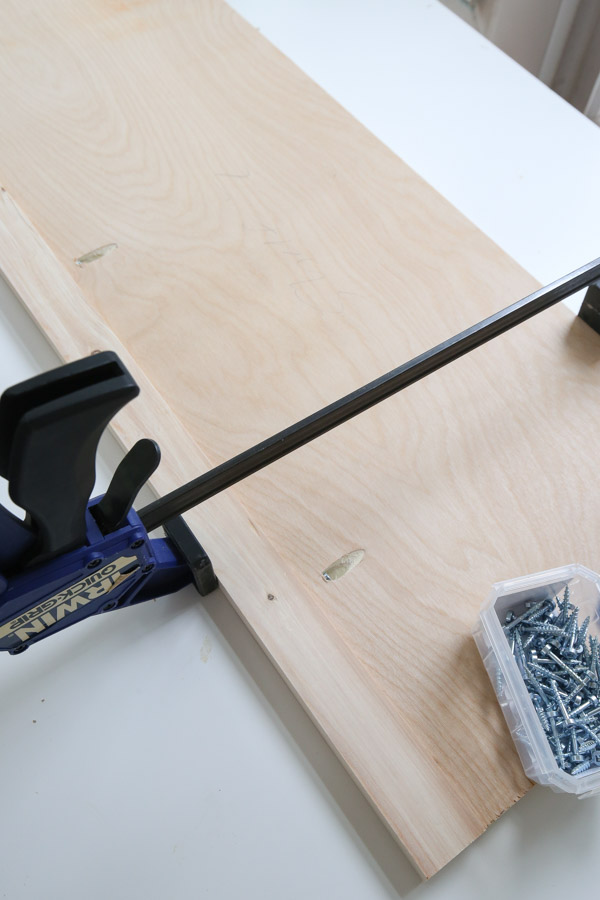
Place one side frame perpendicular to the plywood back board with the plywood aligned with the top of the side frame. Clamp in place and attach the two together with wood glue and 1″ Kreg screws.
Repeat for the other side frame of the DIY kids bookshelf. We found our 48″ clamps worked the best for this step.
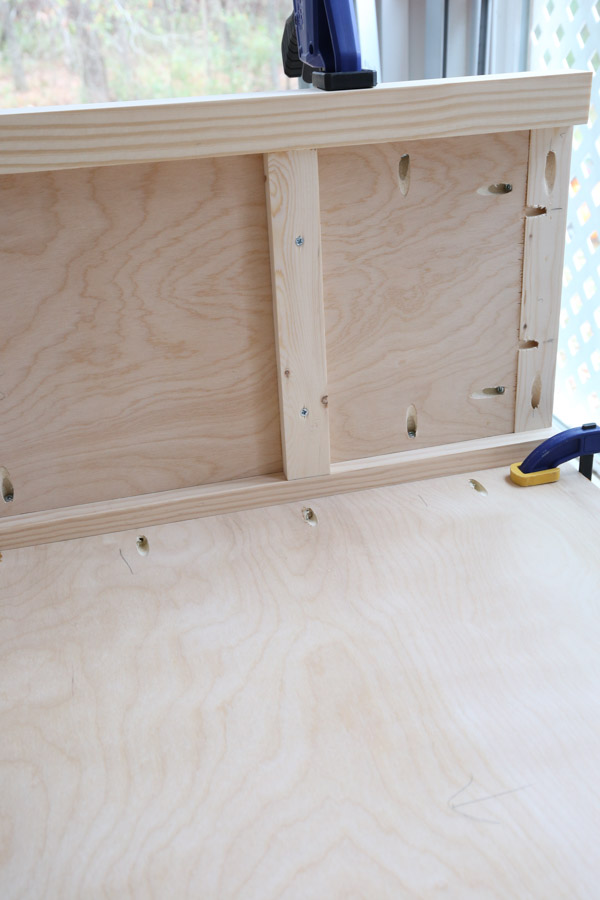
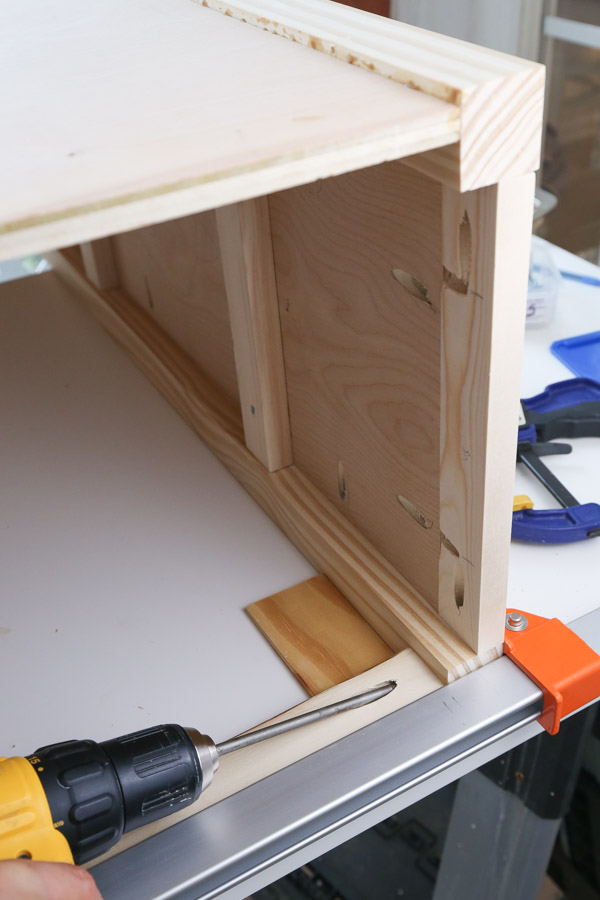
5. Attach the bottom shelf and trim
Line the bottom shelf up with the top of the 1x3s on the sides. Make sure the pockets holes along the long edge are facing the underneath side towards the back. Attach the bottom shelf with Kreg screws into the sides and back board.
Again our long clamps really helped with the step.
Trim out the bottom shelf with the 1×3 @ 35″ using wood glue and 1 1/4″ brad nails and a brad nailer.

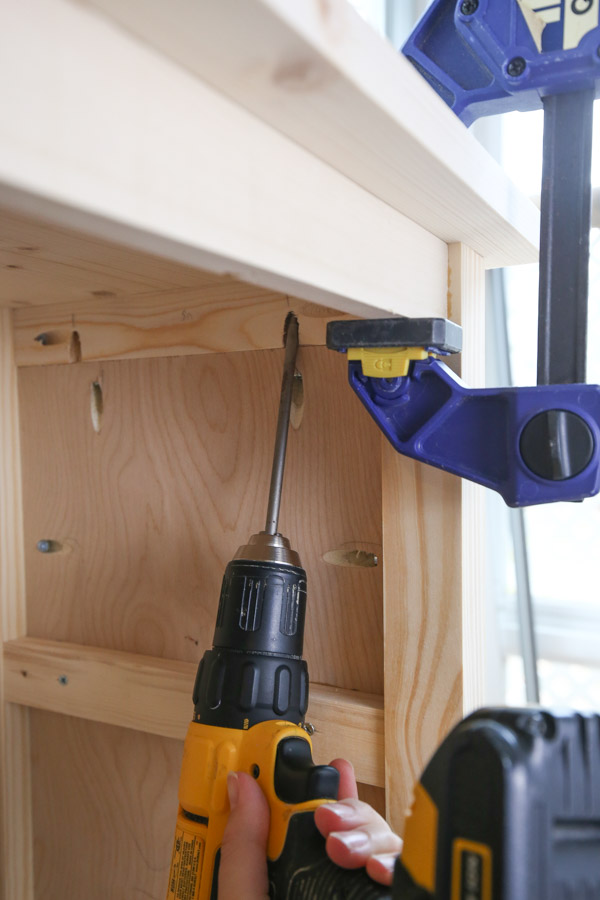
6. Add the top 1×2 trim
Turn the bookshelf so it’s facing down. Add the 1×2 top trim with wood glue and 1 1/4″ Kreg screws. Also, make sure it’s 1/4″ inset by using 1/4″ scrap wood again under the 1×2 while attaching.
7. Install the top of the DIY kids bookshelf
Clamp the top edge glued panel board to the bookshelf. Make sure there is a 1″ overhang on the front and the sides but no overhang on the back.
Attach it with 1 1/4″ Kreg screws through the pocket holes in the 1×2 side trim boards.
8. Assemble the top and middle bookshelves
Create the top and middles bookshelves by attaching a 1×2 to the plywood boards with wood glue and Kreg screws along one edge.
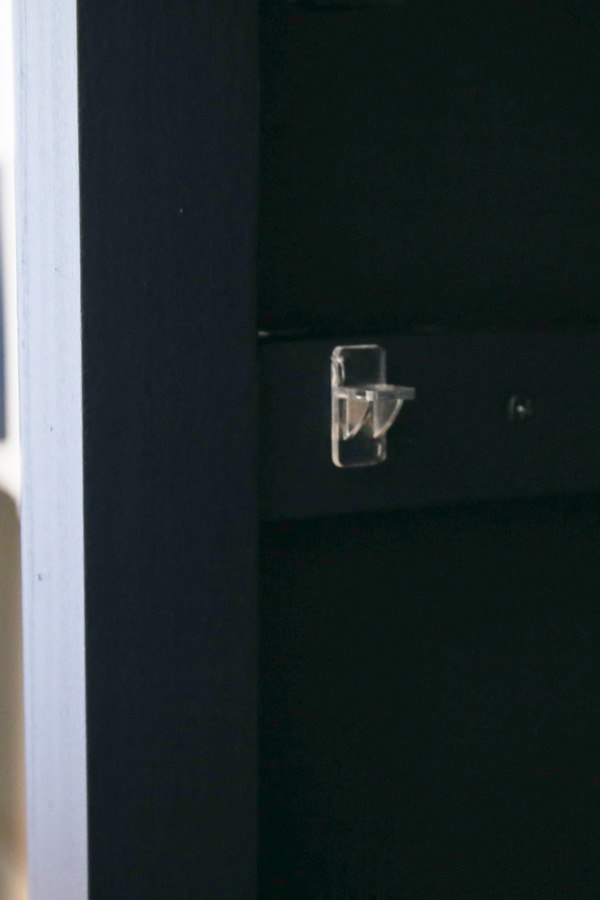
Mark about a 1/2″ down (or a little more depending on your shelf pin hardware) on the front and back of each shelf support. Then, drill holes for your shelf support hardware pegs. Make sure the shelf supports fit well in the holes.

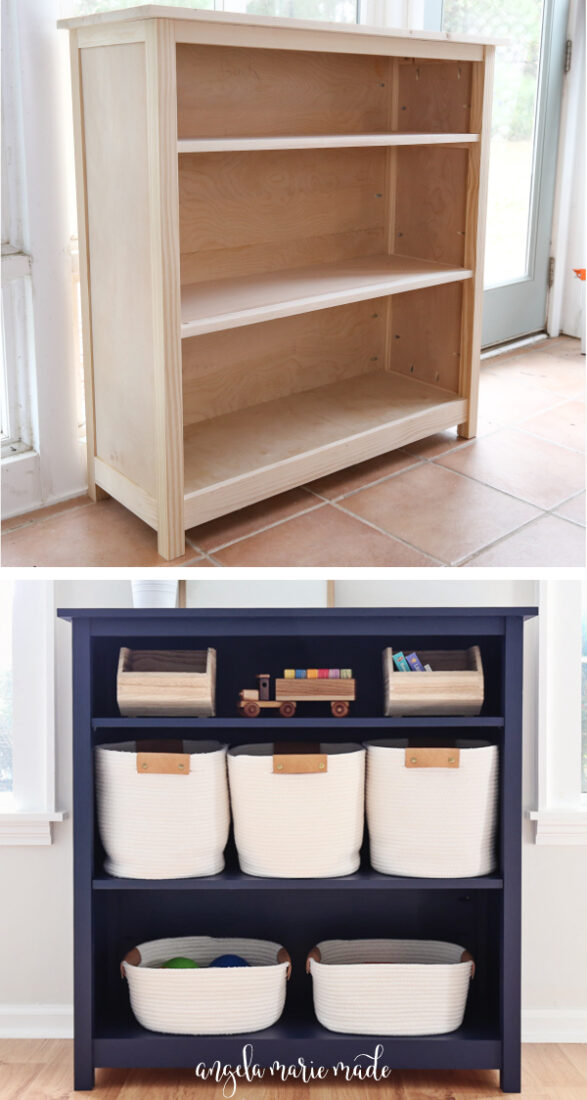
Finally, add your top and middle shelves on top of the shelf pins to complete the build of your DIY bookshelf!
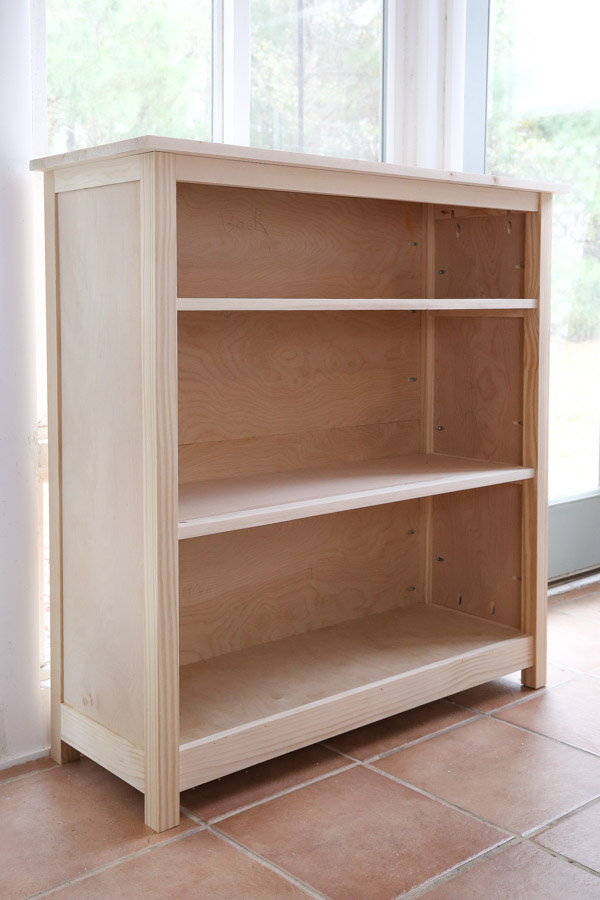

9. Fill holes and paint or stain the DIY bookshelf
Fill all nail holes in with spackle if painting or stainable wood filler if staining. You can also fill your pocket holes in as well if you prefer.
If painting, prime the bookshelf and then add your paint. We used two coats of Anchors Aweigh by Sherwin Williams in eggshell. It’s the same color we used on our DIY toy box and one of our DIY wall bookshelves, I love it!
I used these large rope baskets for storage and they fit perfect on the shelves! I also used these stackable wood bins (similar here) too!
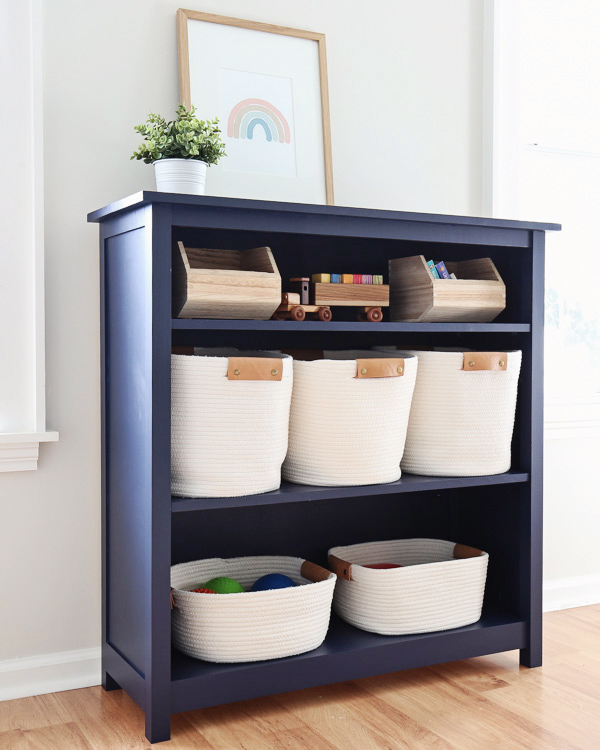

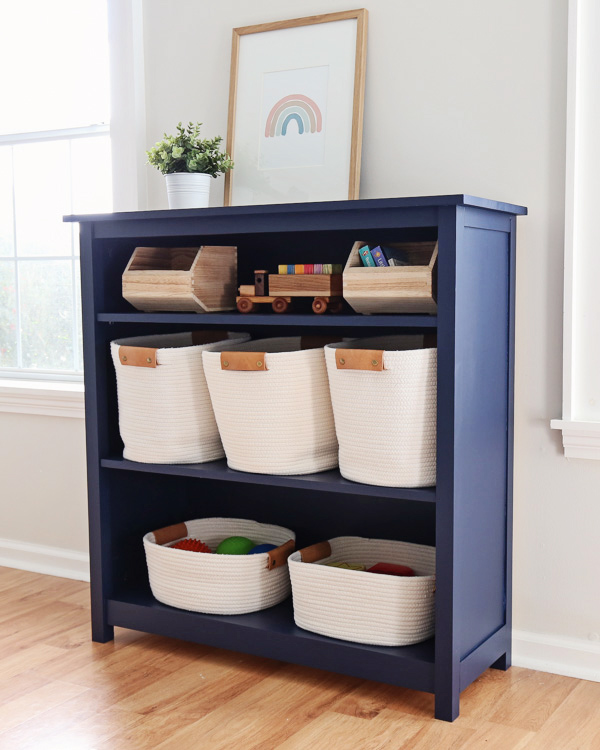
I love how our DIY kids bookshelf turned out! Its been amazing for providing functional storage that looks great in our living room! What do you think?!
Don’t forget to download the printable DIY bookshelf plans!
Make sure to join our Woodworking for the Home Facebook group and share this project there if you make it! Or tag me on social media @angelamariemade or #angelamariemade!
Follow along for my latest projects and sneak peaks on Instagram, YouTube, TikTok, and Facebook!
Want to save for later?! Pin it here:
Glenda Cagle
Saturday 6th of August 2022
Hello Angela - Do you have a DIY for shelving in a walk-in closet? I want to have a shoe rack, corner unit, shelving, and lots of hanging space.
Angela Marie Made
Monday 8th of August 2022
Hi there! I don't have any plans for something like that specifically, but I do have lots of tutorials for shelving and built in shelves! https://angelamariemade.com/?s=shelves