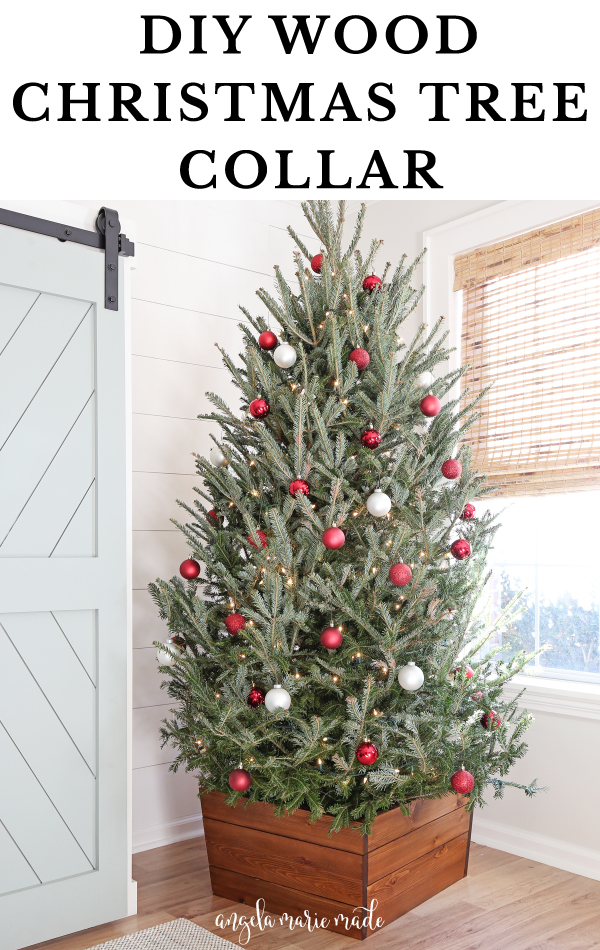
Learn how to easily build a wood Christmas tree collar DIY using just two power tools!
I was inspired by old, vintage, style crates for the design of our wooden DIY Christmas tree collar. So, I used a mix of different sizes of lumber on the sides of the wooden tree collar.

For this Christmas tree base collar, you only need two tools, a miter saw and a drill and it’s really easy too!
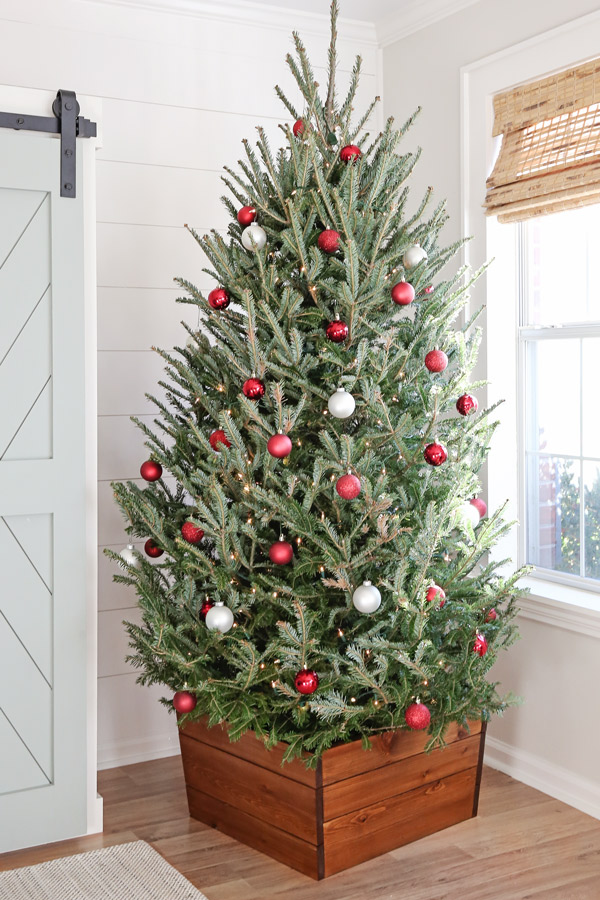
It’s the perfect DIY wooden Christmas tree collar for going around the base of your tree! I also love that it’s a classic style that looks beautiful with any style of Christmas decorations!
It looks beautiful as the base of the tree for both a real tree or artificial tree. We used it with our real tree.
Note, this post contains some affiliate links. I may earn a commission if you shop those links (at no cost to you). Thank you for supporting my small business. For more info see my disclosures here.
How to Make a DIY Christmas Tree Stand Cover:
Materials
- (2) 1 x 4 @ 10ft*
- (1) 1 x 6 @ 8ft*
- (1) 2×2 @ 8ft
- 2″ Wood screws
- Wood stain (I used this color)
- Polyurethane (optional)
*Material needed may vary depending on the size of tree stand that holds your tree. See step #1 for details. The final width/length of your stand may vary from mine, but the height will be about 12.5″ tall.
Video Tutorial:
Subscribe to my YouTube Channel here!
1. Measure your Christmas tree stand diameter
Measure the widest part or diameter of your tree stand that will go inside of the wood Christmas tree collar we are building. Our plastic tree stand is 19″ in diameter.
2. Make the lumber cuts for two sides of the DIY wood Christmas tree collar
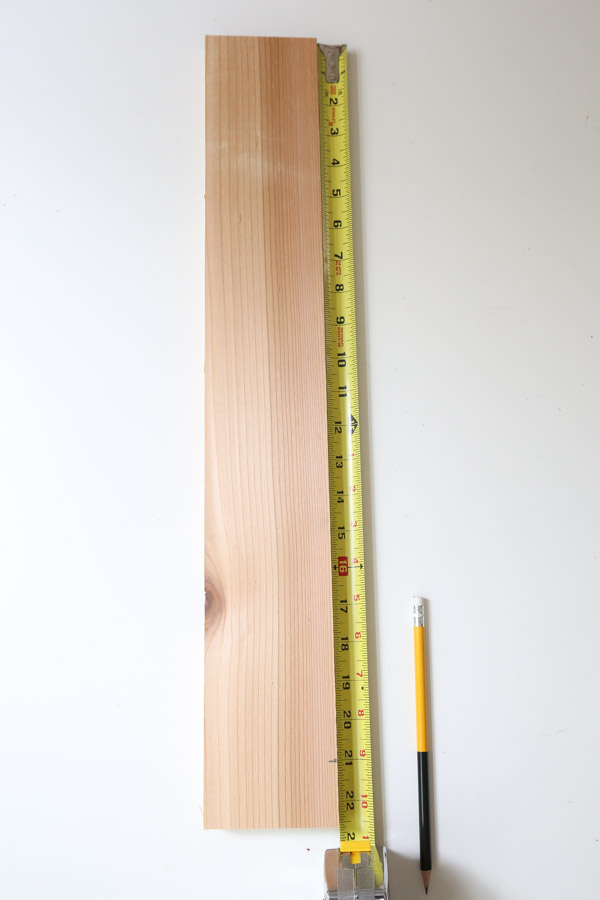
All of the boards need to be cut with a 5 degree mitered end. The first bottom board on each side of the stand should equal the diameter of your tree stand plus 2″, so our bottom boards were all 21″ from the left bottom point to the right bottom point.
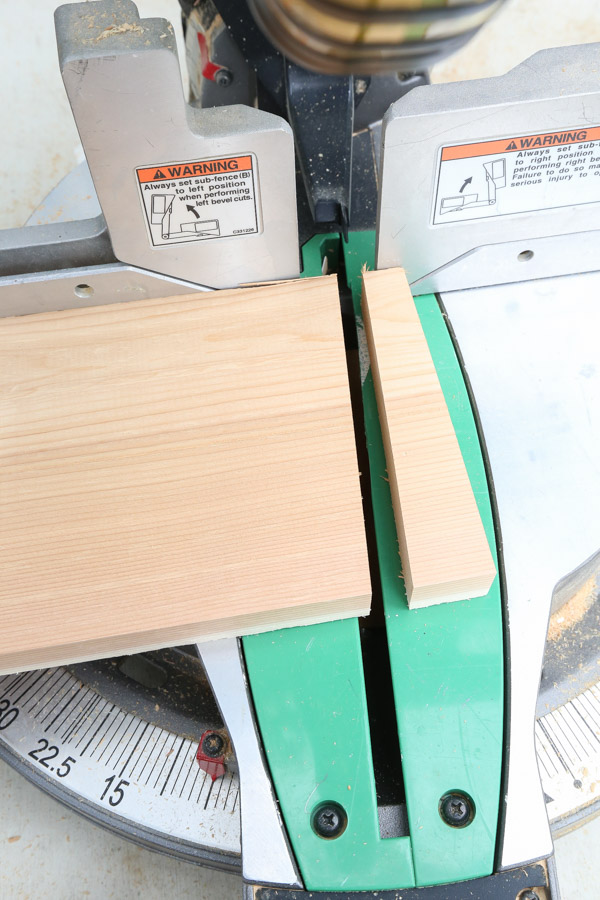
Start with a 1×4 for the bottom board for one side of the stand and cut the end with a 5 degree cut.
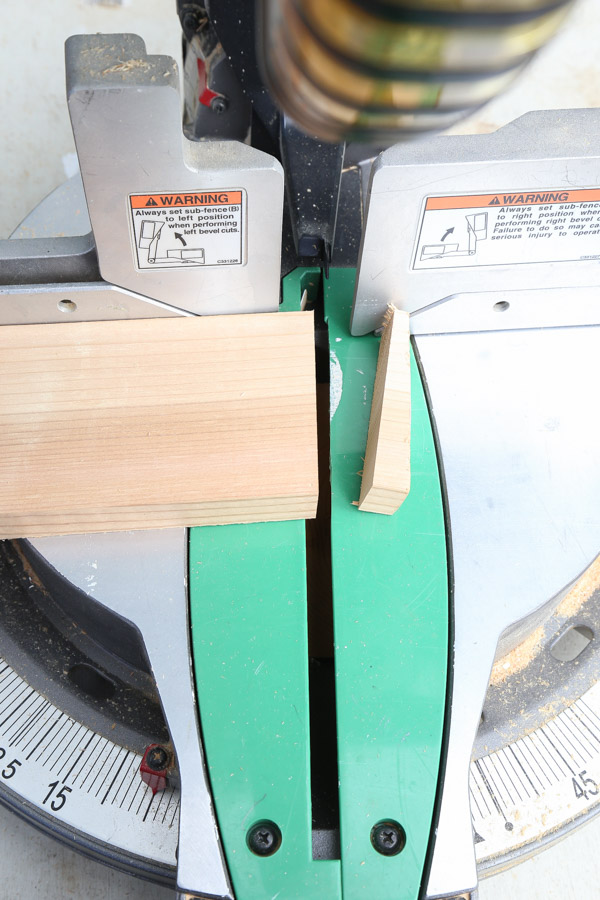
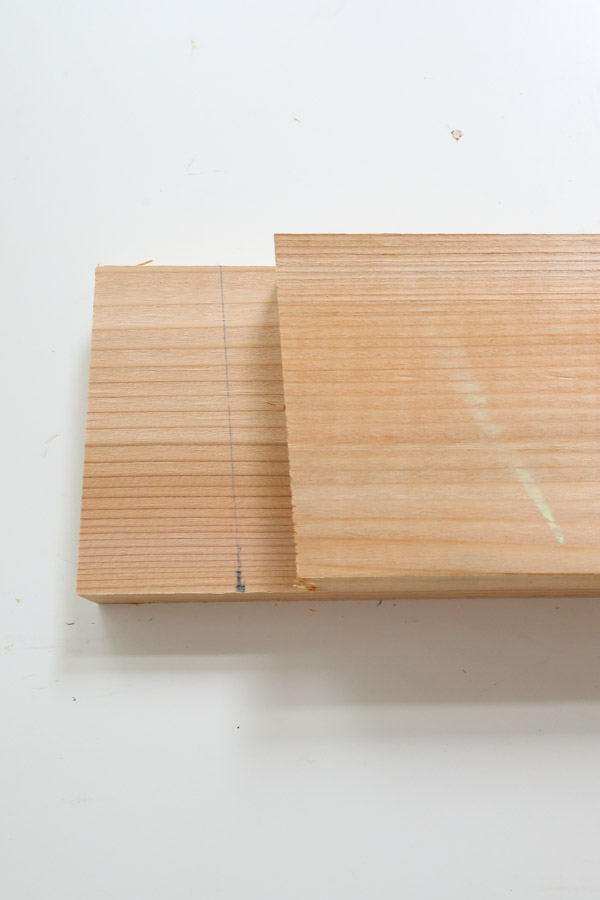
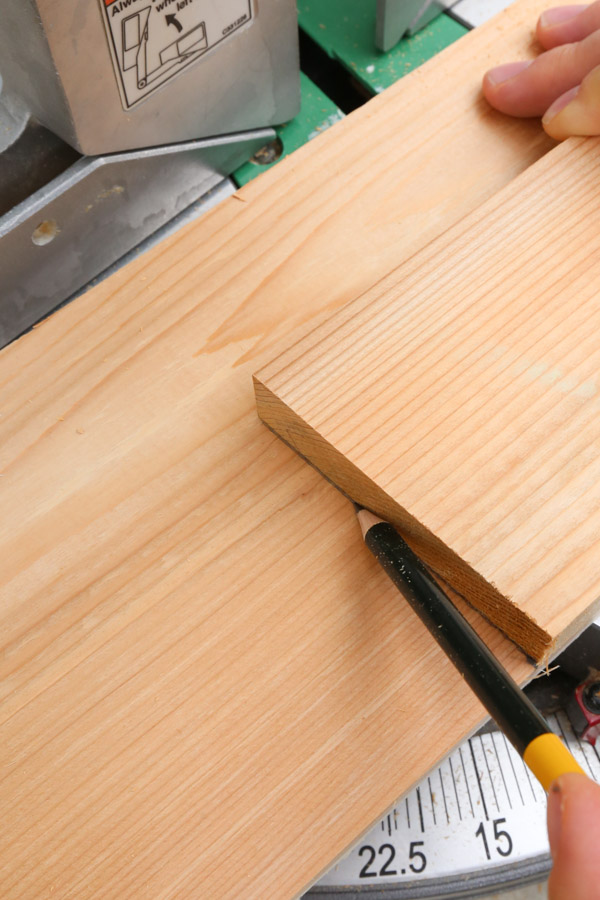
Then measure and mark the base measurement (21 inches for our stand) from the bottom point of the 5 degree cut.
We used a scrap board with a 5 degree cut to help mark where we needed to make our cuts. Then, make the cut!
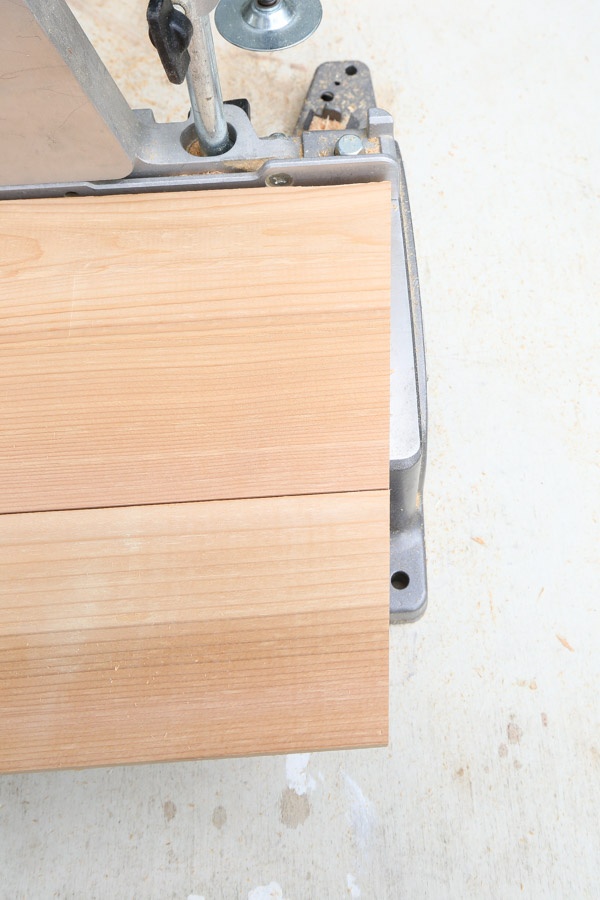
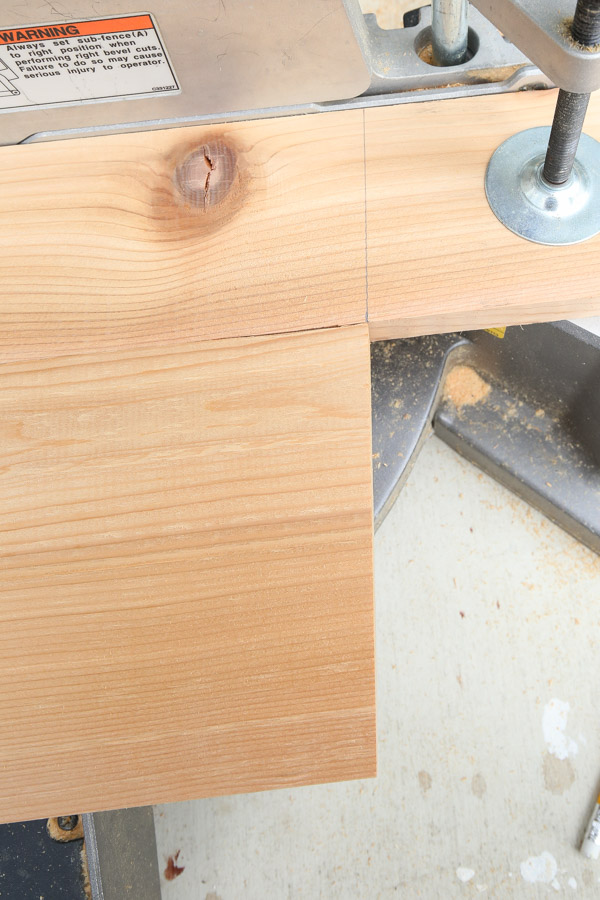
Next, use a 1×6 for the middle board. Cut one end with a 5 degree cut, to create the right side of the 1×6.
To get the measurement needed for the middle 1×6 board, line up the right top point of the bottom 1×4 board with the bottom right point of the 1×6 board end that has the 5 degree miter cut.
Then, on the left side, mark where the left 1×4 board top point ends on the bottom of the 1×6 board.
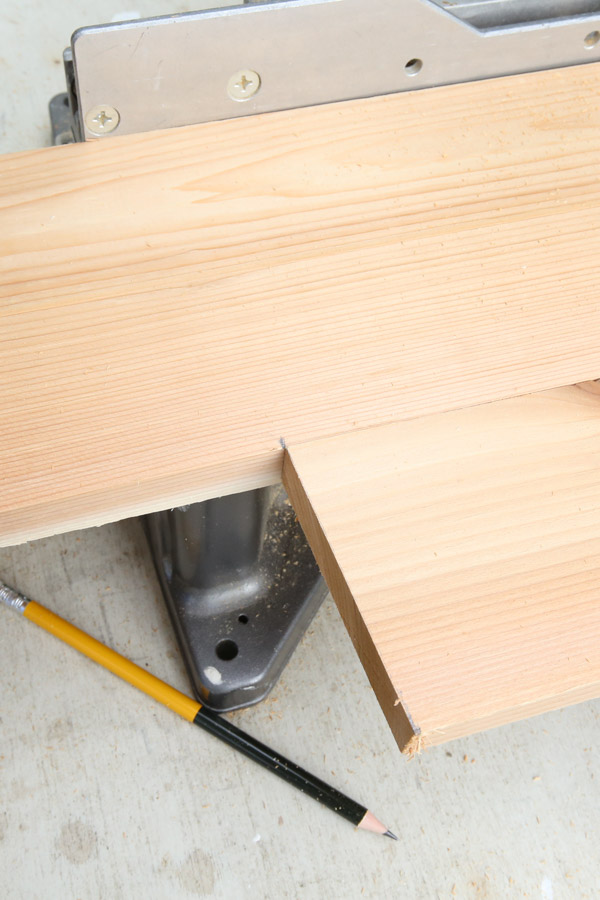
This is where the left bottom point of the 1×6 should be. Use a scrap board to help mark the angle cut again. Cut the left side of the 1×6 board with a 5 degree cut.
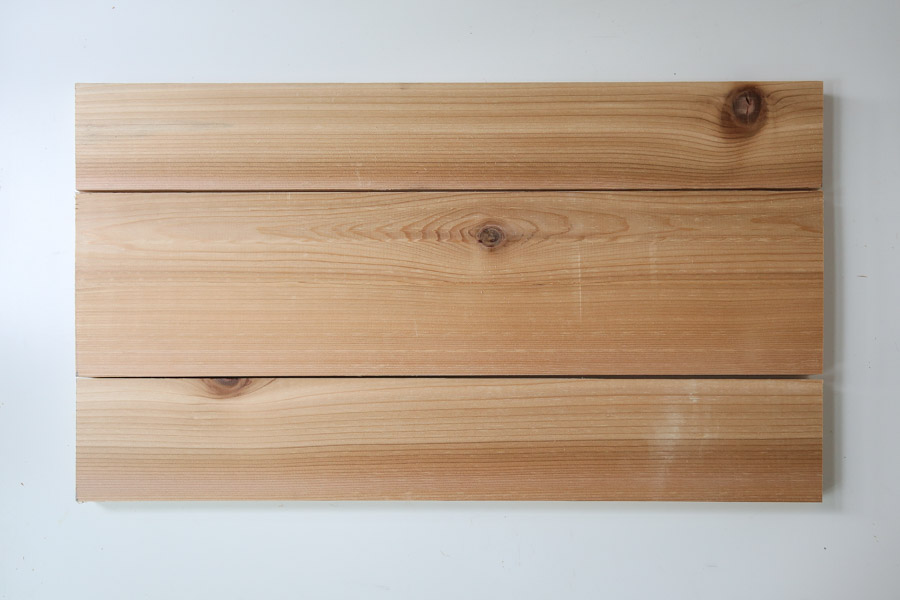
Repeat this process for the final top 1×4 board.
And this is how the three boards will look lined up for the first side of the wood Christmas tree collar DIY:
Now it’s time to create a second side where the bottom board will be a 1×6 followed by two 1x4s for the middle and top boards. Repeat the same process as above, starting with the same bottom board measurement as the other side.

Now we have our two different sides for the tree stand!
3. Make the same lumber cuts for the other two sides of the Christmas tree stand cover
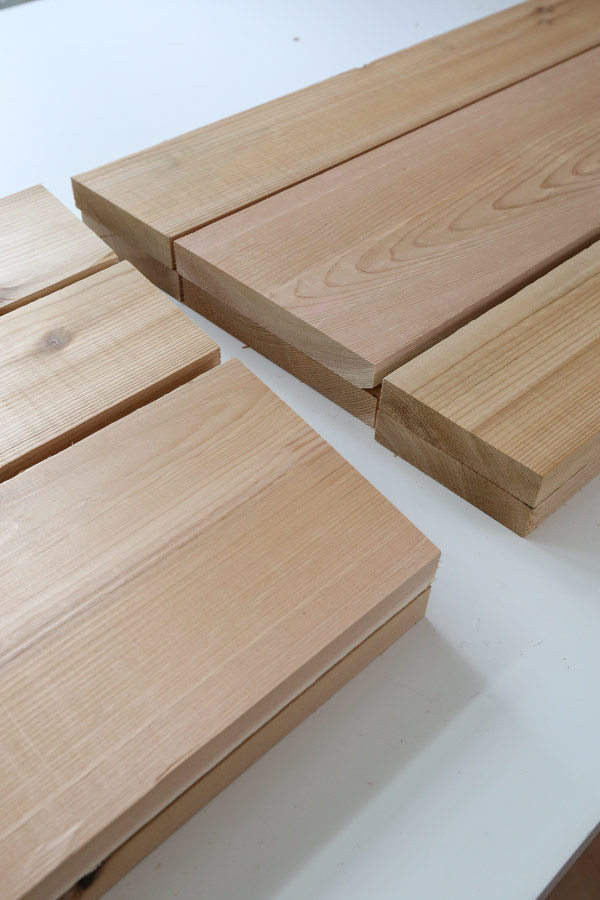
Repeat same steps again (from step #2) to create the other two sides of the wood Christmas tree stand.
After all of the cuts are made, there will be two sides with a 1×4 bottom, 1×6 middle, and 1×4 top board and two sides with a 1×6 bottom and 1×4 middle and top board.
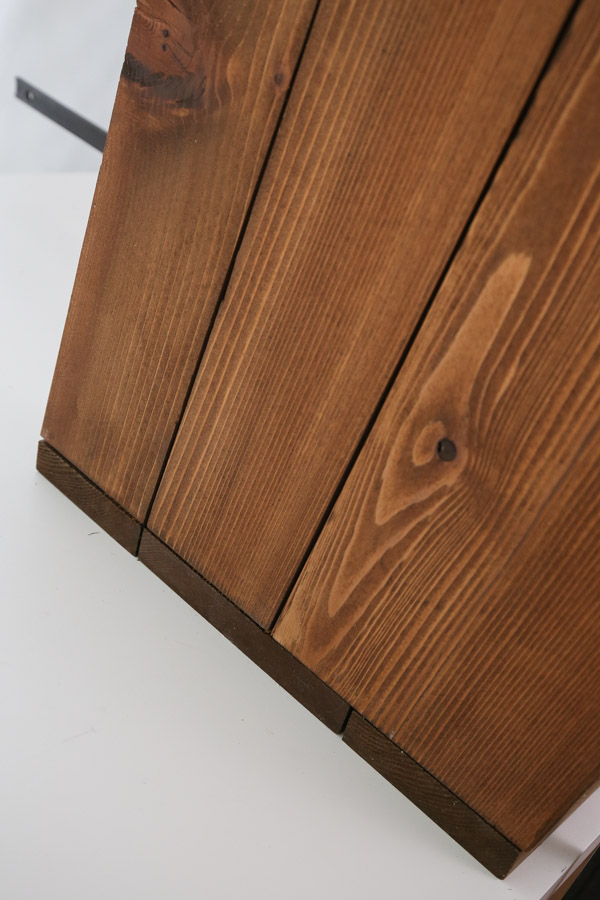
4. Stain the DIY Christmas tree collar
It’s easier to stain the boards at this part before assembling. We used a pre stain wood conditioner followed by one coat of English chestnut by Minwax.
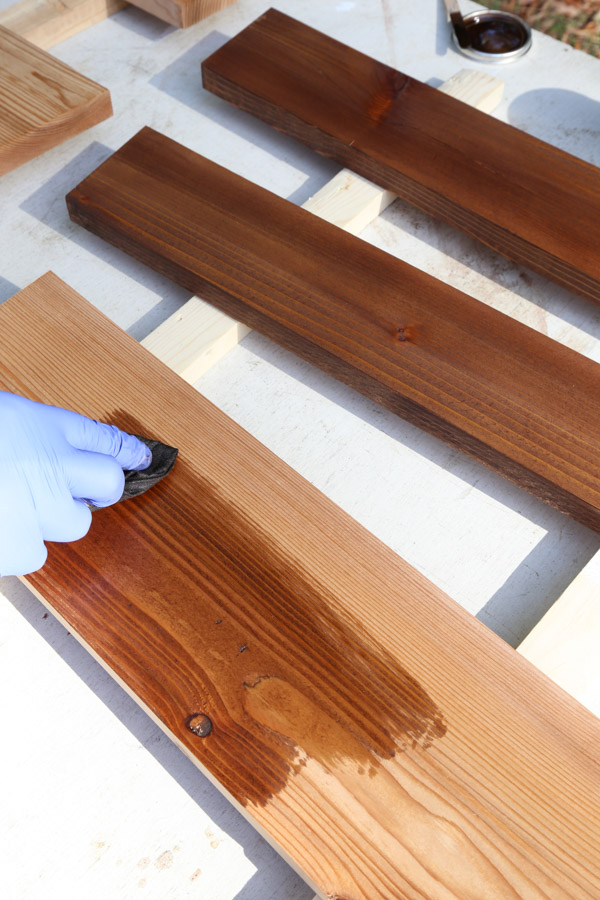
We also used two coats of polyurethane on the boards.
5. Attach the wood Christmas tree collar DIY sides together
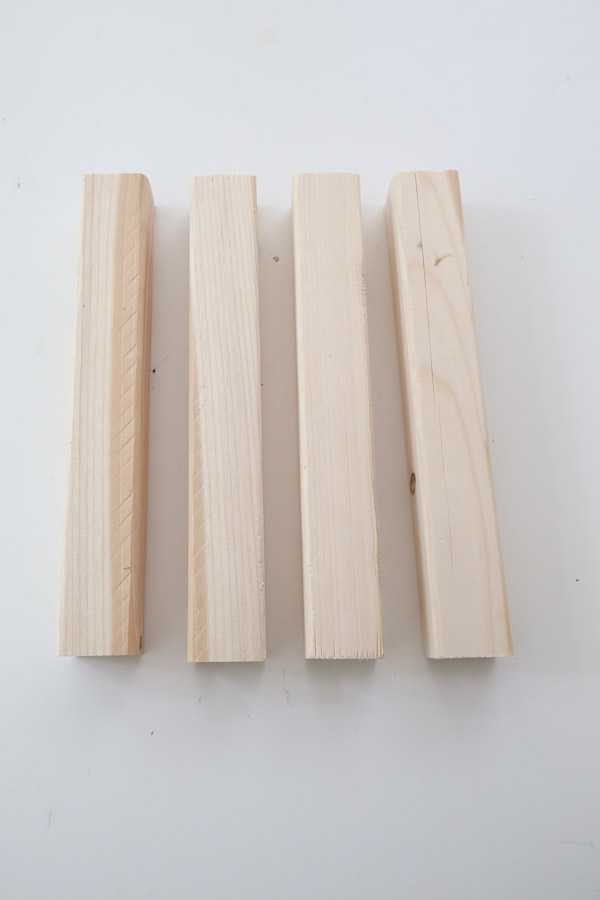
Use a miter saw and cut four 2x2s at 10″ long each.
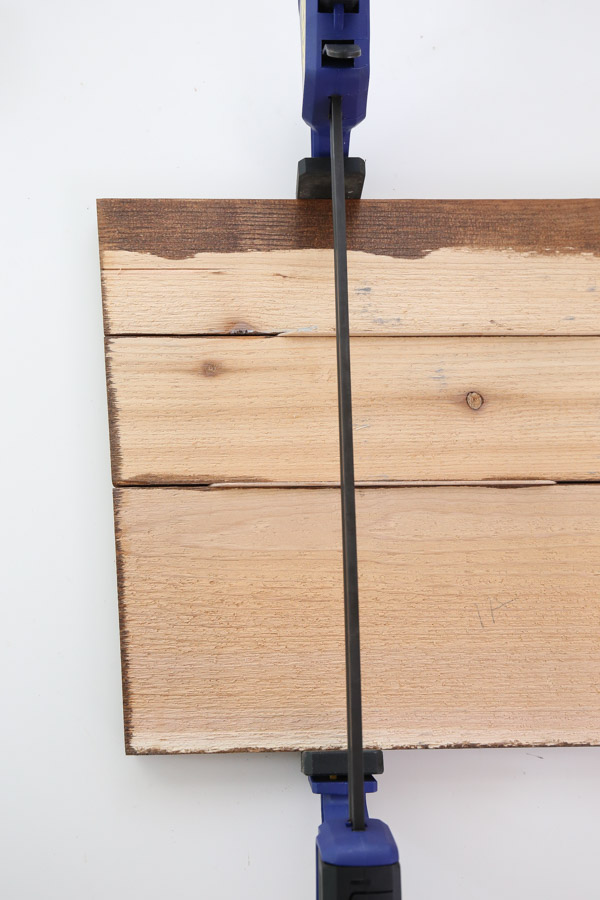
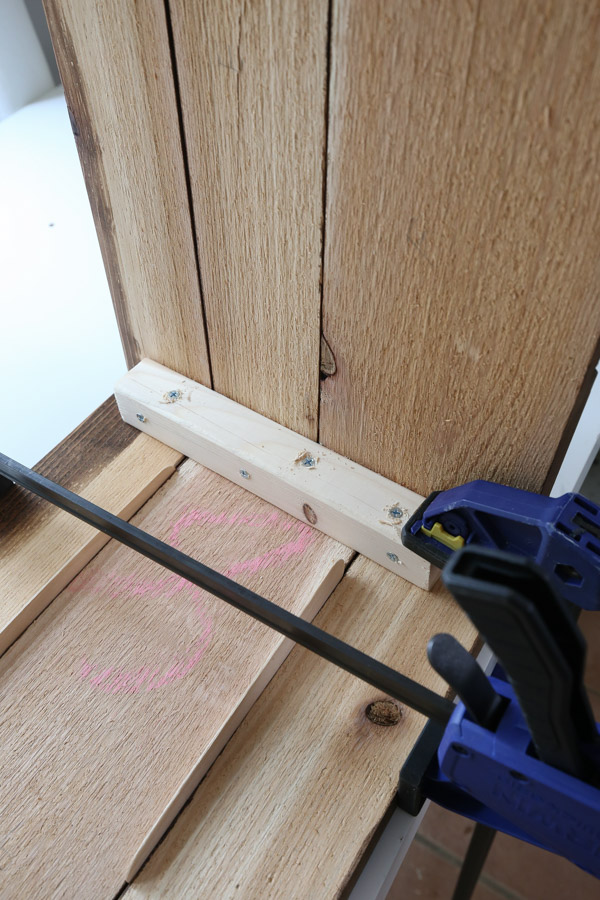
Start with one of the sides where the 1×6 is the bottom and two 1x4s follow. Begin with the boards clamped together with all of the edges lined up. We used popsicle sticks in between each board to create a small gap.
Attach the first side together using one 2″ screws through the 2x2s into each of the three boards. Use clamps to help and use pilot holes first if your using regular screws like us and not self tapping screws.
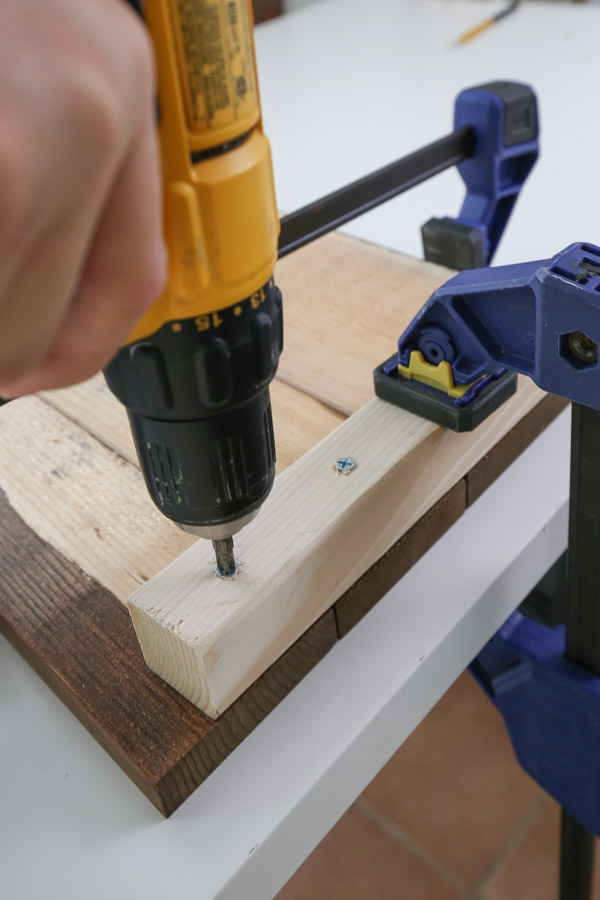
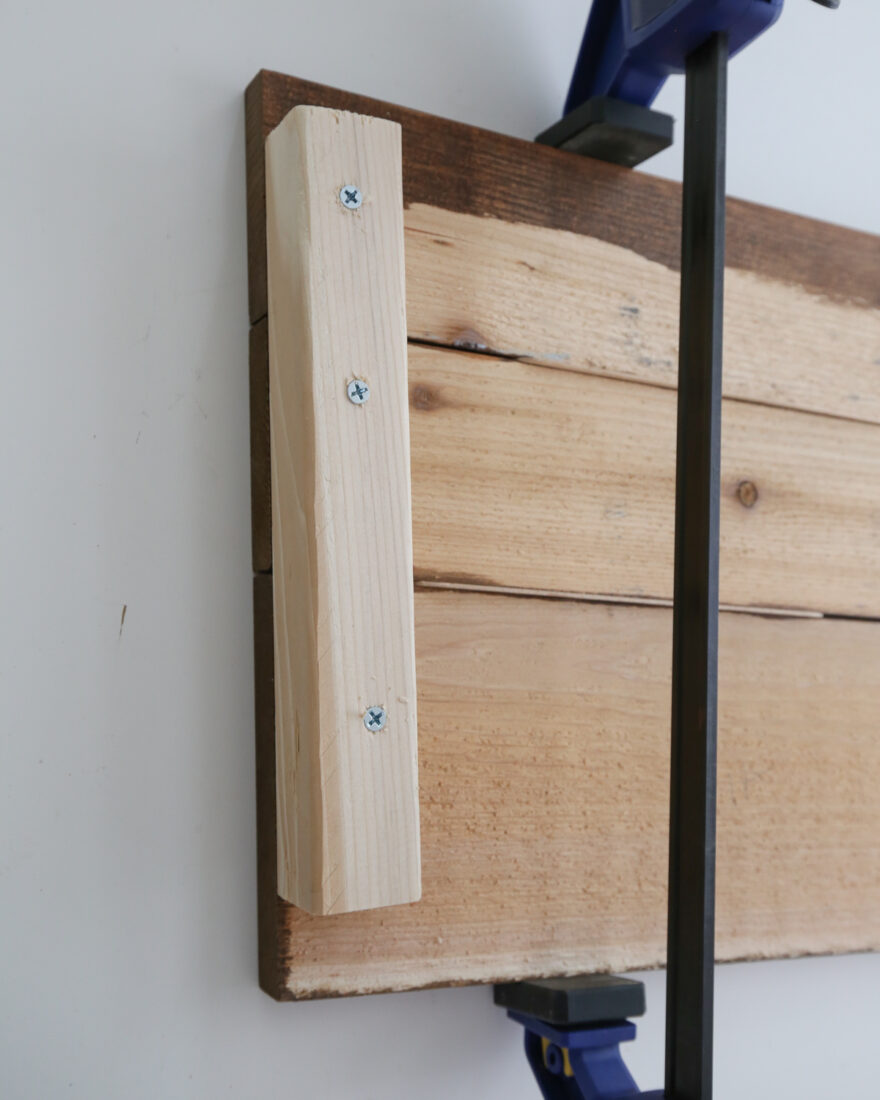
Repeat on the other side with a second 2×2 to finish attaching the first side together.

Repeat these steps again for the second matching side where the 1×6 is the bottom and two 1x4s follow.
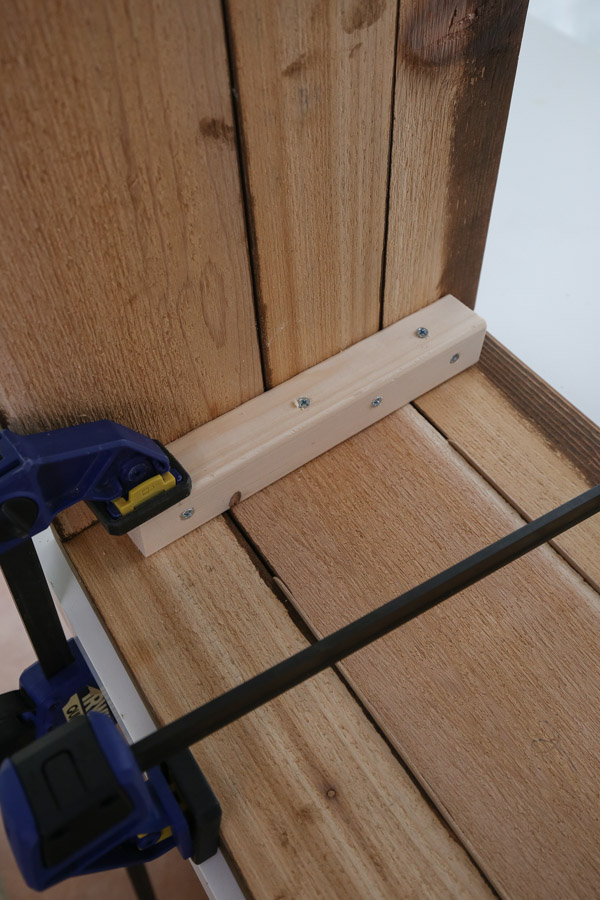
Now it’s time to add the other sides to these two assembled sides.
Clamp together a 1×4, 1×6, and 1×4 side, again using popsicle sticks for the gap and all of the edges aligned. Then, place the side with 2×2 already attached standing up, so the stand edges are aligned on each side as shown here. Attach the sides together using 2″ screws through the three boards.
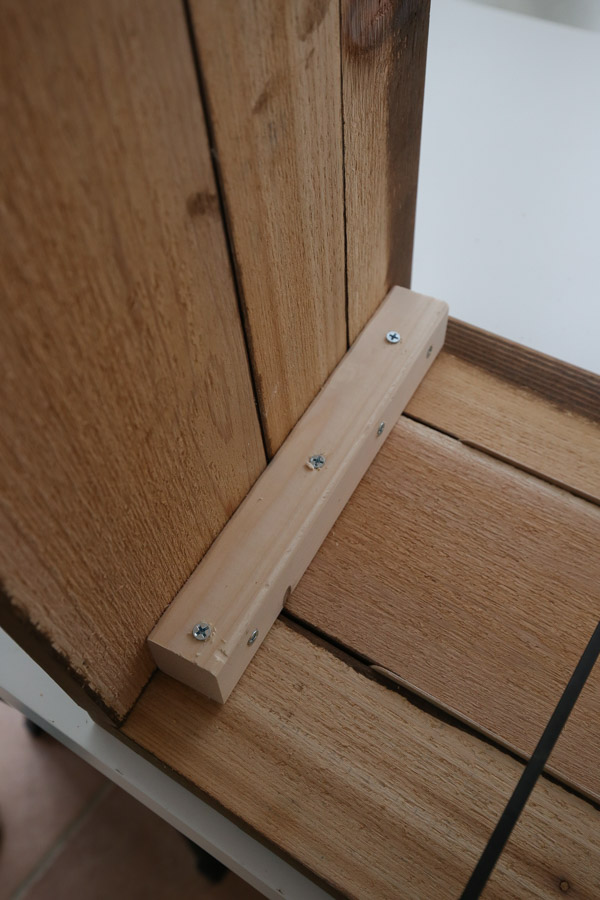
Repeat for the other side.
Then, add the last (4th) side of the stand the same way.
I love that their are no nail holes to fill with this technique!
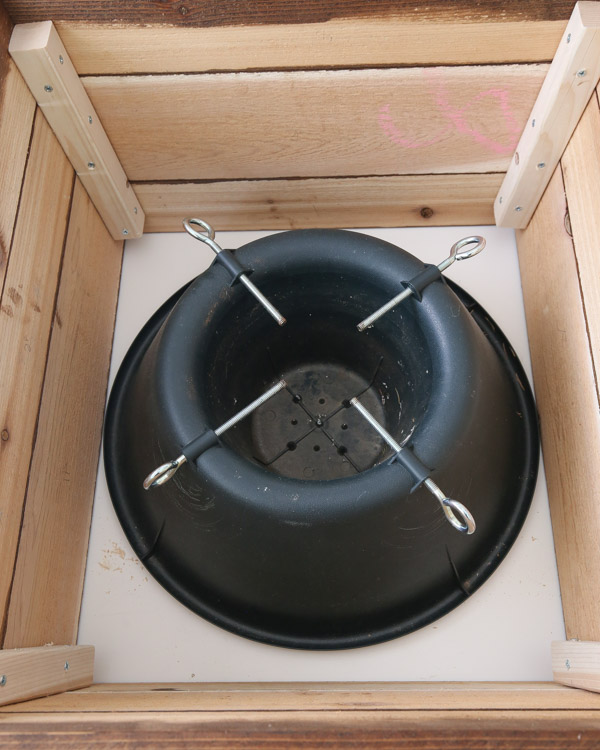
6. Add your Christmas tree!
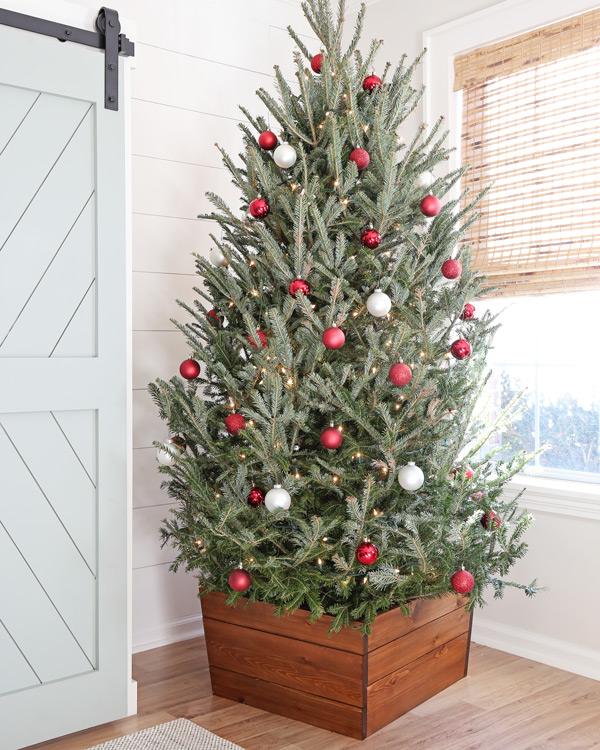
Lastly, we made sure our plastic tree stand was a perfect fit inside of our wood Christmas tree collar DIY and then we added our Christmas tree!
Our DIY Christmas tree collar looks perfect with our Christmas tree and I love the final result! Such a great way to add charm and character to our Christmas decor.
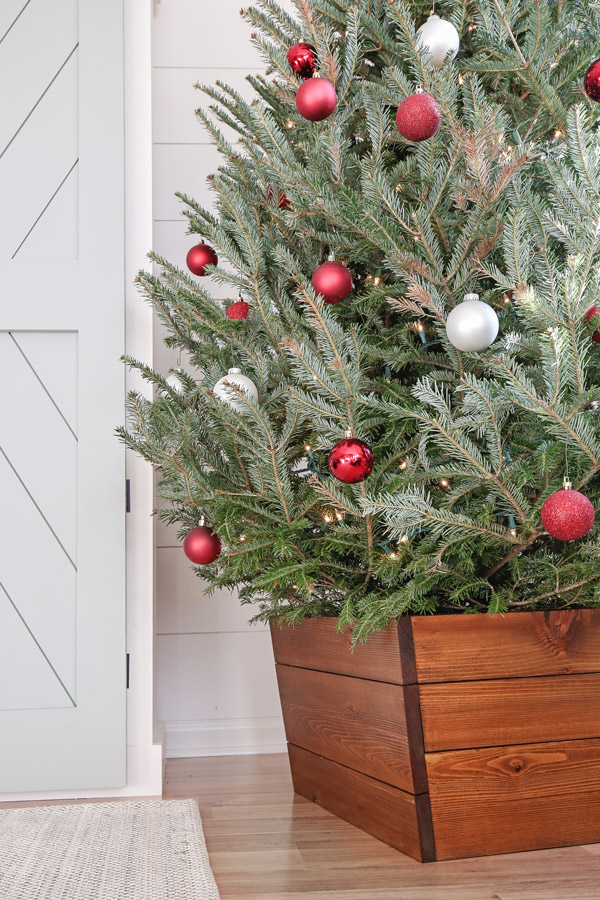
It’s such a fun project that adds a rustic touch. A nice alternative to a traditional Christmas tree skirt, wicker basket, metal collars, or a galvanized tree collar.
I hope you enjoyed this simple tutorial that’s perfect for the holiday season.
Make sure to join our Woodworking for the Home Facebook group and share this DIY wood Christmas tree collar there if you make it! Or tag me on social media @angelamariemade or #angelamariemade!
Check out all of the other fun projects in our 10 Days of DIY Challenge & Giveaway! This is our Day 3 project for the 10 Days of DIY Challenge & Giveaway.
Follow along for my latest projects and sneak peaks on Instagram, YouTube, and Pinterest!
Want to save for later?! Pin it here:
