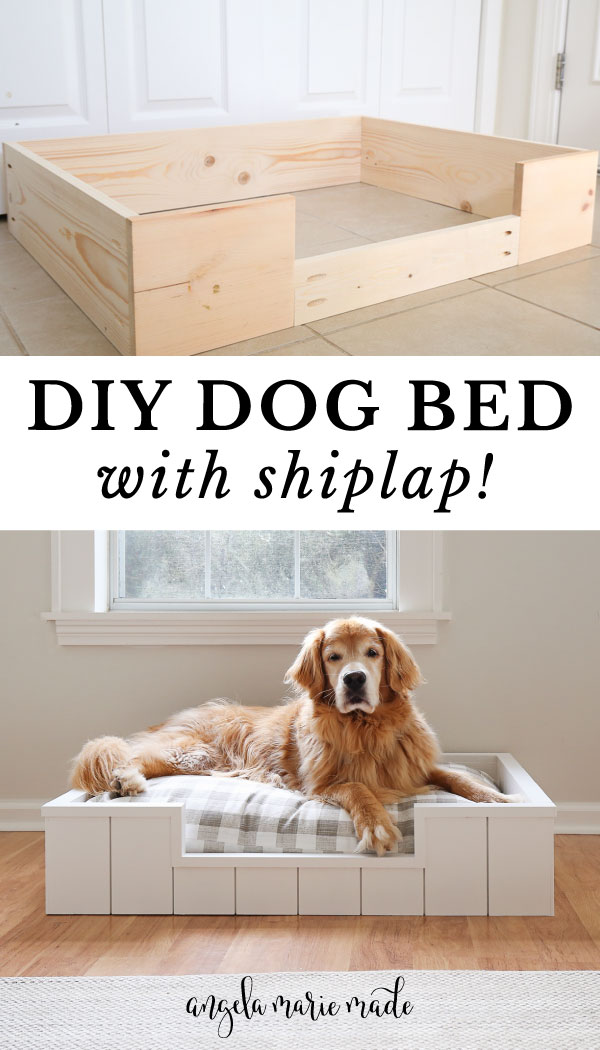
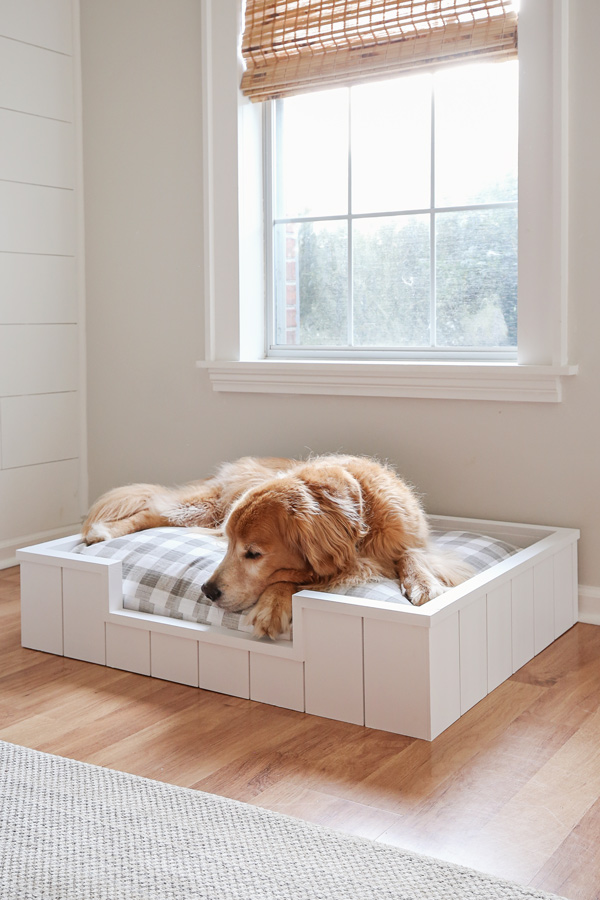
Learn how to make a beautiful DIY dog bed with shiplap!
I’m super excited to share how to make a dog bed! I’ve been wanting to build a dog bed for our pup for years and Brandon and I finally made one! I designed it to have a modern classic look with the shape of it and vertical shiplap!
This is our Day 2 project for the 10 Days of DIY Challenge & Giveaway going on right now, don’t forget to enter the giveaway here!
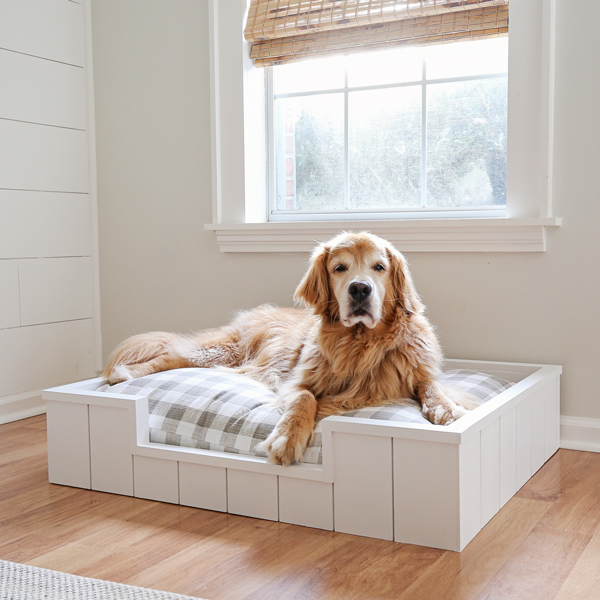
We made this dog bed to fit this large size dog cushion (similar here), it’s super cute and a really nice quality! We just stuffed the cushion with pillows and blankets.
Note, this post contains some affiliate links. I may earn a commission if you shop those links (at no cost to you). Thank you for supporting my small business. For more info see my disclosures here.
Final Dimensions of the dog bed: 37 3/8″ long x 29 1/2″ wide x 8″ tall
How to Make a Dog Bed:
Materials:
- (3) 1×6 @ 8ft Pine Shiplap (I used these boards @ 1/2″thick)
- (2) 1 x 8 @ 8ft
- (2) 1 x 2 @ 8ft
- (1) 1 x 4 @ 4ft*
- (1) 1×4 @ 8ft*
- 1 1-/4 Kreg Screws
- Wood Glue
- Spackle
- 1″ and 1 1/4″ brad nails
- Large size dog cushion, similar here
Tools:
- Miter Saw
- Kreg Jig
- Brad Nailer
- Drill
- Speed Square
- Clamps
*The 1×4 at 8ft is for the bottom support boards. This can be a furring board to save money. The 4ft board is for the front frame and will show, so we used a premium board for this.
Video Tutorial:
Subscribe to my YouTube Channel here!
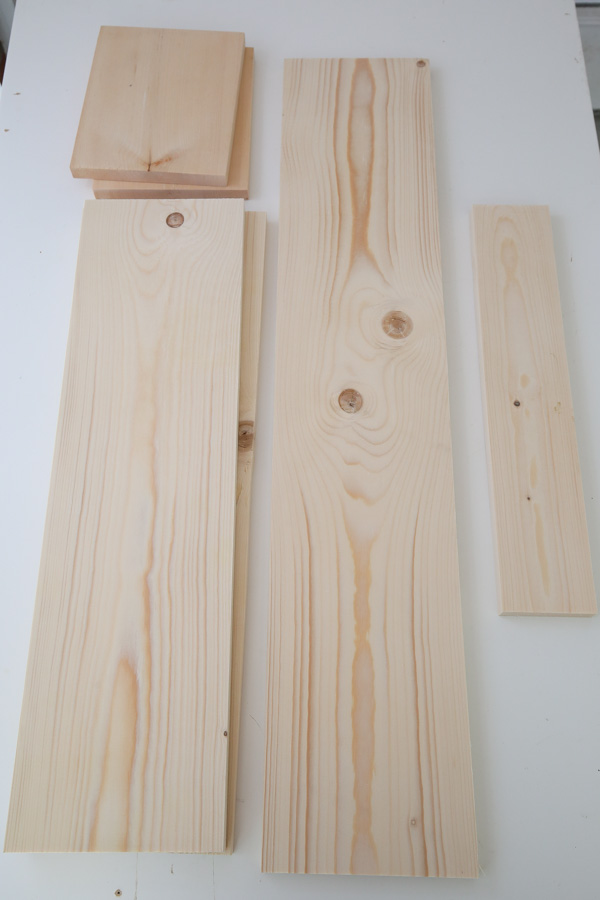
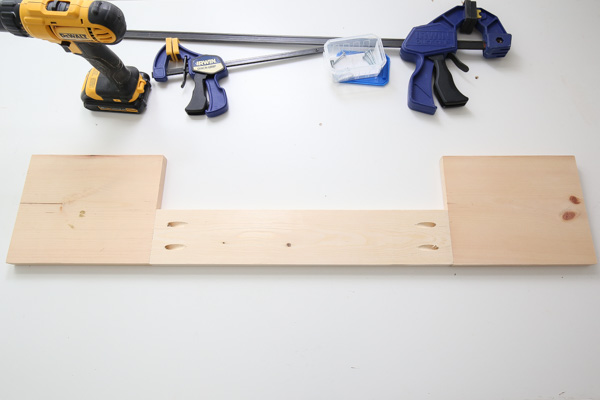
1. Make initial lumber cuts for the dog bed frame
Make the following cuts from the 1×8 boards using a miter saw:
- (2) 1×8 @ 26 1/2″ (sides of dog bed)
- (2) 1×8 @ 8 7/8″ (front of dog bed)
- (1) 1×8 at 36 3/8″ (back of dog bed)
- (1) 1×4 at 18 5/8″ (front of dog bed)
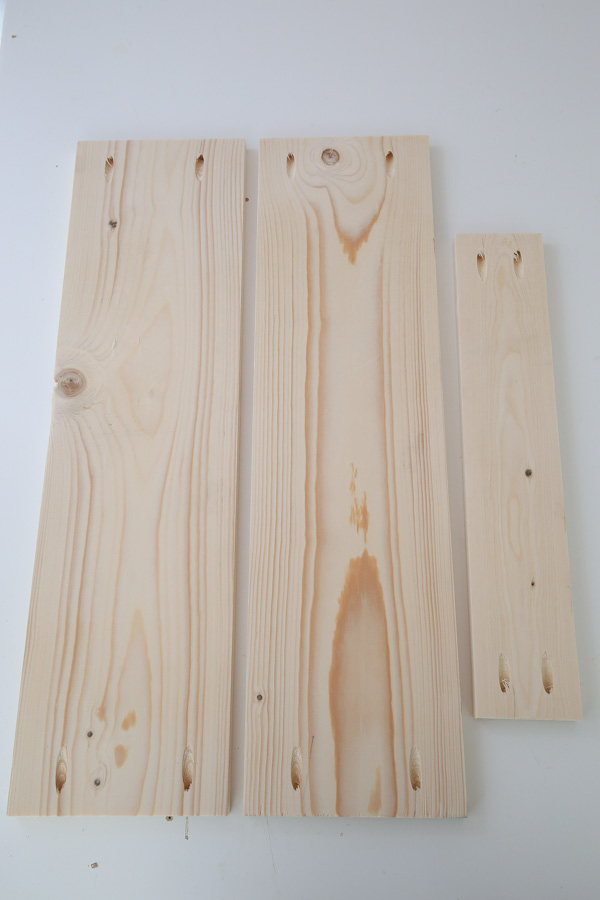
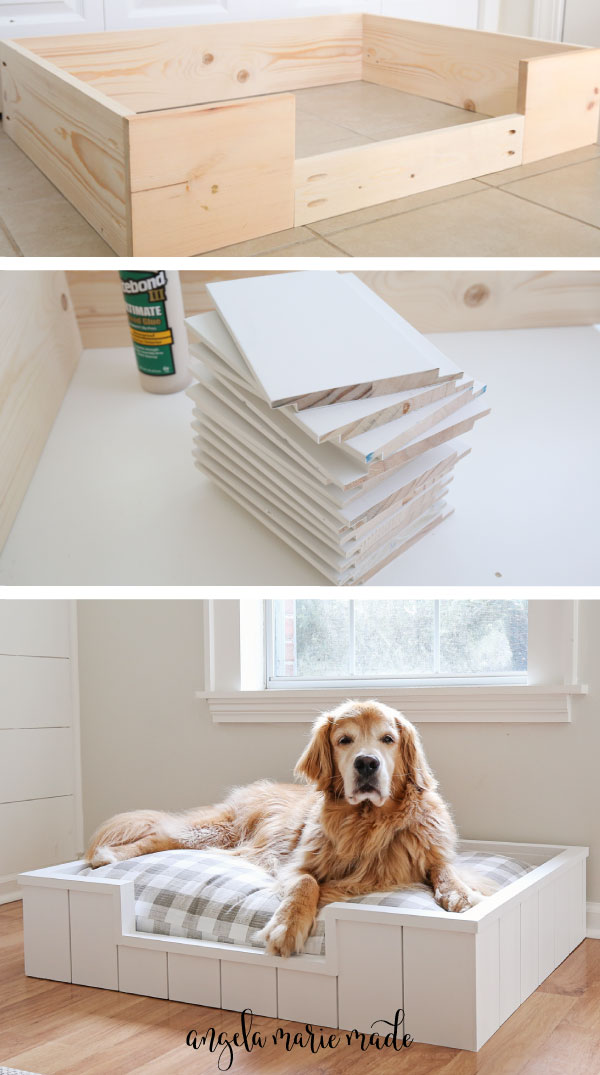
2. Assemble the DIY dog bed frame
Use a Kreg Jig and drill two pocket holes on both sides of the 1×4 and the two 1×8 side board pieces (the two 26 1/2″ boards).
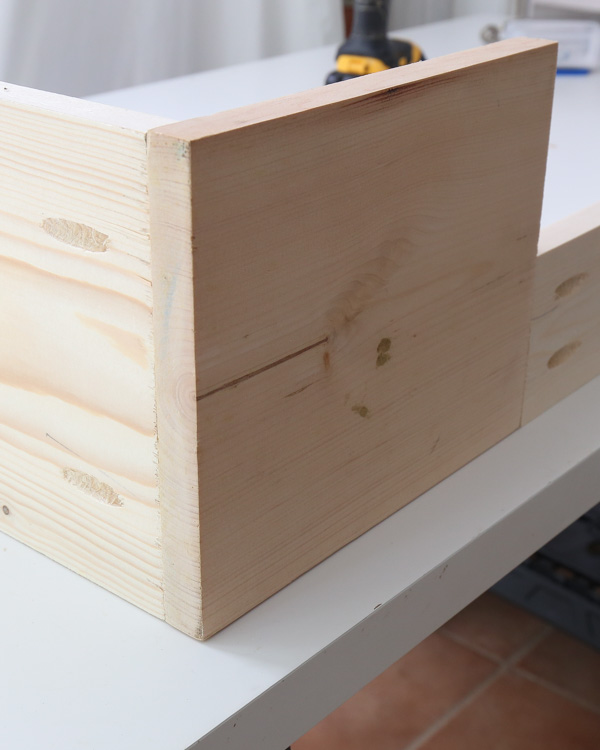
Attach the the 1×4 between the two shorter 1×8 front boards @ 8 7/8″ using wood glue and 1 1/4″ Kreg screws to create the front frame.
Then use 1 1/4″ Kreg screws and wood glue to attach the two 26 1/2″ side boards to the front frame and to the back 1×8 board @ 36 3/8″. Make sure that the Kreg holes are facing outwards because they will get covered by the shiplap boards.
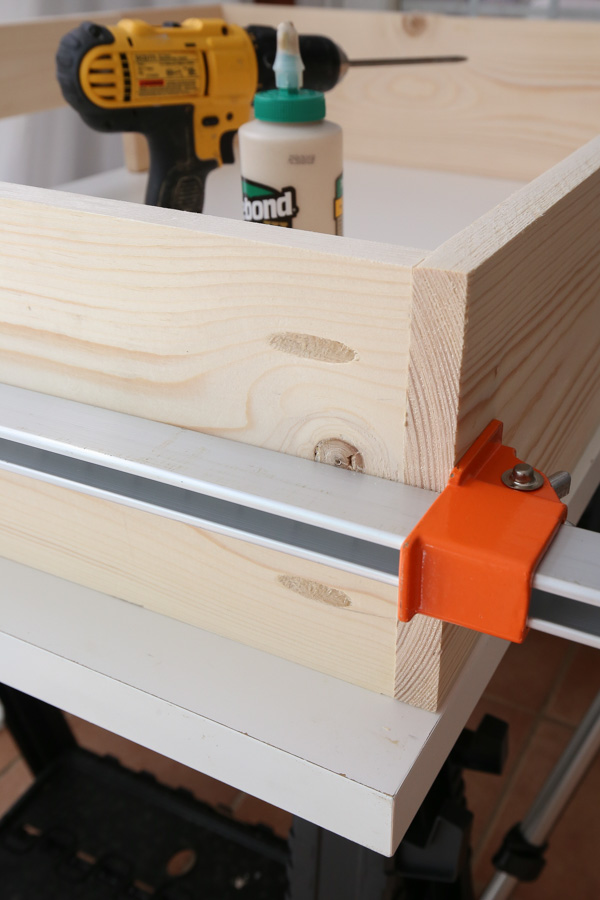
At first we used our Kreg clamp for this step but then we found it easier to use our long 48″ clamps instead.
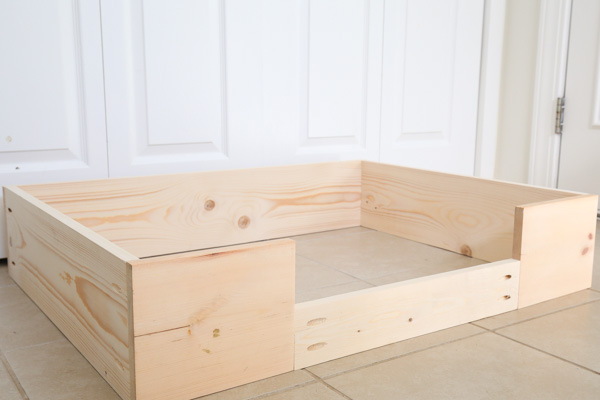
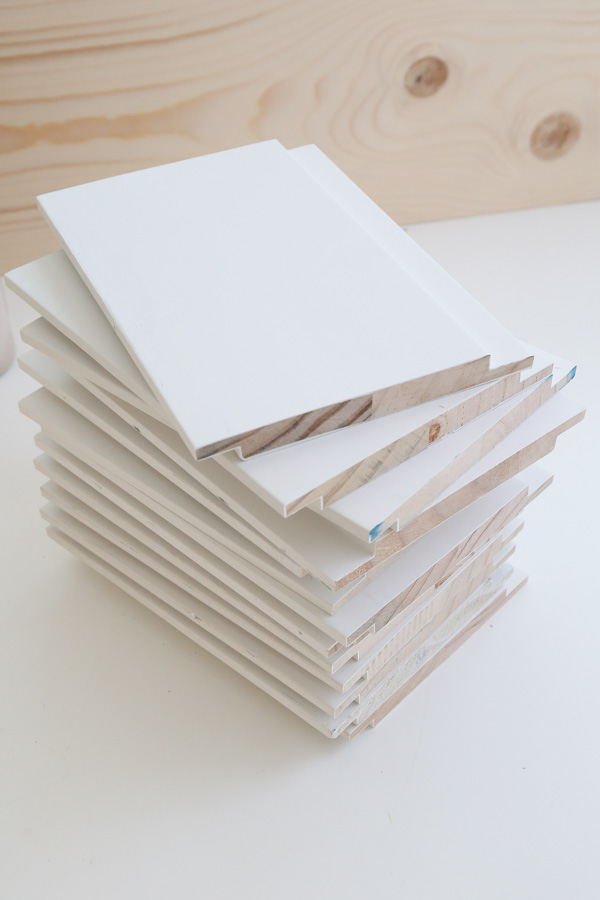
3. Cut and attach the shiplap boards
Make the following cuts from the shiplap boards using a miter saw:
- (4) 1×6 shiplap boards @ 3 1/2″
- (23) 1×6 shiplap boards @ 7 1/4″
***Note that on each piece where the shiplap boards come together, there will be a short overhang and a longer overhang. Also, the shiplap boards used here are 1/2″ thick.

A. Attach shiplap boards to the front of the dog bed frame
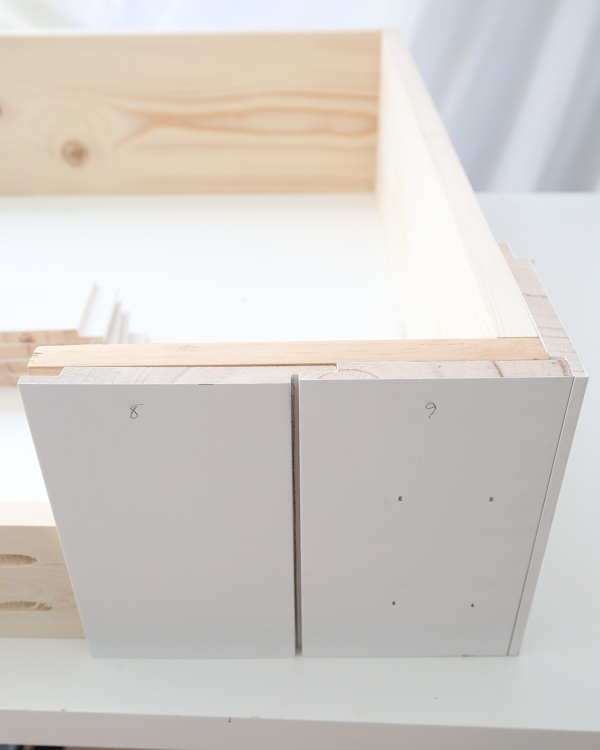
To figure out how to attach our shiplap boards evenly, we initially laid the boards out and determined where we would need to make custom cuts. If your dog cushion is a different size, this step is essential before proceeding.
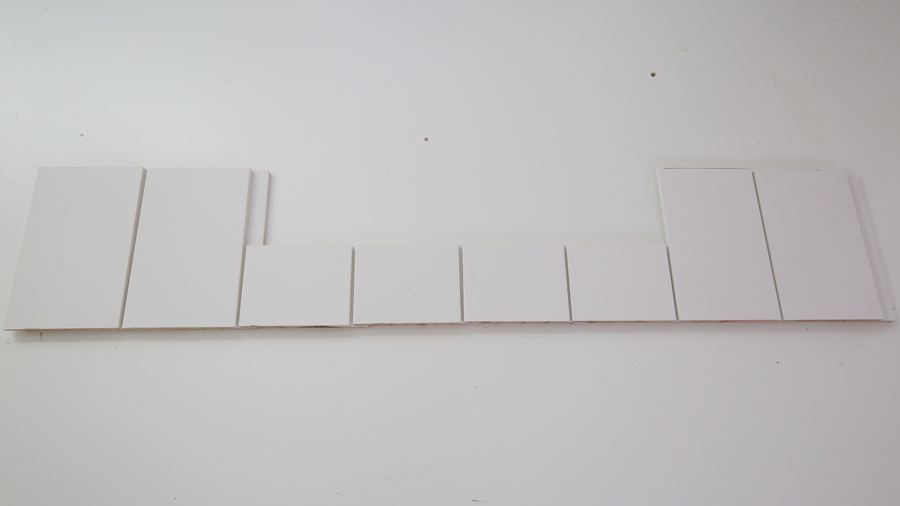
We had to cut the longer shiplap overhang edge off on two of the boards, the one bordering the beginning of the 1×4 and the one on the corner of the right of the front frame. You can see all of this in action in my DIY dog bed video tutorial here!
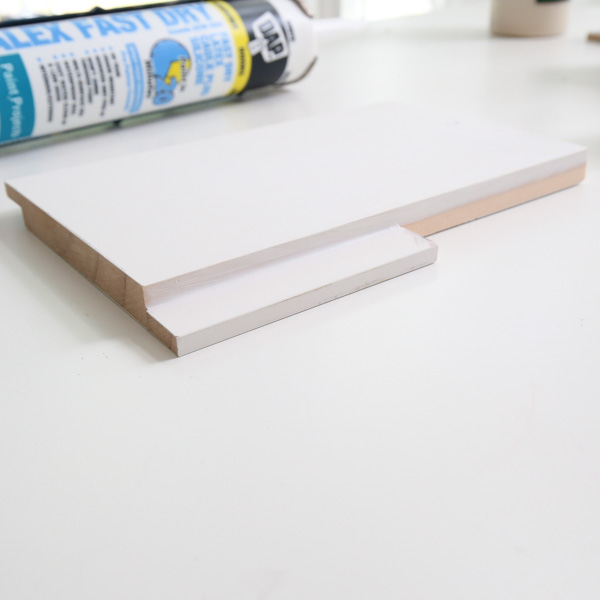
Be very careful with these edge cuts. I used my miter saw and a scrap board to hold the board in place white cutting.
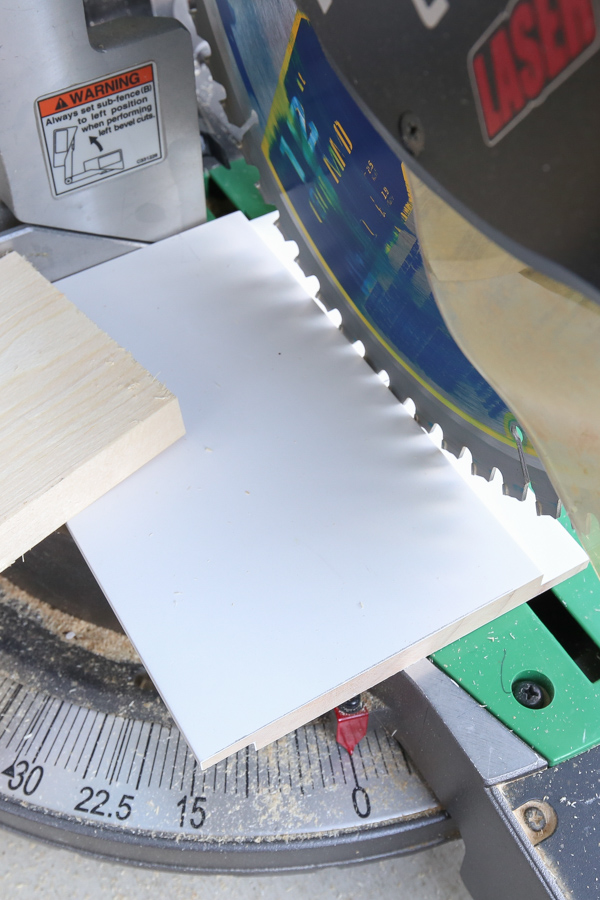
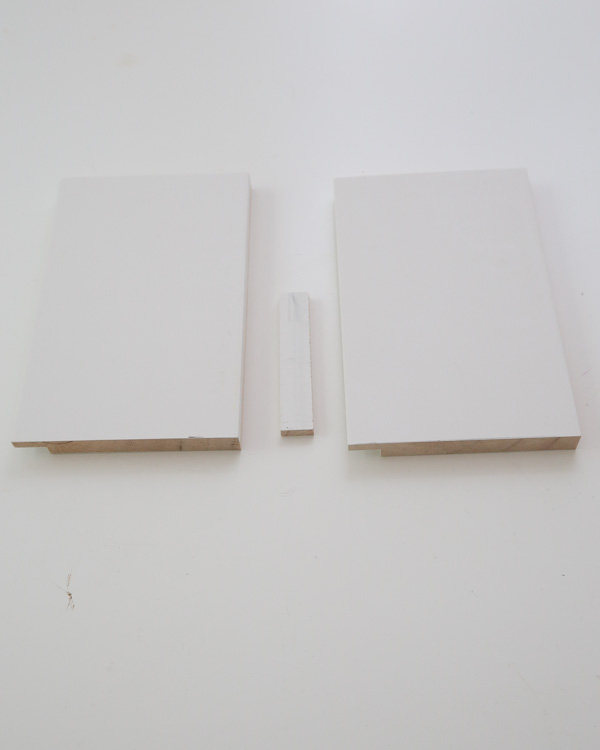
Also, because we still need part of the shiplap edge on the board bordering the beginning of the 1×4, we cut the edge piece to 3.5″ (the same height as the 1×4) and used wood glue to attach it back on the board edge.
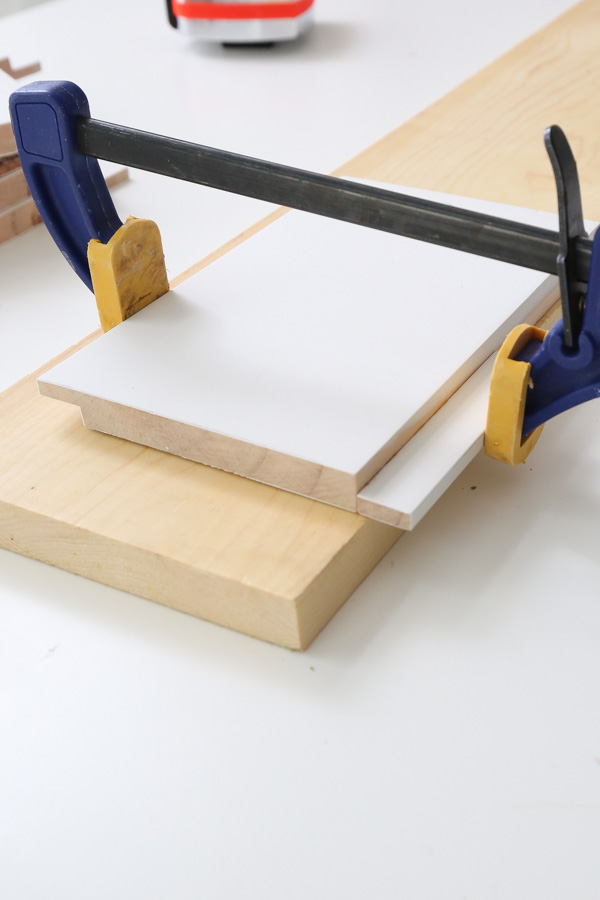
And we added a little caulk to make it look nice after the wood glue dried.
You could also use a jig saw to do these custom cuts.
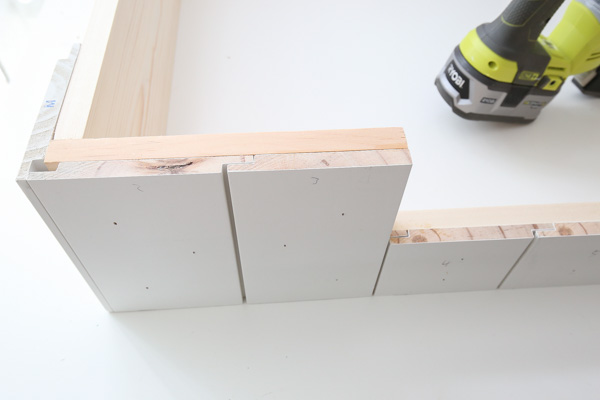
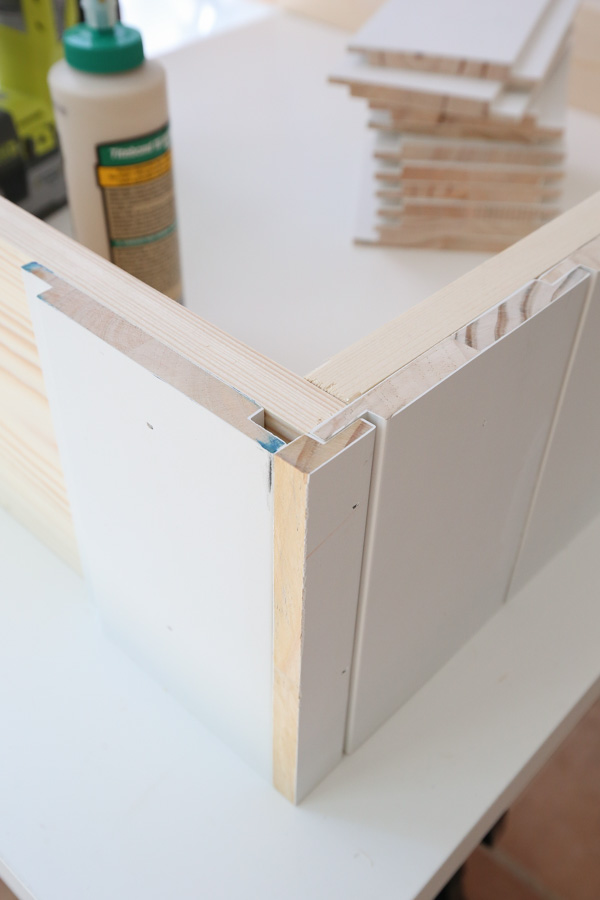
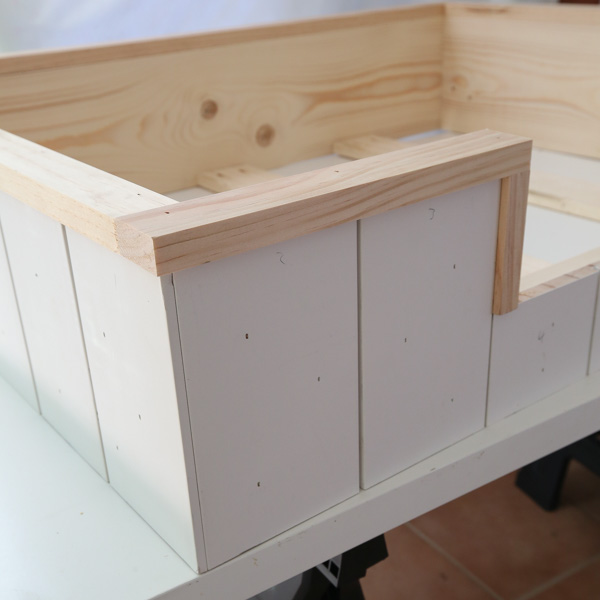
For attaching the shiplap to the DIY dog bed frame, begin on the front, right corner of the frame. Line up your first 7 1/4″ shiplap piece on the side so that the short overhang is extended past the front corner of the frame.
Then place the custom cut shiplap board with NO long edge next to it as shown here to form the front right corner.
📩 Want to Save This?
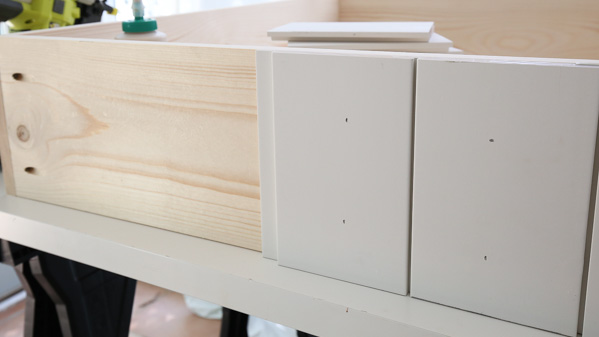
Attach both boards into place with wood glue and 1″ brad nails. Use a clamp to help hold things in place as needed.
Install the next 7 1/4″ shiplap piece to the left of the first, then install the four 3 1/2″ pieces to the 1×4, continuing from right to left.
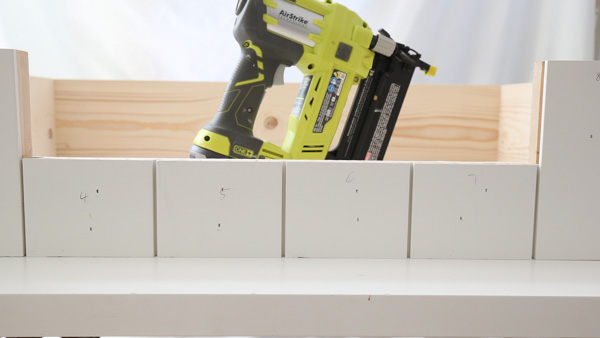
After attaching the four 3 1/2″ boards, attach two full 7 1/4″ boards on the left corner as shown here so the corner looks the same as the right corner.
Now it’s time to add the last front board. Slide the custom piece with the 3.5″ edge overhang in place to the left of the 1×4, then attach with brad nails and wood glue. Again, you can see all of this in action in my DIY dog bed video tutorial here!
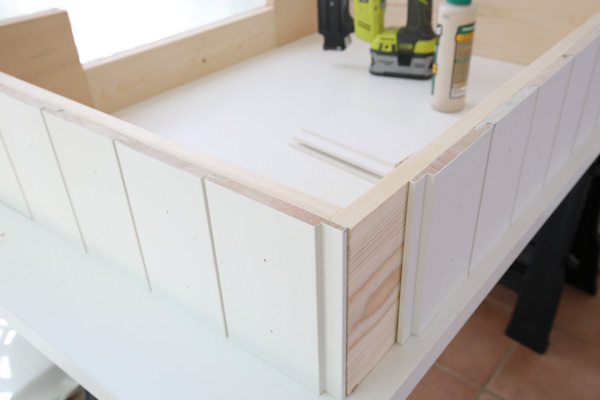
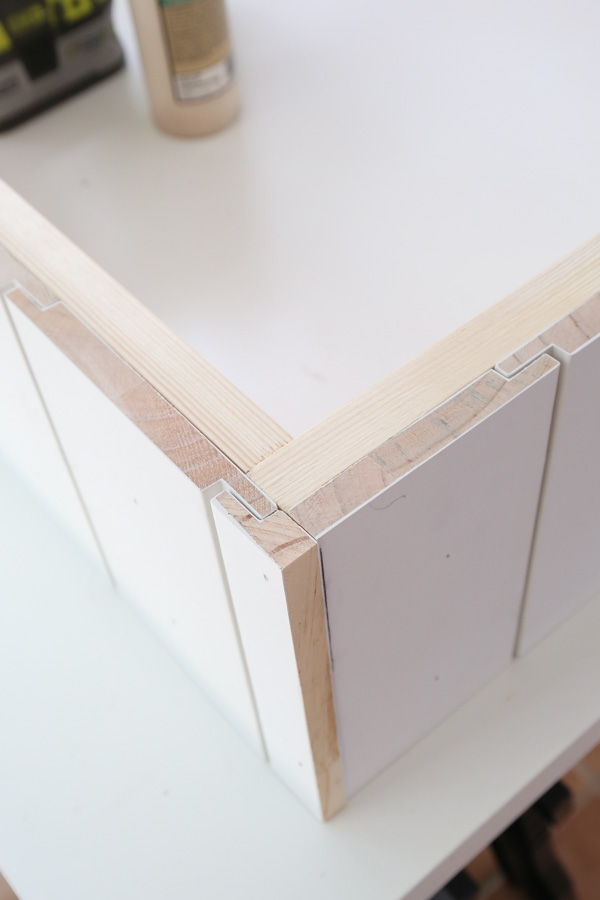
B. Attach shiplap boards to the sides and back of the dog bed frame
Next install the remainder of the 7 1/4″ pieces along both sides.
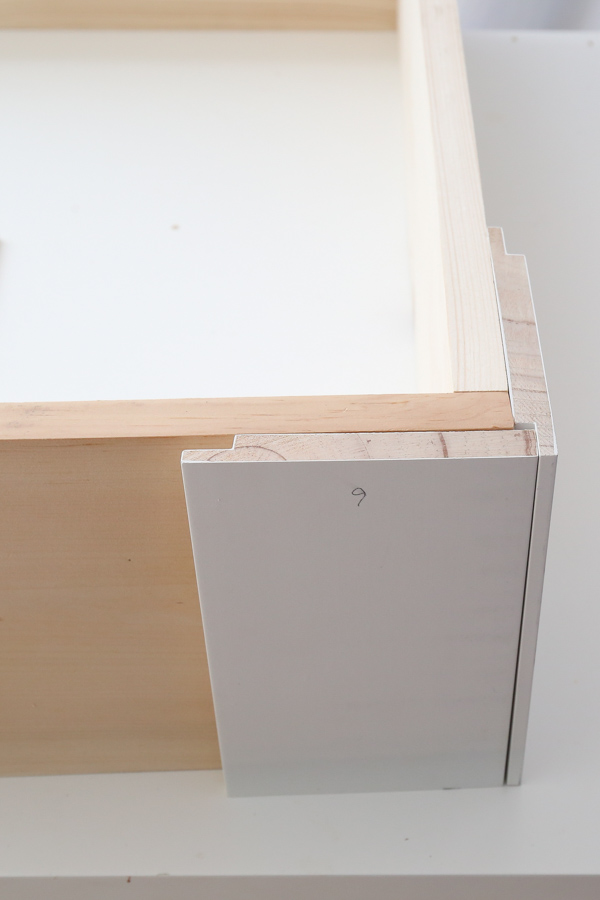
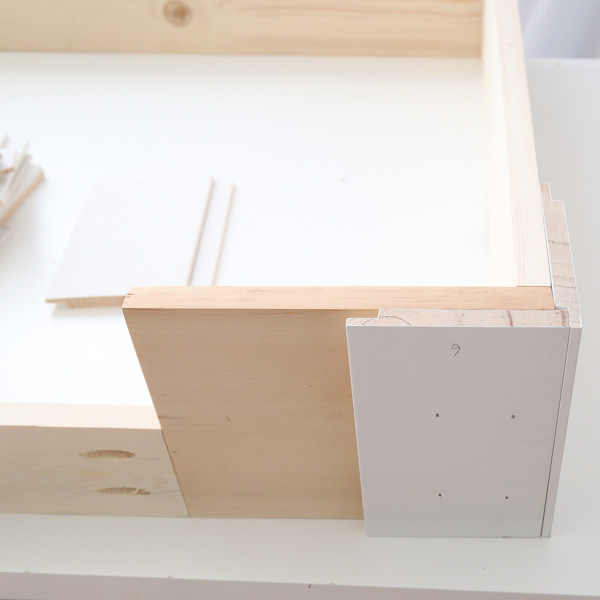
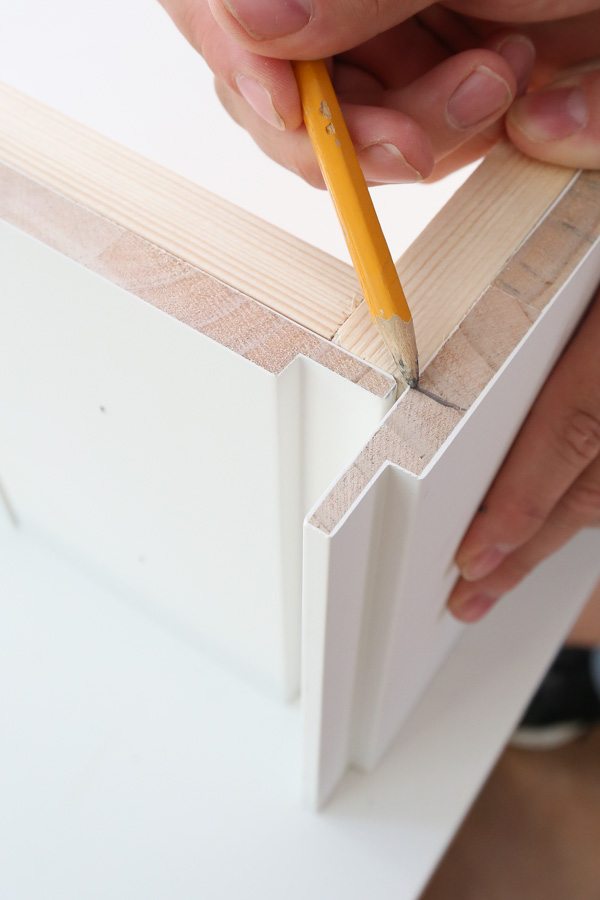
The last piece on each side (at the back corners) will need a custom cut as shown below. We marked with a pencil on the board where the custom cuts needed to be made.
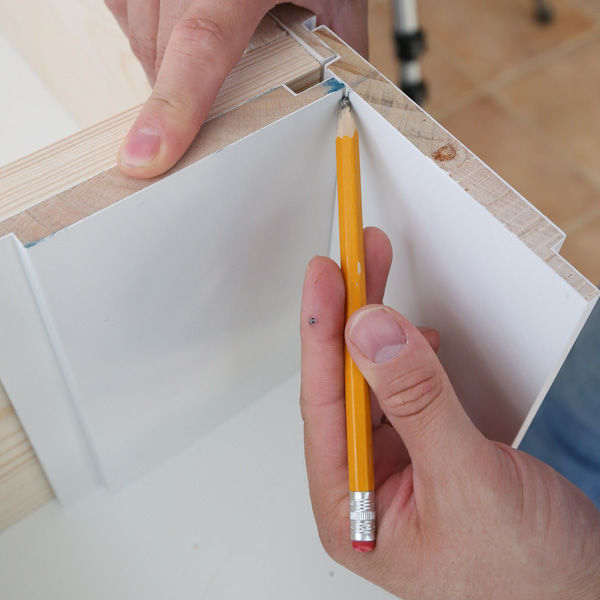
Then, finish off the back, again making a custom cut at the last corner where the back and other side meet.
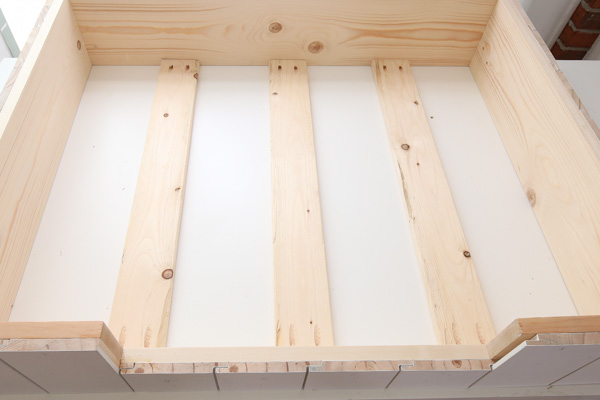
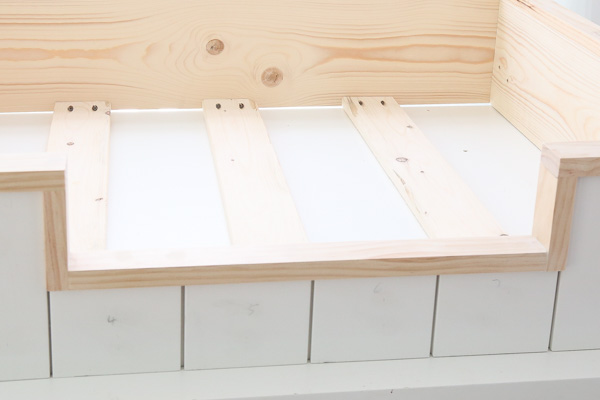
4. Cut and install the additional bottom supports
Measure the cuts needed for three bottom support boards and cut three 1×4 boards to this size. Add two pocket holes to each side of the boards and install with 1 1/4″ Kreg screws.
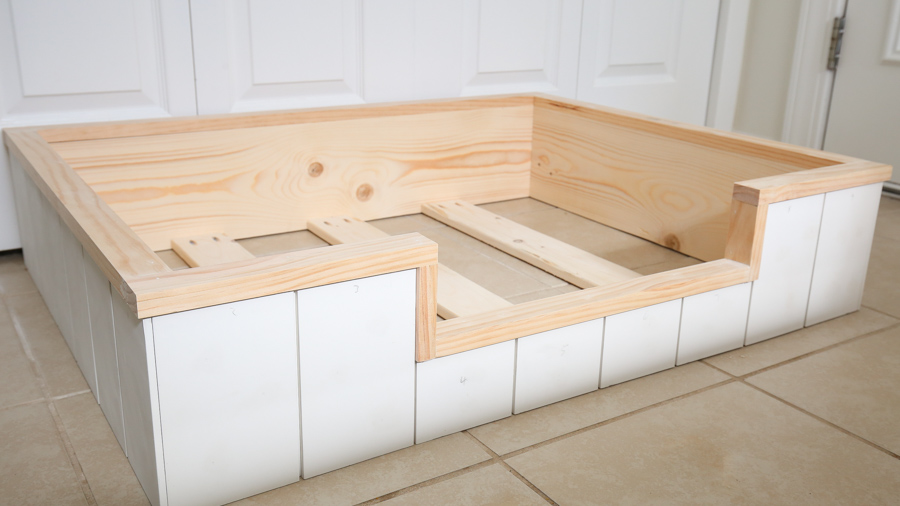
6. Cut and install the trim
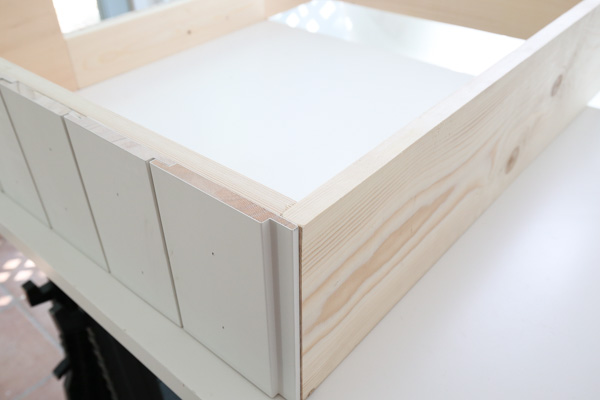
Now it’s time to add the 1×2 trim! Cut two boards to the same length as the side 1×8 boards (26 1/2″ each). Attach these boards on top of the side 1×8 boards with the back of the 1×2 lined up with the back of the 1×8 edge. Attach with wood glue and 1 1/4″ brad nails.
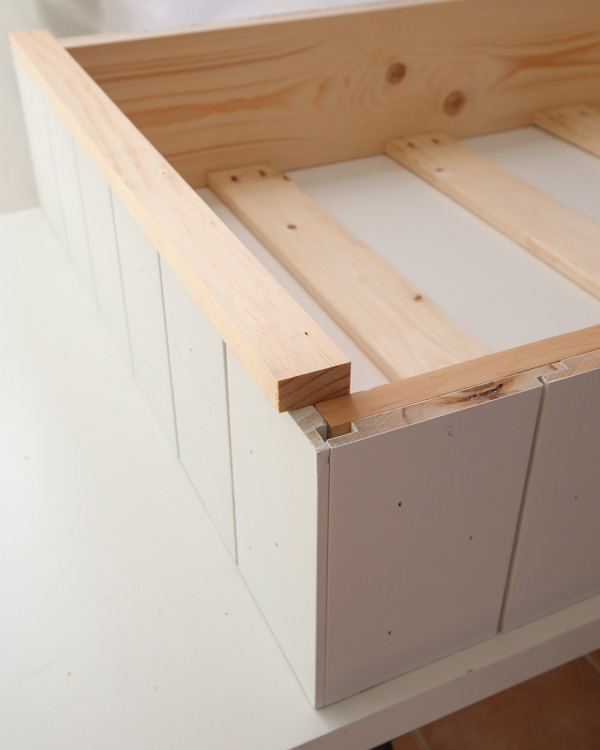
Note, because our shiplap boards are 1/2″ thick, there will be a 1/4″ overhang of the trim on the front.
Next, we measured the length needed for the back trim, cut a board to size, and installed trim along the back.
Finally, we trimmed out the front. We measured the cuts needed, starting with the inside boards, then the top trim for the two 1x8s, and then the inside 1×4 trim piece.

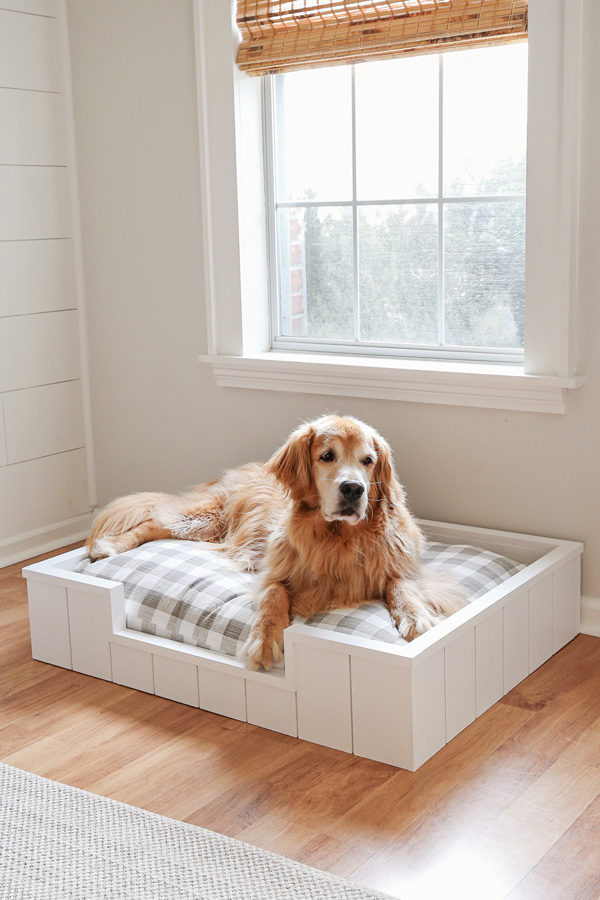
Now your DIY dog bed build is complete!
6. Prep and paint
To get ready for paint, fill all nail holes in with spackle. We decided not to caulk at first, but we went back after priming and caulked a few spots where it was needed.
Prime the trim and inside of the dog bed. We didn’t need to prime the shiplap since it was pre-primed.
Finally, we used two coats of Simply White by Benjamin Moore in an eggshell finish.
7. Add the dog cushion to the dog bed frame!
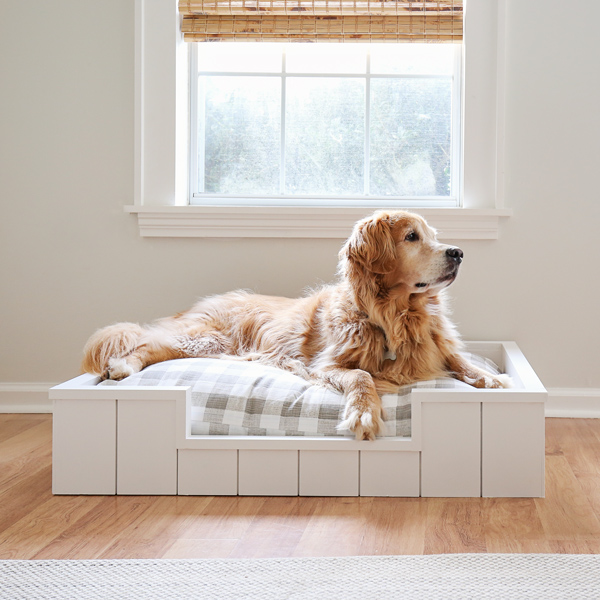
After the paint dried, we added our large size dog cushion similar here to the DIY dog bed!
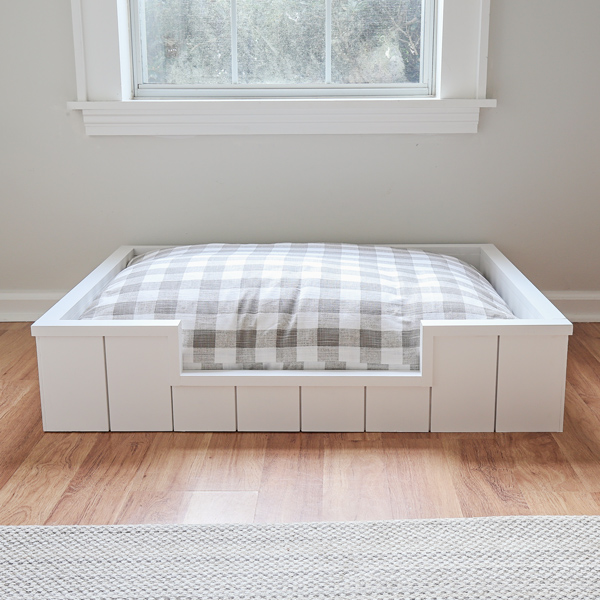
I love how our DIY dog bed turned out and our pup loves having his own spot to get cozy and sleep!
What do you think of this DIY dog bed frame?! Make sure to join our Woodworking for the Home Facebook group and share this project there if you make it! Or tag me on social media @angelamariemade or #angelamariemade!
Don’t forget to enter our holiday giveaway and check out all of the other fun projects in our 10 Days of DIY Challenge & Giveaway!
Follow along for my latest projects and sneak peaks on Instagram, YouTube, TikTok, and Facebook!
Want to save for later?! Pin it here:
Simon Huynh
Monday 2nd of October 2023
Can I use a pine tongue and groove Shiplap?
Sandy
Sunday 10th of September 2023
Did you use the fine thread or coarse thread screws? Your link goes to pocket hole screws but you have to scroll down to get to the Kregs and there comes the choice of fine or coarse. Amazon loves to choose what brands get top billing.
Angela Marie Made
Wednesday 13th of September 2023
I used coarse thread screws because all of the wood I used was soft wood!
Jesus Maldonado
Tuesday 28th of September 2021
If im not mistaken you need more than 1 board of 1x8x8. I just cut the sides and the two front and im left with only 2 ft instead of the 3 that I need for the back.
Angela Marie Made
Tuesday 5th of October 2021
Thank you for pointing that out, you are right. I updated the material list, sorry if it caused you any inconvenience.
Rod
Sunday 4th of July 2021
Why did you cut the shiplap at the front at 3.5 inches in height but the narrow wood piece at the front is 4 inches in height?
Angela Marie Made
Tuesday 6th of July 2021
The shiplap pieces on the narrow wood pieces are 3.5" tall.
Kristi Palmer
Saturday 5th of December 2020
Two days into your 12 days and you’ve amazed me on both. Love how clear your instructions, photos and videos are. Thanks!
Angela Marie Made
Monday 7th of December 2020
Thank you very much!