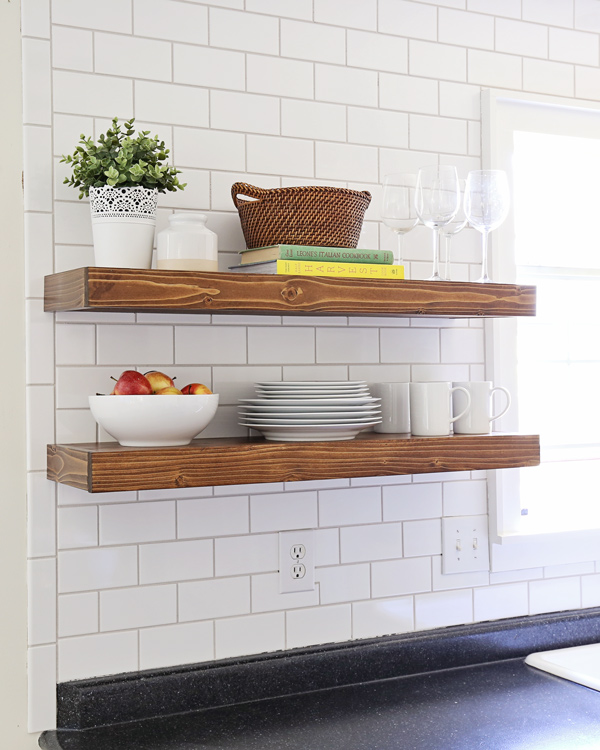
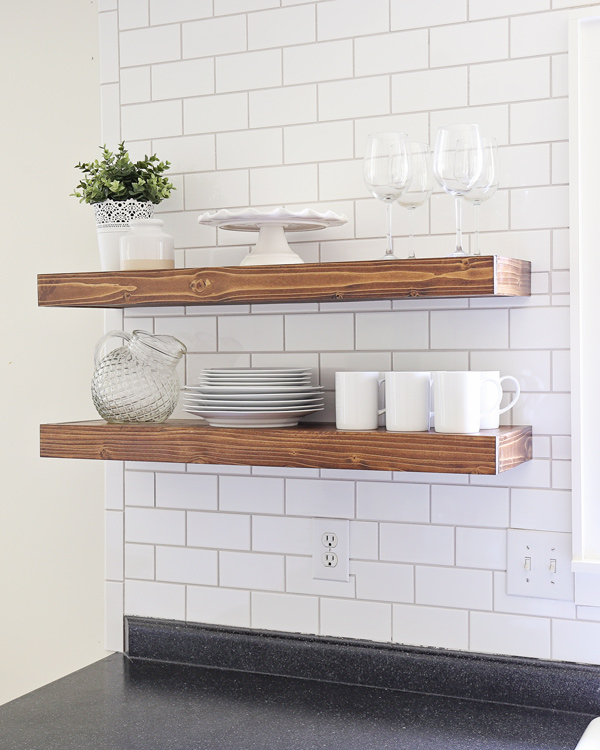
Have you ever had a project that just doesn’t quite work out like you planned? Well that is how our DIY kitchen floating shelves have been for us! Here is a photo of how they finally turned out, which I love!

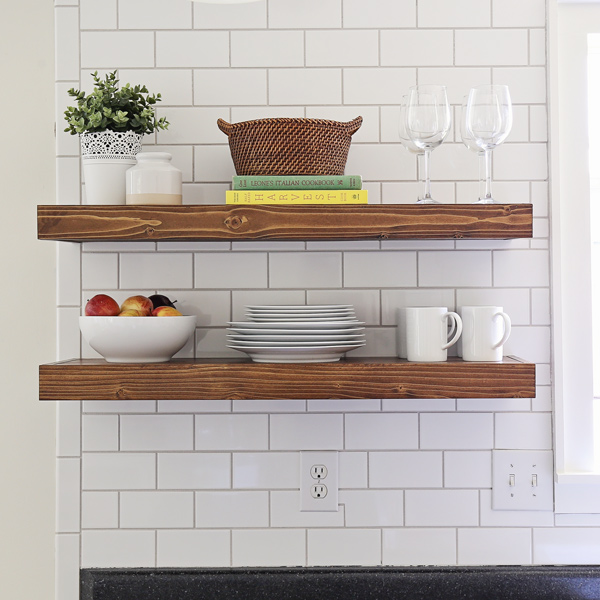
And here’s another photo of them styled a different way! I couldn’t decide which way I liked better! Which version do you like better?!
Well here is the story of how we got to this final point! This project dragged out for several weeks because we kept running into one problem after another.
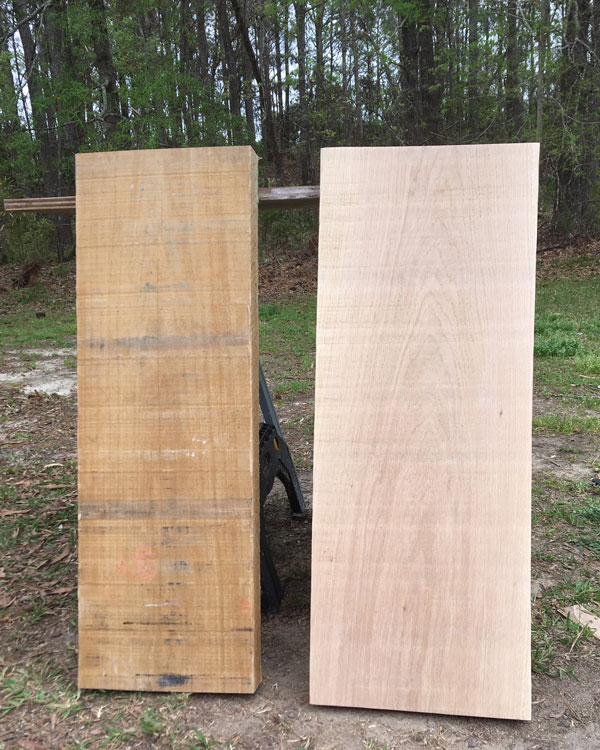
Several weeks ago, I made a special trip to a local lumber yard and I bought some beautiful, 8/4 white oak (2″ thick). It comes in a rough condition, so we spent a lot of time sanding and prepping the boards to become our floating shelves. Here is photo of a before and after of the boards:
After a few hours of sanding, we started cutting the boards to size. The hardwood was so strong that it broke a metal piece off of our circular saw and bent the saw blade. So, we had to order a special part, wait a week and buy a new blade.
Then, when we went to install the shelves with brackets, the same method we used on our living room, DIY floating shelf with brackets, we ran into more issues! Due to the placement of where the shelves needed to go, we could only get the brackets into one stud and planned on using heavy duty toggle bolts into the drywall for the other brackets.
Well, these white oak boards are super heavy, I mean I can barely lift them. And because they were almost 12″ wide (the max width for the brackets) and because we couldn’t get into more than one stud, the hardware just couldn’t support them properly. I was really bummed out because the wood is beautiful and we spent so much time working on them.
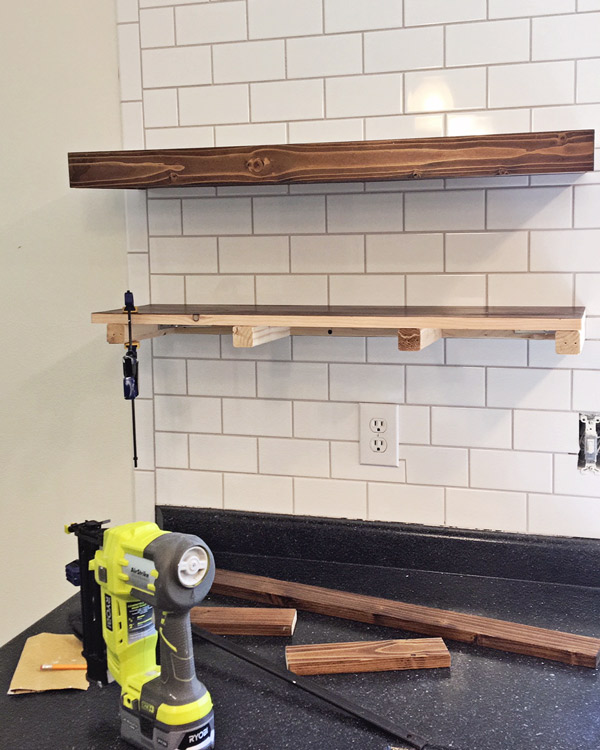
I came up with a plan B! I ended up making lighter floating shelves using the same method as my DIY office floating shelf, the plans are by Shanty 2 Chic. Except for these shelves, I added a few more support boards and made the shelves wider. When I went to install them, I had more issues!
📩 Want to Save This?
Every hole I drilled for anchors kept hitting wires or plumbing and I had to drill several holes. It was a mess. Then, the shelves were still not sitting properly and I finally had to just make them shorter in width.
My biggest lesson learned for kitchen floating shelves that are wide (between 8″-12″) and heavy is to really screw into the studs no matter what.
If I were to do this project again, I would have taken part of the drywall down (before tiling) and added a 2×4 between the studs to make sure I had framing wood to drill into and to see where all the wires/plumbing were located. Then, I would have put new drywall up and tiled over it. Also, with the brackets, you can install them vertical on the studs too for maximum support if you remove some of the drywall.
Anyways after all those issues (plus a few more) we finally were able to finish these DIY kitchen floating shelves!! I do love how they turned out and the warmth of the wood is exactly what I was envisioning to help transform our kitchen.
I am relieved we finished this project!! I think next week I am going to take a break from kitchen projects and do some fun decorating instead haha!
Have you ever done floating shelves in your kitchen? I’d love to hear about your experience!
Follow along on my latest projects and sneak peaks on Instagram, YouTube, and Pinterest!
deanna
Friday 29th of March 2024
Did you just drill into the tile or did you tile around the shelves?
Angela Marie Made
Wednesday 3rd of April 2024
I tiled around the shelves!
Becky Laroza
Tuesday 22nd of September 2020
How deep did you make them? I see you can put a plate on there.
Jen
Monday 16th of November 2020
@Angela Marie Made, What was the final thickness of your shelves? 1.5”? 2”?
Angela Marie Made
Tuesday 22nd of September 2020
They are 10-1/2" deep.
Bryan E
Saturday 4th of April 2020
If you were to pull the dry wall off and add studs, I would suggest, adding blocking between the studs throughout the open wall at different levels. Remember to take photos of the locations with a tape measure showing the height or location... Just a thought.
Angela Marie Made
Tuesday 7th of April 2020
That's a great idea! Thank you Bryan!
Jean Benhoff
Saturday 4th of April 2020
Love this bright arrangement and lots of natural light On the white tile, on the china and glass! ❤️ As you asked, my fav is the second arrangement. The second one with the beautiful pitcher-perfect for thirsty warm days, is lighter in appearance, more clear glass and more symmetrical. Also, having the fruit down on the black counter makes it more visible, attractive, and likely naturally more of it enjoyed by you. So glad your project worked out.
Angela Marie Made
Tuesday 7th of April 2020
Thank you!