
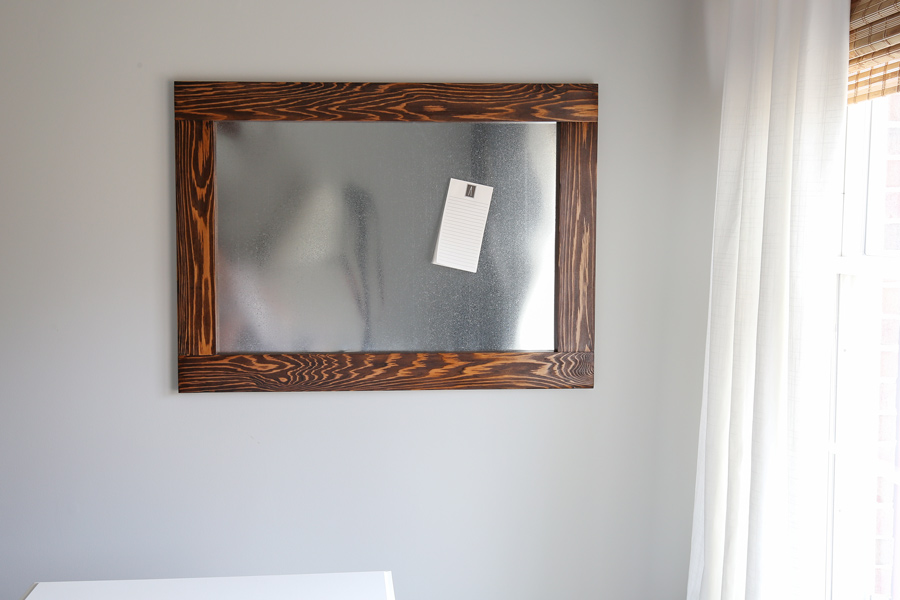
A fun and easy idea for getting organized in any space is a DIY magnetic board! I love any project that is multi functional and this magnetic board can be used in almost any space in your home!
My sister in law actually wanted one for my niece’s playroom and so I built this one for her for Christmas! A DIY magnetic board for toddlers…

Note, this post contains some affiliate links. For more info see my disclosures here.
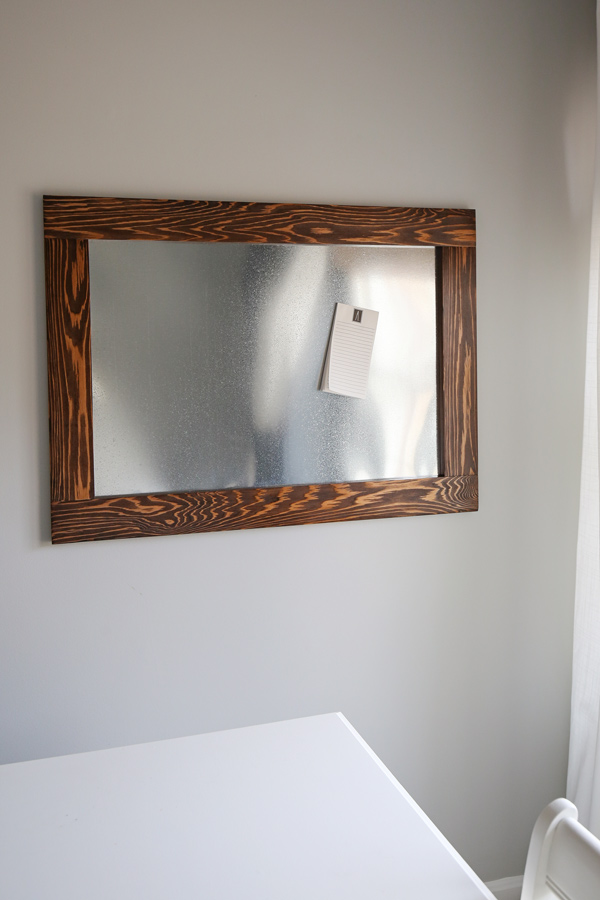
Super cute and simple right?! I love the mix of the farm animal magnets with the rustic, wood frame around the magnet sheet.
While I was visiting my family over the holidays, I took photos of the DIY magnet board in my mom’s newly renovated office to show how the board can be used in different ways!
How to build a DIY magnetic board:
Materials:
- (1) 1×4 @ 10ft
- 3/4″ screws (see step #5)
- 1 1/4″ Kreg screws
- (1) 24″ x 36″ sheet of Steel Sheet Metal
- Wood stain (I used Dark Walnut)
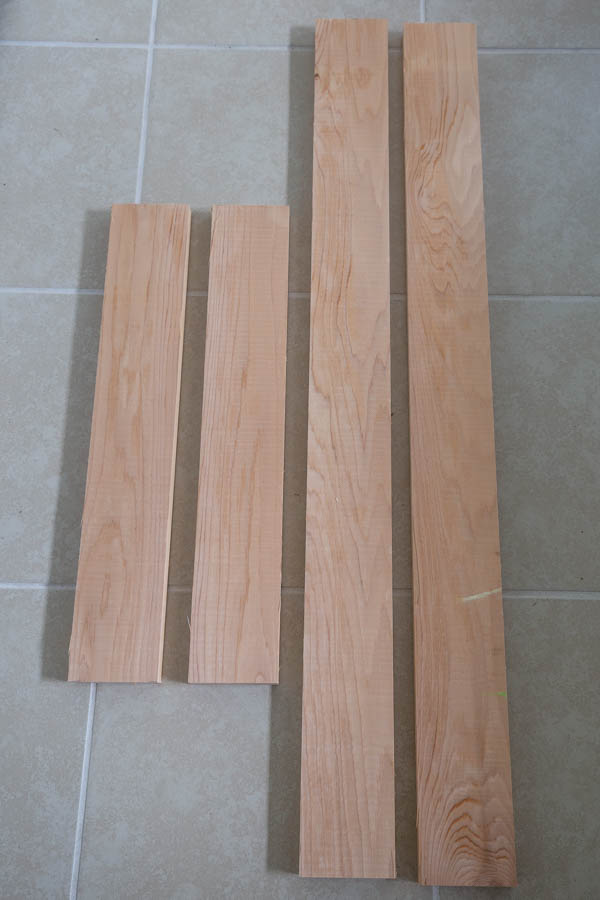
1. Make wood frame cuts
First, cut your 1×4 wood board to size using a miter saw or have your local home improvement store make the cuts for you. Make the following cuts:
- 2 pieces @ 38″
- 2 pieces @ 21″
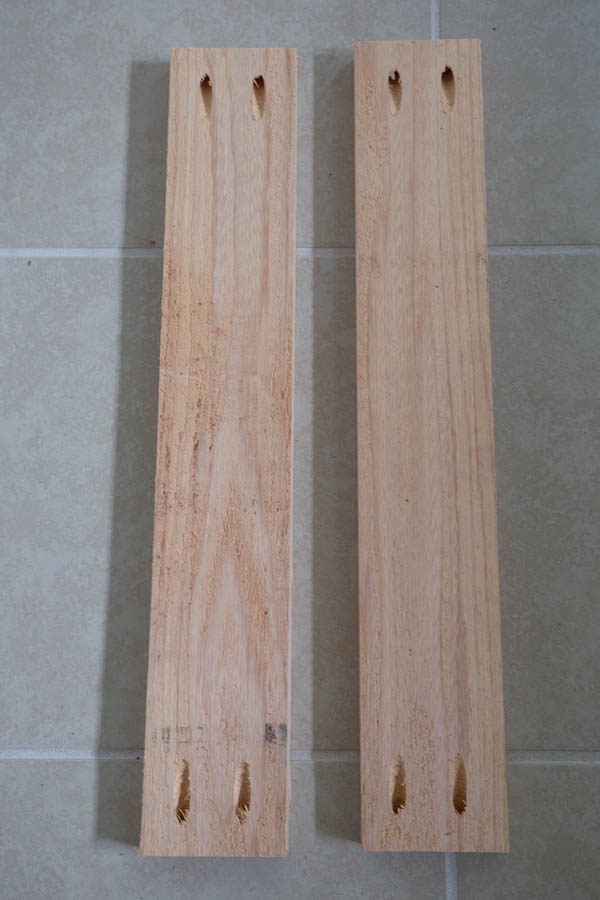
2. Add pocket holes to wood frame pieces
Use a Kreg Jig and drill pocket holes at the ends of the two shorter wood boards. *Tip: See my how to use a Kreg Jig post for an easy, step by step tutorial and video tutorial on how to use the Kreg Jig (my favorite tool)!
3. Stain wood frame boards
At this point, I found it easier to go ahead and stain my wood boards before assembling the frame. I used Dark Walnut by Minwax for my stain color. For tips on how to stain wood for a beautiful finish, check out how to stain wood!
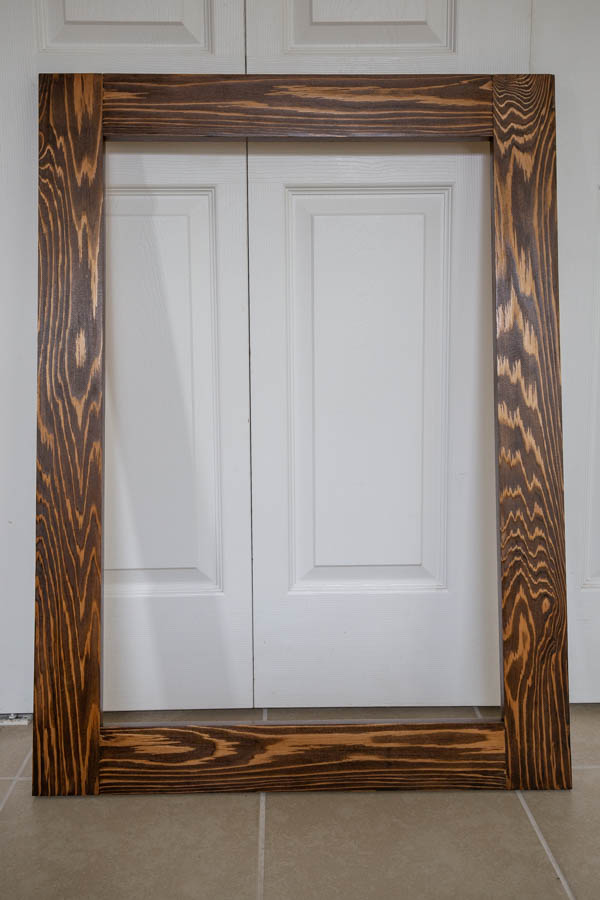
4. Attach wood frame together with Kreg screws
Use 1 1/4″ Kreg screws and attach the wood boards together. Clamps help with this part!
📩 Want to Save This?
Once your magnetic board frame is assembled it will look something like this:
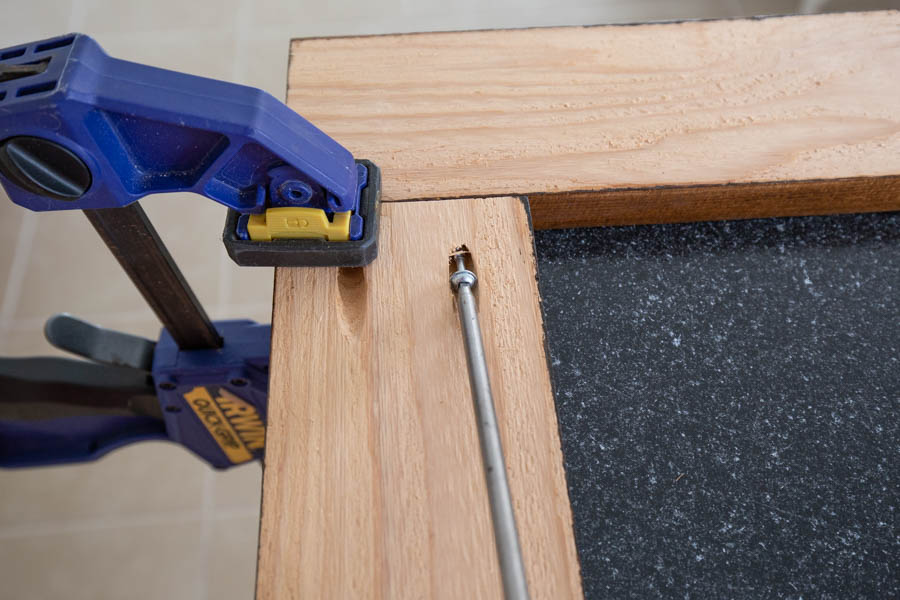
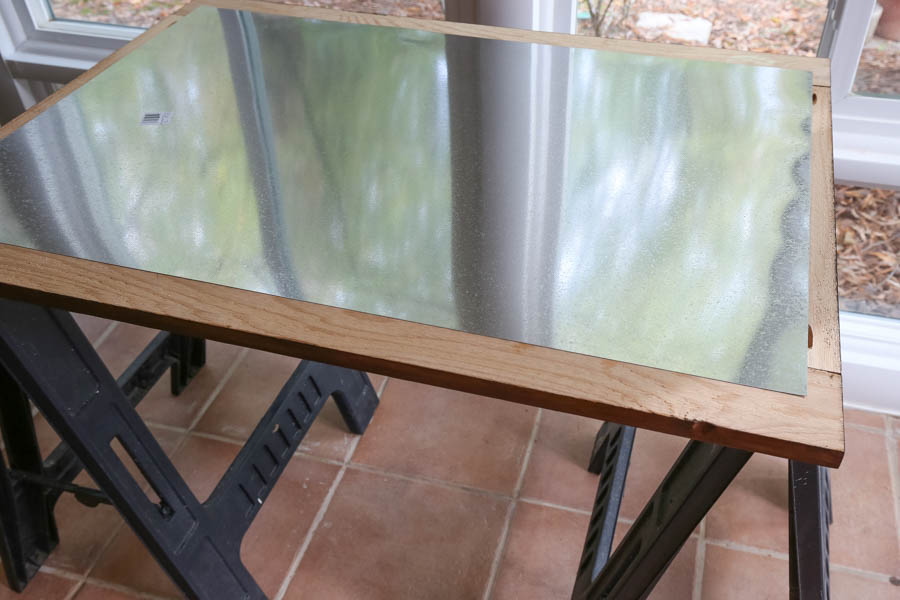
5. Attach sheet metal to DIY magnetic board wood frame
Ok, last step! Lay your sheet metal over the back of your wood frame and clamp it down.
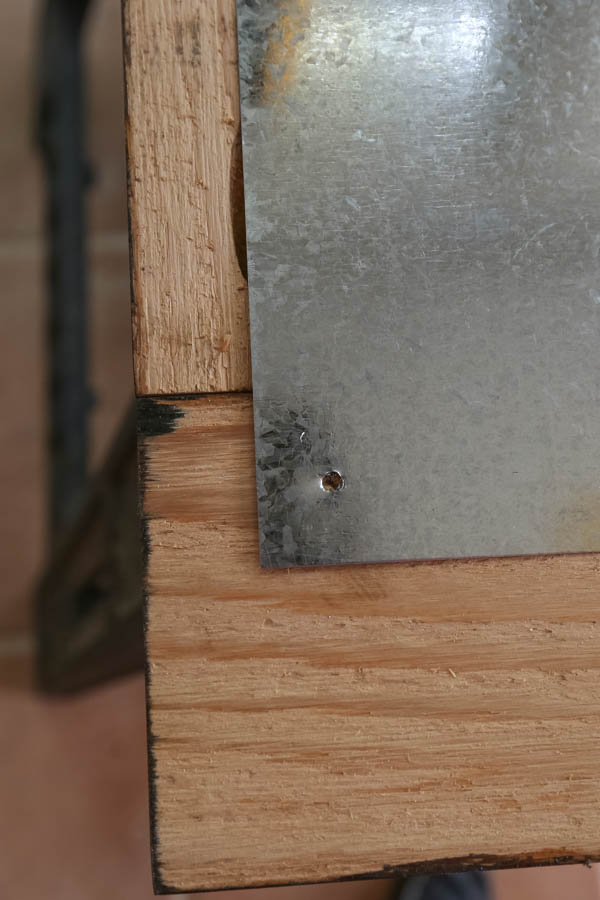
Then, drill a hole through the sheet metal and partially through the wood but be careful not to drill through the front of the wood frame. Also, make sure to drill a hole that is bigger than your screw width if you are using wood screws like me (what I had on hand) since they don’t easily drill through metal.
Drill your 3/4″ screw through the sheet metal into the wood.
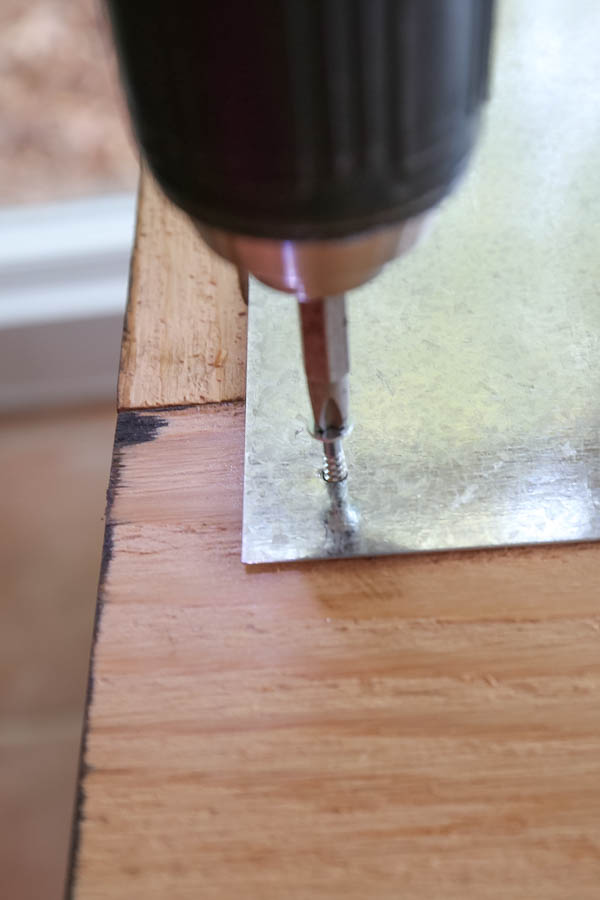
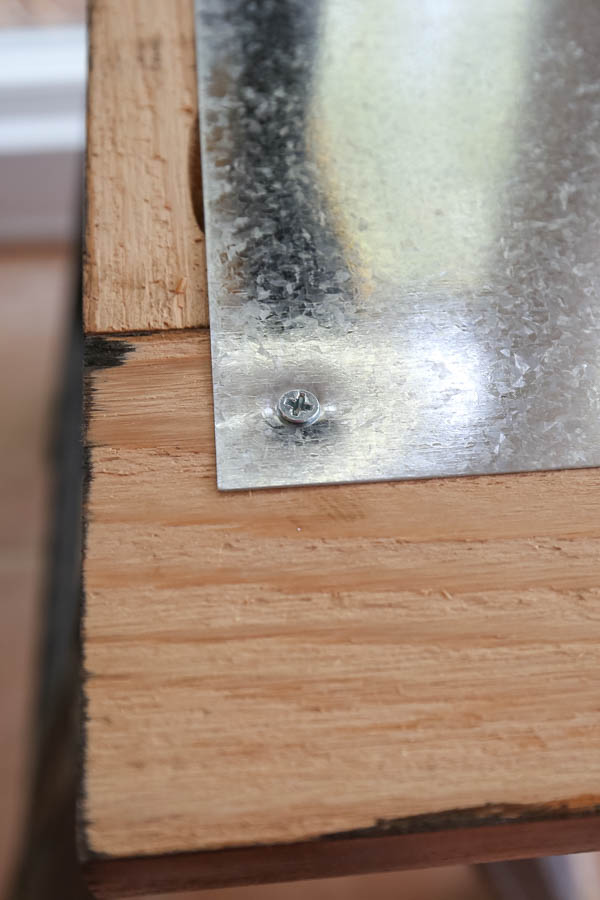
Repeat this step all the way around the wood frame. We ended up needing to add several screws along the sides of the frame to keep it secured well against the frame.
That’s it! Enjoy your new DIY magnetic board!
Follow along on Instagram or Facebook for my latest projects, as well as Pinterest!
Chelsea
Tuesday 11th of February 2025
What did you use to hang it flush on the wall? Thanks!
Jean Miceli
Friday 4th of January 2019
This will look great on my new office
Angela Marie Made
Wednesday 9th of January 2019
Great to hear!