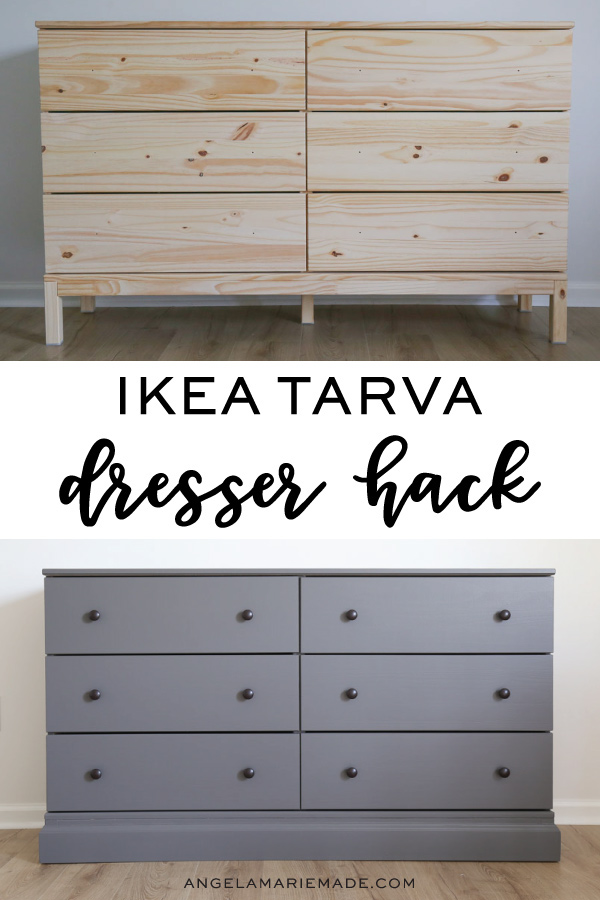
One of the first pieces of furniture I knew I was going to need for our nursery was a dresser. After looking around at both new and used dresser options, I decided to do an IKEA TARVA dresser hack!
The IKEA TARVA dresser is budget friendly for the size, good quality for the price, and comes in unfinished wood, so it makes painting or staining it super easy for matching your decor! I also like that it’s brand new, so I didn’t have to worry about dealing with any weird smells on our baby clothes like I may have with buying a used dresser!
After assembling the dresser per the IKEA instructions, we made a few changes to the bottom structure of the dresser. It was awkwardly tall and I felt like the dresser legs and base made the dresser look…cheap? Not sure if that’s the right word, but just not the style I wanted. This was easy to fix with an IKEA dresser hack, by shortening the leg height and adding some classic trim. The how-to details are below!

Note, this post contains some affiliate links. For more info see my disclosures here.
DIY IKEA TARVA Dresser Hack:
Materials Needed:
- IKEA TARVA dresser
- (1) 4 1/4″ x 8ft baseboard molding (I used this molding)
- 1 1/4″ Brad nails
- Paint – I used Kendall Charcoal by Benjamin Moore (eggshell)
- Primer
- Paint Roller and Paint Brush
- Caulk
- Lightweight spackle
- Painters tape or masking tape
- (12) Cabinet knobs
Tools Needed:
- Drill
- 5/16″ drill bit?
- Miter saw
- Tape Measure
- Brad nailer
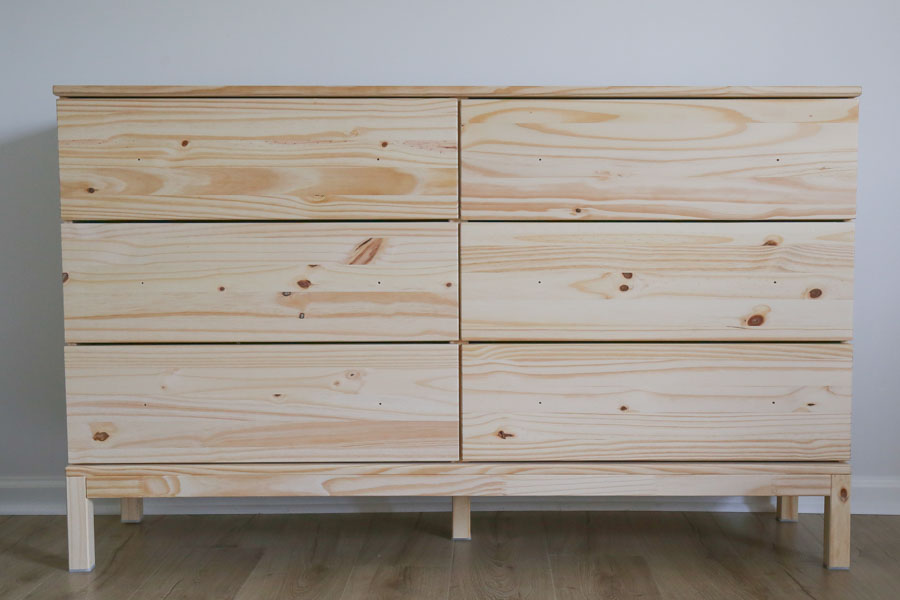
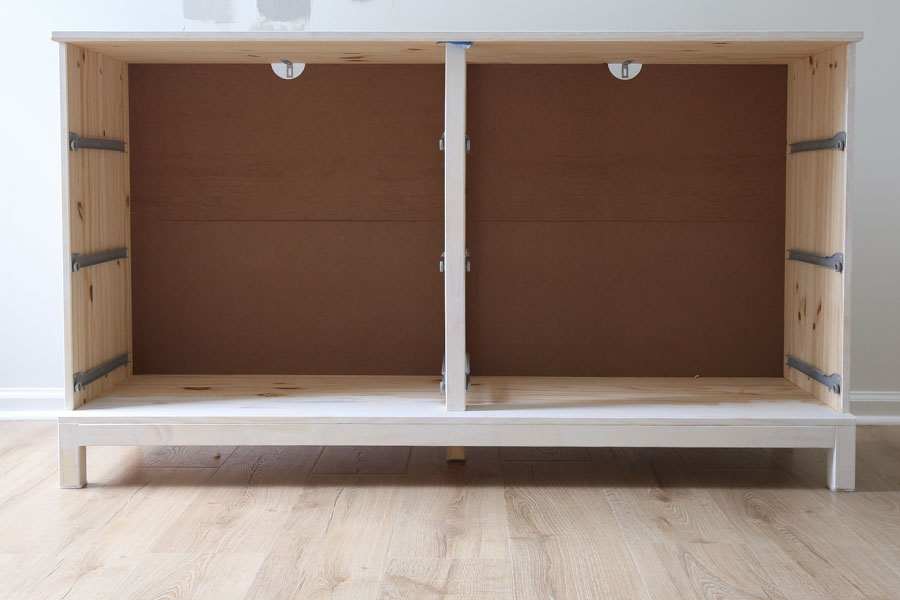
1. Assemble dresser per IKEA instructions
Assemble the TARVA dresser per the IKEA instructions, but you can leave the five dresser legs off. I initially assembled my dresser with the legs on to determine the amount I wanted to cut off for this IKEA dresser hack.
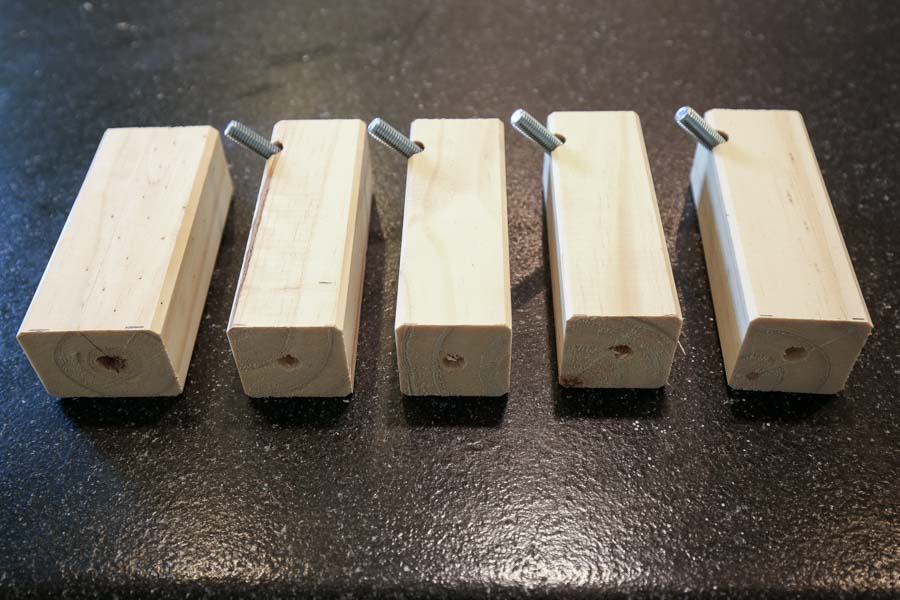
2. Drill holes deeper on dresser legs
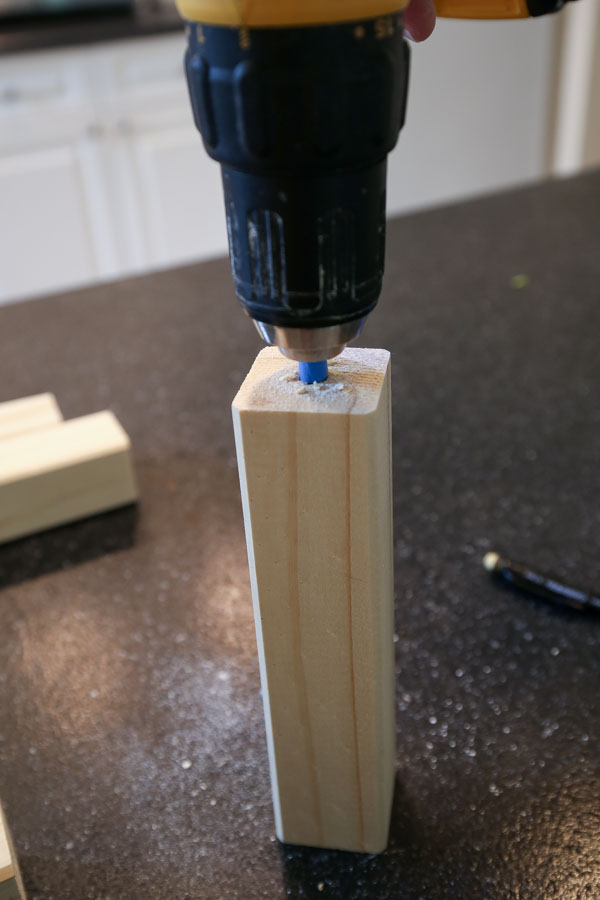
The 5 dresser legs already have 3/4″ deep pre-drilled holes in the bottom of them for the plastic floor guard pieces. Since we are going to be cutting the legs to make them shorter for our IKEA TARVA dresser hack, the holes need to be drilled deeper first.
To easily do this, we measured and marked with a pencil 2.5″ from the bottom of each leg since that is the amount that is going to be cut off the bottom of the legs. Then, mark 3/4″ down from that first mark.
The second mark is what we need for the depth of our new holes to be. So, lay the 5/16″ drill bit down with the tip lined up with that second mark and then use some painters tape or masking tape to tape off the drill bit where you should stop drilling.
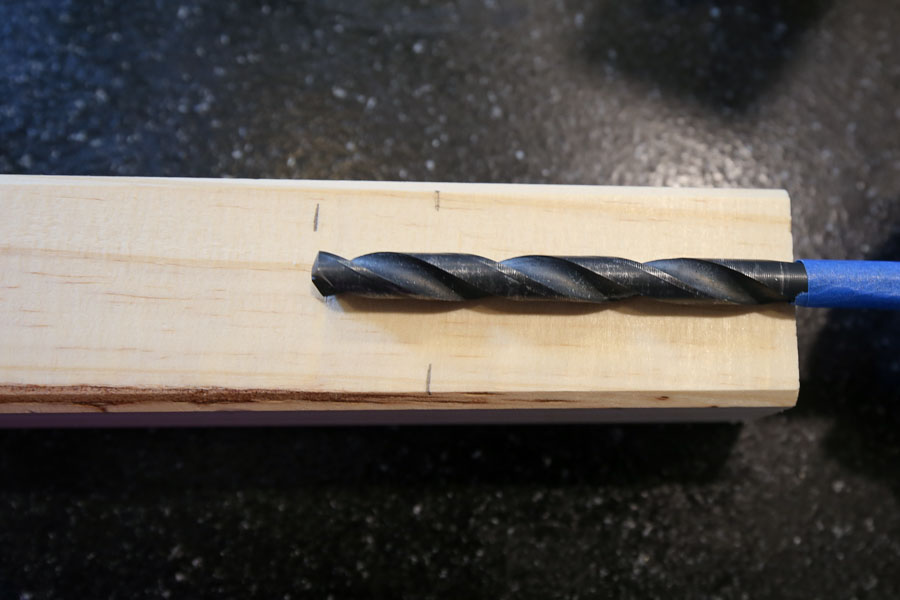
Go ahead and drill the holes deeper on the 5 dresser legs, stopping at the painters tape edge.
3. Cut dresser legs to size and install on dresser
Use a miter saw and cut 2.5″ off of the bottom of each of the 5 dresser legs. This will change the final dresser height from 36 1/4″ to 33 3/4″ tall.
After the legs have been cut, go ahead and install them on the bottom of the dresser as the original IKEA instructions described.
📩 Want to Save This?
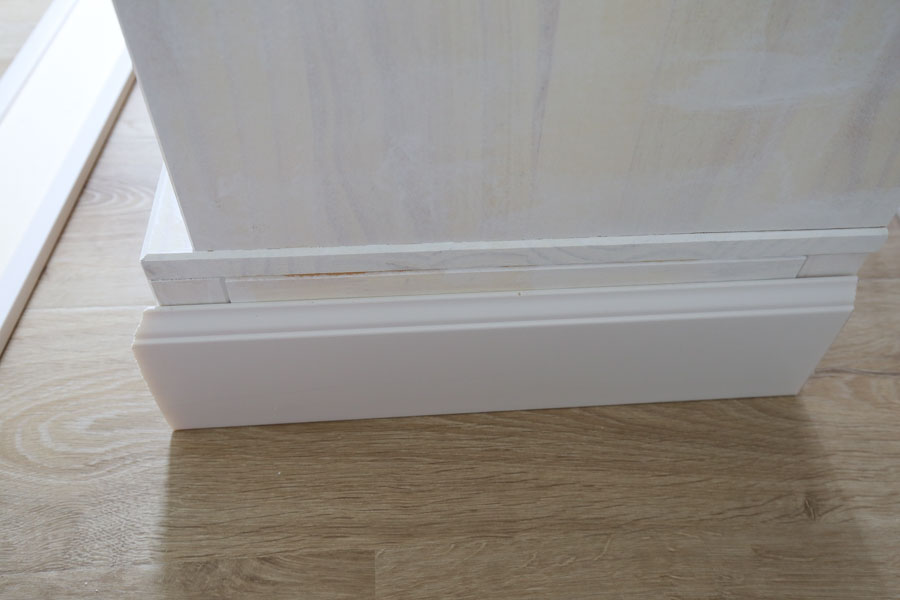
4. Add trim to base for IKEA TARVA dresser hack
It’s time to cut the baseboard molding with a miter saw! Below are the cut measurements I made for trimming out the dresser, but make sure to double check the measurements for your own dresser in case there is any slight variation in size.
For the right side and left side of the dresser, the molding should be cut at a standard 90 degree straight edge on one side and a 45 degree bevel cut on the other edge. My measurement was 15 5/8″ from the short point of the bevel cut to the straight edge for each side. Again double check measurements on your exact piece!
Tip: If you don’t know how to make a 45 degree bevel cut, here is a video I found on Youtube showing how to easily do this!
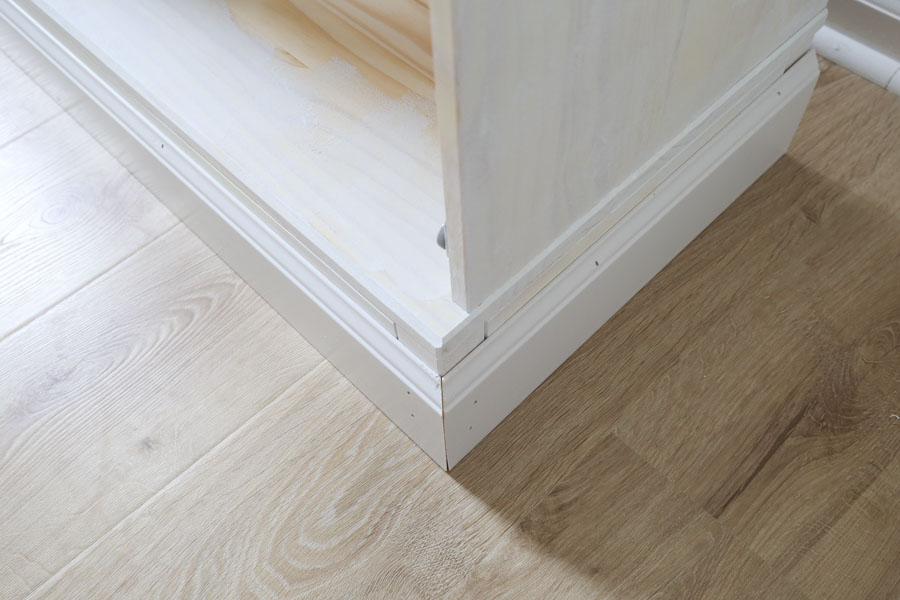
Next, cut the front molding piece with a 45 degree bevel cut on each side. My measurement was 59 3/8″ from short point to short point.
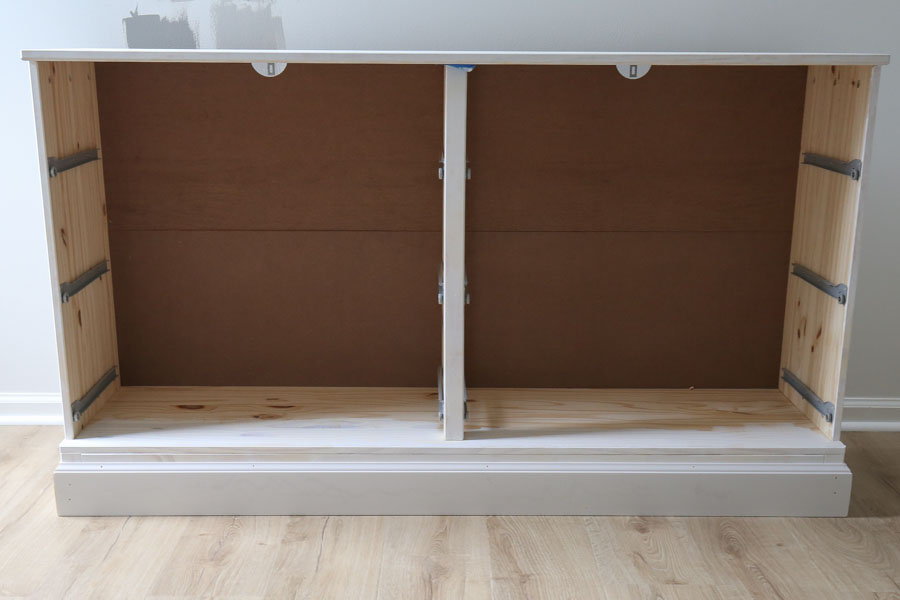
Attach molding to the dresser with 1 1/4″ brad nails and a brad nailer. Make sure to attach the nails along the top edge and into the legs on the corners.
5. Caulk, fill holes, prime, and paint IKEA dresser hack
Fill all nail holes in with a lightweight spackle. Then, caulk along the top of the baseboard molding and at molding corners to create a seamless look between the molding and dresser.
Next, prime the dresser. This primer is one of my favorites for raw wood. After the primer has dried, paint the dresser with two coats of paint and allow to dry. I used Kendall Charcoal by Benjamin Moore in eggshell and I love this color!
Finally, add the knobs to the dresser to complete your IKEA TARVA dresser hack! Instead of using the knobs included with the dresser, I used these classic, mushroom style cabinet knobs in oil rubbed bronze. They were the perfect finishing touch for the classic, rustic style I was trying to achieve with this dresser for our nursery design.
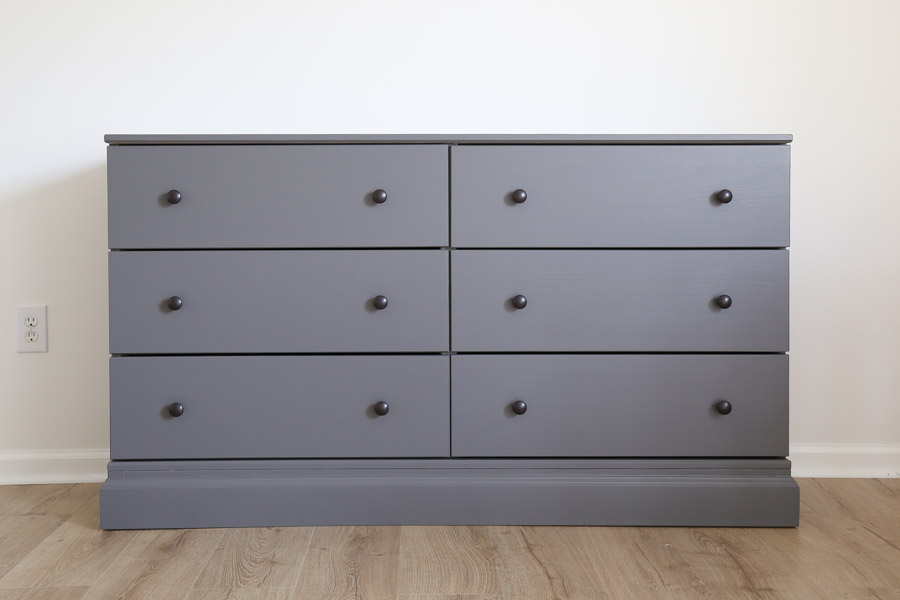

Now that our nursery dresser makeover is complete, I can’t wait to start organizing and filling it up with cute baby boy clothes and accessories! There’s a reason I started with this nursery project first!
Be sure to follow along on Instagram and Pinterest for my latest projects, fun updates, and sneak peeks, including all of our upcoming nursery projects!!
Leah
Friday 4th of October 2019
Hello! This looks great! Can you tell me how tall the legs are before cutting? I cannot find this information ANYWHERE, and I need to know if it will clear my outlets. Thank you!
Angela Marie Made
Monday 7th of October 2019
They should be 7 3/4" before cutting from top to bottom of the legs.