We didn’t have any Christmas stockings of our own and I really wanted some to add to our Christmas decor this year. Since I needed three of them, I decided to DIY them and not spend a lot of money on buying stockings. It seemed like it would be an easy crafting project and it was!
Note this post contains some affiliate links.
I don’t know how to sew very well, so I decided to buy these plain, burlap stockings (similar here) and decorate them without any sewing involved! I found the cutest red ticking stripe fabric (similar here) to add to them, which matched our rustic red and white Christmas decor theme in our living room. You can use any fabric you want though!
The total material cost for these three stockings was $24, so only $8 each!!!
How to make no sew DIY Christmas stockings:
Materials Needed:
- Plain Stockings – similar here
- Fabric (I used this red ticking stripe fabric – similar here)
- Fabric cutting scissors or regular scissors
- Hemming Iron On Tape (I used Heat n Bond)
- Iron
- Pins or safety pins
- Optional: Stocking tags, buttons, or any other decor your want to add to the stockings
1. Cut fabric to size
Cut your fabric to about 8″ tall x 15″ wide.
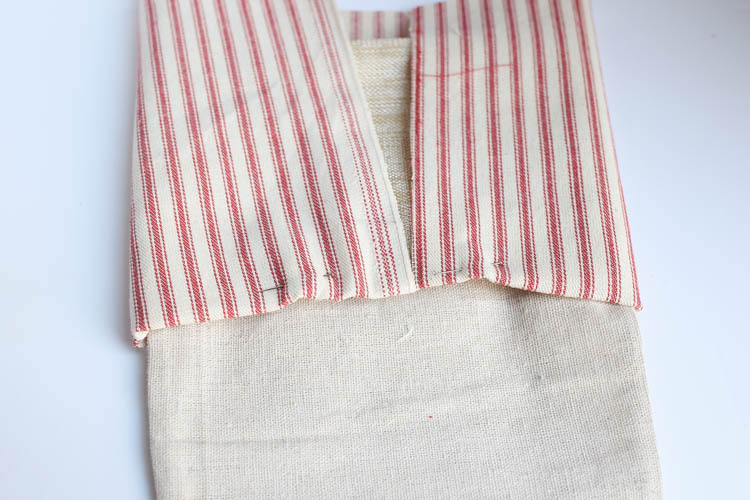
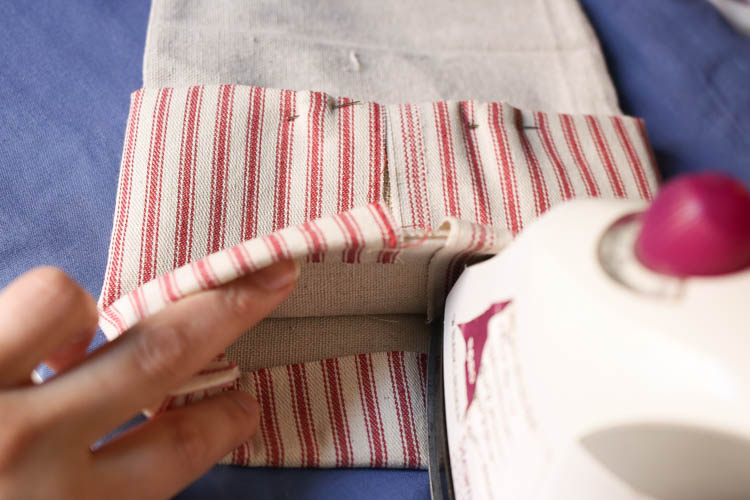
2. Tuck and Pin fabric under stocking top fold
Lay your fabric down, place the stocking top fold on top of it, and start tucking the fabric under the stocking top fold.
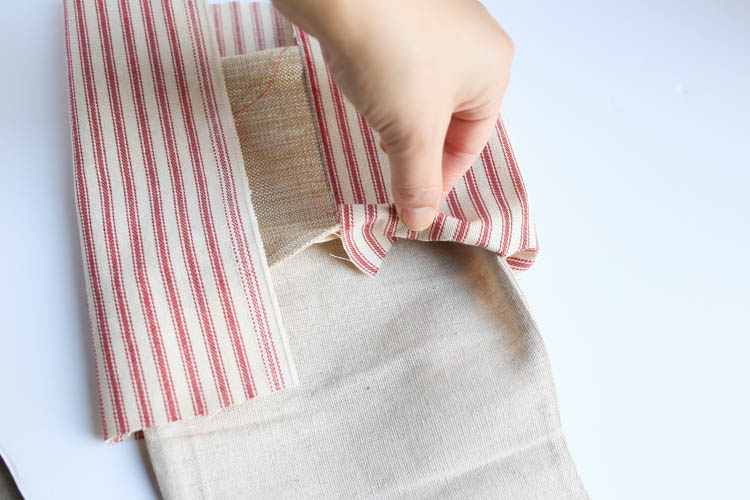
Then, iron the crease in place and pin in place.
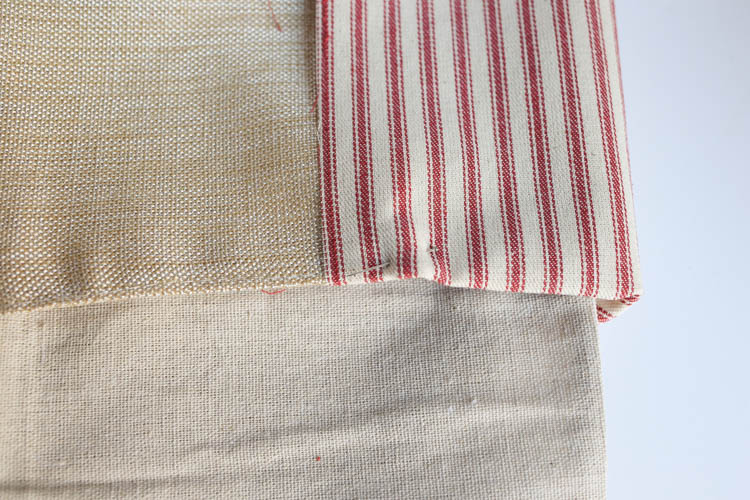
Continue this all around the bottom of the fold. Once you get to the backside where you started, make sure to leave a small gap.
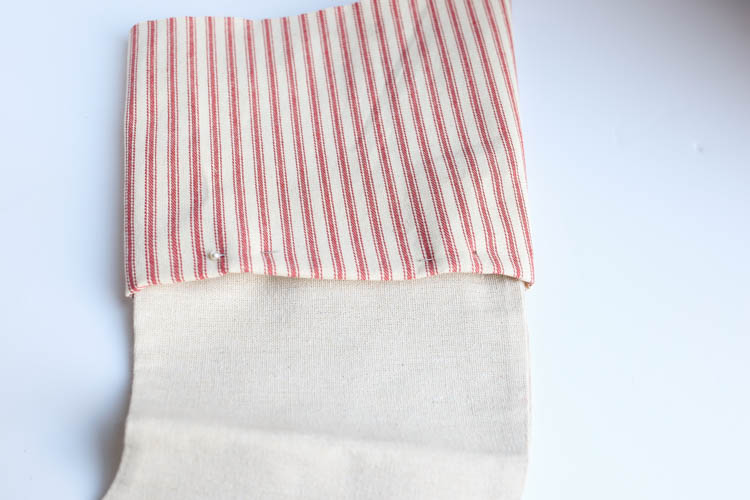
3. Tuck and Pin fabric over top of stocking top fold
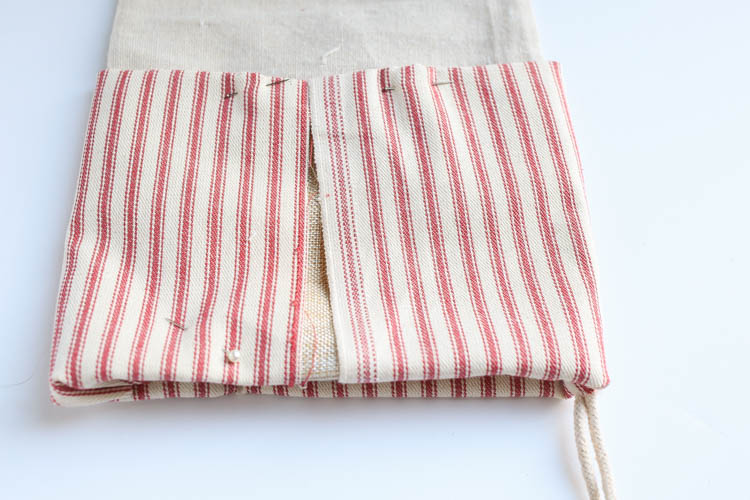
Repeat step #2 for the top part of the stocking top fold.
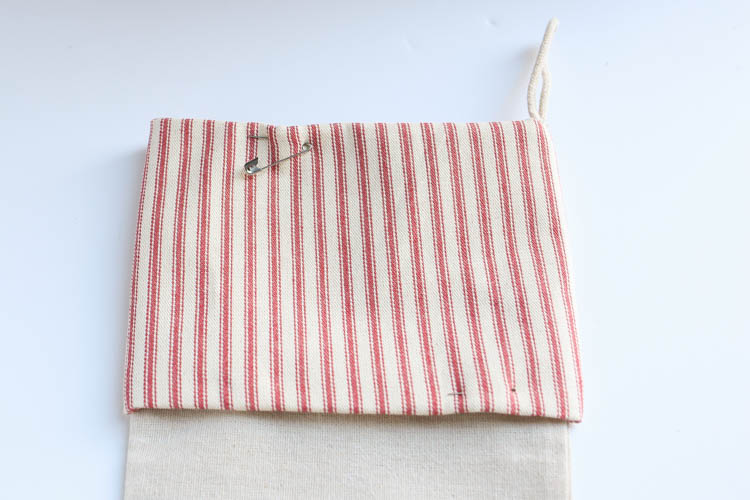
For the rope loop, poke a small hole through the fabric with the scissors.

Once finished, there will be a small gap on the backside, but that makes it easier to add in the hemming tape.
📩 Want to Save This?
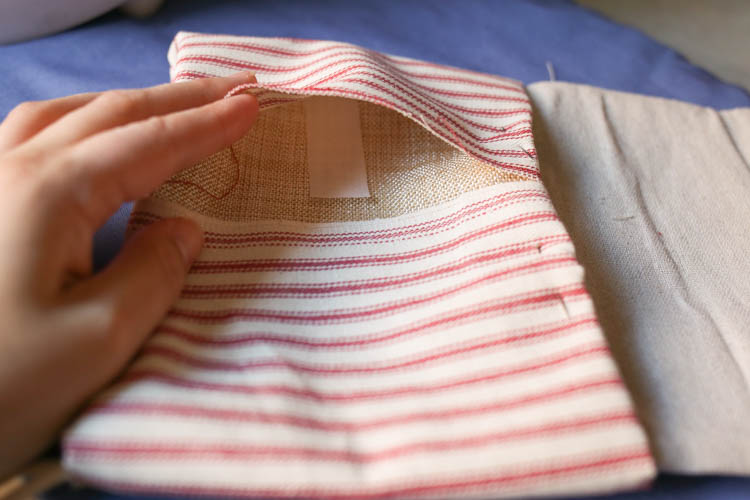
4. Add hemming tape and iron on fabric to stocking
Cut small strips of the hemming tape and then iron the fabric on top of the tape to bond the two together.
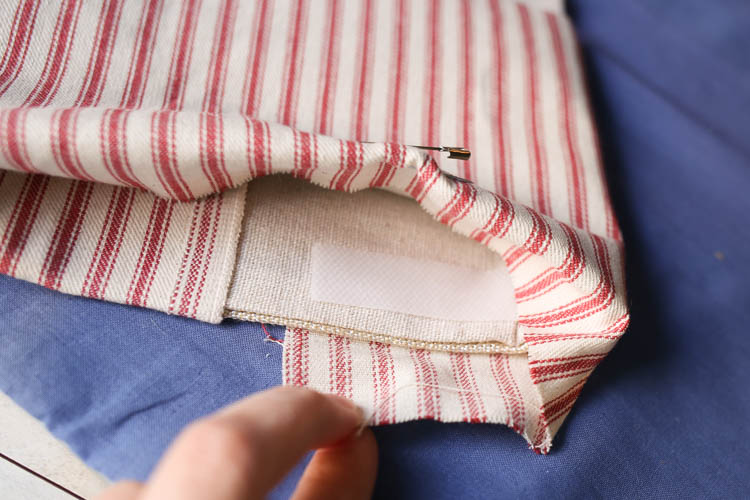
Repeat this all the way around the top and bottom of the stocking top fold. I also added some strips along the middle of the backside.
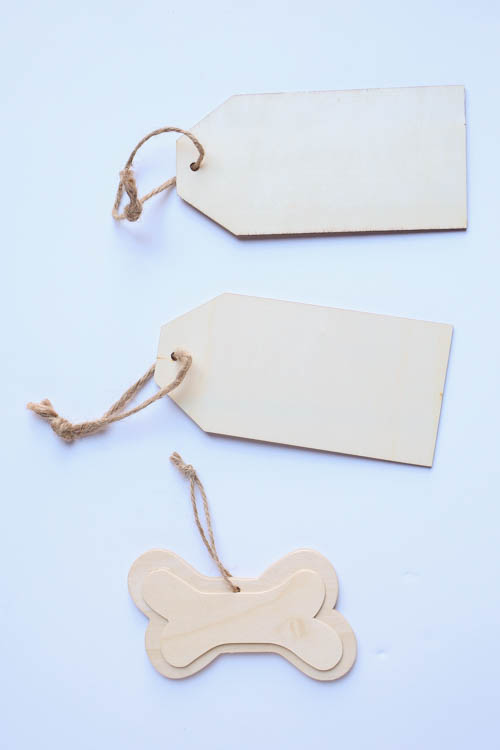
5. Optional: Add Stocking tags or other decor
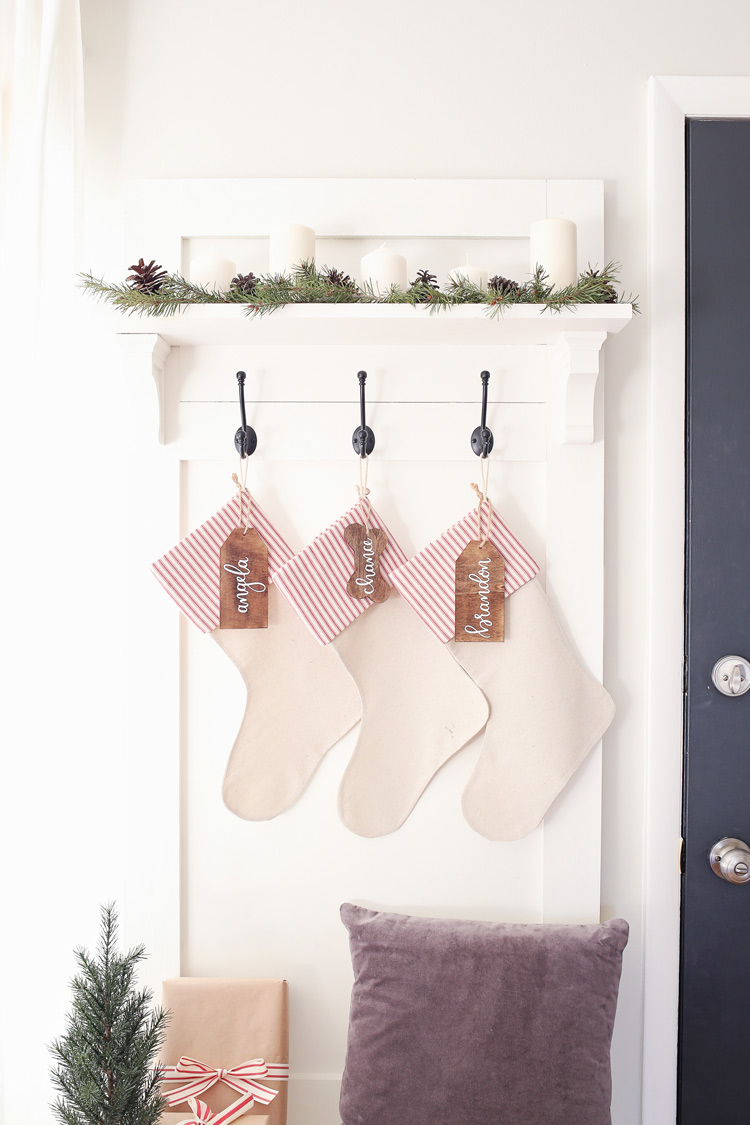
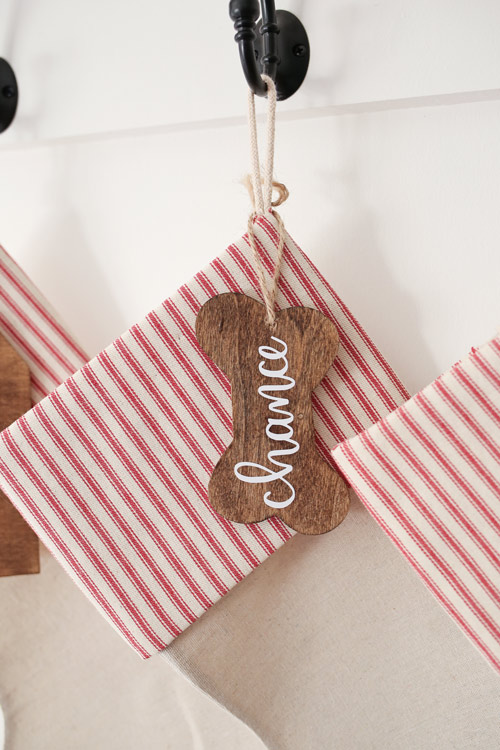
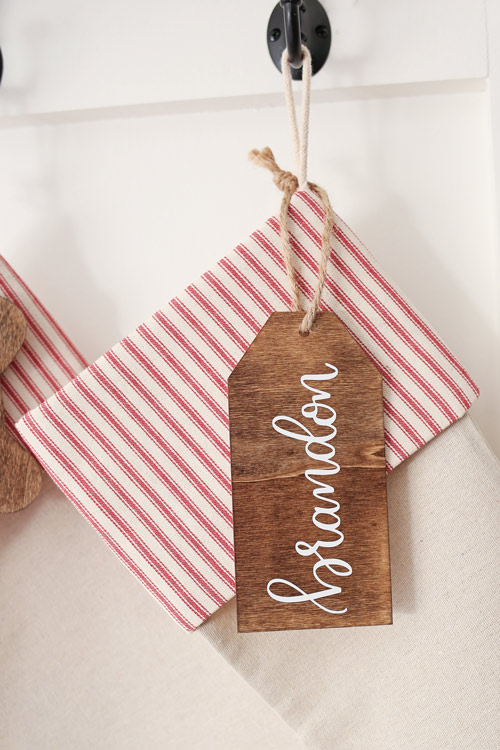
At this point the stockings are finished, but you can add any extra decor such as glued on buttons or stocking tags. I bought some unfinished wood tags from the craft store, stained them, and then added our names with white vinyl.

We hung our stockings on our DIY hall tree since we don’t have a fireplace or mantel. I think they look pretty cute there though! And right by the front door for Santa ha!
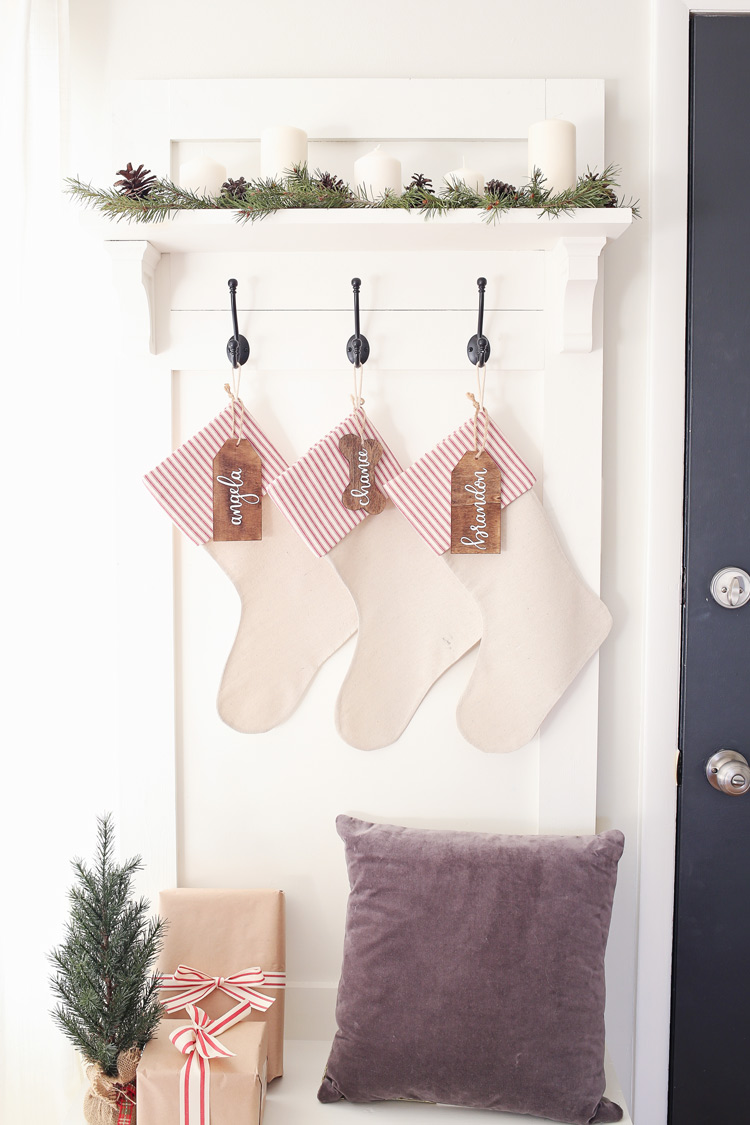
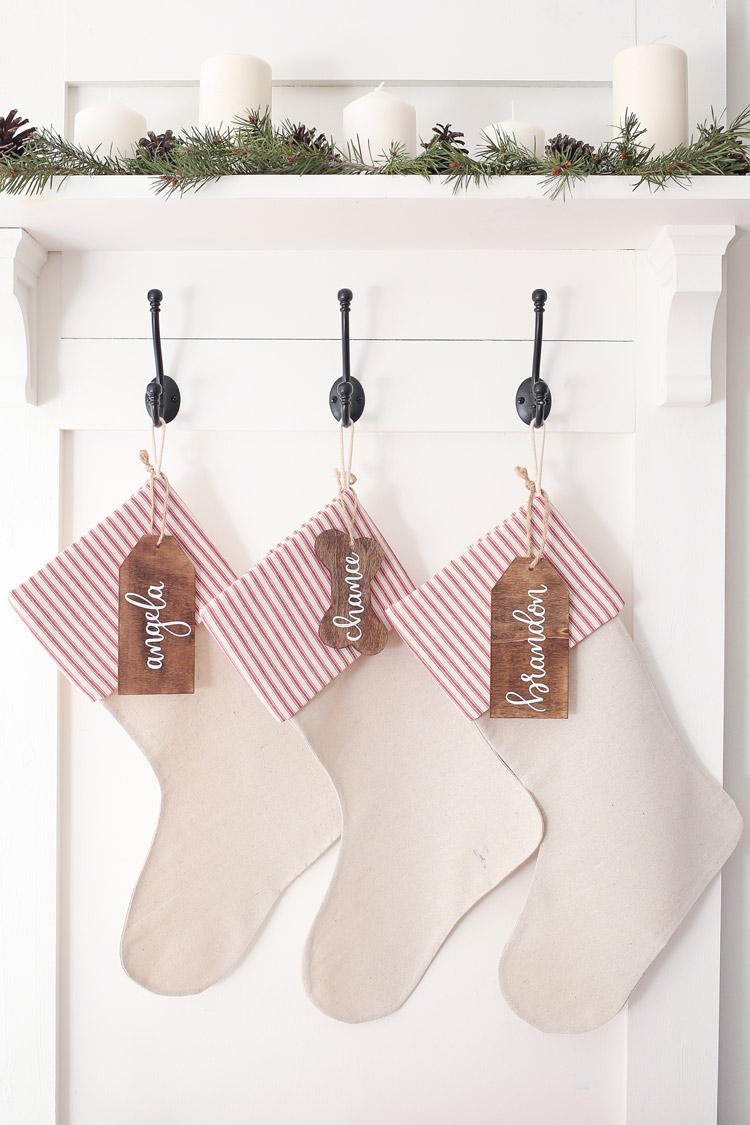

I think my favorite part is the wood stockings tags!
What do you think of my no sew DIY Christmas stockings? Have you ever made stockings before? Well this is my last DIY project of the year (I think haha)! Hope you’ve enjoyed it!
Follow along on Instagram and Facebook for updates and sneak peaks on my latest projects!
Jean
Wednesday 20th of December 2017
Perfect match to your theme!
Angela
Tuesday 26th of December 2017
thanks!