I’m excited to share that over the next few weeks I am going to be sharing a series of posts on how to make DIY wood signs!
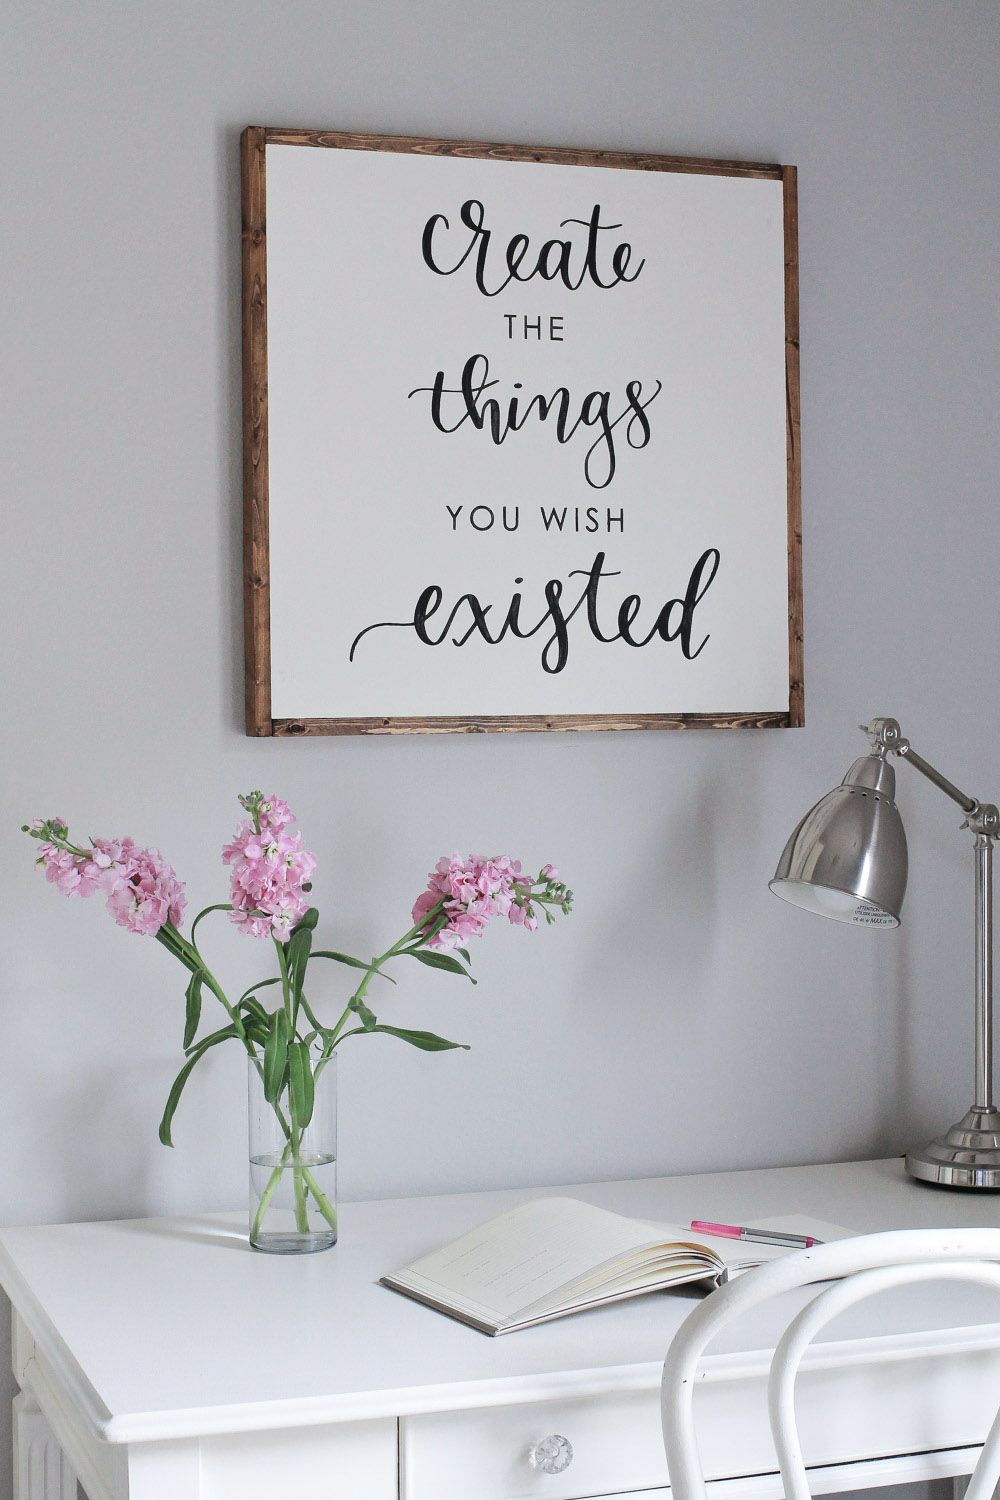
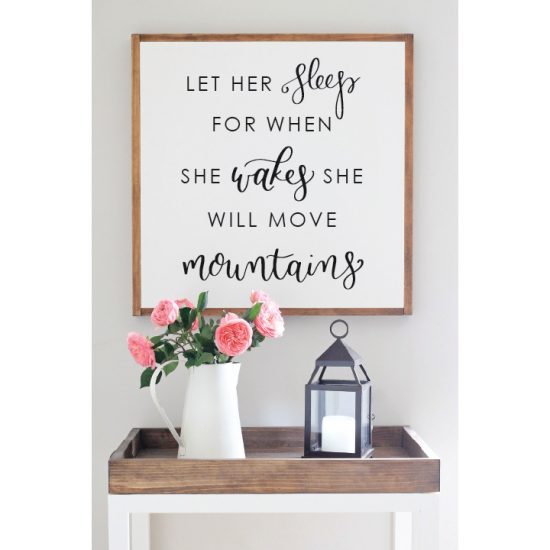
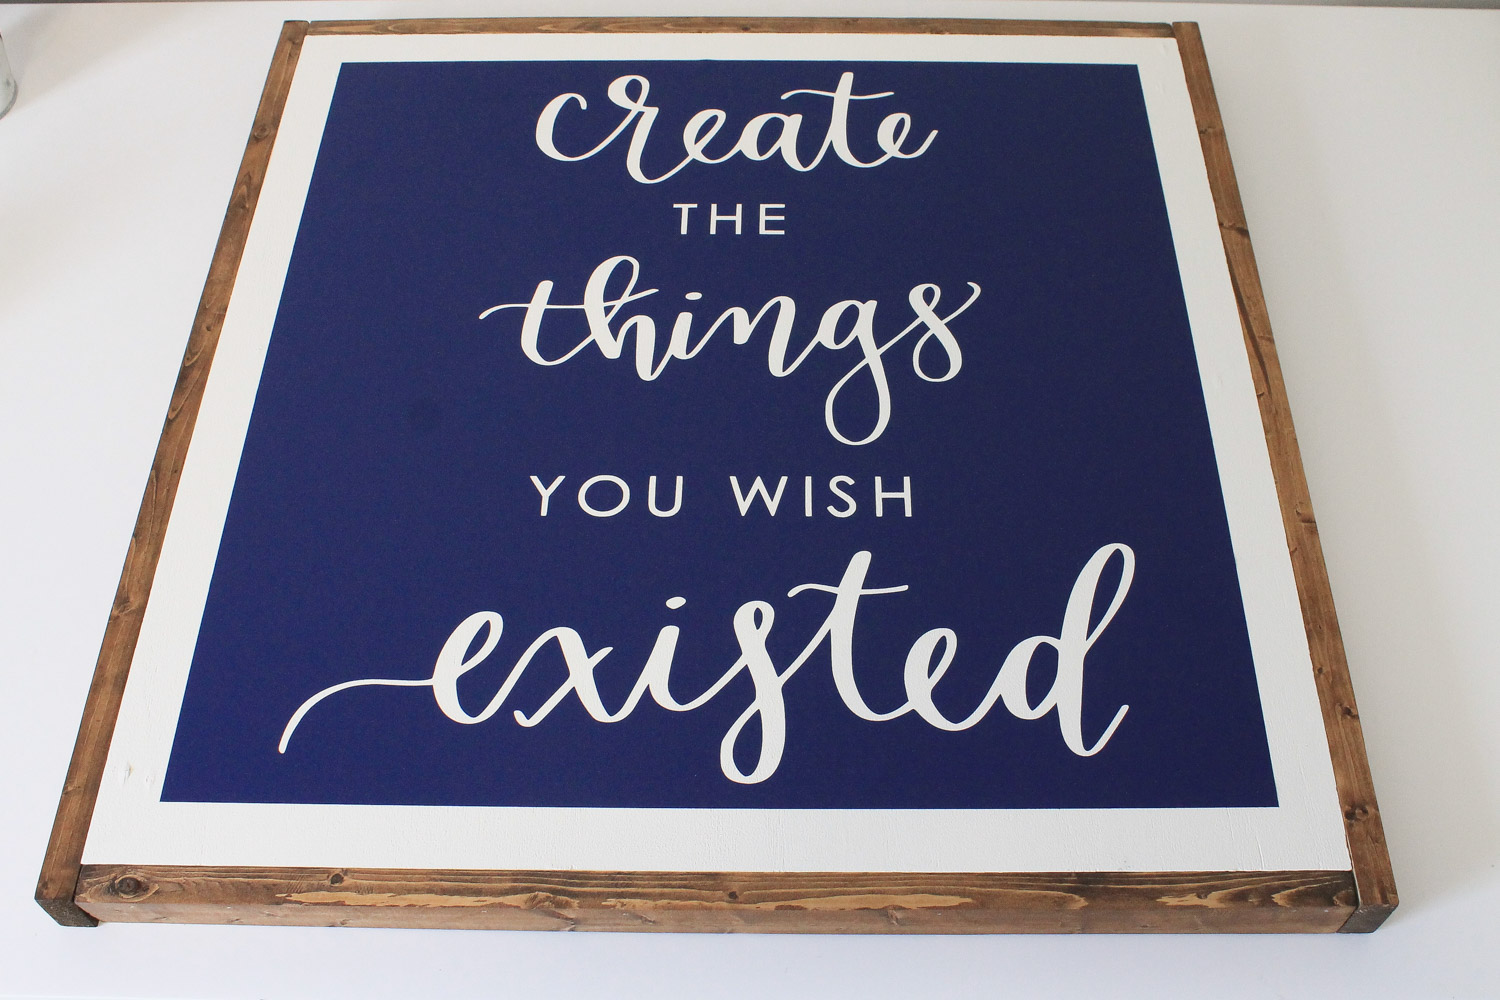
My first DIY wood sign post was this DIY Wood Sign with a Calligraphy Quote and it has been one of my most popular and favorite tutorials.
Ever since I shared it, I’ve received many questions about the wooden sign making process.
So, I’m going to be addressing those common questions and going into more detail in this series on DIY wood signs.
Today I am going to start with one of the first steps in the sign making process, how to paint DIY wood signs. As simple as this step seems, there are quite a few details to cover which can make a difference in the final quality and look of your DIY wood sign. Let’s get started!
Also, if you’d like a printable checklist of the tutorial, just click below!
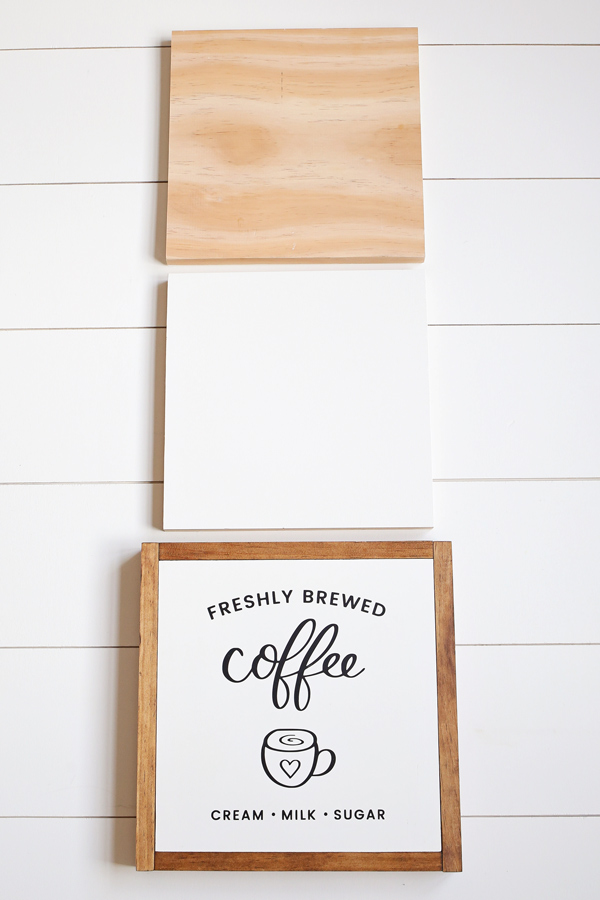
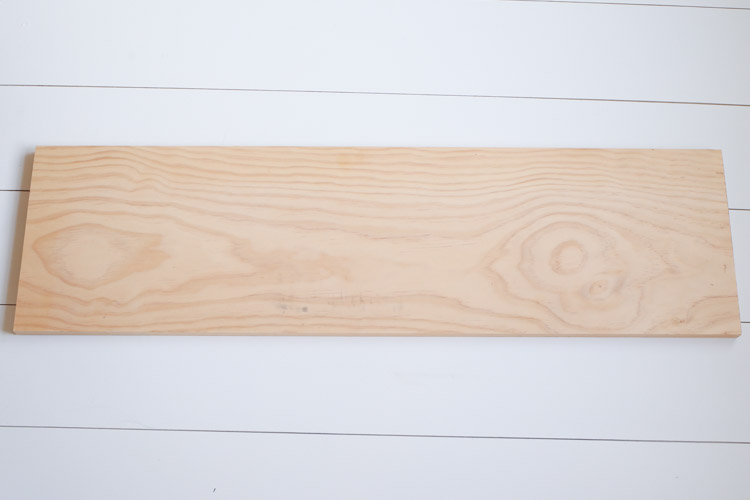
Start with a High Quality Wood Sign Backing
One of the most important steps is starting with a quality piece of of wood or plywood for your sign backing, which is what is going to be the base of your sign that gets painted with your design. When I say high quality wood or plywood, I mean that the wood has been sanded and is smooth and free of splinters, sawdust, dirt, etc. You also want to avoid wood that has a lot of knots, cracking, or warping. The better your wood sign backing surface is, the better your paint job is going to look! For details on sanding wood, check out my beginners guide for how to sand wood.
Below are my favorite wood backings to use for small and large wood signs. Note, you can use other wood materials too, but these are common and easy to find!
Note, this post contains some affiliate links. For more info see my disclosures here.
Large Wood Sign Backings:
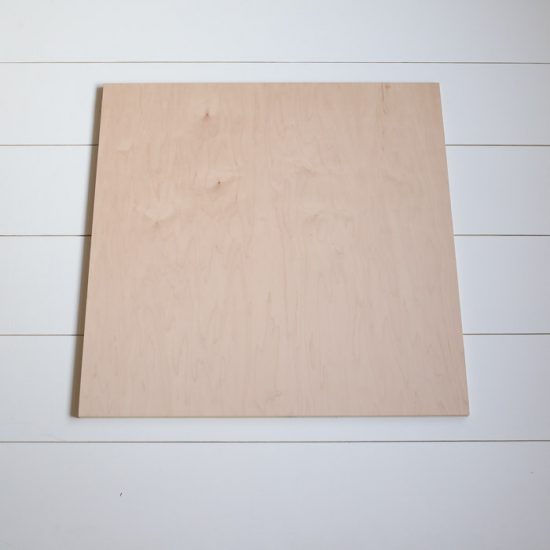
When I make a larger DIY wood sign, I love these ready to paint plywood project panels. They are formaldehyde-free plywood and they are high quality to begin with as they are sanded, smooth, and typically free of any kind of large wood knot. They also come in multiple sizes and thicknesses (I use 1/2″ or 3/4″ for DIY signs), or you can have them custom cut to size for free. I’ve used these plywood boards for almost all of my DIY wood signs, including all the signs I used to sell.
Also, if you are making signs to sell, check out my tips on how to make wooden signs to sell!
You can use other plywood from the home improvement store, but it may need to be sanded and prepped first to make sure the surface is smooth and ready for painting. For details and tips on sanding wood, see my post on how to sand wood.
Small Wood Sign Backings:
For small DIY wood signs, I use the above project panels cut down to size or I use a 1×12 pine board from the home improvement store cut to the length I need. I’ve also used other sizes such as 1×8 and 1×10, depending on the width I need for the sign. For details on what the actual width dimensions of these wood boards are, see my lumber size guide.
I try to use the high grade wood, for example a select 1×10 wood board instead of a common 1×10 wood board. The high grade boards cost more, but they usually need less sanding and are more free of knots and warping. However, if I’m trying to save money, I’ll look for a common board that is in good shape by digging through the pile and looking for the best board! If there are any small knot holes that need filling, I will fill them with a lightweight spackle.
Gather Paint Supplies for painting DIY wood signs
Before we get started painting our wood signs, we need to gather all the right supplies and paint!
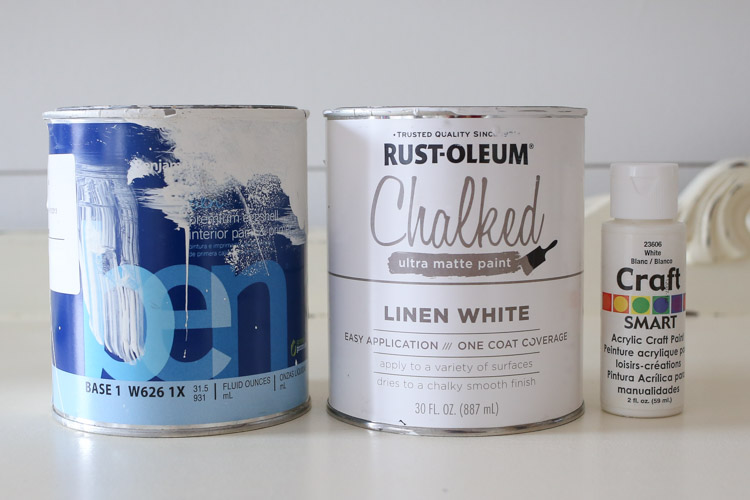
Types of Paint for Wood Signs:
Any type of paint can be used for painting a wood sign, but some work better than others. Here are a few common paint types:
Latex Paint – Interior based latex paint that you can find at any home improvement store in basically any color is usually the best kind of paint to use for painting DIY wood signs. Latex paint is my paint of choice for painting DIY wood signs. It comes in multiple sheens (I always use Flat or Eggshell for my signs), is easy too apply, and provides great coverage. It also cures to a hard, durable finish that doesn’t need a top coat or sealant.
Chalk Paint – Chalk paint is nice because it doesn’t require primer to be used before painting. Chalk paint is formulated to be easily sanded or distressed (and can scuff easily). So, if you want a rustic, distressed sign then use chalk paint, but if you want a more classic wood sign, with no distressing, latex paint is best to use. Check out my review of Rustoleum Chalk Paint, my new go-to chalk paint.
Acrylic Paint – Acrylic paint is easy to find at craft stores, is inexpensive, and comes in many colors. If you’re making a small sign and this is all you have on hand, it works. I’d avoid using acrylic paint on a larger sign as it comes in small bottles. Also, in my experience, the coverage of acrylic paint isn’t as strong compared to latex paint.
Other DIY Wood Sign Painting Supplies Needed:
Here are some other essential supplies to gather before starting to paint your DIY wood signs:
- Small Paint Roller Handle and Roller Refills (see step #3 below)
- Paint Roller Tray
- Plastic or Cardboard (to cover work surface)
- Foil and plastic bag (optional – see step #3)
- Primer (if using latex or acrylic paint)
Paint DIY Wood Sign Backing
Now that we are all properly prepared for painting, it’s time to actually paint our wood sign backing!
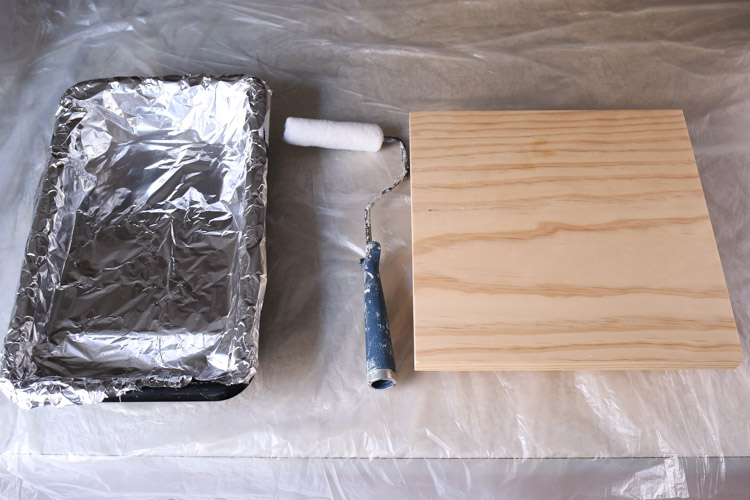
1. Prep Work Surface
First, prep your work space by using cardboard or plastic to cover and protect your work surface. Then, I like to line my paint tray with foil, this helps me to get many uses out of my paint tray and creates a quick and easy clean up process. Also, I use some scrap wood pieces to set my sign backing on top of and raise it up off the work surface.
📩 Want to Save This?
2. Prime Wood Sign Backing (if using latex or acrylic paint)
It’s always good to add a coat of primer to raw wood, even if your latex paint says it has primer in it, especially if you have any dark spots or wood knots, it really helps provide good coverage. Shake the primer can (with the lid on) or stir with a paint stick, then pour the primer into the paint tray. I use the roller (or a paint brush) to clean up any excess primer dripping on the side of the can.
Use the paint roller and apply one coat of primer to the wood sign backing. Allow to dry. You can pour any excess primer in your paint tray back into the can and remove the foil from the paint tray.
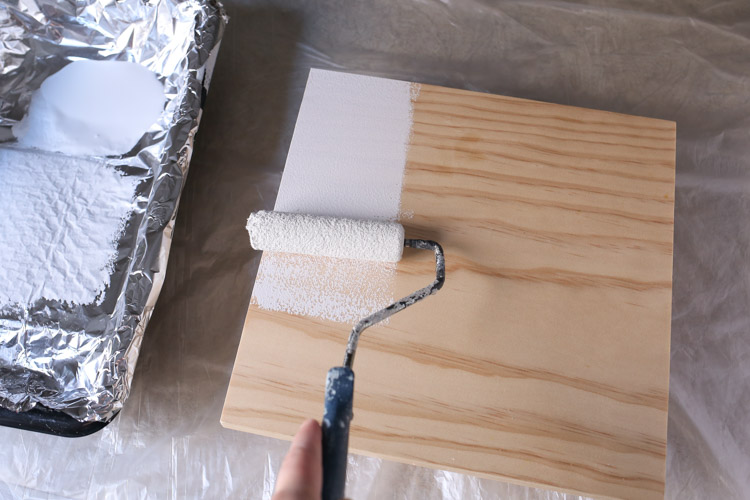
3. Paint Wood Sign Backing Using a Paint Roller
Add a fresh piece of foil to the paint tray and a new paint roller to your paint roller handle. These roller refills are the best rollers I’ve found as far as price and quality goes. Out of all the affordable rollers I’ve tried, these rollers have shed the least. I don’t like using foam rollers for sign painting as they can cause streaks sometimes. And I can’t stand when I’m painting and the roller leaves fuzzies in my paint job!
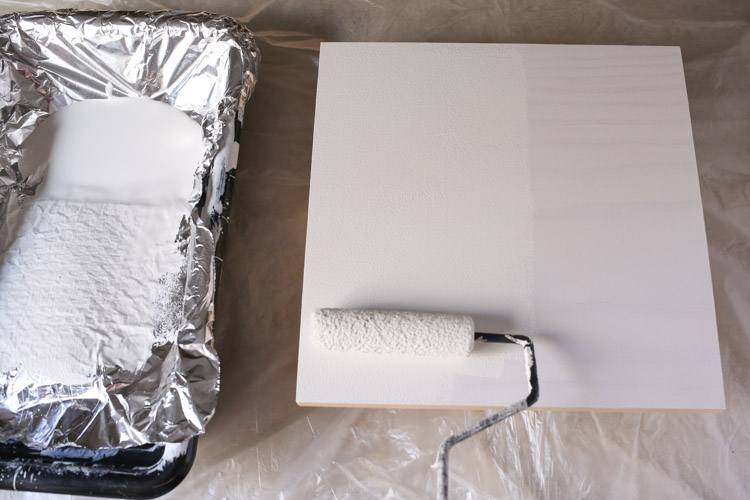
Shake the paint can (with the lid on) or stir with a paint stick, then pour the paint into the paint tray. I use the roller (or a paint brush) to clean up any excess paint dripping on the side of the can. Apply one coat of paint with the roller to the wood sign backing and allow to dry.
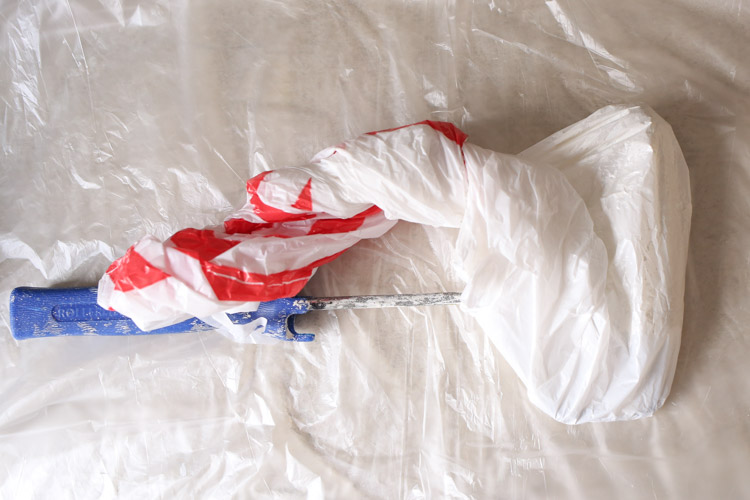
While the first coat of paint dries, I wrap my paint roller in a plastic grocery bag (you can also use saran wrap too) to prevent the roller from drying out while the painted sign dries.
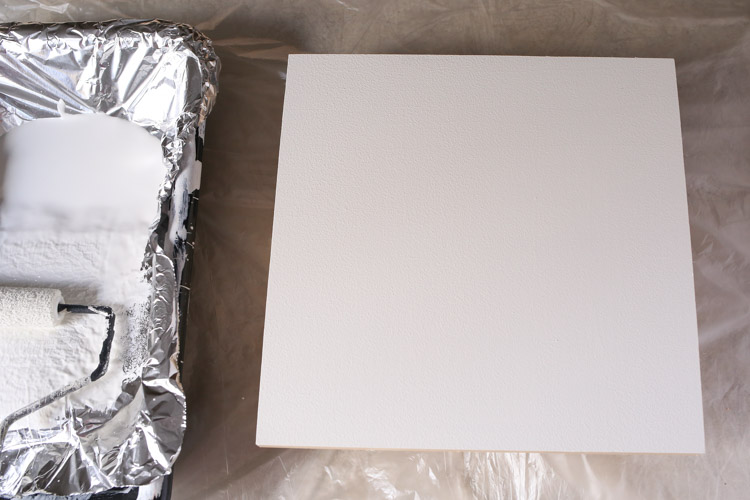
Next, add a second coat of paint to the wood sign backing with the paint roller and allow to dry again. The sign back painting is all finished!
Note, I always roll my sign backings with paint instead of using a paint brush because it goes much faster and provides even, clean coverage with no brush strokes.
Finally, before adding your design to your DIY wood signs, it’s best to allow the paint on the sign backing board to dry for at least 24 hours as it cures to a hard, durable finish.
Paint for DIY Wood Sign Designs and Lettering
Once your sign backing is painted, it’s time to add your design, lettering, line art, etc. There are many ways to transfer a design to wood. My favorite way is to use a vinyl stencil on the wood sign. This is the same method I used in my DIY Wood Sign with a Calligraphy Quote project.
You can also see how to make a large wood sign with Cricut here!
The second method I like to use (if you don’t have a vinyl cutting machine) is the easy, pencil transfer method for transferring a design onto wood. You can check out those tutorials for how to actually transfer the design onto the painted wood sign. But, I want to cover the type of paint I use with these two methods and why.
Vinyl Stencil
Easy Pencil Transfer Method

Vinyl or Stencils – If I am using a vinyl stencil to make a DIY wood sign or any other type of stencil material, my favorite paint to use is a high quality spray paint in a flat finish. Spray paint is durable and provides light, even coats, which really helps to avoid paint leakage under the stencil. The key is to do multiple, light coats.
If you want to make a lot of signs or sell wood signs, I’d recommend investing in an airbrush kit with a compressor to have better control on this part and not use as much spray paint. Again if you are making signs to sell, see my tips on how to make wooden signs to sell.
Latex paint would be my second choice. The paint needs to be applied with a paint brush that has VERY LITTLE PAINT on it (again to avoid paint leakage under the stencil). So, dab the excess paint on a paper towel first and do multiple light coats to fill in the stencil. As far as what kind of paint brush to use, I’ve used just a craft paint brush before, but a stencil brush with stiff bristles works too. On my DIY Wood Sign with a Calligraphy Quote, I did use black acrylic paint and a craft paint brush.
You can use a roller too that has VERY LITTLE PAINT on it. So, you may want to roll the excess paint on a paper towel. I used a roller and latex paint on my large DIY wood sign with Cricut, along with a special trick that helps avoid paint bleed-through (check out the post to see it).
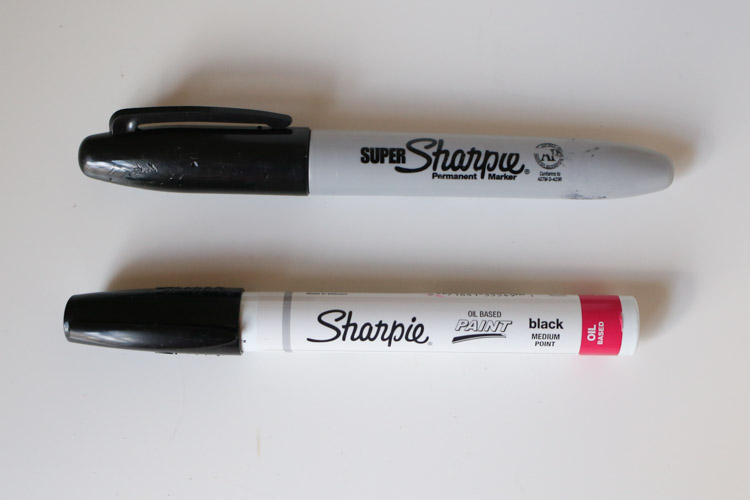
Pencil Tracing Method or Non-Stencil Method – If using the pencil transfer method for transferring a design onto wood or another non-stencil method such as graphite paper or chalk, my favorite paint tool to use is a paint marker. A permanent marker can also be used too! Another option is a craft paint brush and paint, but it’s going to take a lot of fine painting precision to trace over the lines. A paint marker is my favorite because it makes the tracing the design outlines much easier and it’s paint in a marker instead of on a paint brush!
Wow, we have covered a lot of details on how to paint DIY wood signs and the best paint materials to use! I hope this in-depth sign painting post has been helpful and answered any questions you may have about painting wood signs! Also, if you’d rather stain your sign, check out my how to stain wood tutorial.
Again if you’d like a free printable checklist of this tutorial, click the button below:

If you have other questions feel free to ask in the comments!
The next DIY wood sign post is all about creating vinyl stencils for making DIY Wood Signs! Follow along on Instagram and Facebook for my latest projects, fun updates, and sneak peeks!
Mikaela
Saturday 7th of January 2023
If you use cheap acrylic paint do you spray or top coat it at all?
Jacqueline
Wednesday 13th of October 2021
Is the paint you use for the letters waterproof?
Angela Marie Made
Monday 18th of October 2021
The paint I use is what you would use to paint the walls in your home and is water resistant. You can use exterior paint if you are concerned the paint won't hold up over time.
Crystal
Friday 2nd of July 2021
I use an airbrush with compressor to do the designs on my signs... But sometimes have an issue with the airbrushed paint (not the base paint) rolling and peeling when I remove the vinyl stencil. Is there a specific type of airbrush paint you would recommend to avoid this? Or a specific technique?
Angela Marie Made
Friday 2nd of July 2021
I don't have much experience using the airbrush method but for my signs I typically use Benjamin Moore latex paint for the base and top coats. The technique that I use that I have found works really well is this: Once the vinyl is applied to the base coat I will roll a coat of the base paint over the letters and let that dry, then apply the top coats. You may be able to apply this using an airbrush as well.
Devin Dettmering
Thursday 10th of June 2021
When you’re finished with your sign do you seal it or anything? I paint wood signs for inside the home and I’m trying to figure out if I need to spray/apply something to protect or seal the sign.
Thank you in advance!!!
Angela Marie Made
Thursday 10th of June 2021
I typically do not add poly to indoor signs because they don't get a lot of wear and tear and are more for decor. If you wanted to a water based poly or a clear wax would be my recommendation.
Terri
Sunday 21st of February 2021
I have lost my job due to Covid and have just started to playing around with DIY Projects. Your information is easy to follow and very informative. I appreciate all the links you add as well. I have learned so much from you already. Thanks for being there for me.
Angela Marie Made
Thursday 25th of February 2021
I'm sorry to hear about your job but I am glad to hear you are being productive and trying to learn new things, thank you!