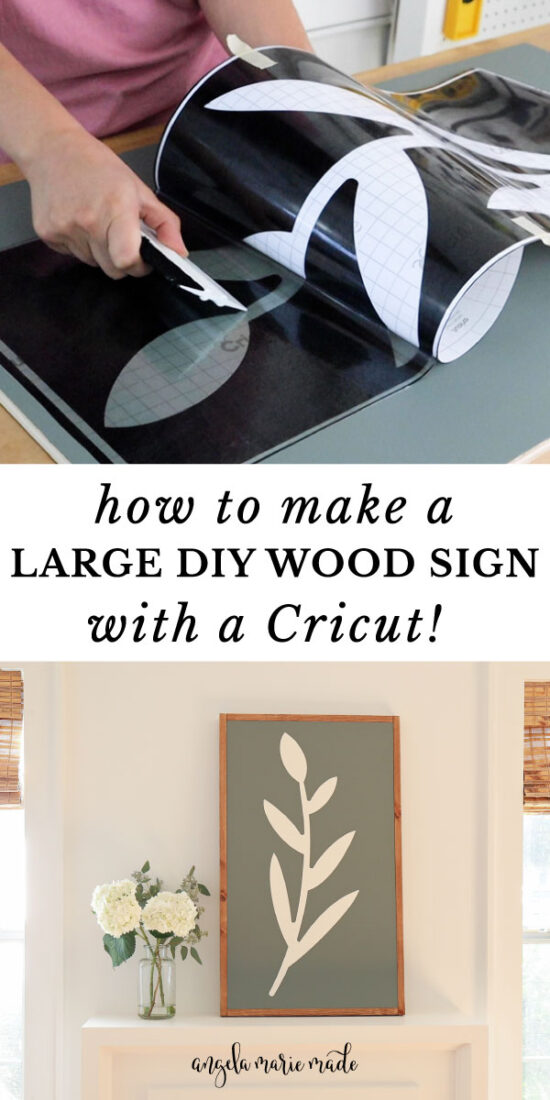
Learn how to make wood signs with Cricut that are large in size!
Large DIY wood signs are my favorite type of wood signs to make! They are beautiful and make such a decor statement in any space!
This DIY large wood sign is one of my all time favorites! But, the large wood sign I’m sharing today is now one of my top favorites too:
In the past, to make a wooden sign with my Cricut machine that was more than 24″ long, I had to make a vinyl stencil in two sections due to the 24″ cutting mat restrictions.
This post contains affiliate links. For more information see my disclosures here.
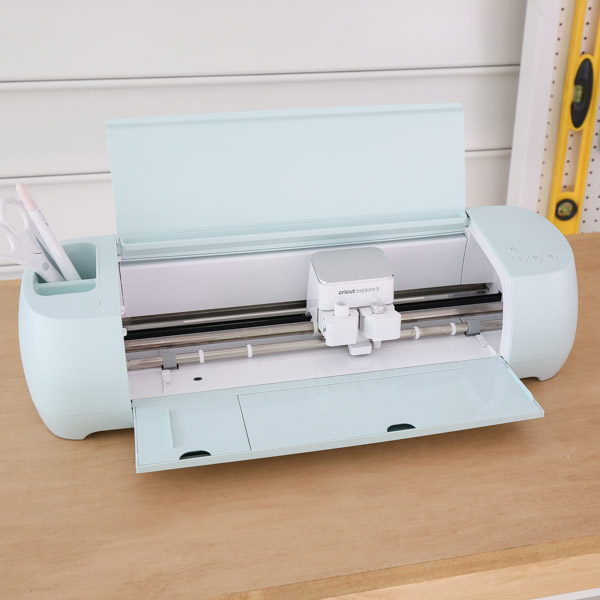
I’m beyond excited that with Cricut’s new Cricut Explore 3 and Cricut Maker 3, you don’t need a cutting mat anymore and you can cut up to 12 feet long from a roll of vinyl…woohoo!
The Explore 3 is what I’m using for today’s DIY large wood sign!
Final size of large wood sign: 20″ wide x 33″ tall
How to Make a Wood Sign with Cricut:
The step by step tutorial on how to make how to make this large DIY wood sign with Cricut is up on my YouTube channel!
*Note: This YouTube video is sponsored by Cricut. As always, all words and opinions are my own. *
Materials
- Cricut Explore 3*
- Smart Vinyl
- Roll holder
- Scraper & Weeding Tools
- Transfer tape
- Painter’s tape
- Masking tape
- Vinyl Application Squeegee
- 1/2″ thick plywood panel at 2ft x 4ft
- (2) 1×2 @ 8ft
- 1 1/4″ brad nails
- Primer
- Paint for the the sign background (I used Retreat by Sherwin Williams)
- Paint for the lettering (I used Ivory White by Benjamin Moore)
- Paint rollers
- Wood Stain
- Wood glue
- Project design (in Cricut Design Space)
Tools
- Miter Saw (or have your home improvement store make the cuts)
- Brad Nailer
- Clamps
*If you don’t have the new Cricut explore 3, an older model of the Cricut explore air or maker can be used, you will just have to cut the design into two sections and use the 12×24 cutting mat.
1. Cut the wood sign lumber to size
For the sign backing board I’m using a 1/2″ thick pre sanded 2 ft x 4ft plywood board cut to 18 1/2″ x 31 1/2″. You can have it cut at the home improvement store or make the cut with a table saw or circular saw and straight edge guide.
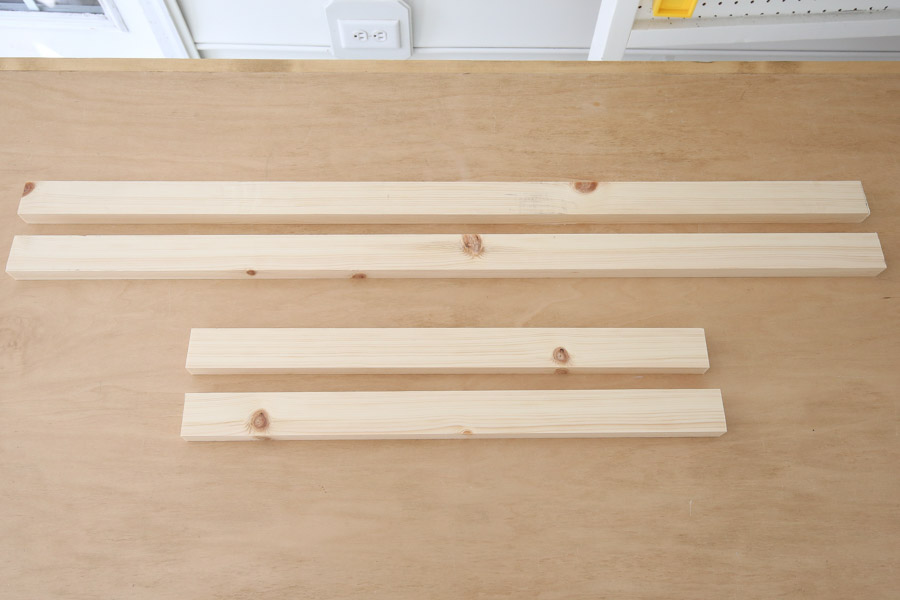
For the sign framing, I’m using 1x2s that I cut to size with my miter saw.
I cut two boards at 18 1/2” and two boards at 33”.
2. Stain the 1×2 boards
The next step is to stain the 1×2 framing lumber for the DIY wood sign. I used one coat of special walnut and one coat of early American.
See my how to stain wood tutorial for tips on staining wood for a beautiful finish!
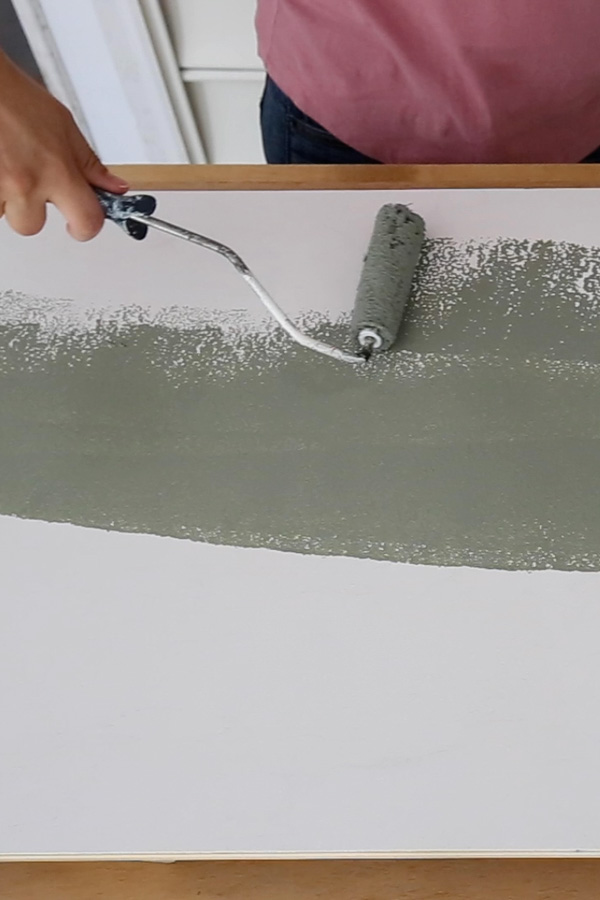
3. Paint the wood sign backing board
Before painting the wood sign backing board, I primed it first and let it dry.
Then, I painted it with two coats of Retreat by Sherwin Williams. I had this green paint on hand already from our DIY built ins in our DIY entryway makeover.
Let the paint dry for at least 24 hours.
Make sure to check out my how to paint DIY wood signs post for more details on painting wood signs!
4. Make a DIY wood sign stencil
Now it’s time to make a vinyl stencil with Cricut!
Again, you can see all of this in action and the Cricut Design Space steps in the how to video for this DIY wood sign with Cricut video!
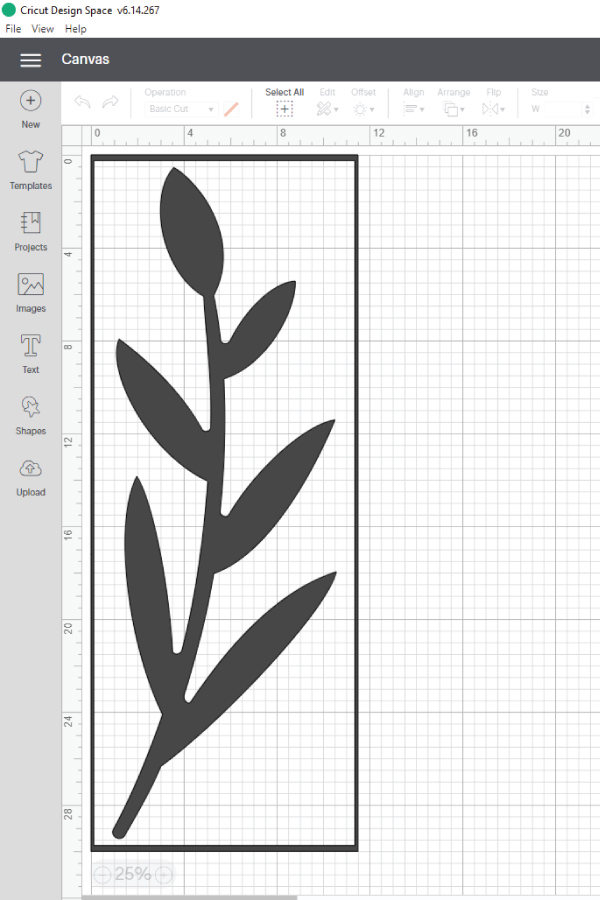
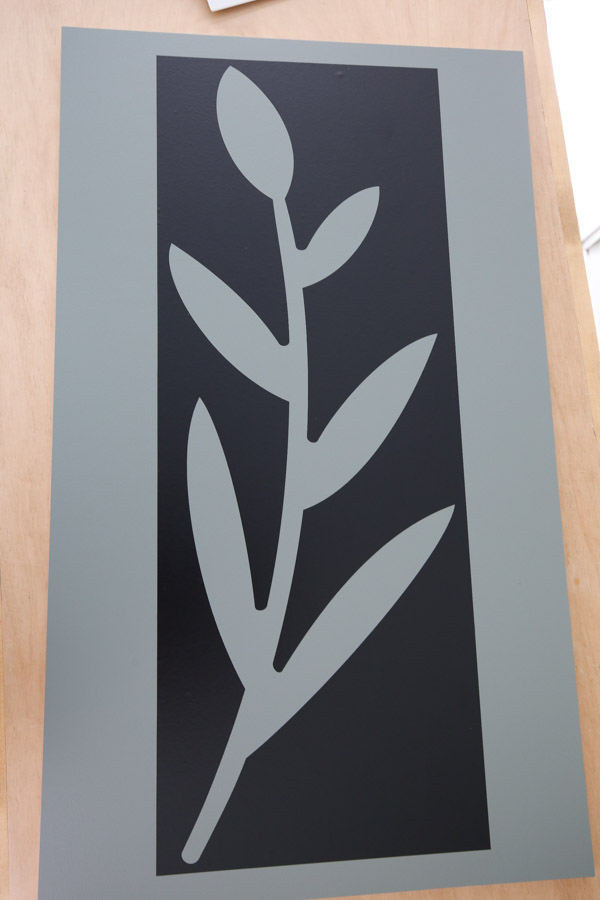
For the design of my sign I knew I wanted to do a plant design. I found several cute options in Cricut Access in Cricut Design Space.
Once I picked the plant design I wanted, I resized it to fit my sign and attached a box outline around it to help me easily center the stencil on the design.
Here is my Design space link for this project design so you can easily create this same wood sign! There is no separate svg file needed.
📩 Want to Save This?
Next, I clicked on the “make it” button then Continue then I selected Smart Vinyl Removable.
For easy loading and cutting, I attached the Cricut roll holder to my Cricut and loaded my 3 ft removable vinyl roll in the roll holder and into my Cricut. And then pressed the flashing go button.
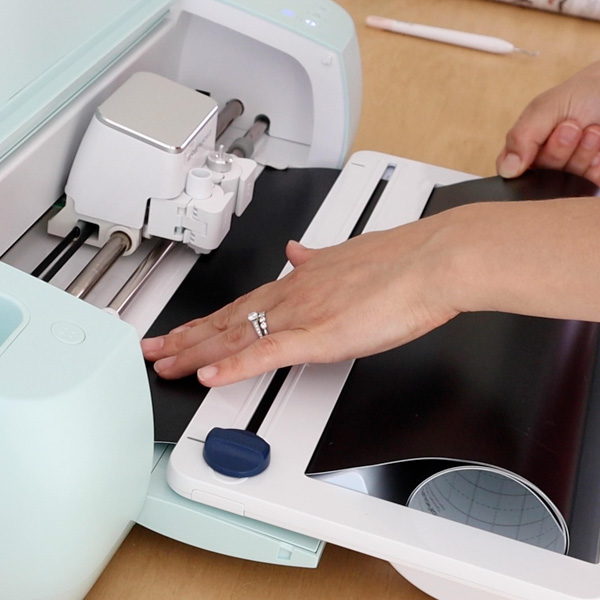
The Explore 3 cut my vinyl stencil super fast!
5. Weed the vinyl stencil and apply transfer tape
I weeded the plant part of the vinyl stencil since that is the area I want to paint white on my DIY wood sign. I also weeded the outline box.
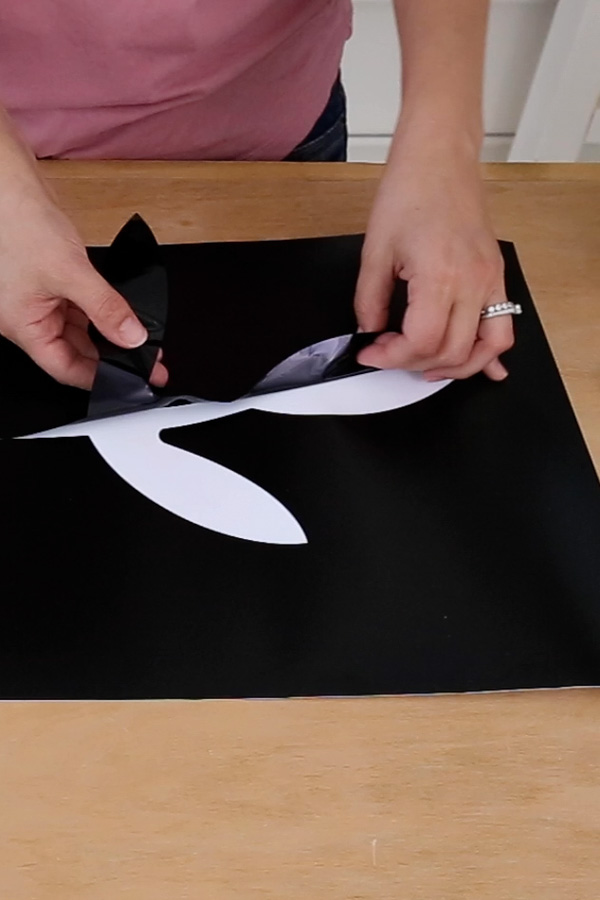
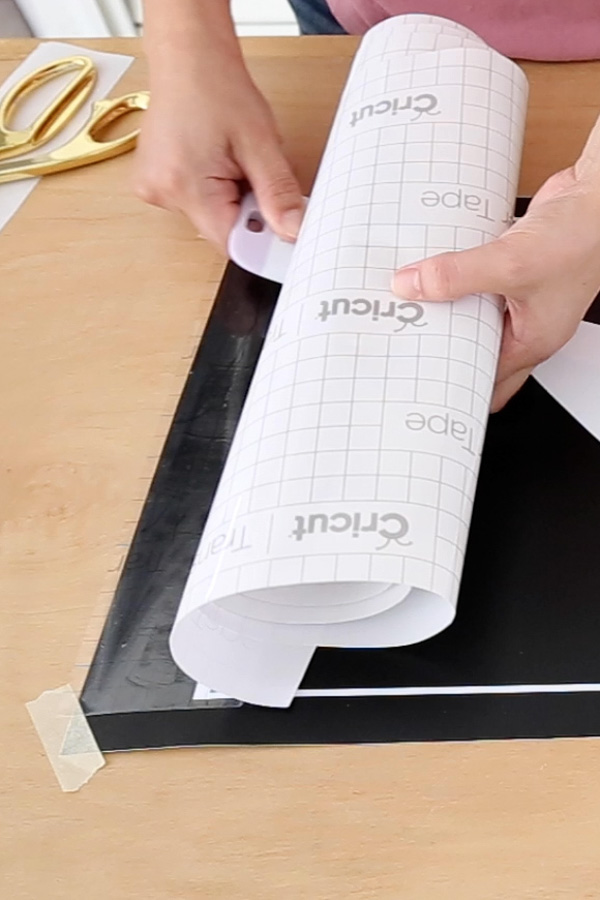
Next, I applied the Cricut transfer tape.
I find that with larger vinyl stencils, it’s easiest to first tape down the stencil with masking tape on the corners and then cut some of the transfer tape backing paper off and attach it to my work surface and smooth it out with a scraper tool over the stencil.
6. Apply the vinyl stencil to the sign
I used the box outline to help center my design on the wood and taped it in place.
To apply the vinyl stencil to the sign, start at one corner and slowly peel off the white backing paper from the transfer tape that has the vinyl stuck to it.
Cut with scissors part of the loose white backing paper. Then, secure the vinyl stencil to the wood sign by smoothing down the cut side with a squeegee and remove the rest of the paper.
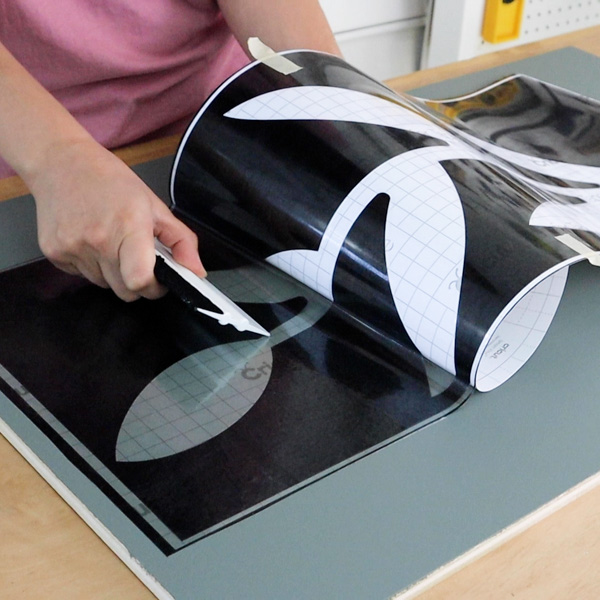
Next, remove the transfer tape at a 45 degree angle to finish applying the DIY wood sign stencil to the sign. I also removed the vinyl box outline at this point too.
This is a similar method to what I used for my other large DIY wood sign and my DIY welcome sign!
7. Apply the white paint to transfer the design
Now it’s time to paint the design on the sign!
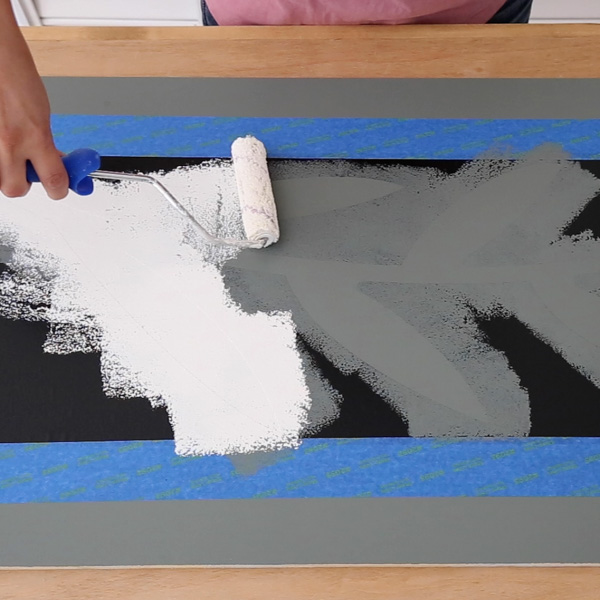
Use painters tape around the design to protect the non-covered parts of the sign.
First I rolled one coat of the green paint over the stencil. This helps to avoid bleed-through. I’ve used this trick on many wood signs, including our DIY Christmas sign!
Finally, I applied three light coats of white paint with a roller (I used ivory white by Benjamin Moore).
Again, don’t forget to check out my tutorial on painting wood signs!
Once the paint has dried, remove the vinyl stencil and painter’s tape to reveal your design.
8. Attach framing boards to the DIY wood sign
The last step is to attach the 1×2 framing boards.
I share three different ways on how to frame a wood sign here. But here is how I framed this sign:
I used two scrap 1/2″ thick boards stacked under each side of the sign so the 1×2 frame boards line up perfectly with the sign backing board for attaching.
I used wood glue and a brad nailer with 1 ¼” brad nails to attach the frame boards to the sign. Clamps help to hold everything in place!
See this all in action in the how to make wood signs with Cricut video!
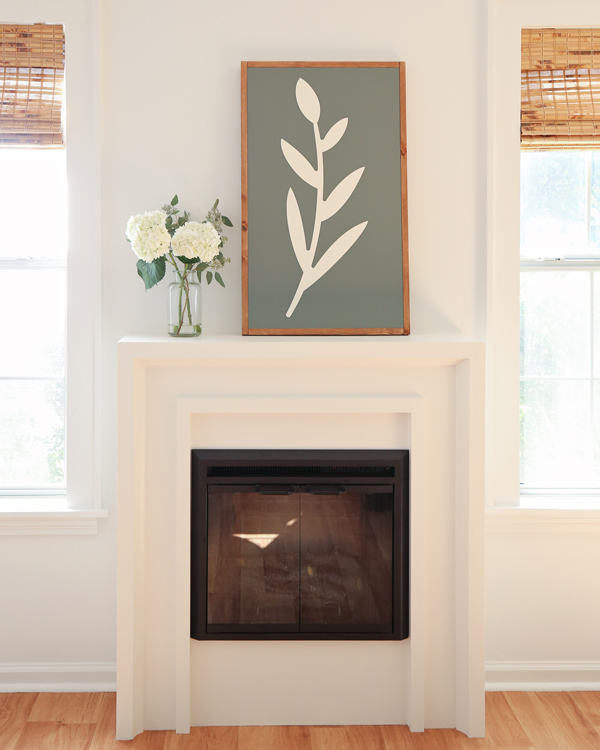
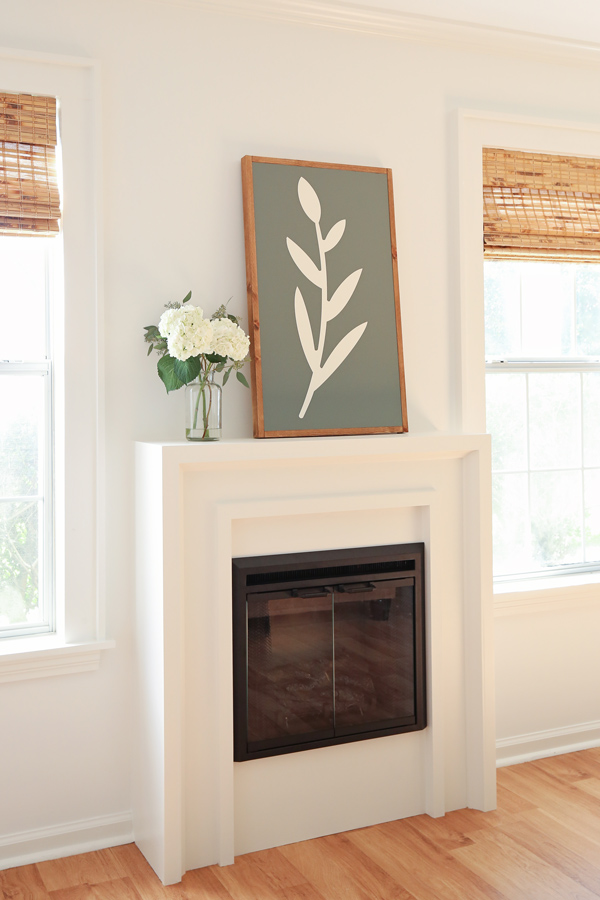
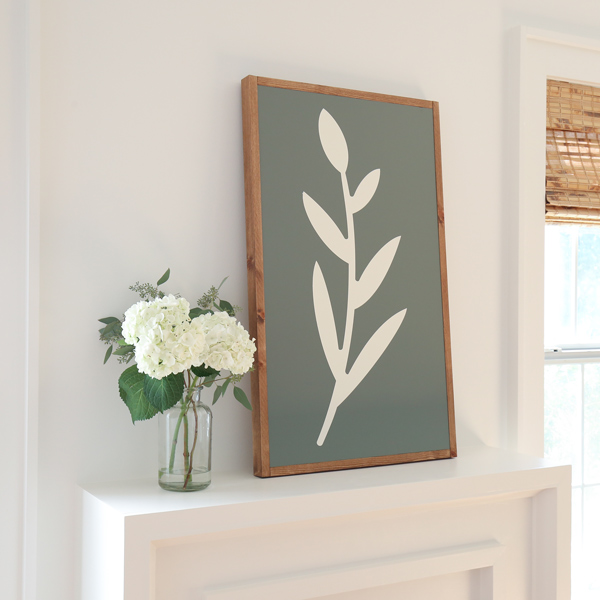
And here’s the final reveal!
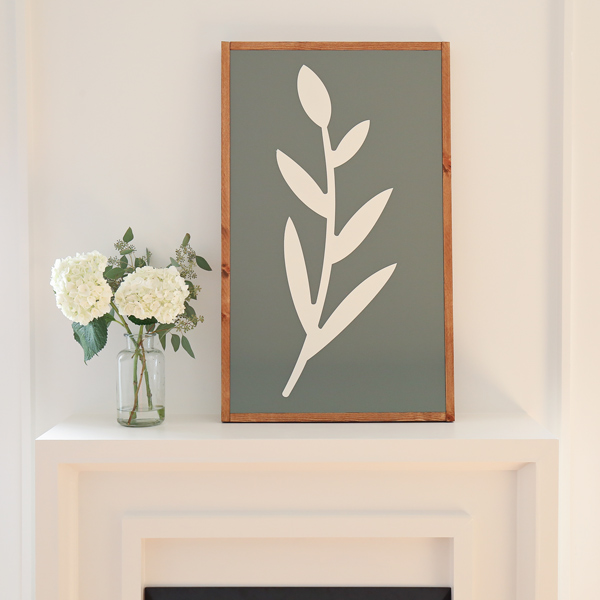
Our DIY wood sign looks perfect on our new DIY fireplace, I love the large plant design and colors too! I hope this tutorial on how to make large wood signs with Cricut has been helpful!
If you make this sign, please share it with me on social media @angelamariemade or #angelamariemade!
Follow along for my latest projects and sneak peaks on Instagram, YouTube, and Pinterest!
Nikki and Kenny
Monday 7th of March 2022
Why did you use the removable vinyl verses the permanent vinyl? I'm new to this and wanted to try to make a small basswood, welcome sign to "get my feet wet" but I am so confused on material to use for what project. Thank you in advance for any and all advice as it is all welcomed by me :)
Angela Marie Made
Wednesday 23rd of March 2022
I used the removable vinyl so I could use it as a stencil to paint over. You can use permanent vinyl instead though if you prefer! I just prefer the look of all paint.
Jenn
Wednesday 22nd of December 2021
Great tutorial! How long do you wait between coats covering the stencil? Does this differ if you’re using stencil vinyl?
Angela Marie Made
Thursday 6th of January 2022
I just wait until each coat is dry before applying the next. Make sure to do of the coats within 24 hours though. Even with stencil vinyl, it's best to wait for each coat of paint to dry before applying the next.
Christine J
Friday 15th of October 2021
I’m excited to make something similar. If you are willing to share, what brand transfer tape do you use with vinyl that does NOT leave any residue on the vinyl? Thansk!
Angela Marie Made
Monday 18th of October 2021
I like Oratape HT55 link here: https://rstyle.me/n/cwri8tcbwkf I've also used cricut vinyl and their transfer tape, which works well too.