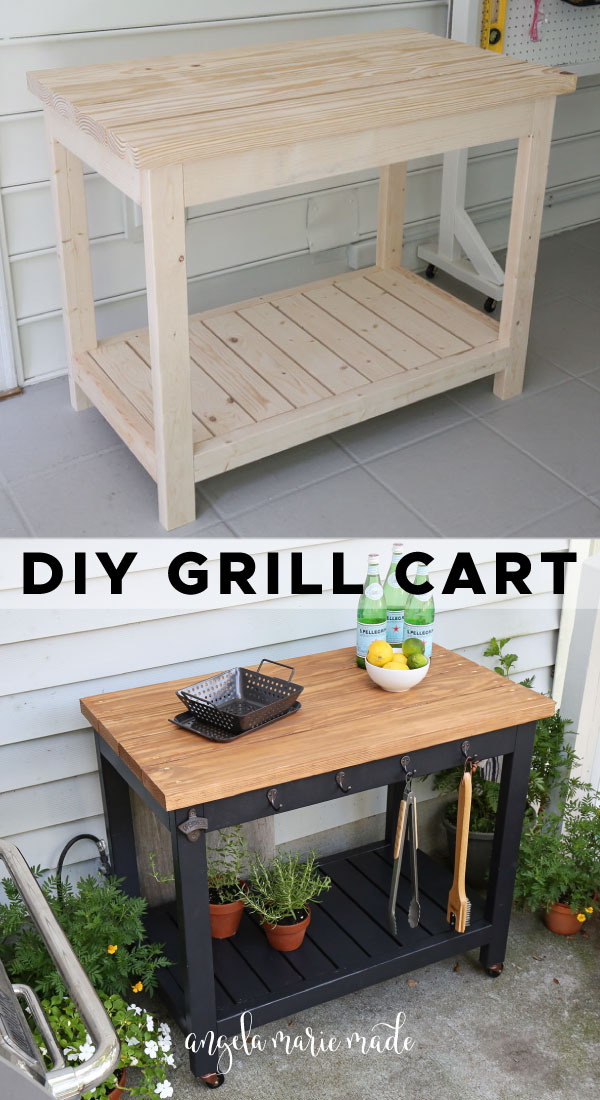
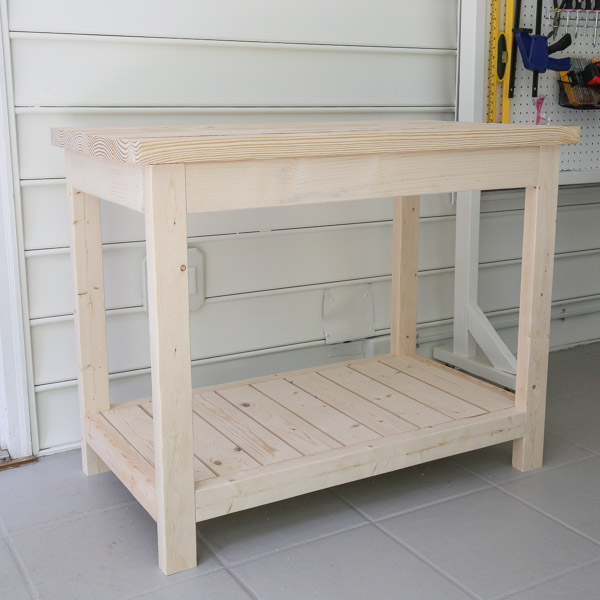
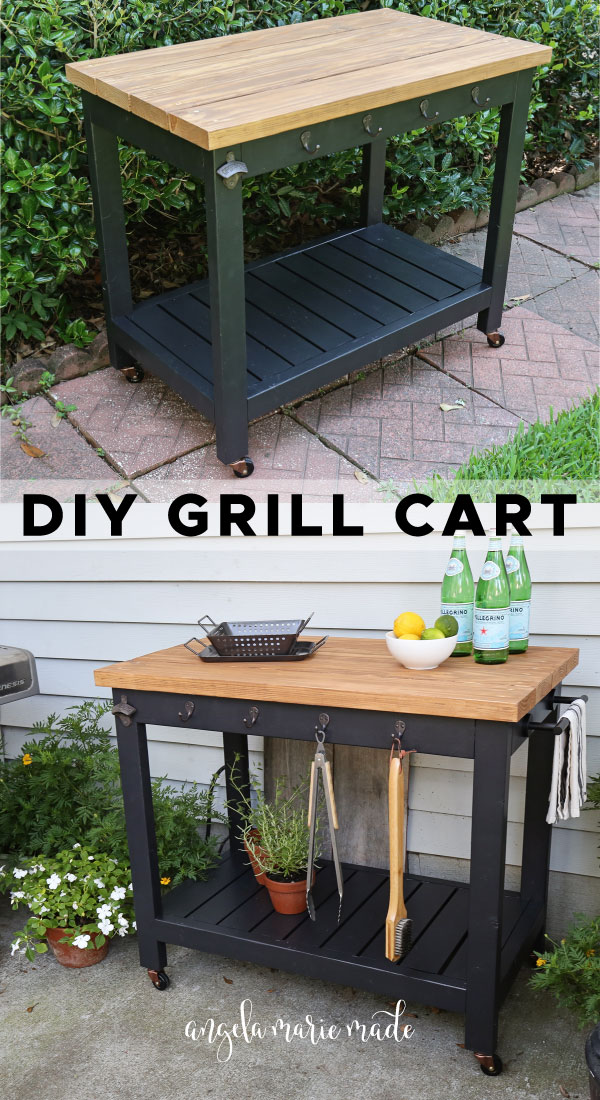
Learn how to easily build a DIY grill cart that’s mobile, functional, and stylish!
With summer officially here, it’s the perfect time to grill and build a DIY grill cart to help make grilling easier! It would also work great as a DIY outdoor cart for entertaining too!
We built this grill table cart for Brandon’s dad, so it’s a great gift idea as well!
The full tutorial, build plans, and video tutorial are below!
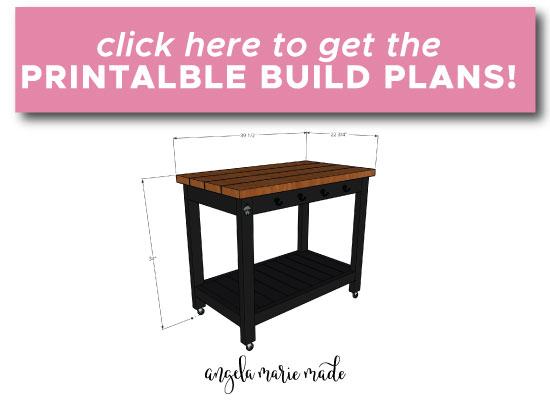
FINAL DIMENSIONS OF GRILL CART: 22 3/4″ wide x 39 1/2″ long x 34″ tall*
*You can adjust the height of this cart by using different casters or adjusting your 2×3 leg cuts if you prefer a taller or shorter work surface. Our 2″ wheel casters actual measurements installed are 2 1/2” tall.
Alternatively, if you just want to use this as a DIY grill table, you can leave the casters off!
Note, this post contains some affiliate links. I may earn a commission if you shop those links (at no cost to you). Thank you for supporting my small business. For more info see my disclosures here.
How to Build a DIY Grill Cart:
Materials:
- (2) 2×6 @ 8ft
- (2) 2×4 @ 8ft
- (2) 1×4 @ 8ft
- (3) 2×3 @ 8ft
- (1) 1×2 @ 8ft (furring board)
- 2 ½″ self tapping deck screws
- 1 ¼″ brad nails
- 2 ½″ Kreg screws (weather resistant)
- Wood Glue (exterior)
- Exterior wood stain/paint/primer
- (4) Casters (we used these threaded casters)
- Hooks (optional)
- Bottle Opener (optional)
- Towel Bar Holder (optional)
- Stainable wood filler (optional)
Tools:
- Kreg Jig
- Miter saw
- Brad nailer
- Drill
- Clamps
- Tape Measure
DIY Grill Cart Video Tutorial:
Subscribe to my YouTube Channel here!
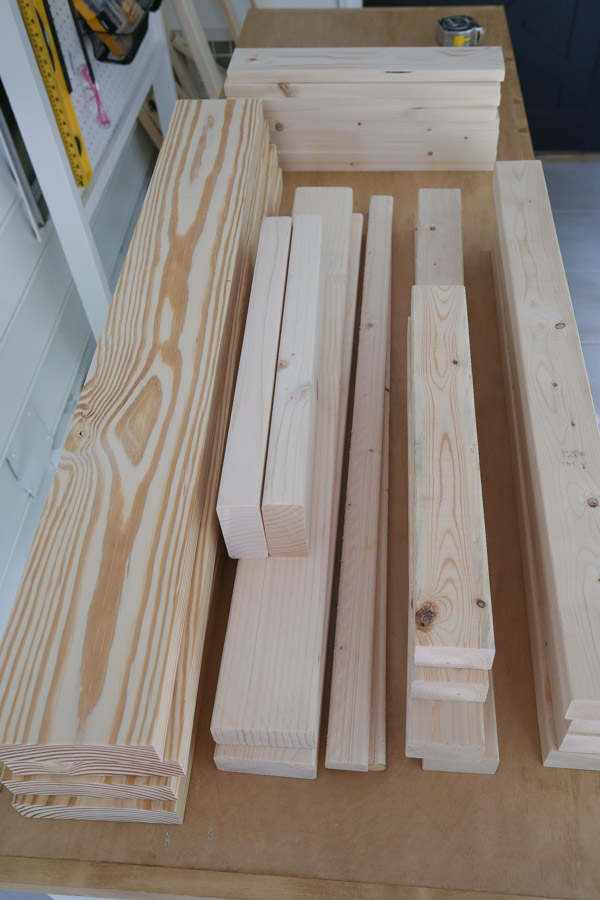
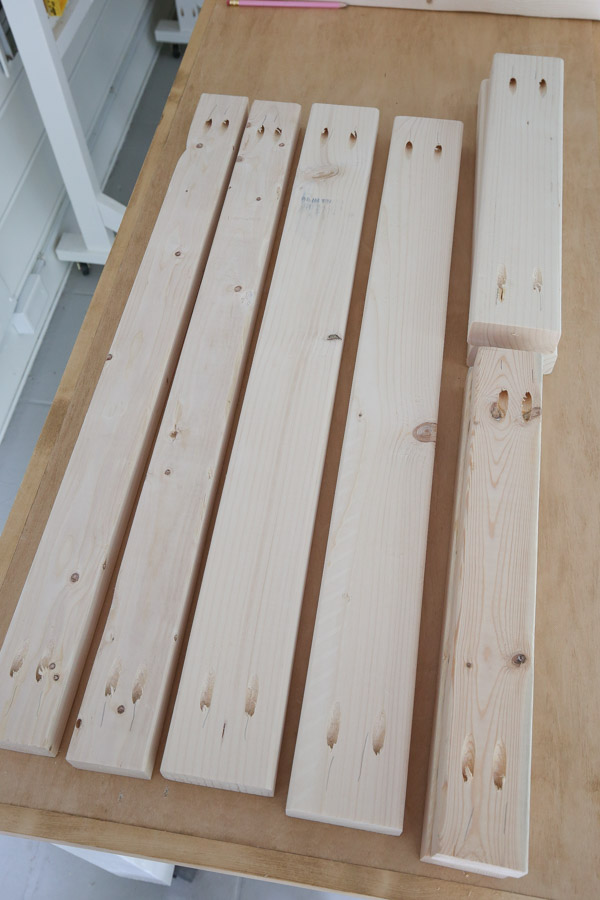
1. Make lumber cuts for the grill cart
Click here for the printable DIY grill cart plans which include the cut list and step by step building steps with easy to follow diagrams!
Use a miter saw and make the following cuts from the 2×4s:
- (2) 2×4 @ 32 ½″ (for front/back aprons)
- (2) 2×4 @ 17 ¾″ (for side aprons)
Make the following cuts from the 2×3s:
- (2) 2×3 @ 32 ½″ (for front/back aprons)
- (2) 2×3 @ 17 ¾″ (for side aprons)
- (4) 2×3 @ 30″ (for legs)
Make the following cuts from the 2×6s:
- (4) 2×6 @ 39 ½″ (for top shelf)
Make the following cuts from the 1×2:
- (2) 1×2 @ 34 ½″ (for lower shelf)
Make the following cuts from the 1×4:
- (9) 1×4 @ 17 ¾″ (for lower shelf)
2. Add pocket holes to the boards
Make sure the Kreg Jig is set for 1 1/2″ thick wood. Add pocket holes to both ends of the following boards:
- (2) 2×4 @ 32 ½″ (for front/back aprons)
- (2) 2×4 @ 17 ¾″ (for side aprons)
- (2) 2×3 @ 32 ½″ (for front/back aprons)
- (2) 2×3 @ 17 ¾″ (for side aprons)
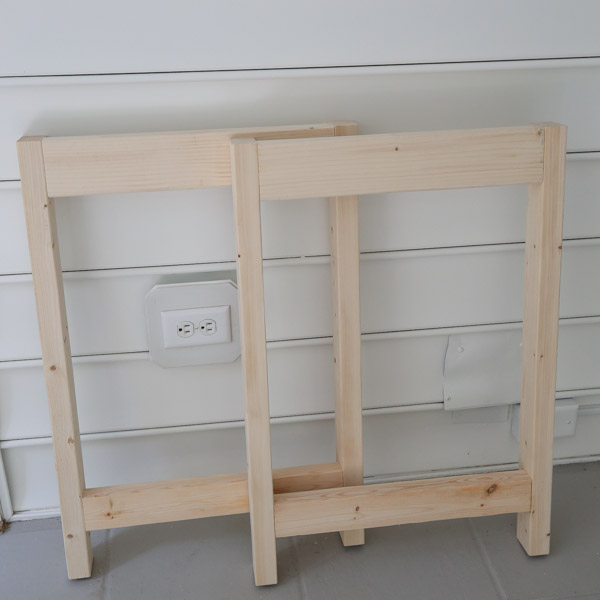
3. Build the side frames of the grill cart
Measure and mark 3 1/2″ up from the bottom of two of the 2x3s @ 30″ (for the legs).
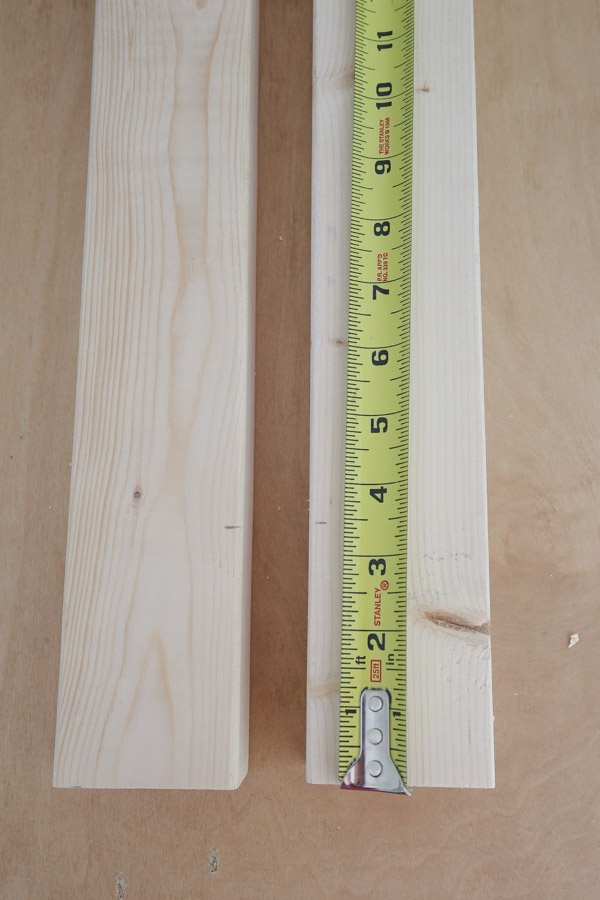
Then, attach a 2×3 @ 17 3/4″ at the these marks with wood glue and 2 1/2″ Kreg screws to attach the two legs together as shown below.
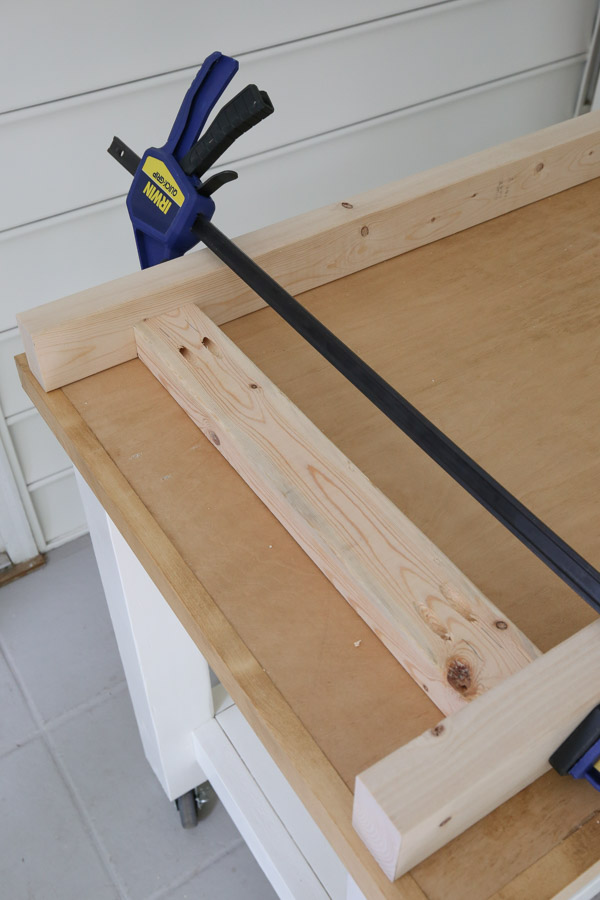
Next, attach a 2×4 @ 17 3/4″ between the legs at the top of the legs with wood glue and Kreg screws to finish the first side of the grill cart.
Repeat these steps again to create the second side frame of the DIY grill cart.
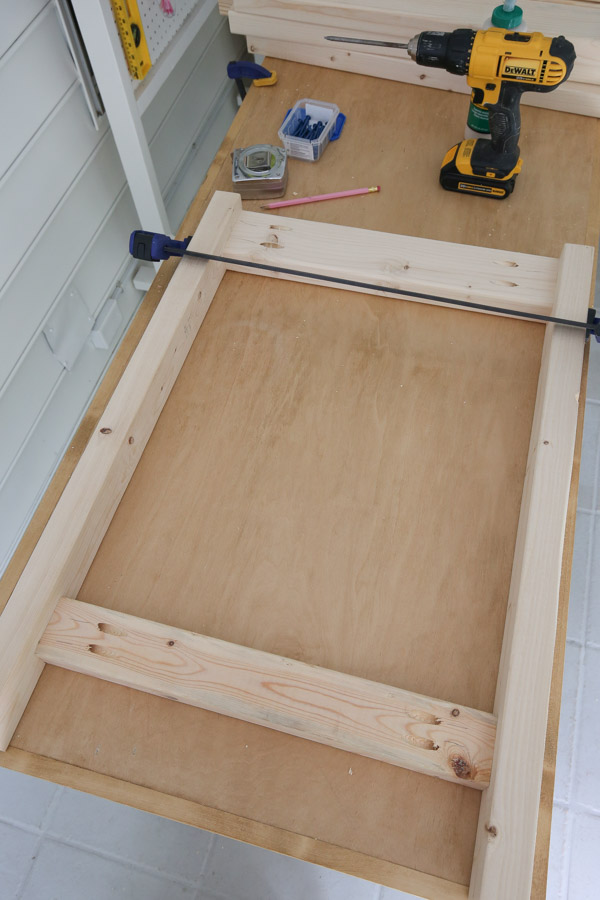
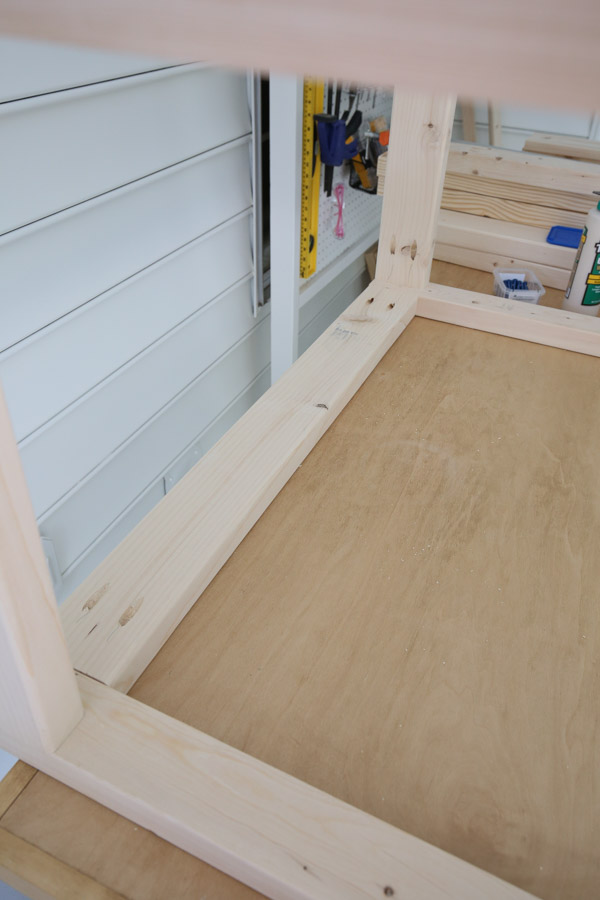
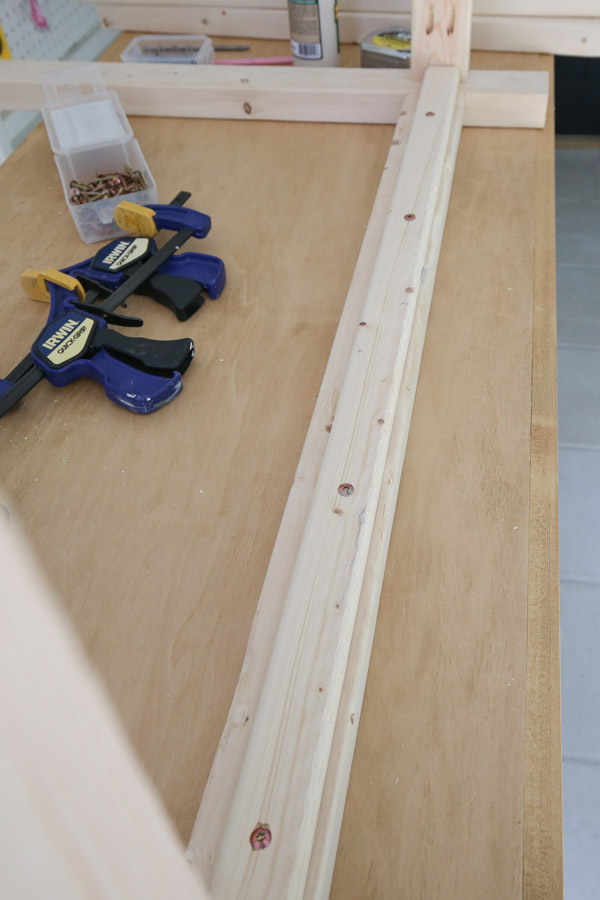
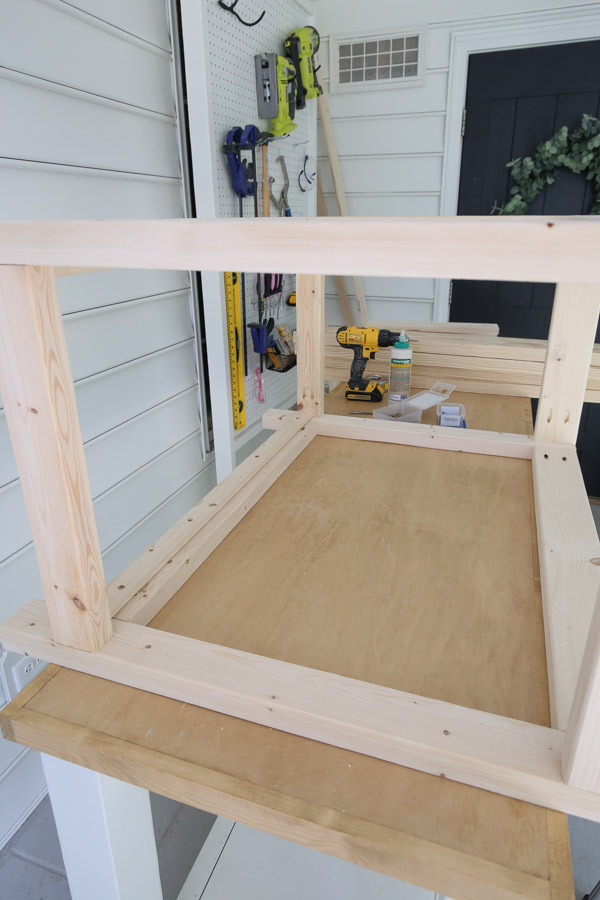
4. Assemble the back and front of the grill cart to the side frames
Attach the two sides frames together and create the back of the grill cart by attaching a 2×4 @ 32 1/2″ at the top of the side frames. Again use wood glue and 2 1/2″ Kreg screws. Also, I used our 48″ clamp to help with this part.
📩 Want to Save This?
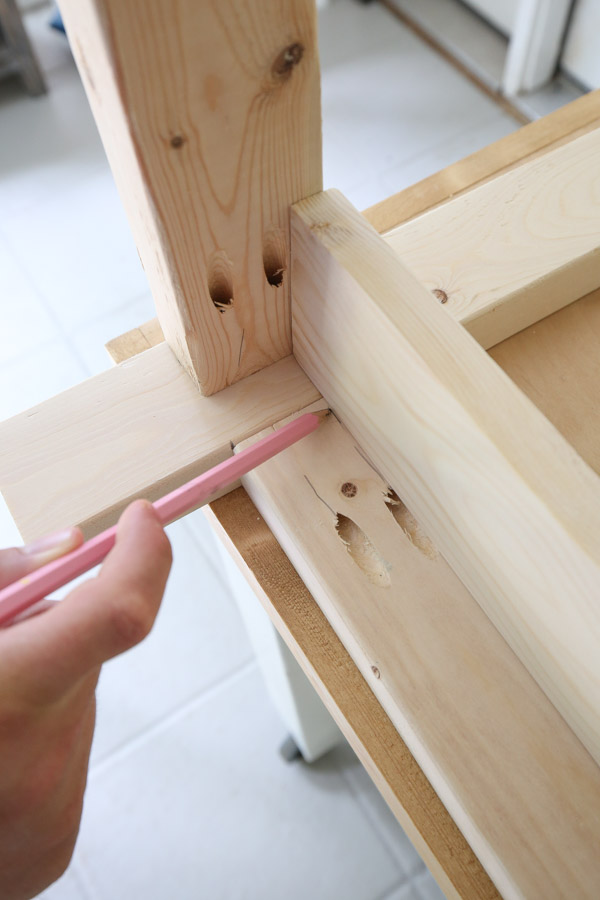
Then, attach a 2×3 @ 32 1/2″ towards the bottom, 3 1/2″ up from the bottom of the legs.
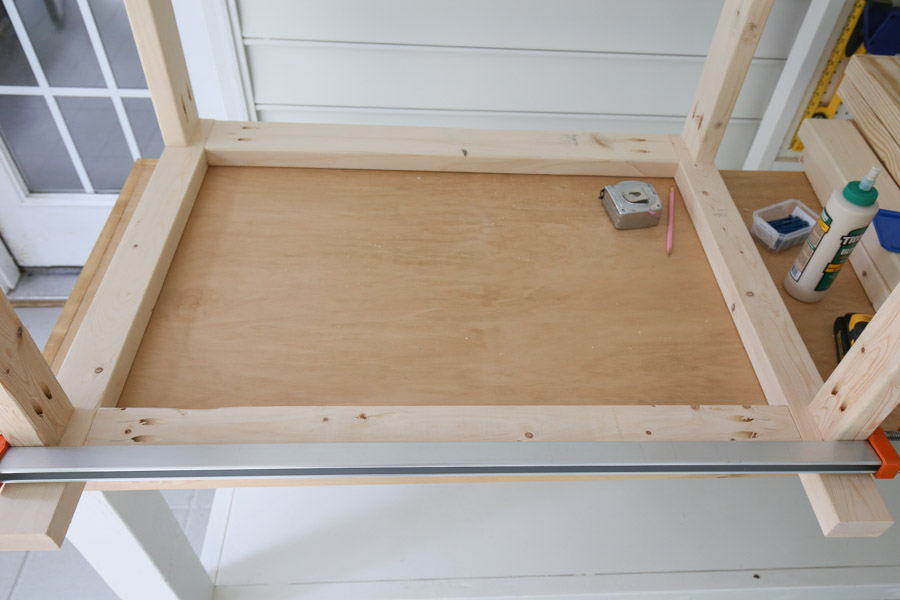
After attaching the 2×3, hold a 1×4 slat board level with the top of the 2×3 @ 32 1/2″ and mark under the bottom of it. Do this on both sides. Alternatively, you can just mark 3/4″ down from the top of the 2×3 @ 32 1/2″ on both sides.
Then, attach a 1×2 @ 34 ½″ board at these marks with wood glue and self tapping 1 1/4″ screws (or regular wood screws) at these marks. This is to create a shelf support for the slat boards for our grill cart’s lower shelf.
Flip the grill cart over and repeat all of the above steps to create the front side of the grill cart.
You can see all of this in action in our DIY grill cart VIDEO tutorial here!
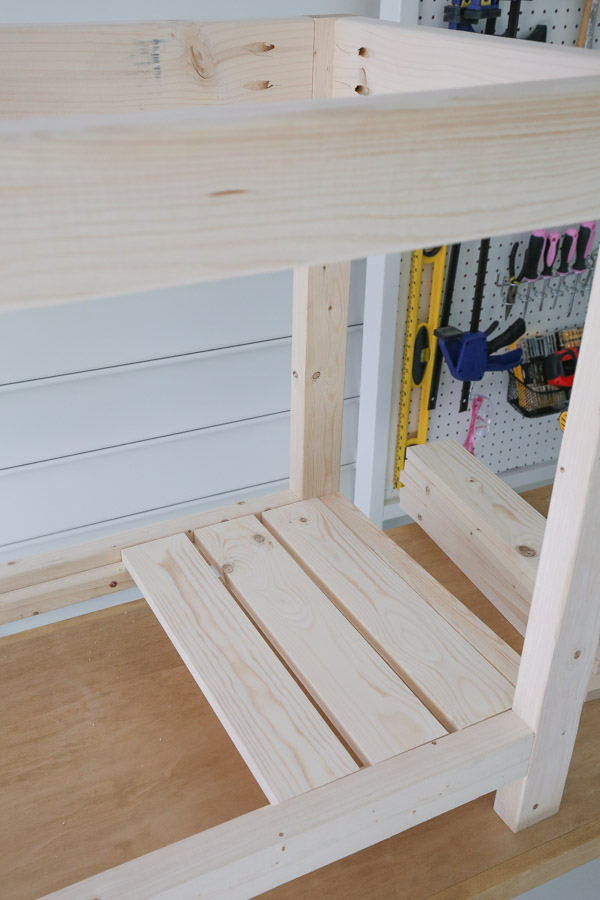
5. Attach the lower shelf slat boards
Now it’s time to attach the lower shelf slat boards. I went ahead and put wood glue down on top of my 1x2s at this point.
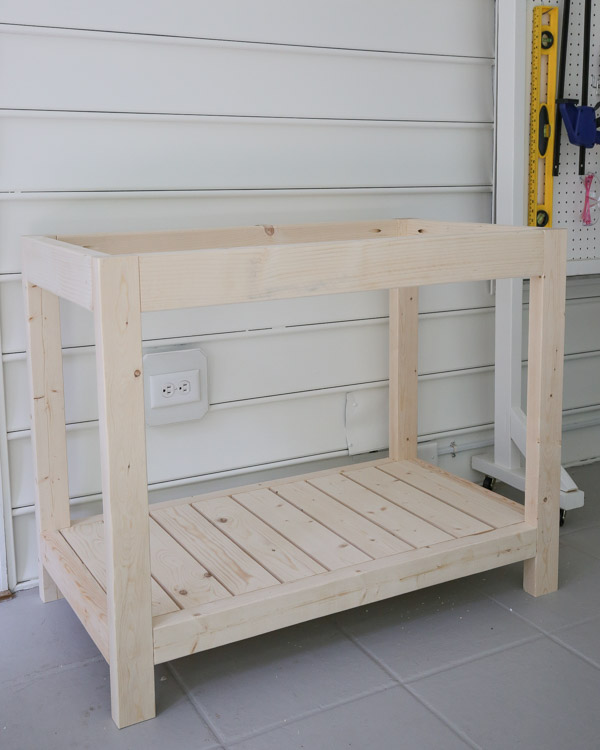
Lay the nine 1×4 @ 17 3/4″ slat boards on top of the 1×2 supports, spaced about 3/8″ apart to create the lower shelf. Secure in place with 1 1/4″ brad nails. Note, there won’t be a 3/8″ space on the sides of the first and last slat boards that border the 2×3 side frames.

6. Stain and paint the DIY grill cart
At this point it’s easiest to paint the bottom part of the grill cart and stain the top 2×6 shelf boards separately before attaching them to the cart frame.
We started by priming the cart frame and then painted it with two coats of Tricorn Black by Sherwin Williams. We made sure to use an exterior paint for this cart since it’s going to be left outside.
For the top 2×6 boards, we used one coat of Valspar semi transparent exterior stain in Pine bark which I had on hand already from our DIY outdoor side table and DIY outdoor chair projects.
7. Attach the top shelf boards to the grill cart frame
Place a 2×6 @ 39 1/2″ board on top of the cart frame so it has a one inch overhang on both sides of the cart and the front of the cart frame.
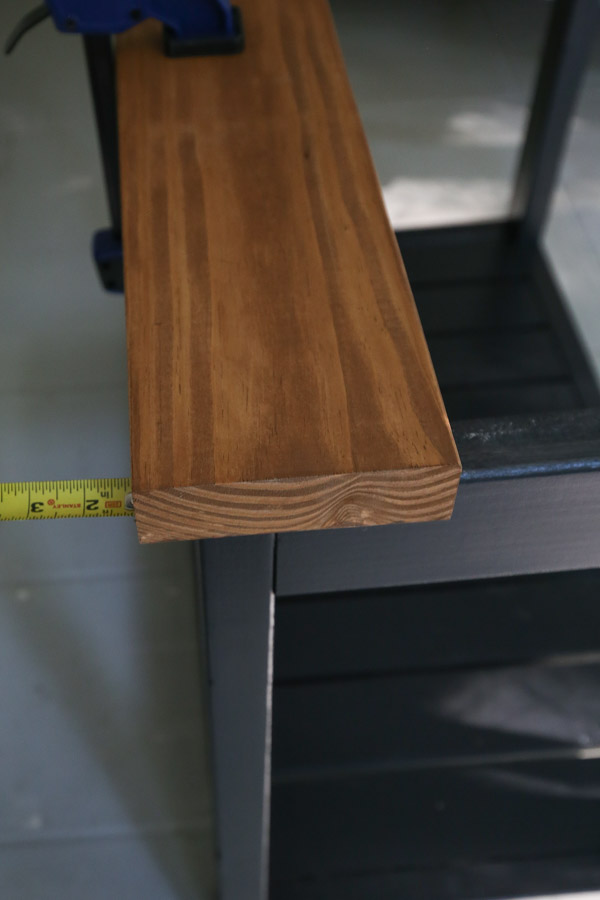
Clamp it into place and attach the board to the frame with 2 1/2″ self tapping deck screws on each side. Make sure they are countersunk beneath the wood surface a little bit.

Attach the next three 2×6 boards leaving a 1/4″ gap between each board. All sides of this top shelf should have a 1″ overhang over the cart frame.
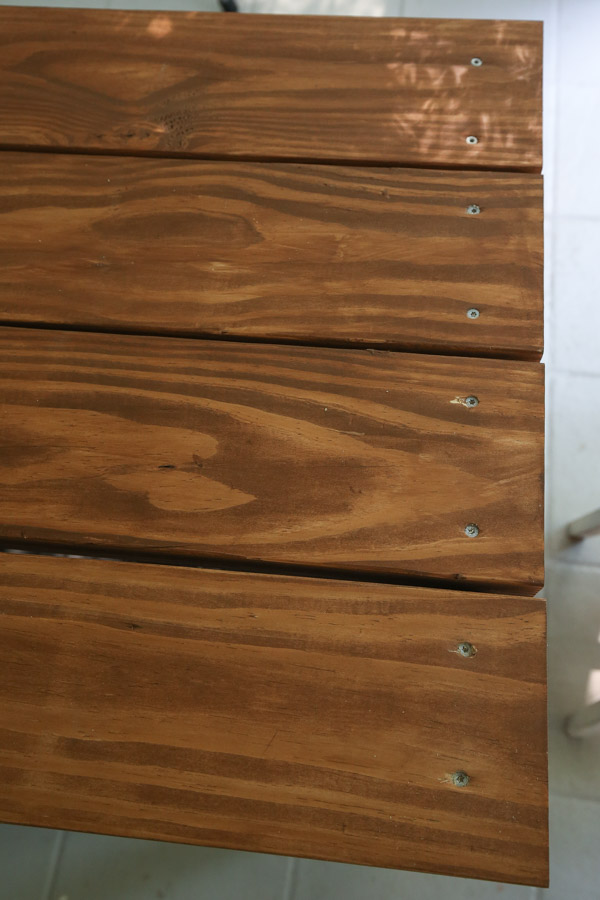
You can either leave the screws holes unfinished or fill them in with a stainable wood filler like us. After it dried, we sanded it down and touched it up with the wood stain.
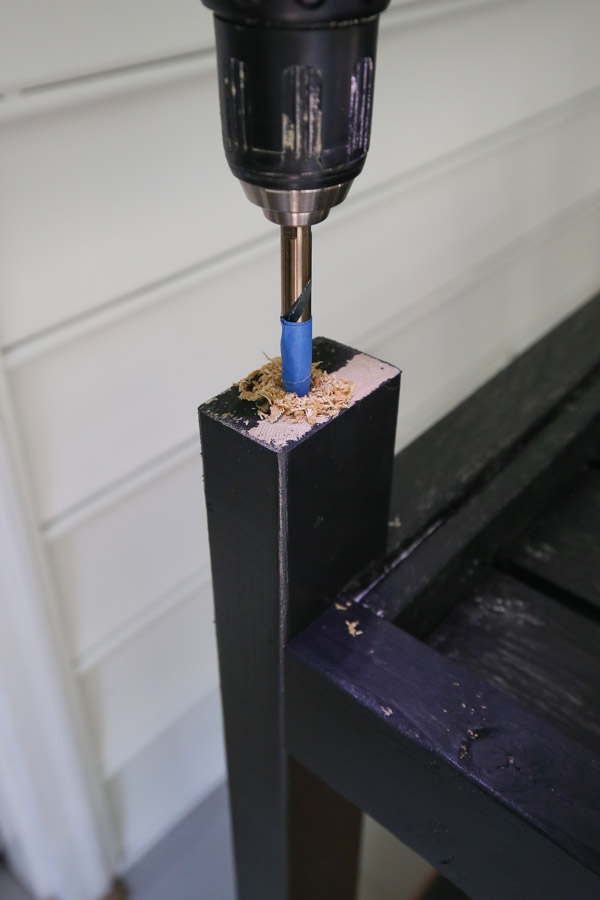
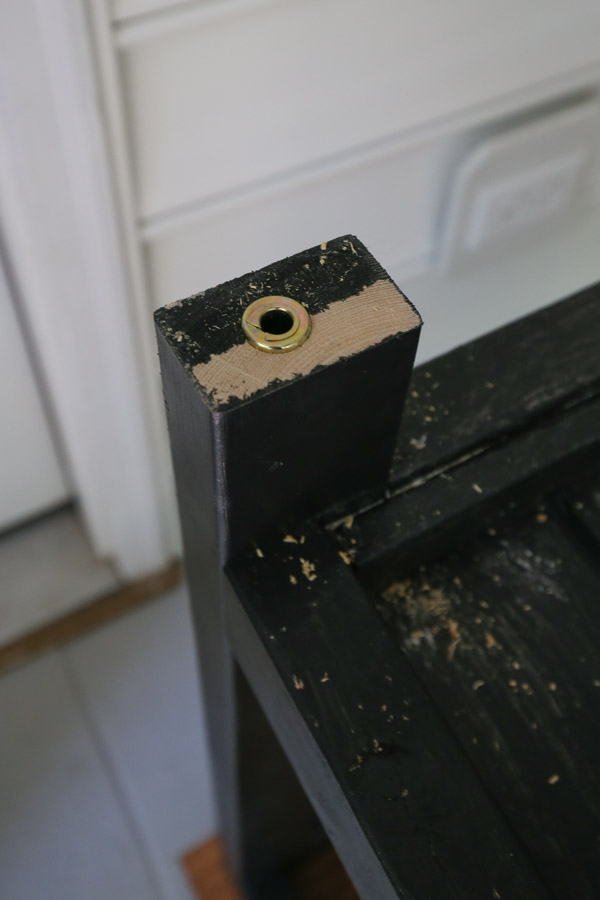
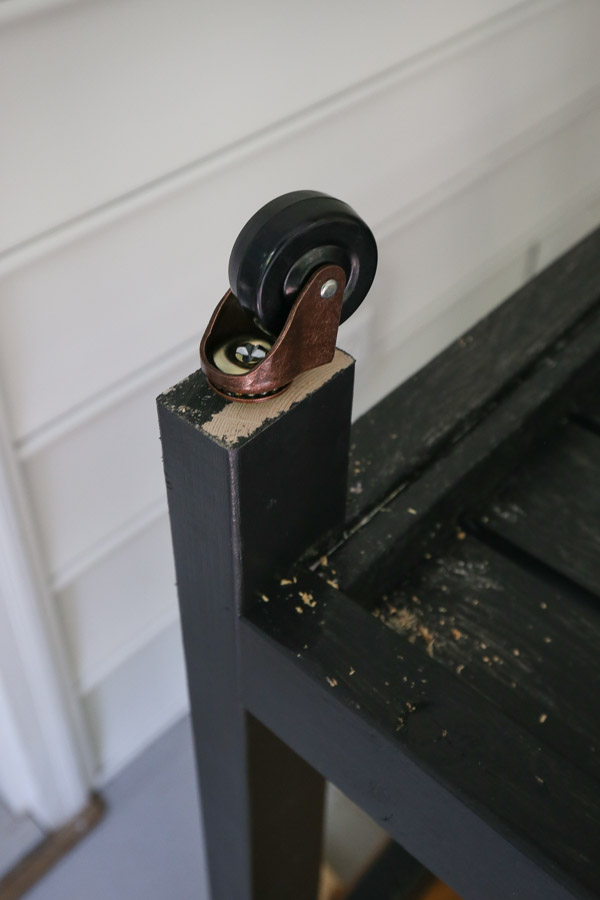
8. Install the casters and hardware
Turn the grill cart over and attach the caster wheels centered on the 2×3 leg ends. For our threaded casters, we pre-drilled a 3/8″ hole, tapped the spiky piece in with a hammer, and then inserted the caster so it clicked into place. You can see more photos of this process in my DIY bar cart tutorial, where I used the same ones!
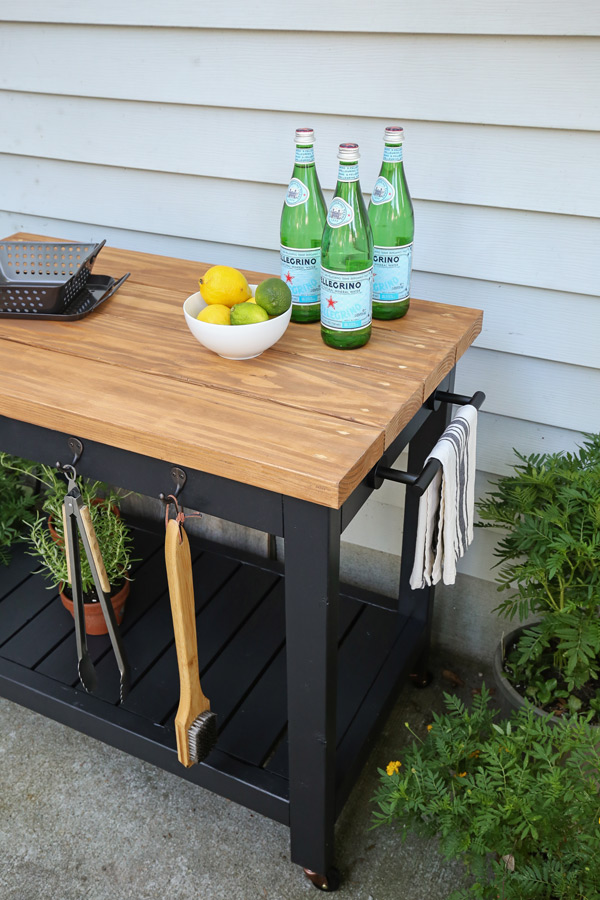
Finally, install any hooks, bottle openers, towel bars, or other hardware you want to add to the grill cart to finish it off!
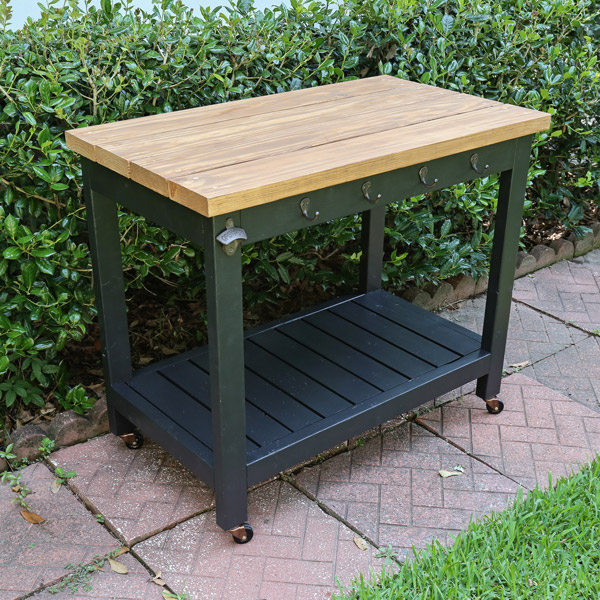
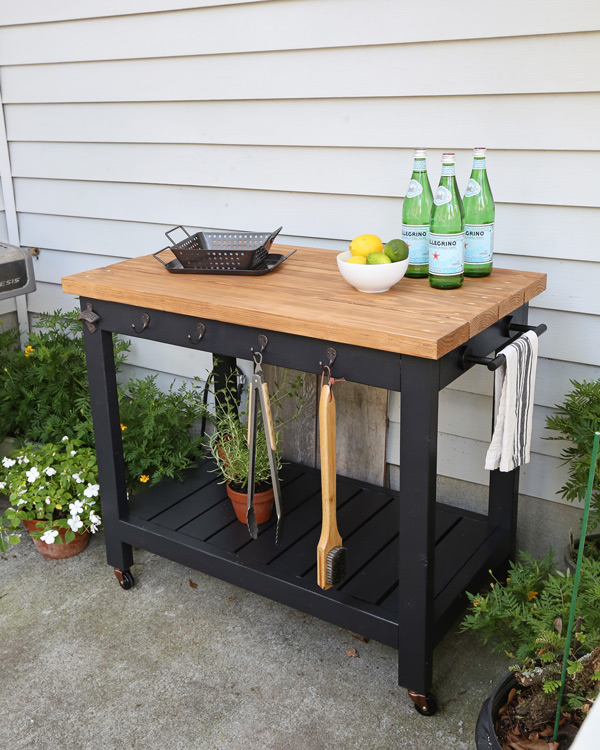
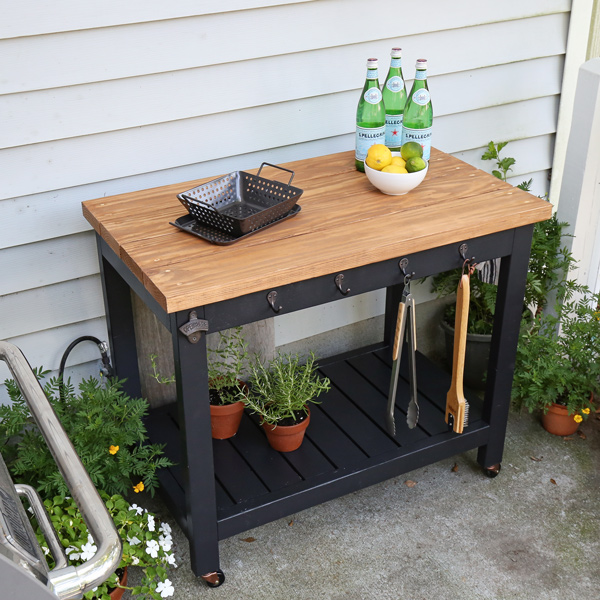
And here it is all set up next to Brandon’s dad’s grill!

I love all of the extra hardware like the towel holder and bottle opener!
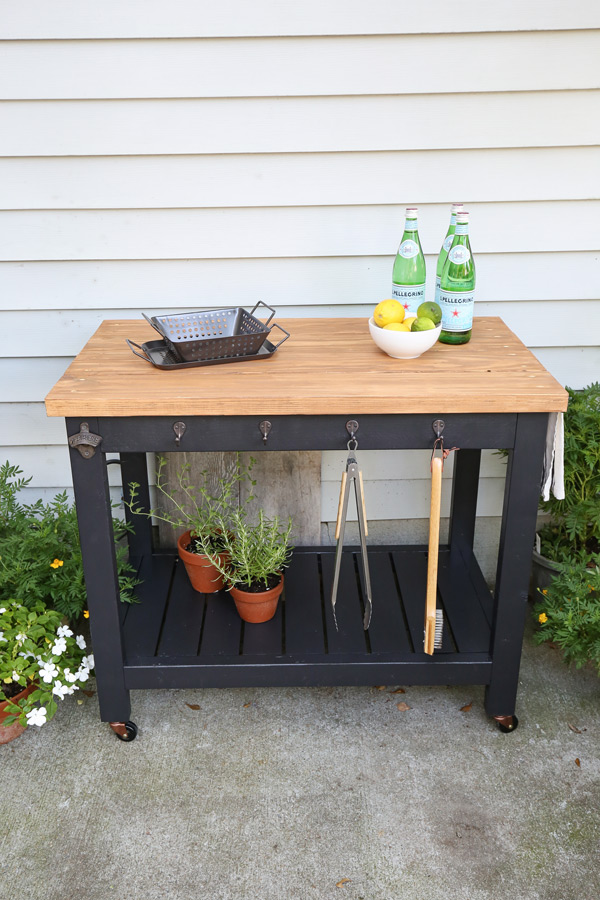
What do you think of this DIY grill cart? I think Brandon’s dad is going to love it!
Don’t forget to get the printable grill cart plans DIY too!
Follow along for my latest projects and sneak peaks on Instagram, YouTube, TikTok, and Facebook!
Want to save for later?! Pin it here:
Tracy
Monday 10th of November 2025
This build was so easy and well planned! Thank you for sharing! I use it as an outdoor kitchen cart since we have a very small cabin. I did the top with cedar planks and an epoxy pour. Really love it! https://imgur.com/a/2FZ340I
Cristian
Thursday 8th of August 2024
Easy dumb question. If the top has 4 2x6 boards, and 4*6 = 24 (24 3/4 inches if we include the quarter-inch gaps), then how come the final dimension of the cart is 22 3/4 inches? What am I missing? Thanks a lot!
Rafael
Tuesday 18th of June 2024
https://www.metric-conversions.org/length/feet-to-centimeters.htm
Patrick
Wednesday 8th of March 2023
Hi.
What is the sizes of the wood in metric. In my country we use cm and not feet :)
Thank you.
Patrick
Abby
Wednesday 11th of January 2023
Hi! I just wanted to say thanks so much for sharing this! My husbands uncle was able to make this for my husband and I was able to surprise him with it for Christmas! He loves it and can’t wait to use it this summer 😊
Angela Marie Made
Thursday 12th of January 2023
That is so awesome, I love hearing that!! It makes such a special gift :)