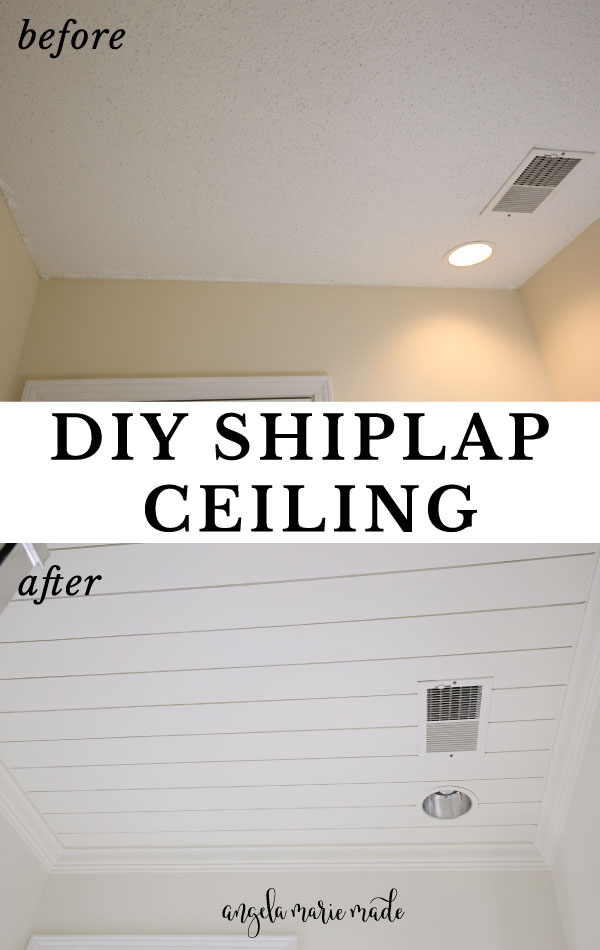
Learn how to create a shiplap bathroom ceiling with this easy DIY shiplap ceiling tutorial!
We are starting our guest bathroom makeover and one of the first major problems to address is the ugly popcorn ceiling! Installing shiplap on the ceiling is a perfect solution!
We’ve scraped plenty of popcorn ceilings in this house and we are totally over it!
For this DIY shiplap ceiling, I wanted to use real shiplap. We also used real shiplap for our vertical shiplap wall from floor to ceiling in our hallway and our DIY vertical shiplap half wall in our dining room.
In our old home, we actually did a small bath makeover with a shiplap ceiling out of plywood.
Although, the plywood method is cheap, it doesn’t work that great on ceilings, especially if they are not even. The plywood method is much better for DIY shiplap accent walls or full walls.
Using real shiplap costs more than plywood, but it’s still affordable, especially for a small bathroom or space. Our shiplap ceiling update cost about $130 for the shiplap and $28 for the crown molding.
Also, you can use tongue and groove boards too for a similar look. Learn about about shiplap vs tongue and groove.
Note, this post contains some affiliate links. I may earn a commission if you shop those links (at no cost to you). Thank you for supporting my small business. For more info see my disclosures here.
How to: Installing Shiplap on Ceiling
Materials
- Shiplap (we used these pre-primed boards)*
- Crown Molding, quarter round, or other trim (optional, we used this molding)
- 2″ brad nails
- Construction adhesive (we used Liquid Nails)
- Lightweight Spackle
- Paintable caulk
- Paint (we used Sherwin Williams Alabaster in eggshell)
- Paintbrush and Roller
- Primer (optional)**
Tools
- Miter Saw
- Brad Nailer
- Circular Saw or table saw (optional)
- Jigsaw
- Studfinder
*We bought the 12 ft boards and had them cut in half at the home improvement store to fit them in our car. They also come in 8 foot sizes. You can use tongue and groove boards too for a similar shiplap look.
**Use primer if the boards are not already pre-primed. See how to paint shiplap for more details.
Shiplap Ceiling Video Tutorial:
Subscribe to my YouTube Channel here!
1. Prep ceiling for shiplap and mark the studs
Begin by removing any vent covers or lights that are on the ceiling.
Next, use a stud finder and mark the studs on the ceiling. You can use a chalk line to mark a stud line across the ceiling.
I didn’t know where my chalk line was so I just used a board to draw a line from the stud mark on each side of the ceiling.
I forgot to take a photo of this step but you can see it all in action in the DIY shiplap video! Also, I have photos on how to do this in my DIY plywood shiplap ceiling tutorial.
2. Cut the shiplap to size
Once you know what direction your studs are running, you can determine which way to attach the shiplap, so that it’s perpendicular to the studs and both sides of the shiplap go into a stud.
Measure the ceiling length to determine the cut length for the shiplap boards and cut them using a miter saw.
If you are going to install crown molding like us or another type of trim, you can cut your shiplap a little bit shorter since the gap will be covered by the molding or trim.
Just make sure to measure how far out your molding will go so you know how much extra coverage you have.
I highly recommend using trim to make the shiplap installation process easier than trying to cut the boards perfectly since walls can be crooked.
Also, if your ceilings are longer than 8ft or 12ft, which are the shiplap board lengths, you will just need to attach two boards together and caulk the seams or use wood filler.
3. Install the first shiplap board
Apply construction adhesive to one of the shiplap boards. Make sure to apply it to the back of the shiplap.
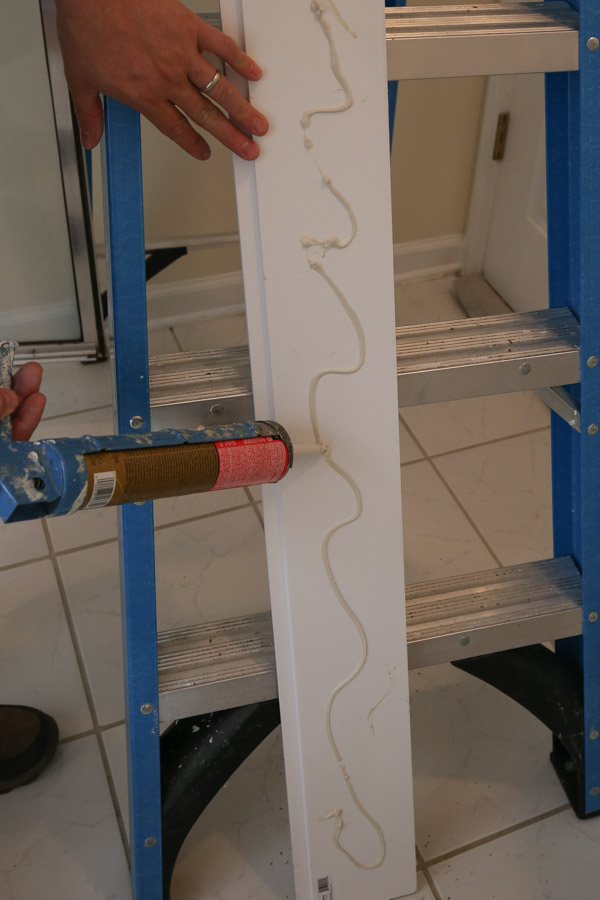
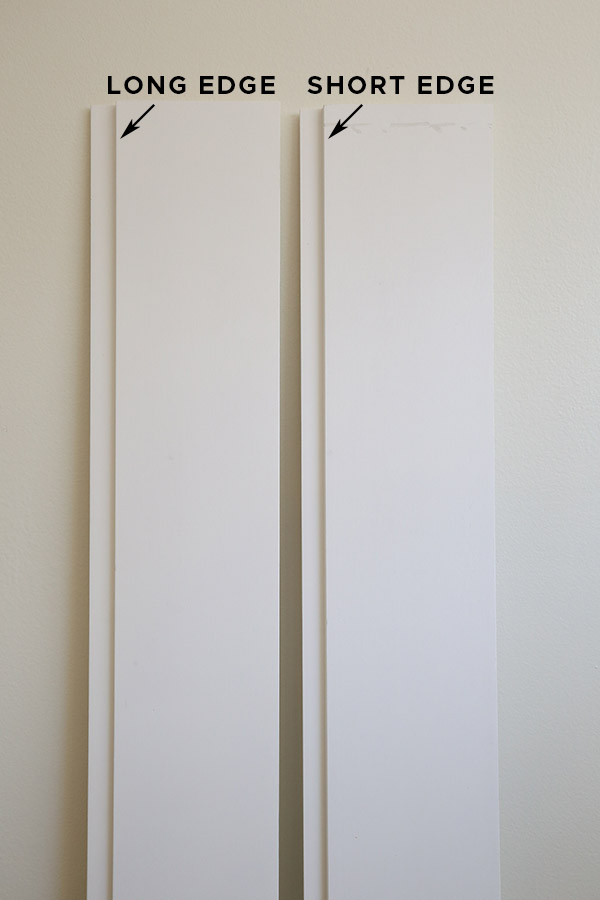
It’s not the easiest to tell what the back vs the front is with these pre-primed shiplap boards unless there is a sticker on the back. But, each board has a short edge and a longer edge. The shorter edge is the back and the longer edge is the front.
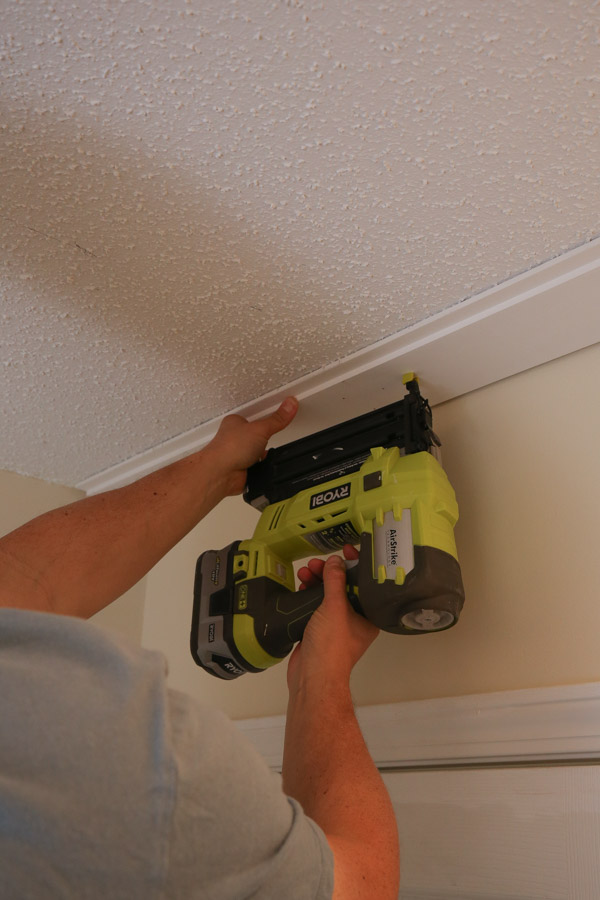
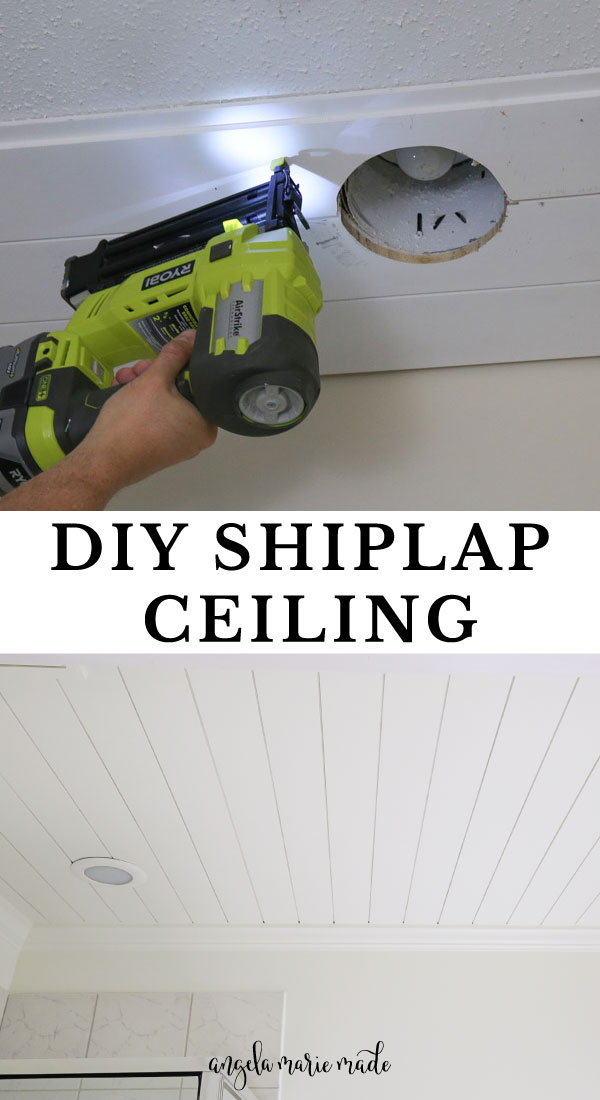
Install the first shiplap board to the ceiling, starting at one end of the room, and making sure it’s perpendicular to the ceiling studs. Install with 2″ brad nails and a brad nailer into the ceiling studs and into the drywall where needed.
Continue with installing the next board the same way.
4. Make special cuts as needed
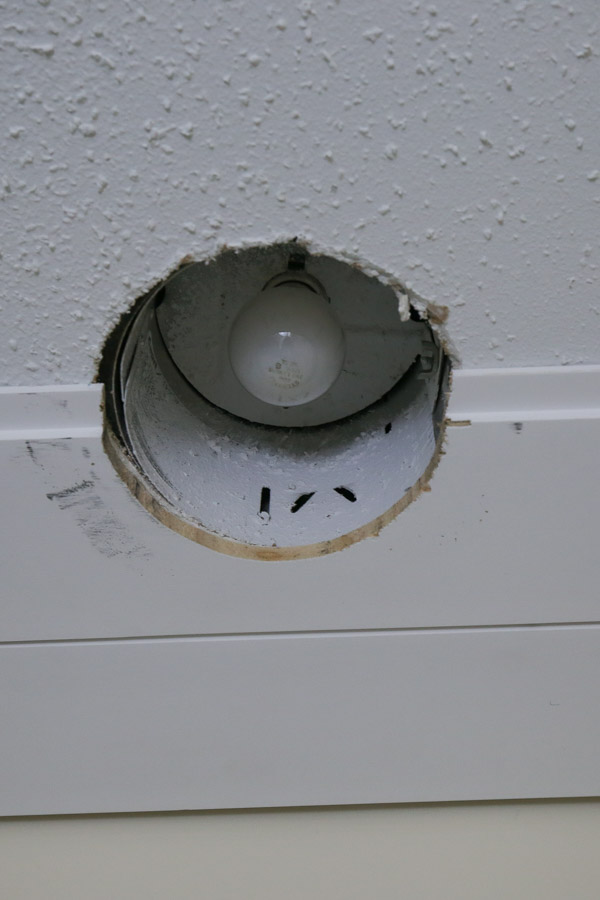
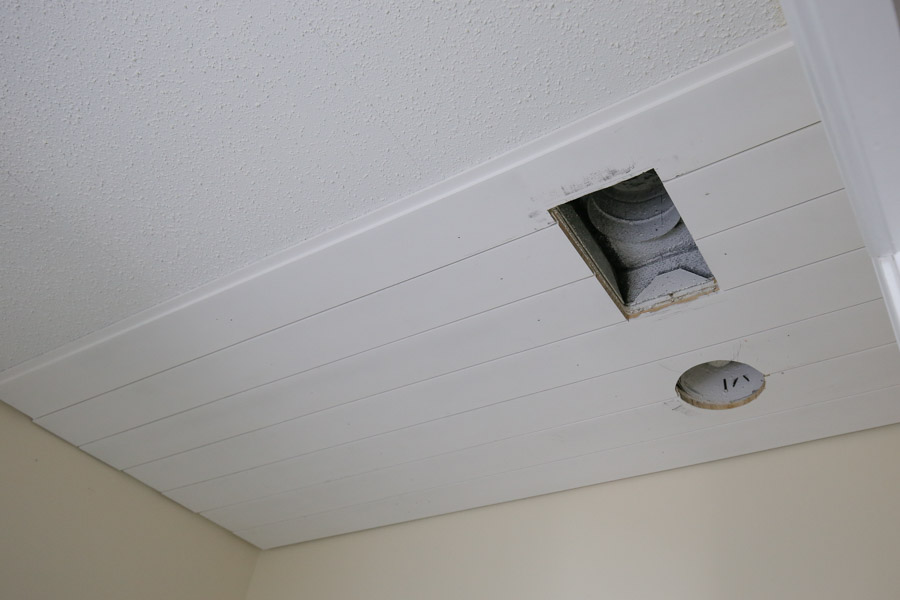
At some point, you will probably run into a light, vent, or fan hole on the ceiling and you will need to make special cuts on the shiplap for these using a jigsaw or other special tool.
📩 Want to Save This?
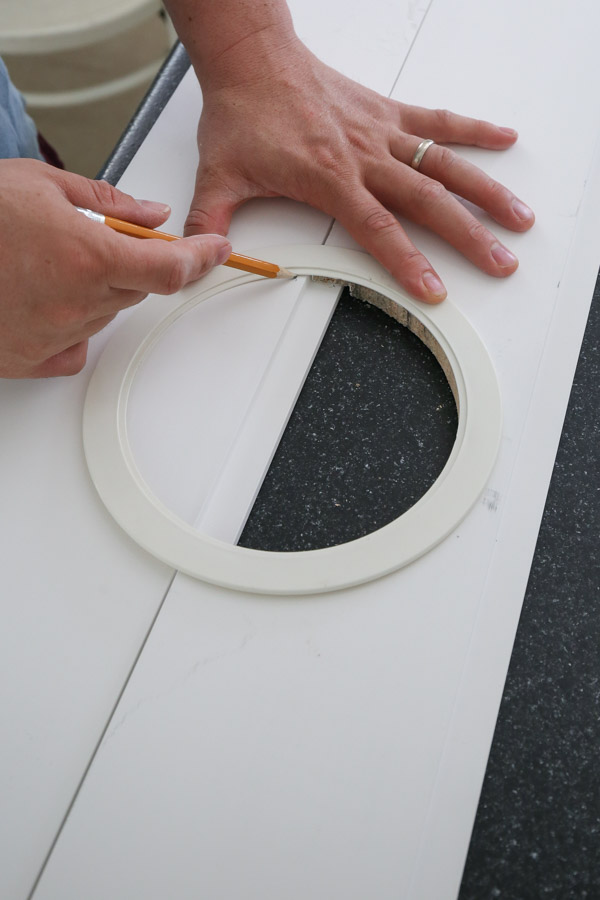
For our recessed light, we held up the round light cover over the board and traced the circle we needed to cut out.
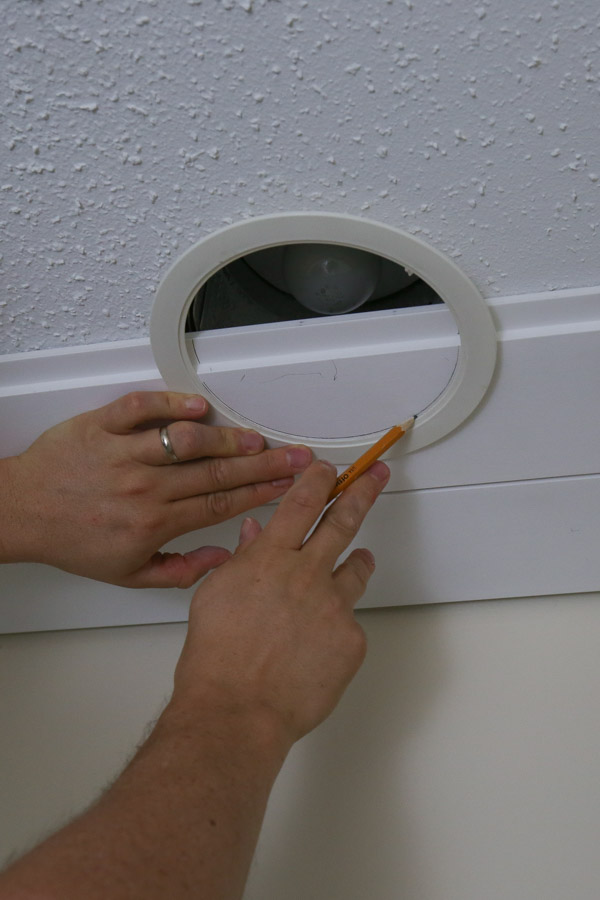
After making the circle cut with our jigsaw, we held up another board and finished tracing the round light cover again to make the rest of the circle cut on our next board. Then, we attached both of them to the ceiling.
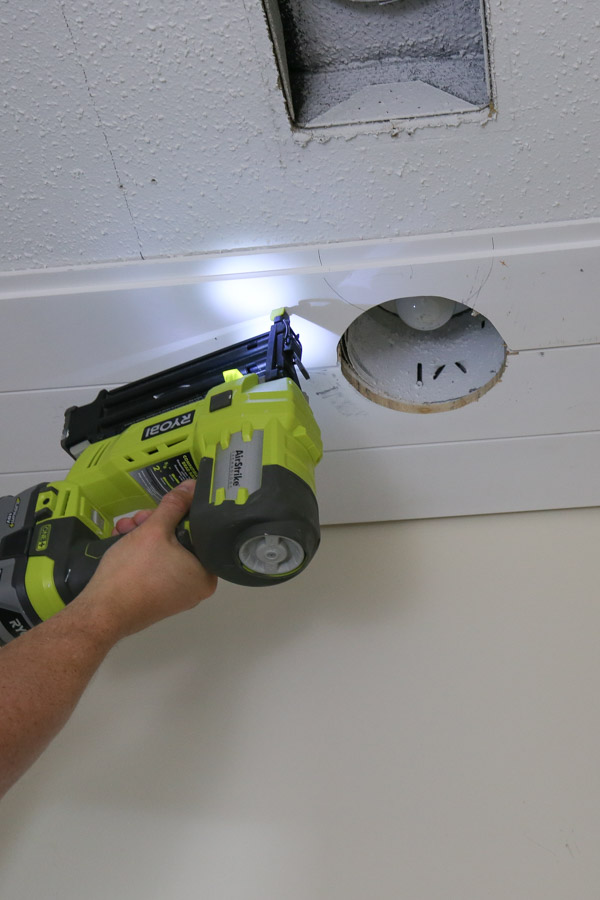
For rectangular cuts, for our vent and fan, we just held the board up in place and marked where we needed to cut the board either with the jigsaw or a miter saw.
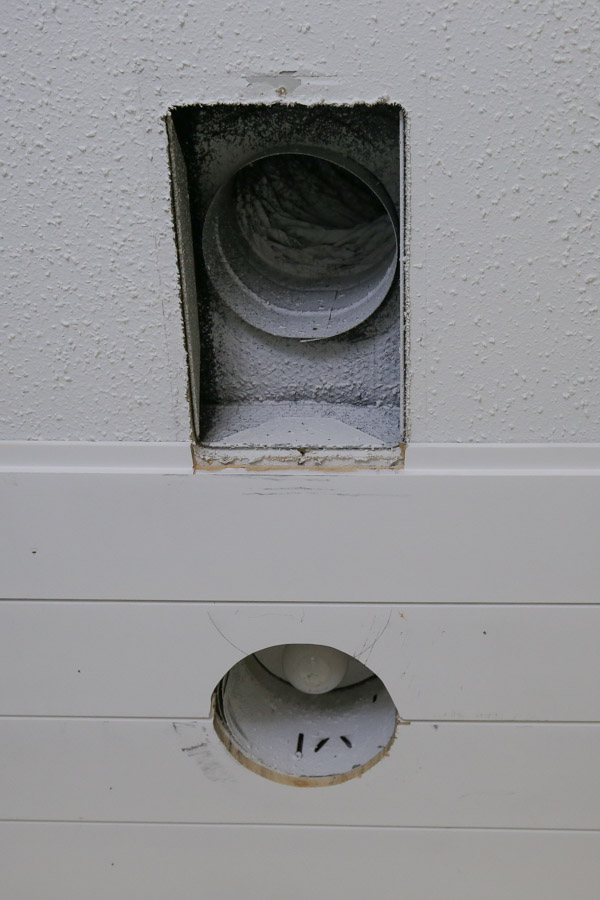
The cuts don’t have to be perfect since the edges are going to be covered by the vent covers.
Again, you can see all of these special cuts in action in the DIY shiplap ceiling video tutorial!
5. Finish installing the shiplap boards
Continue installing the shiplap boards for the DIY shiplap ceiling.
It helps to have a second person holding the board up in place on one side, while the other person nails the board into the ceiling on the other side to make the process go faster.

Once you get to the last board, you will likely have to rip it to size along one edge. Measure the board width size needed for the remaining gap and rip the board to this width.
A table saw or circular saw with straight edge guide is best to use, but a jigsaw can be used as well if you are going to be using molding or trim to cover the cut edge.
We had to use a jigsaw around outlets on our vertical shiplap half wall in our dining room.
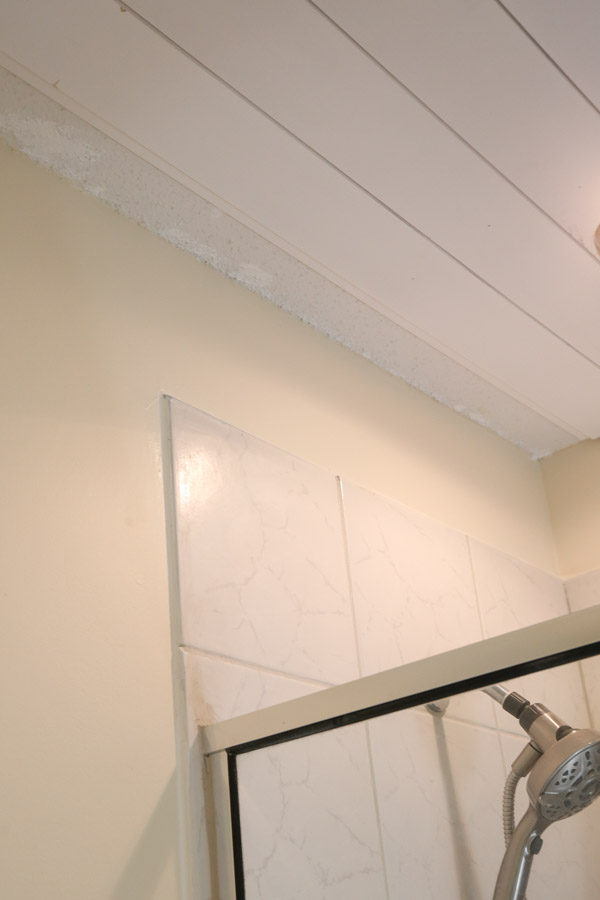
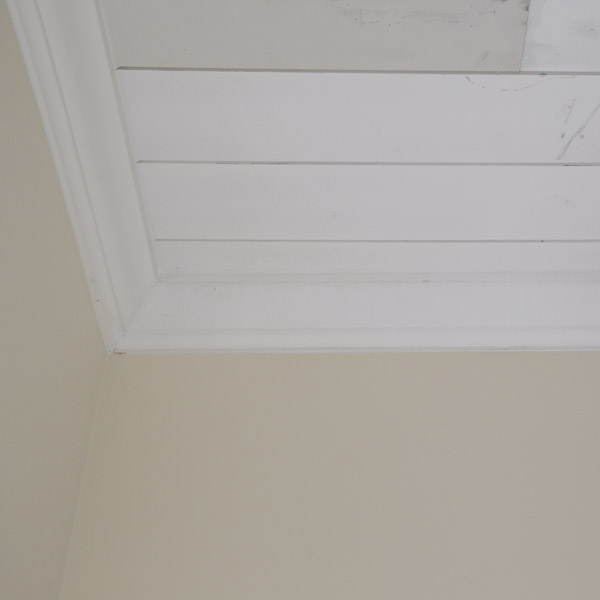
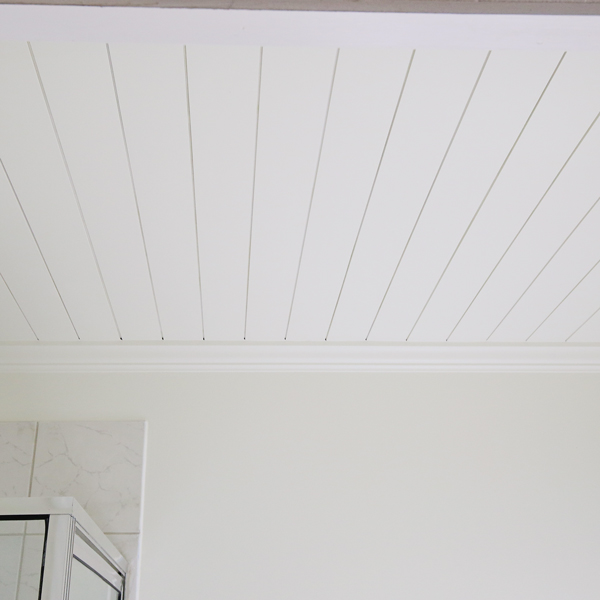
6. Install crown molding or trim (optional)
After the shiplap has been installed, install your crown molding or trim. If you don’t want to do crown molding cuts, something as simple as quarter round can be used to cover the edges.
We used crown molding for our shiplap bathroom ceiling. I love how crown molding looks on shiplap. We used crown on our vertical shiplap wall from floor to ceiling too!
For our crown molding, we initially started using the the classic, no compound, mitered cut (verticaly nested) method (the same method we used for enclosing the space above our kitchen cabinets.
But the inside corners were tough to get right. So, we ended up switching to coping the inside corners instead.
7. Prep for paint and paint the DIY shiplap ceiling
Fill all nail holes in with a lightweight spackle, allow it to dry, then lightly hand sand any excess if needed.
Next, caulk all gaps, seams, and corners with a paintable caulk.
After caulking, prime the boards if they aren’t already pre-primed like ours.
Finally, paint the shiplap and molding! We used Alabaster by Sherwin Williams in an eggshell sheen on the shiplap, molding, and wall.
Note, it’s easier to paint the shiplap gaps as the boards are installed as explained in my how to paint shiplap tutorial. But, we just painted after the install since this was a ceiling install and our pre-primed white boards were being painted white.
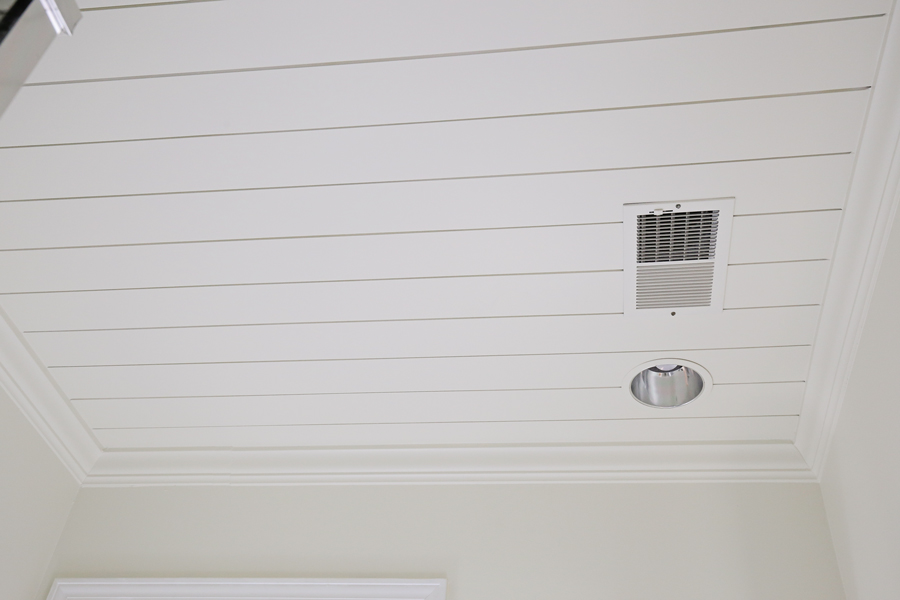
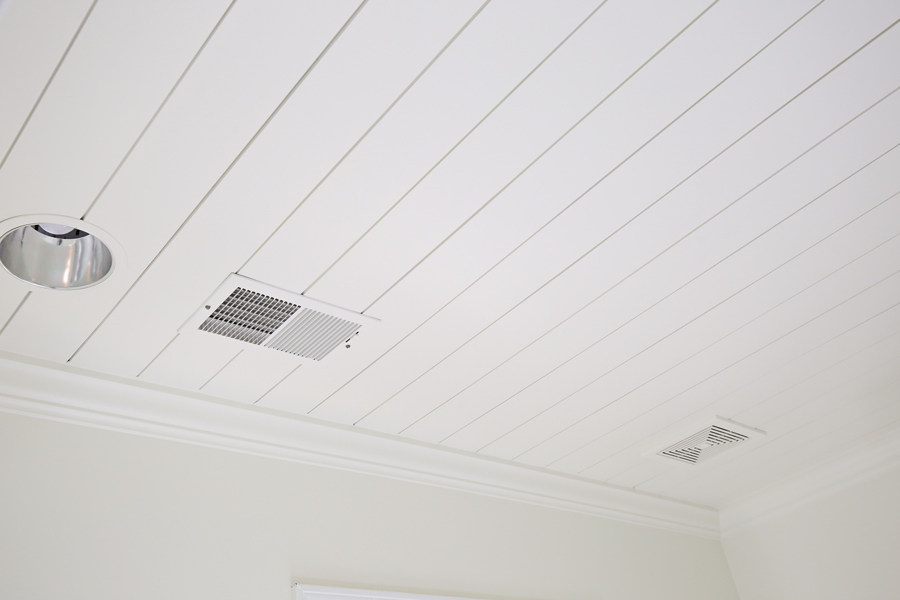
I love our new DIY shiplap ceiling! It is making our ceilings appear taller and it adds so much character!
Don’t forget to pin it and save for later:
I hope this how to install a shiplap ceiling tutorial has been helpful! Make sure to join our Woodworking for the Home Facebook group and share this project there if you do it! Or tag me on social media @angelamariemade or #angelamariemade!
Also, don’t forget to check out our DIY vertical shiplap wall from floor to ceiling as well as our how to paint shiplap tutorial!
Follow along for my latest projects and sneak peaks on Instagram, YouTube, and Pinterest! More bathroom makeover projects are coming up soon!
Karen
Wednesday 21st of July 2021
Were concerned about moisture causing the shiplap to buckle? I am wanting to do this in our master bathroom, but its small and dont want to see the shiplap to buckle. TIA
Angela Marie Made
Thursday 22nd of July 2021
The wood ship lap planks that I used are made for all interior rooms including bathrooms and should definitely not buckle over time.
Dennis
Saturday 20th of March 2021
A lot of popcorn ceilings are asbestos. I do not know if yours are or not, but you need to tell your readers to be careful if they have popcorn ceilings to have them tested for asbestos. If it is asbestos, then they need to use special precautions when working.
Madeline
Saturday 20th of March 2021
Love it!
Angela Marie Made
Monday 22nd of March 2021
Thank you!