How we transformed our small laundry room from builder grade basic with a lack of function to dreamy and very functional! A small laundry room makeover before and after!
Making over our laundry room was a low priority on our project list until our washer and dryer started acting up and needed replacing, which then snowballed into planning a full on transformation of our tiny laundry room!!
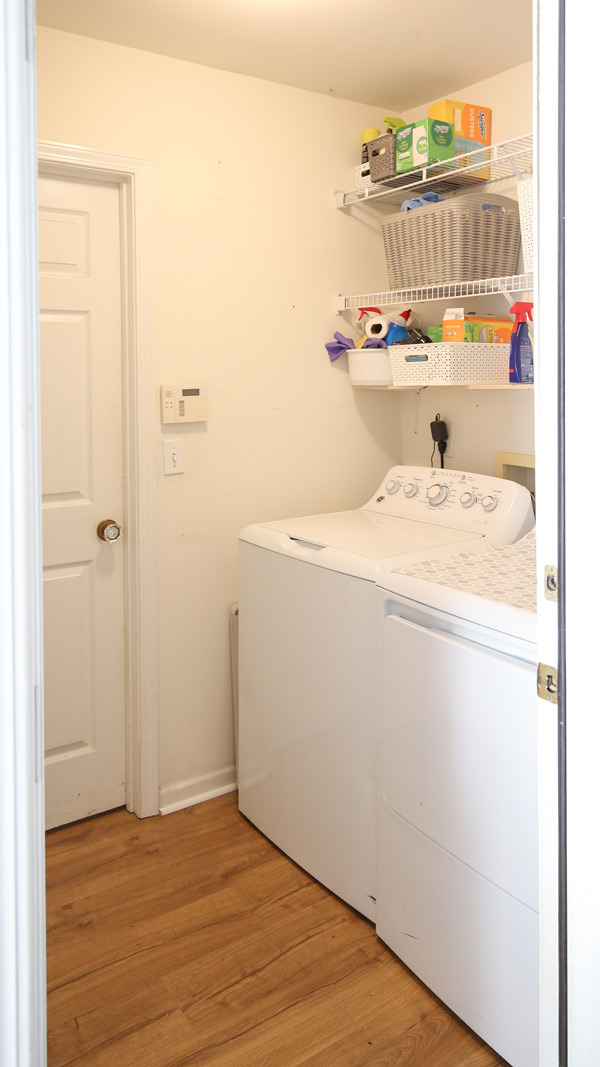
Here is our laundry room makeover BEFORE and AFTER:
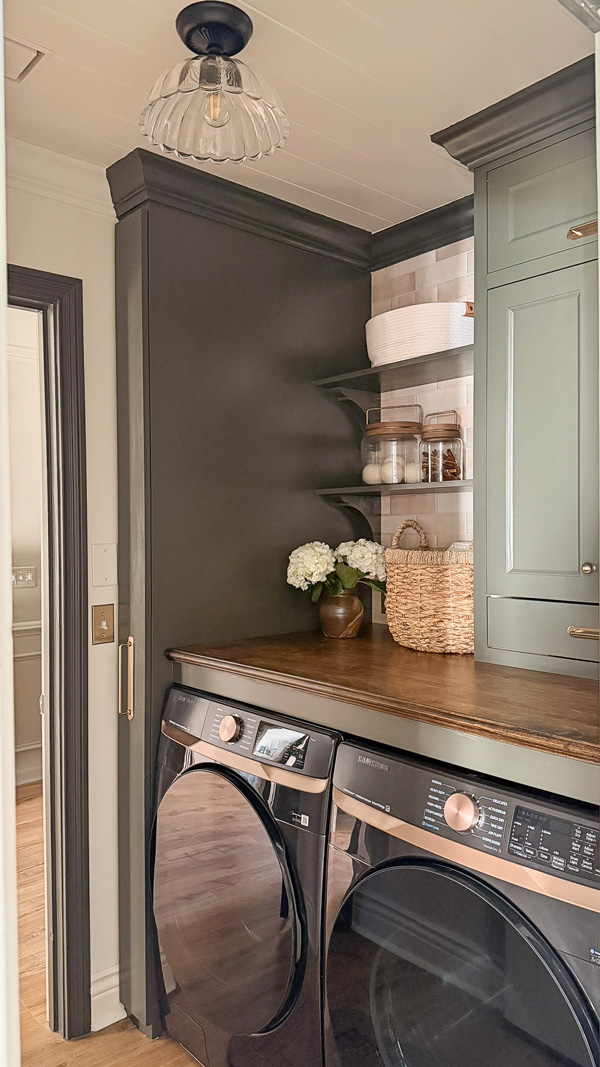
I’m sharing more dramatic before and after photos below! Here is the story of this dreamy and functional tiny laundry room transformation!
Note, this post contains some affiliate links. I may earn a commission if you shop those links (at no cost to you). Thank you for supporting my small business. For more info see my disclosures here.
NOTE: All items used can be found in my Lowe’s Storefront here and I’ve also linked many items at the bottom of this post and throughout the post!
The Plan
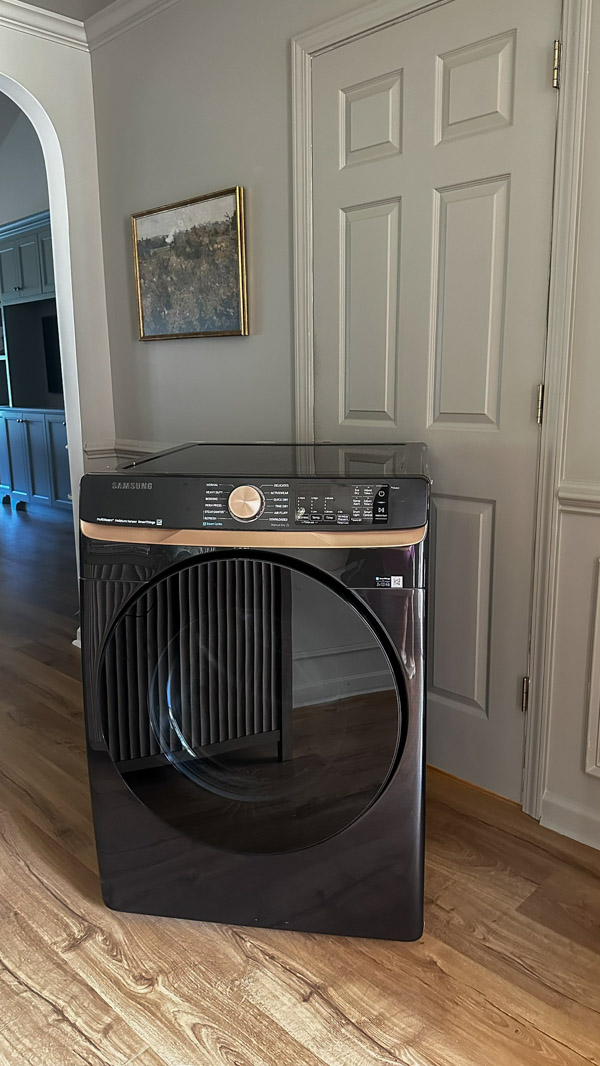
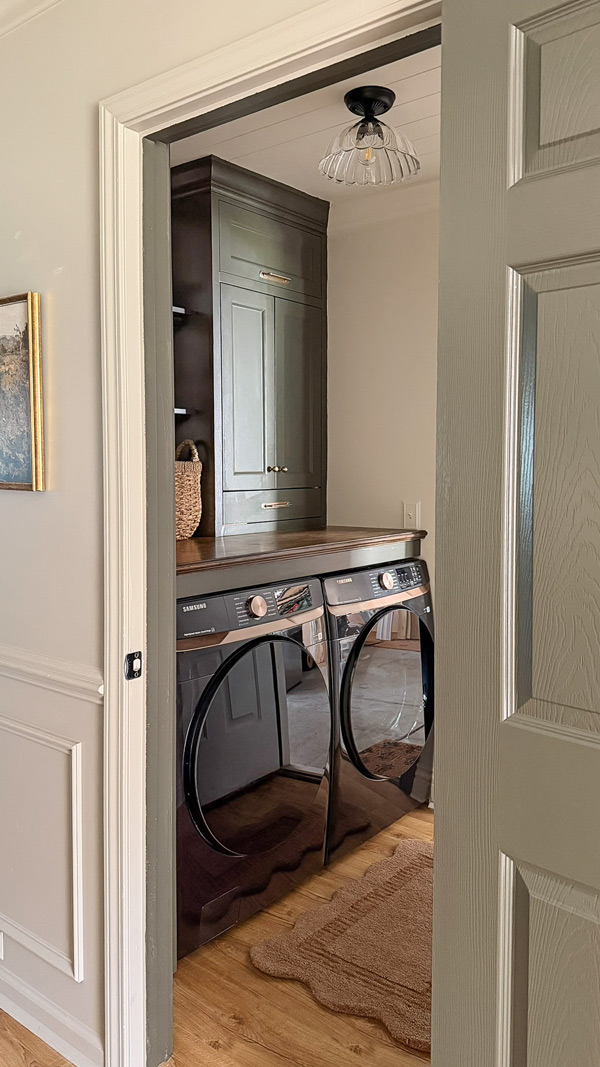
Our laundry room was very builder grade basic, utilitarian feeling, and never functioned that well. We added some extra, inexpensive wire shelving to make due with it. Although I can’t stand wire shelving!
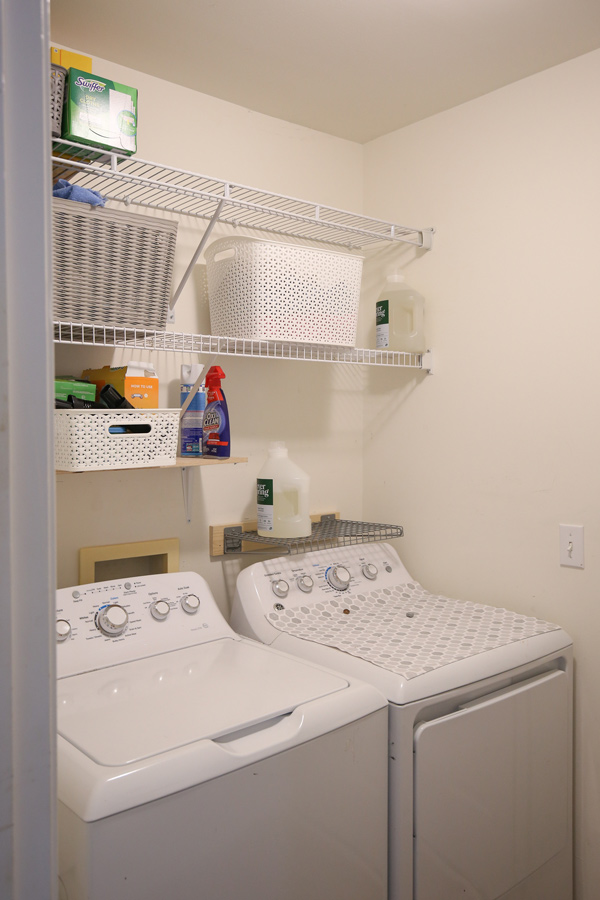
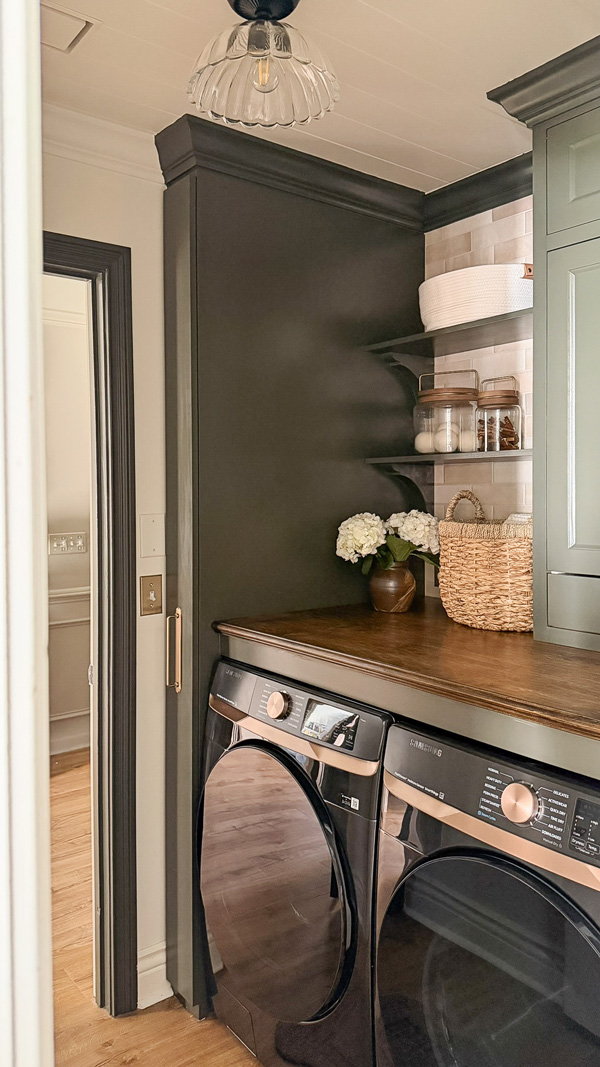
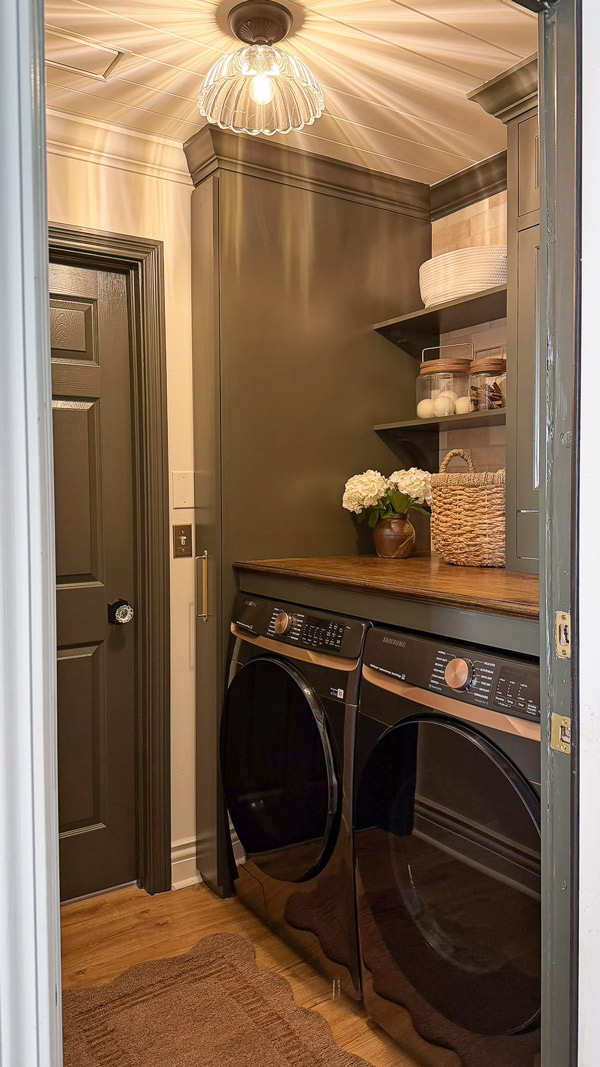
While planning the makeover, my goal was to make the space feel dreamy, a bit moody, and to make it super functional, maximizing the tiny space to it’s fullest! Who says a tiny laundry room can’t be dreamy and functional?!
Beautiful and Smart Washer & Dryer from Samsung
This beautiful and smart washer and dryer from Samsung at Lowe’s set the mood and design for the entire room!
Side note, I love that it tells me on my Samsung Frame TV and Samsung app when my cycle is done! It has so many more amazing features and works great, huge improvement compared to our old machines.
Planked Ceiling
First, we planked the ceiling with these primed tongue and groove boards. The installation is the exact same as our DIY shiplap ceiling.
Check out the difference between shiplap and tongue and groove boards here.
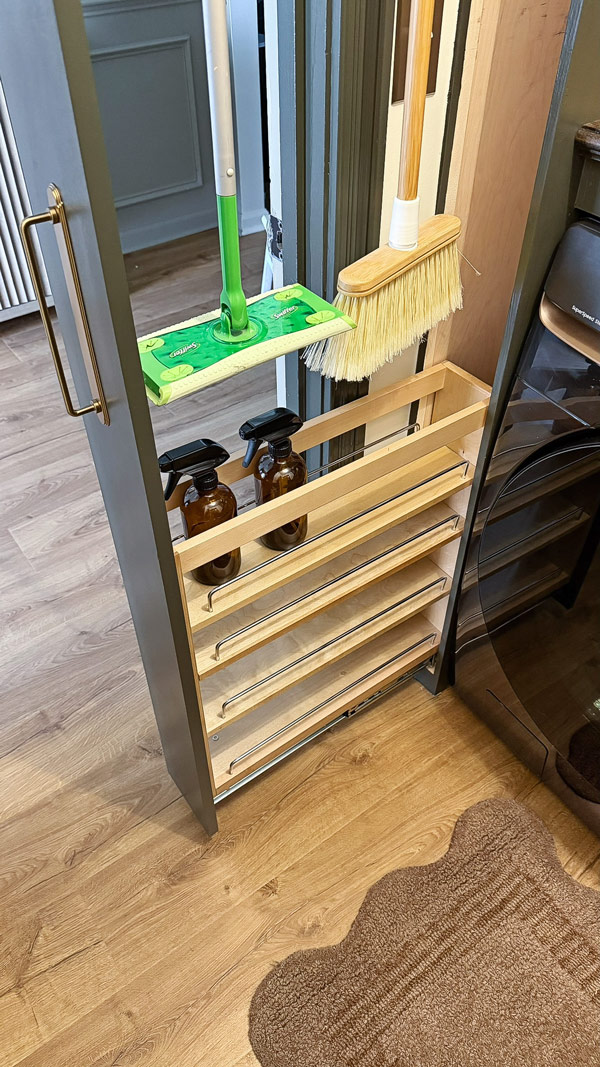
DIY Broom Cabinet with Pull Out Organizers
I couldn’t stand our wall rack with all of our brooms and hanging items. I was determined to hide them!
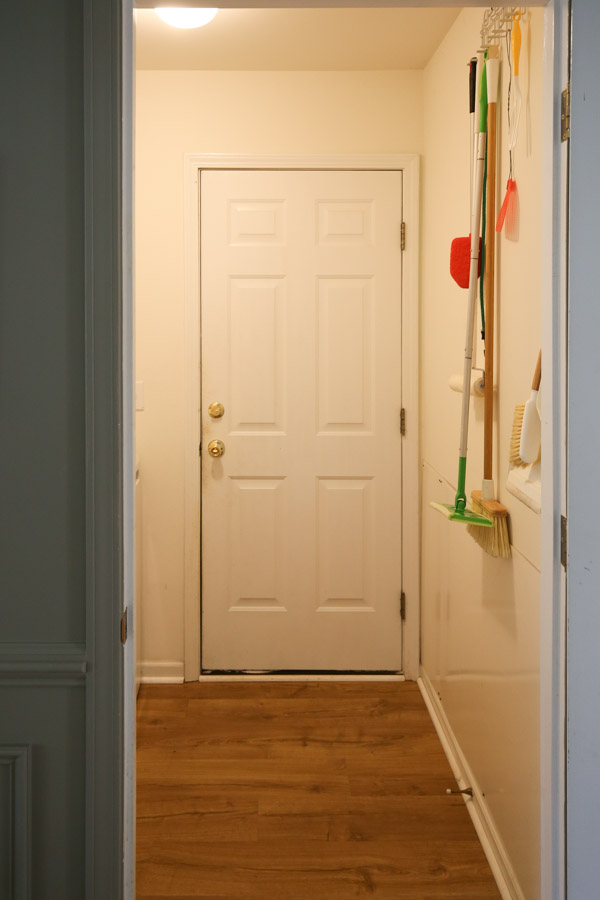
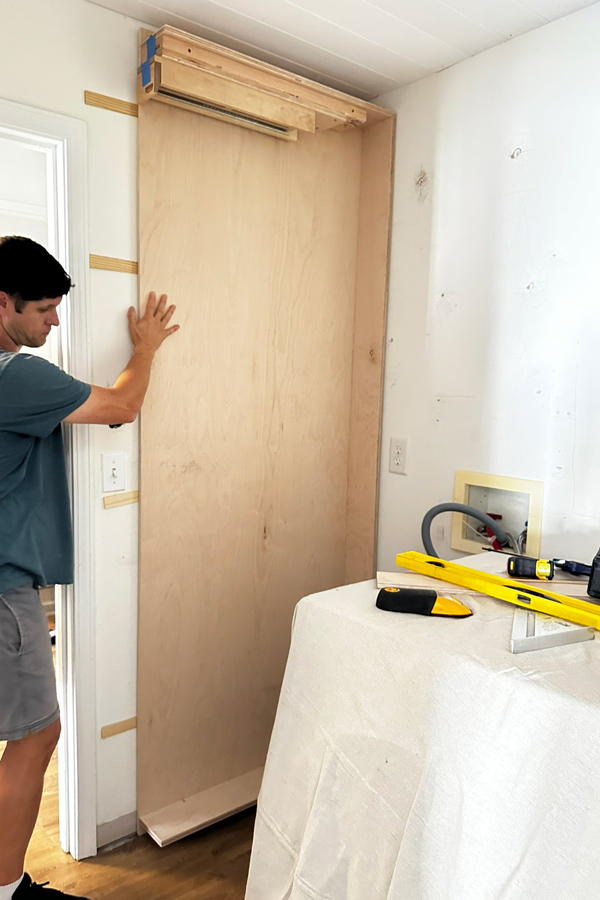
We had about 6-7″ of extra space next to our washer and I came up with a broom cabinet idea to maximize the wasted space and hide our brooms and add extra storage!
Here is an overview of what we did.
First we built a skinny, floor to ceiling cabinet box and left the right side off at first so we could secure it to the wall studs. You can check out my DIY cabinet tutorial here which explains how to build a cabinet box and face frame.
We did have to use 1/2″ plywood on the sides to make it fit in the space, but we still used 3/4″ plywood on the top, back and bottom boards.
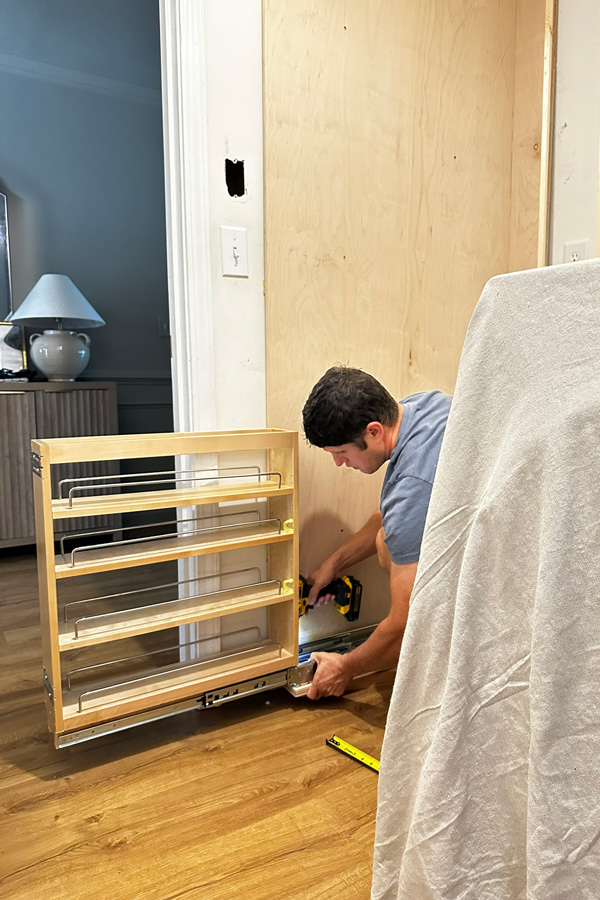
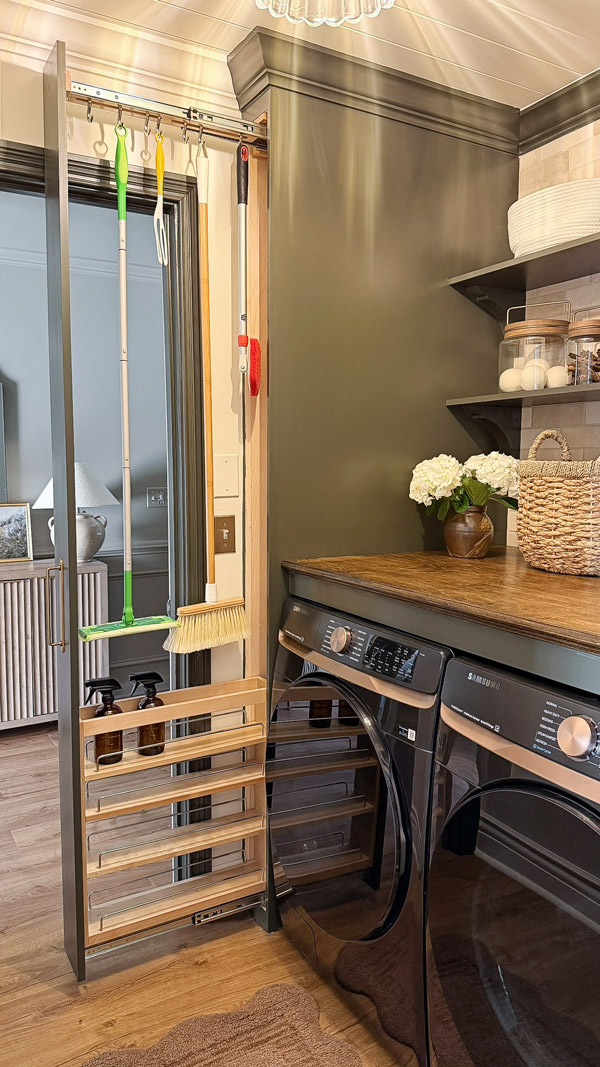
Then, we installed these pull out organizers, one at the top with hooks, and one at the bottom with adjustable shelves.
Then, we added the last side of the cabinet and installed a face frame.
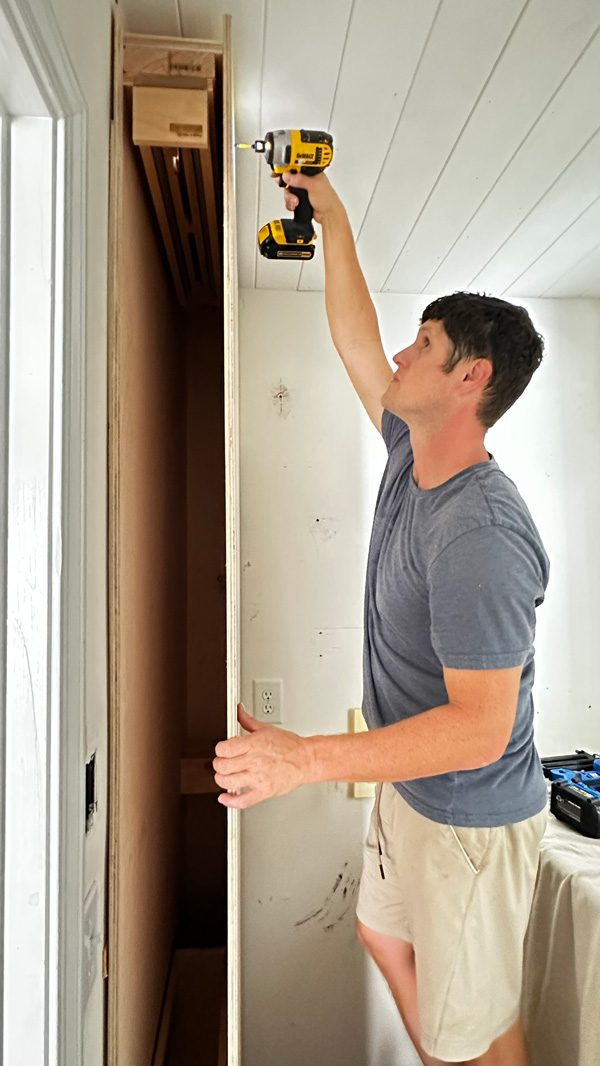
Finally, we installed a door. We ripped a 1×6 to size and screwed it into the two pull out organizers to make this work.
I love how this turned out so much! And I’m so happy we were able to make it fit!
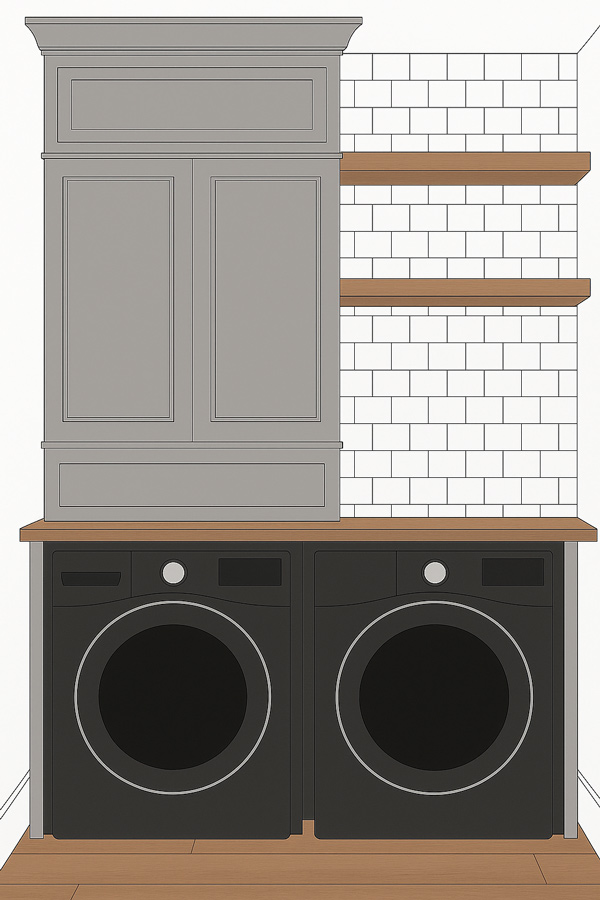
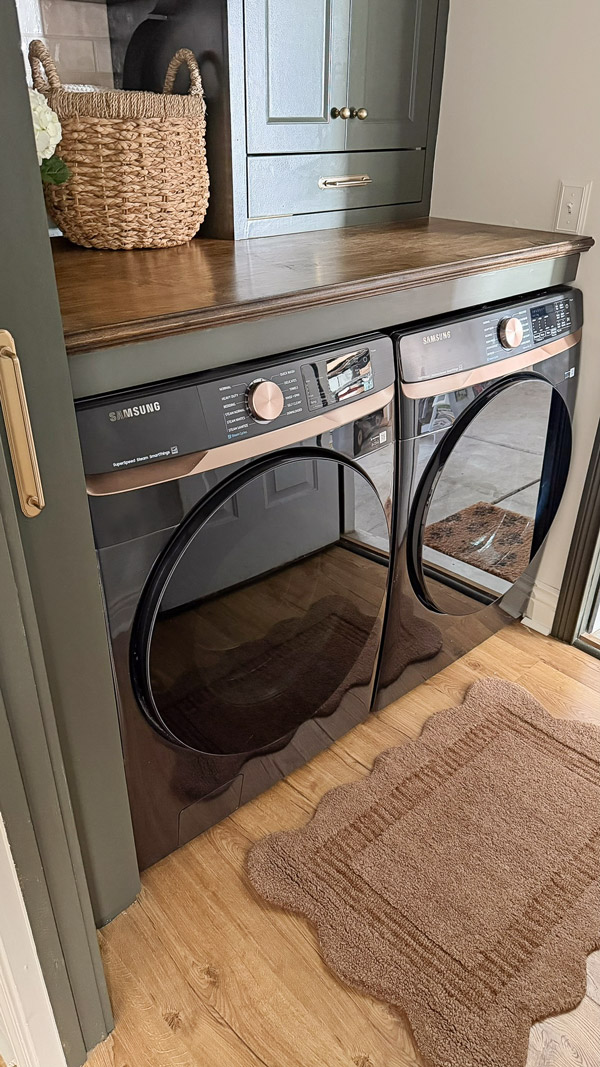
Stacked Cabinetry and Cabinet Countertop with a Drawer
After trying out what felt like 100 layouts for this space in my planning, I decided that stacked machines were not going to work with the countertop, open shelving and broom cabinet I wanted to add.
So, to maximize space and cabinetry with hidden storage, I found the perfect ready to order cabinets! They come in many sizes and styles too.
I went with a 10″ lift up style cabinet and an extra tall double door cabinet with a drawer. These are the nicest cabinets I’ve ever bought and the value is so good for what you get! The quality is great and they come with Blum hinges which work so smoothly!
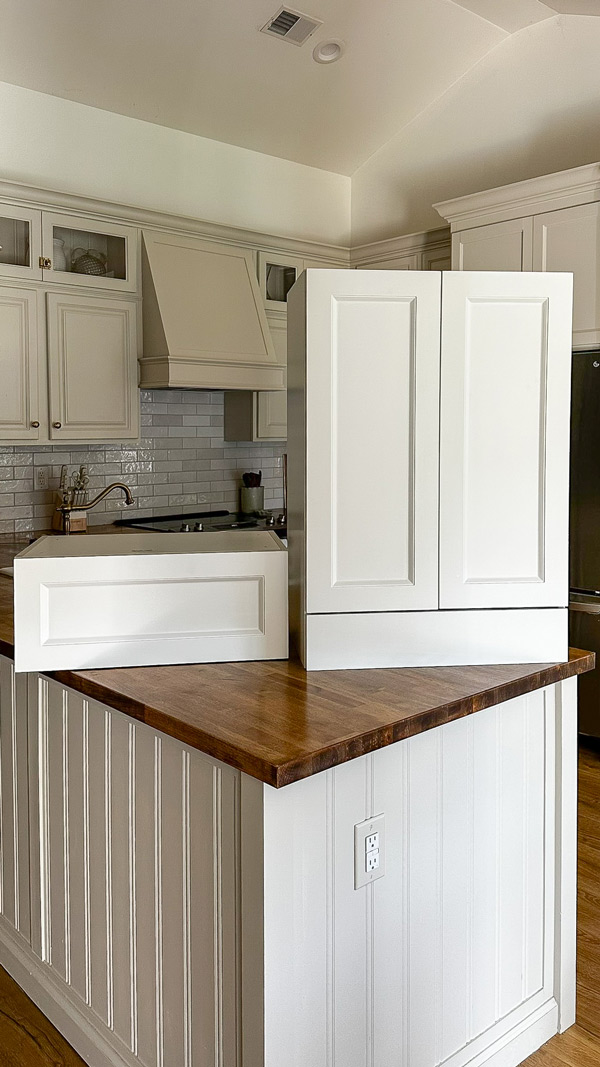
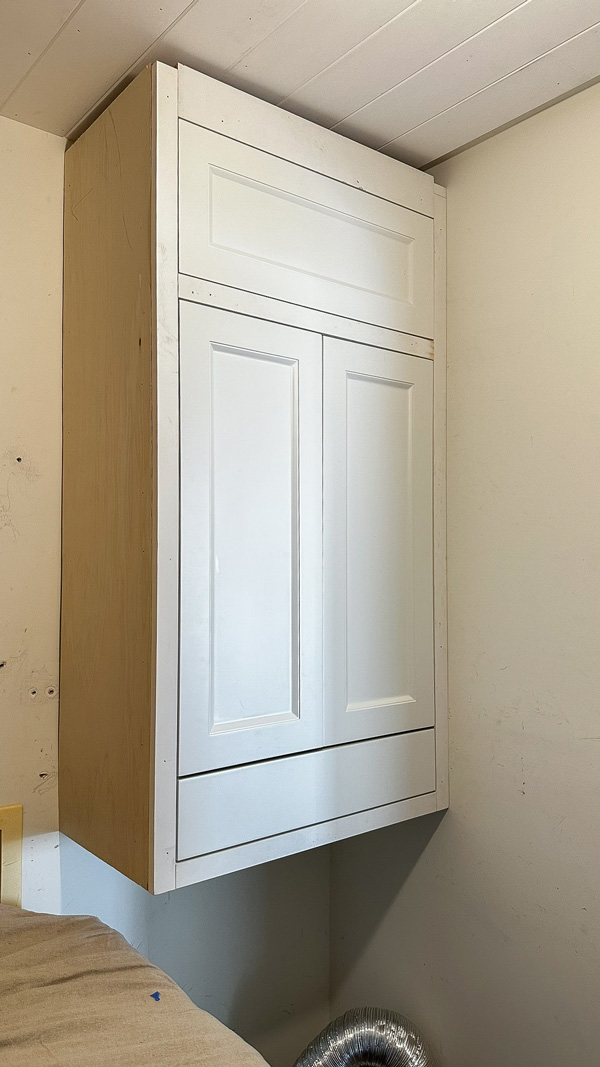
We stacked these cabinets and turned them into a custom looking cabinet with inset doors! We did this by adding blocking with 2x2s and 2x4s as shown in the photo below.
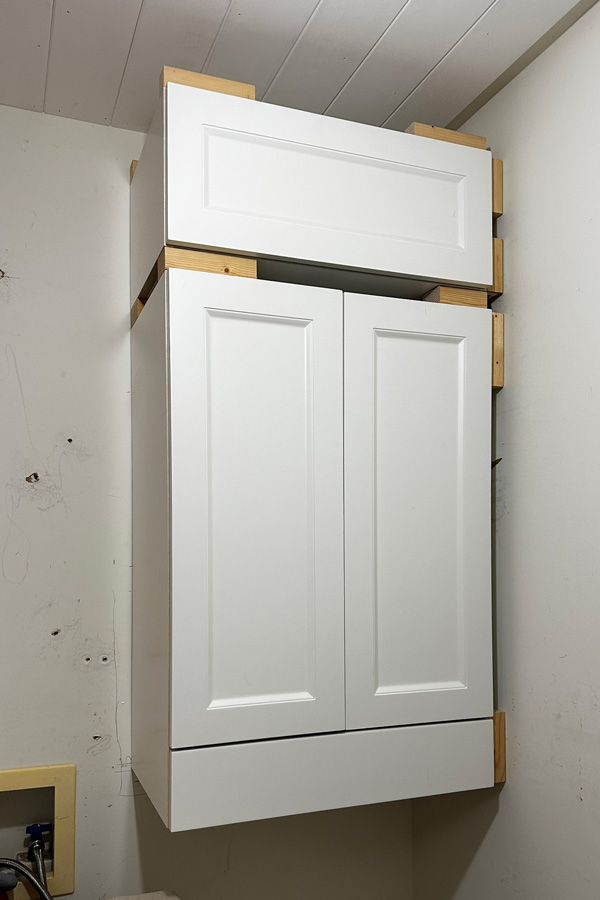
On the sides we used stacked plywood and shims. Then we trimmed out with a face frame on the front and 1/4″ plywood on the sides.

📩 Want to Save This?
I love the countertop cabinet and the fact that it has a drawer too.
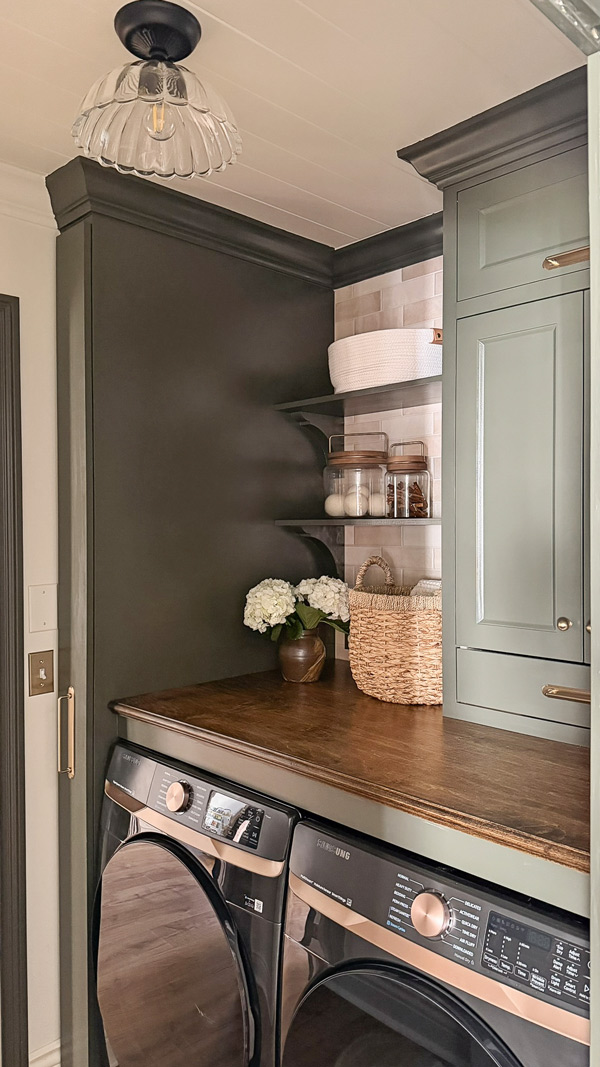
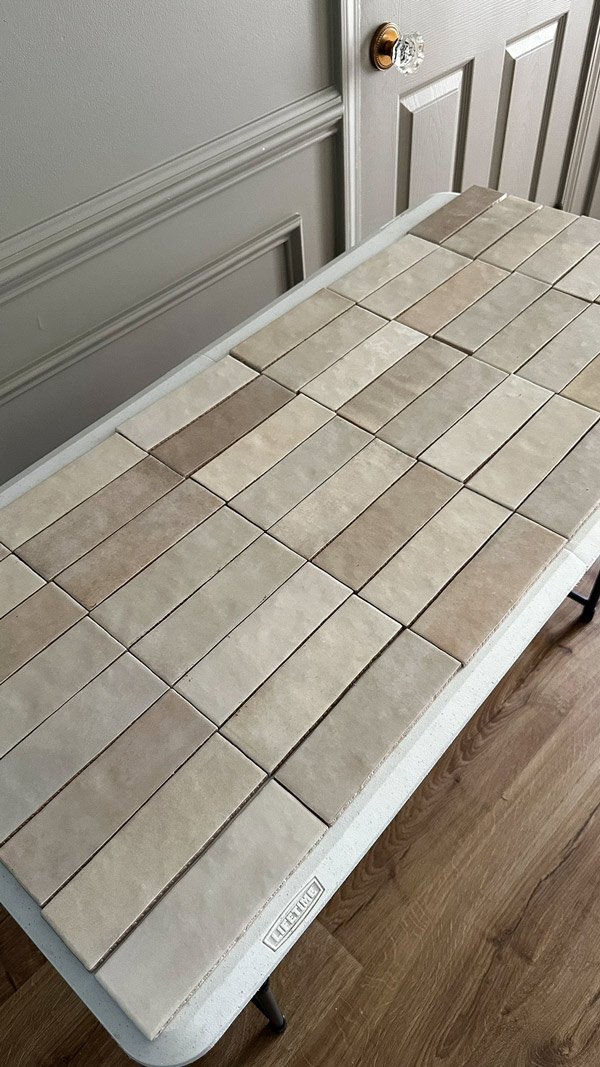
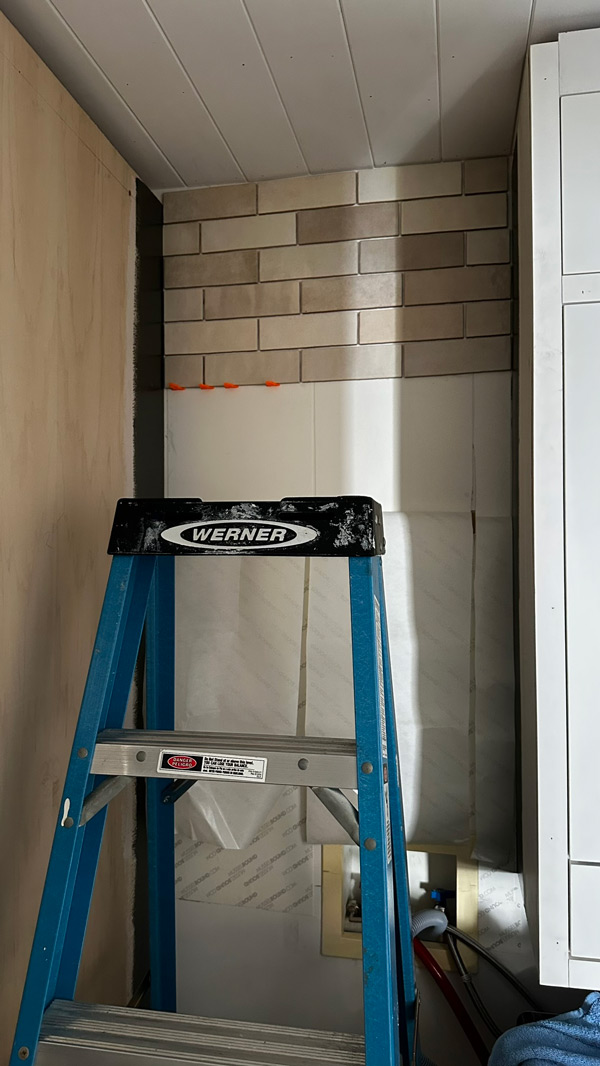
Tile Backsplash
To brighten up the dark room, which doesn’t get much natural lighting, we added this beautiful, handcrafted tile in creme, which has a slight shimmer to it when the light does hit it.
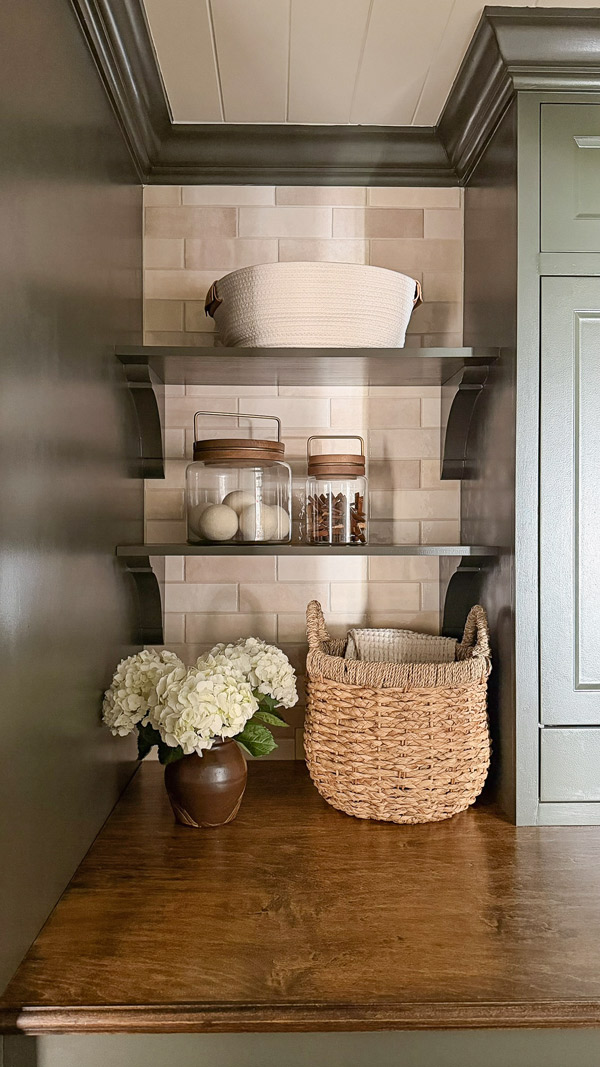
Wooden Shelves with Corbels
I love open shelving in a laundry room. In our last home I added a thin laundry room floating shelf in our laundry closet makeover. In this space, we installed two shelves with a 1×12 and these wooden corbels.
DIY Wood Laundry Room Countertop
At first I wanted a butcher block or stone countertop over the washer and dryer, but they were both expensive and heavy.
So, we built a wooden countertop instead by stacking 3/4″ premium plywood and 1/2″ plywood together, then trimming out with this pretty shelf edge trim. It’s the same trim I used on our DIY living room built ins too!
We installed 2x3s to the wall studs and broom cabinet to rest the countertop on top of and secured them together with L brackets.
I love having a laundry room countertop!
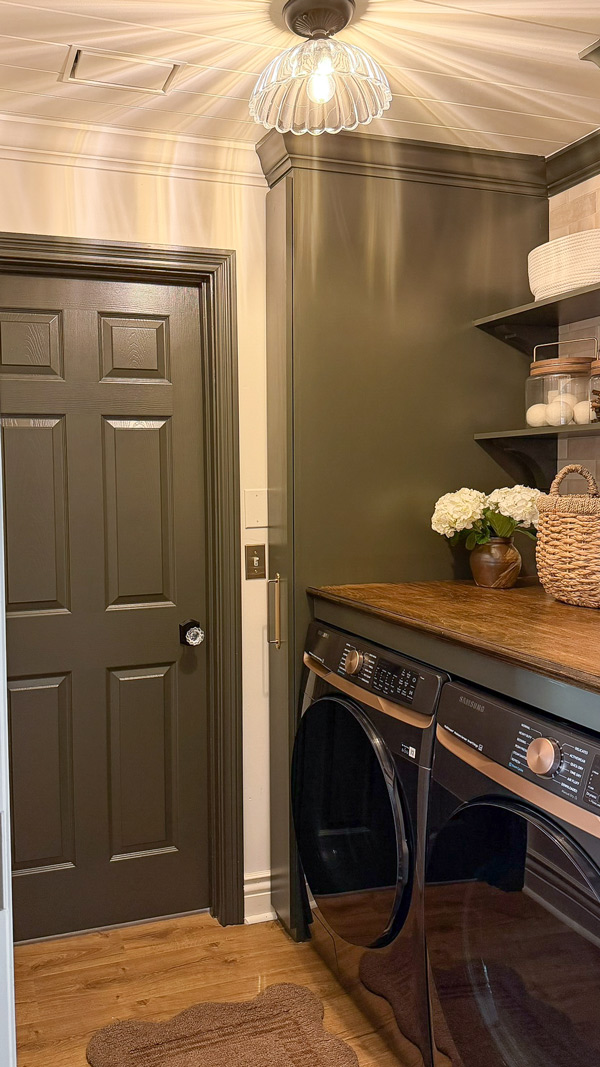
Paint, Doors, Trim, and Molding
All the cabinets were painted with Fatigue Green by Benjamin Moore, which really added a moody vibe. The ceiling, trim, and walls were painted in Creamy by Sherwin Williams.
We installed crown molding and new baseboard and door casing which helped elevate the space.
Painting the doors and casing was a detail I loved too! Here is a before and after of one of the doors!
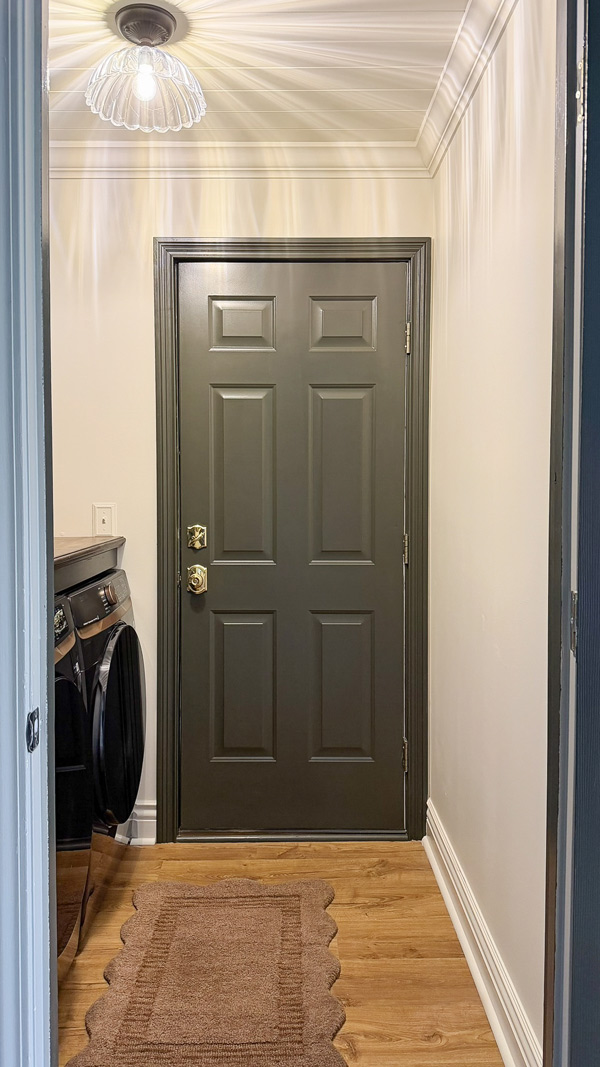
Other door:
Details, Decor and Organization
Here are all of the details on the decor we added that I love and really sets the mood:
- Scalloped semi flush mount light
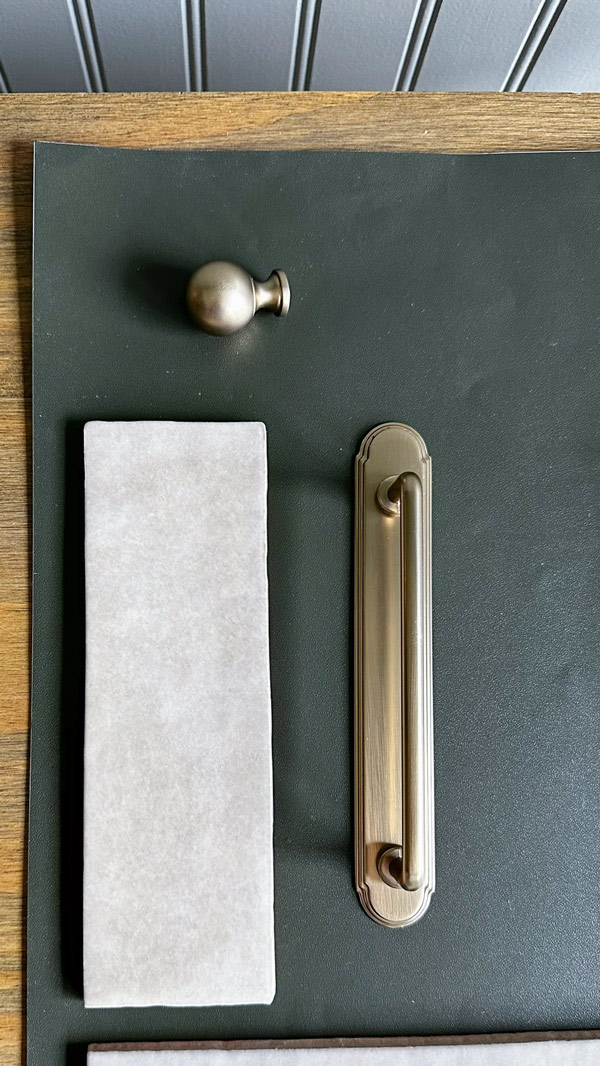
- Vintage style cabinet pulls and ball cabinet knobs in champagne brass
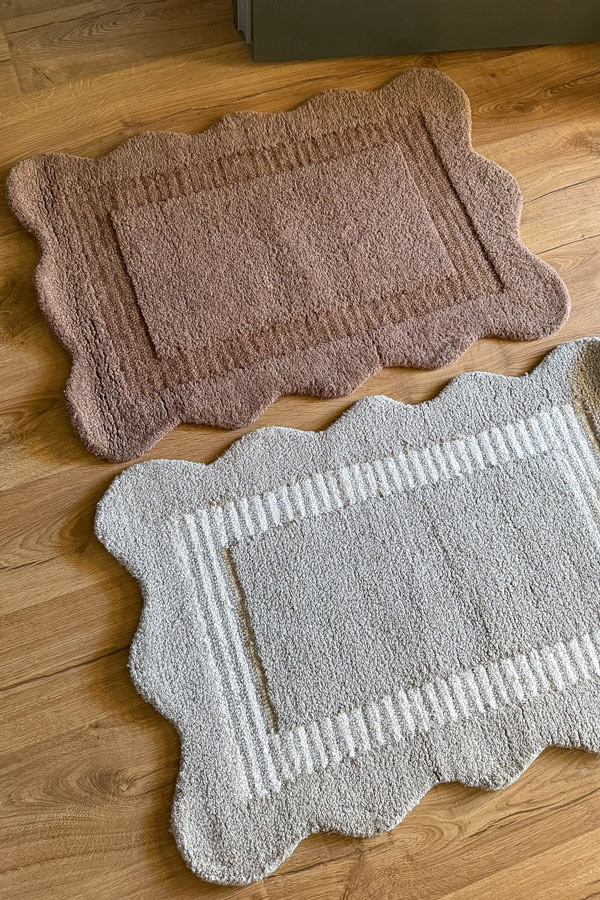
- Scalloped Floor Rug
- Glass canisters with wooden lids
- New deadbolt and matching door knob on the garage door in the space
And here is a close up of the vintage style cabinet pulls and ball cabinet knobs that are just beautiful!
And the Scalloped Floor Rug, I went with the brown, but it comes in many pretty colors.
Basket
This wicker basket on our laundry room countertop is actually an indoor planter! It is lined with plastic.
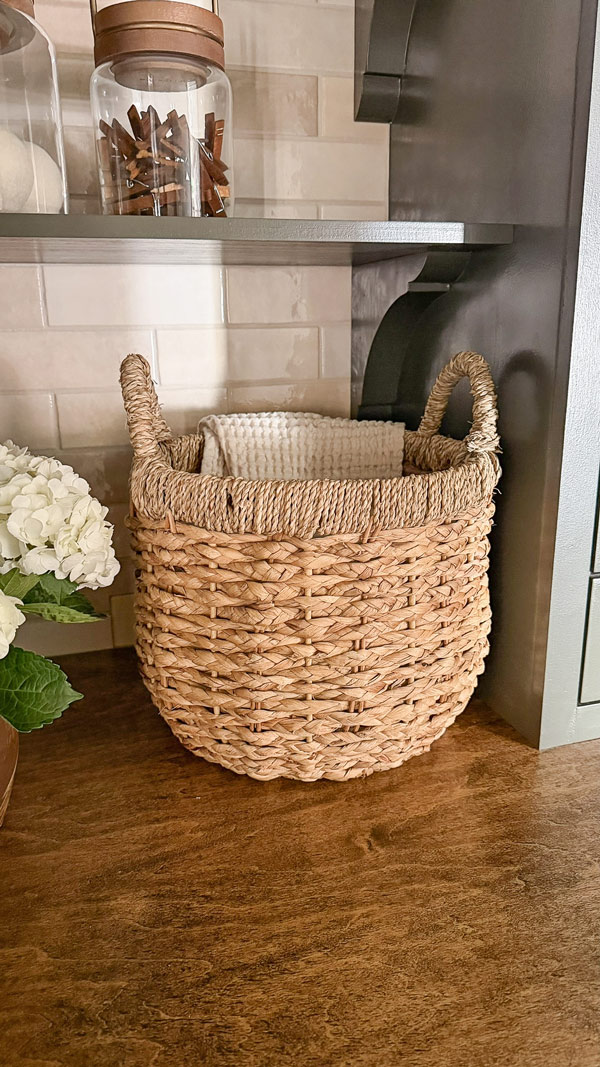
I am using it as a cute laundry basket because it’s the perfect size/look for our new laundry room countertop, has handles, and the liner is great for dirty/damp clothes. And it comes in a set of 2 (a large and small basket)! I will likely put a small Christmas tree/plant in the other bigger basket!
I have a few more items to add to the walls in here that I can’t wait to share about soon, stay tuned!
I really love how this small laundry room makeover before and after turned out! It was a lot of work, but worth it! What do you think?
Here are two final photos with the lights on vs off!
VIDEO
You can see the full transformation in action in my laundry room makeover reel on Instagram here, which was sponsored by Lowe’s!
Make sure to check our our other laundry makeover in our last home!
Follow along for my latest projects and sneak peaks on Instagram, YouTube, TikTok, and Facebook!
Beth
Friday 27th of February 2026
Angela - I absolutely love your projects and have learned a lot from so many of them. I just received the same cabinets for my laundry room and wanted to know the process of how you painted them. As of now, I plan to keep them white but will need to paint the risers, fillers and. molding. Keep up the great work and I'll continue to look for your emails.
Julie Nichols
Thursday 12th of February 2026
This is perfect! Can you please add the measurements of your laundry room? I want to show my Hubby your room is small & it can be done! Thanks so much for sharing your creativity. I dreamed of something similar & bought front loaders just we could add countertop. When the new appliances were delivered, my husband let installers put on the drawers (free with purchase). Step one will be to uninstall the drawers. Thanks again!
Angela Marie Made
Thursday 12th of February 2026
Thank you! It's about 5ft x 6.5ft. Good luck with your laundry room!
Kathleen
Sunday 11th of January 2026
This is exactly what I was looking for. Thank you for your beautiful design and sharing your DYI. How did you deal with the water outtake space so that you can still access it?
Angela Marie Made
Tuesday 20th of January 2026
We put the washer and dryer on furniture sliders so they can easily be moved!
Lynette
Wednesday 7th of January 2026
What were the measurements of the laundry room?
Heike
Saturday 1st of November 2025
I love this idea. Thanks for sharing your experience and tips.
Angela Marie Made
Wednesday 12th of November 2025
Thank you so much!