
Learn how to create and build custom DIY office storage cabinets as DIY built in office cabinets!
We are starting our DIY office makeover and the main project to maximize the space is building a wall of DIY office built ins with DIY office storage cabinets and built in desks!
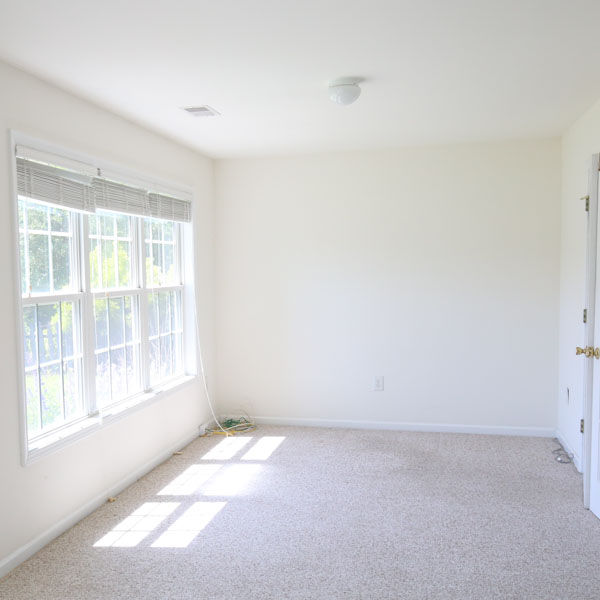
In our current office space, we have zero storage or cabinetry and it is a disorganized mess. Plus, I still have office supplies in boxes from our move because I had no where to put them!
But, we had this empty wall, that’s about 9 feet wide, and it’s the perfect spot to create our DIY built in office cabinets and desks!
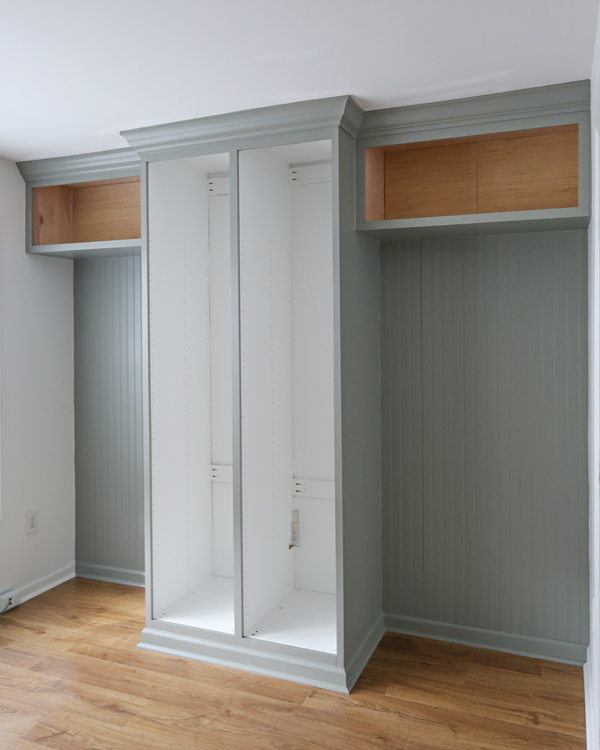
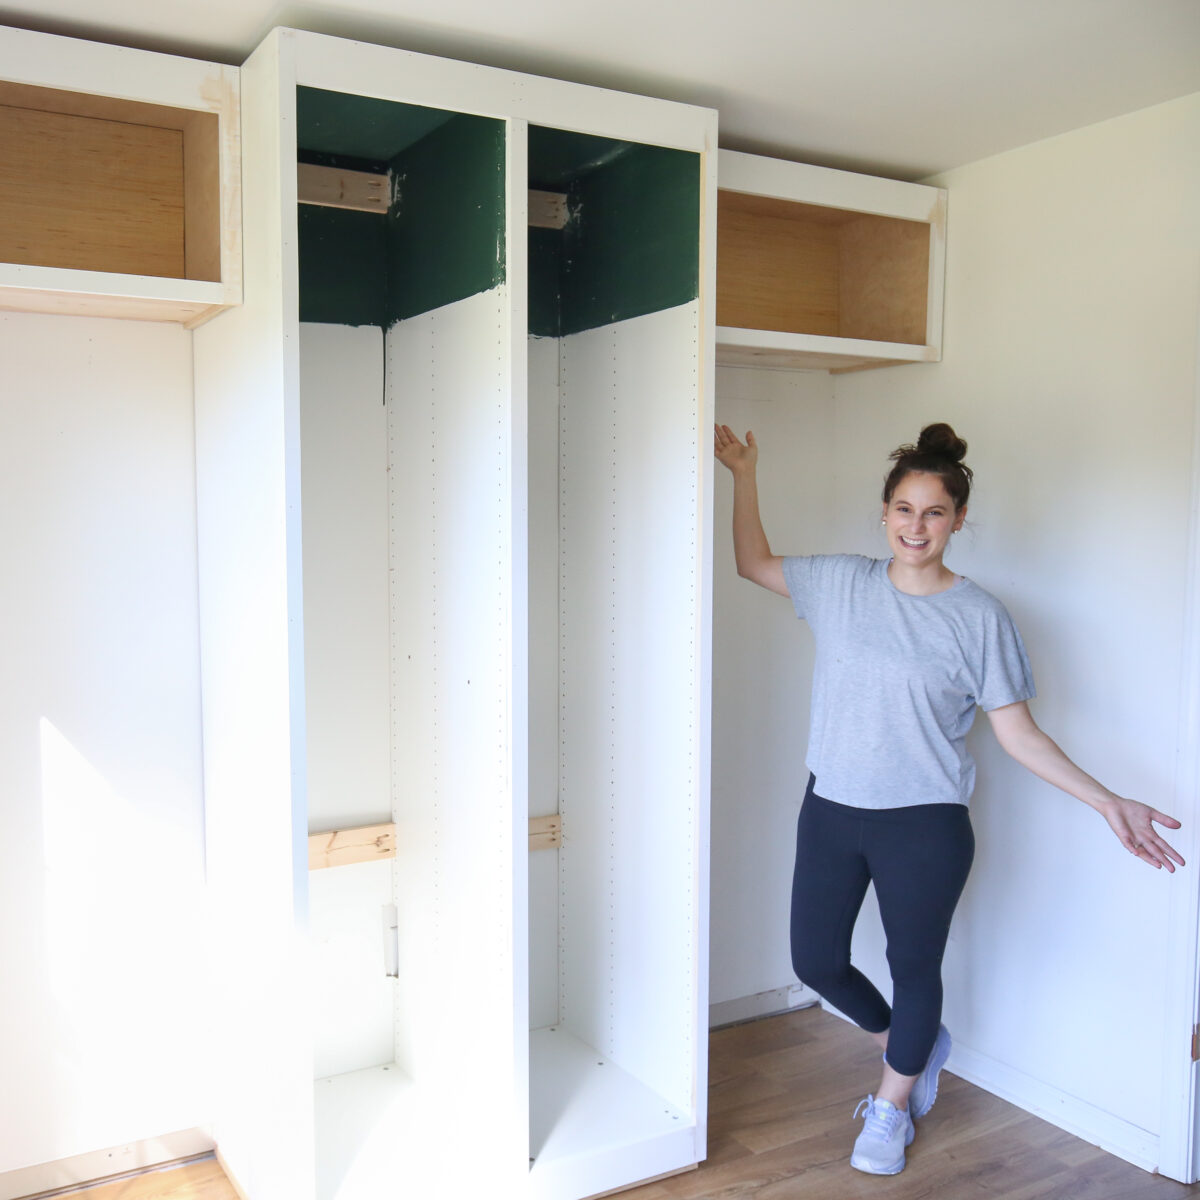
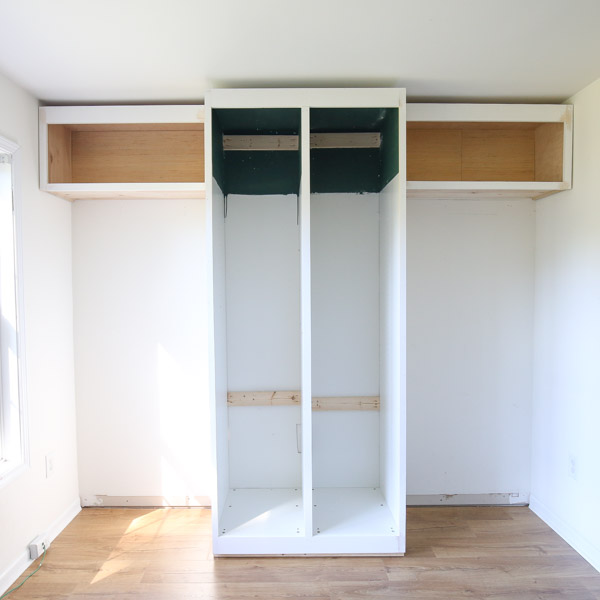
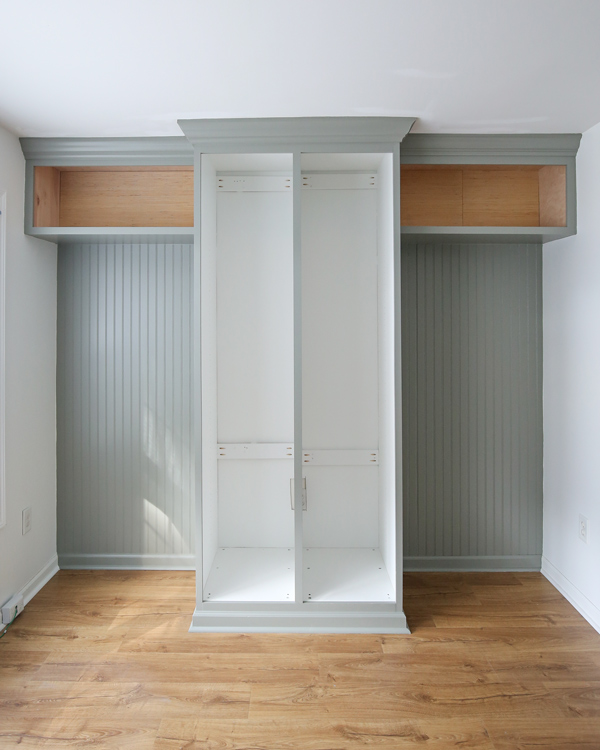
Here is the progress with our DIY office cabinets on this same wall, hard to believe it’s the same wall:
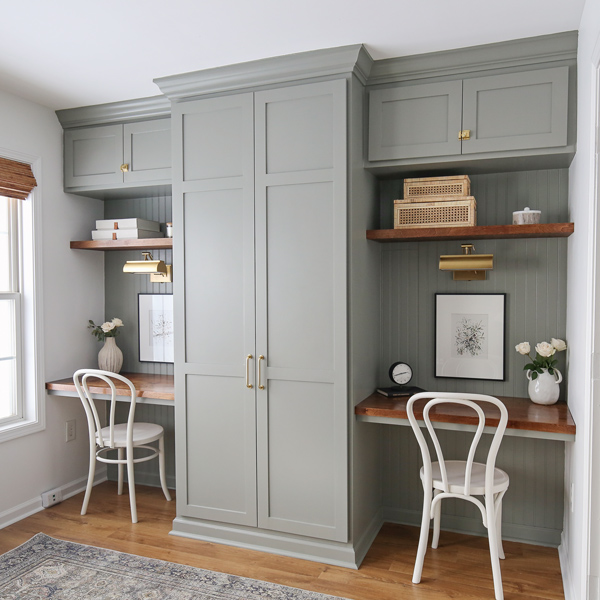
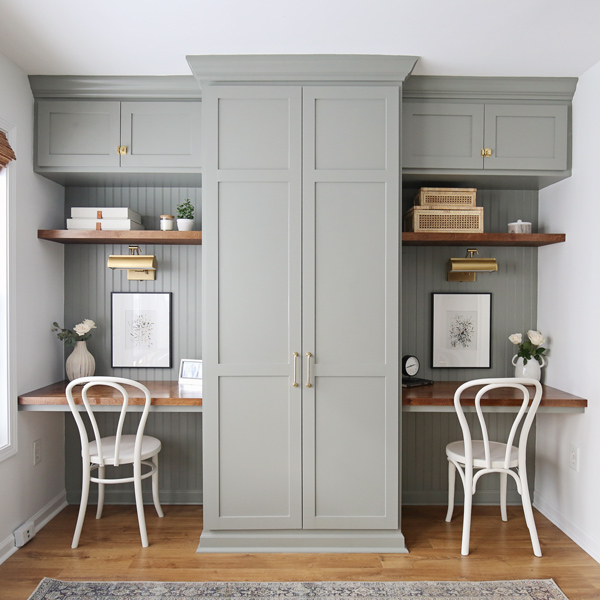
And here is the final result with all of the DIY cabinet doors and rest of the built ins completed!
The DIY built in office cabinets plan
The first step and one of the most important steps to any DIY cabinet or built ins project is to plan!
Here is where the vision for our wall of DIY home office built ins and cabinets started:
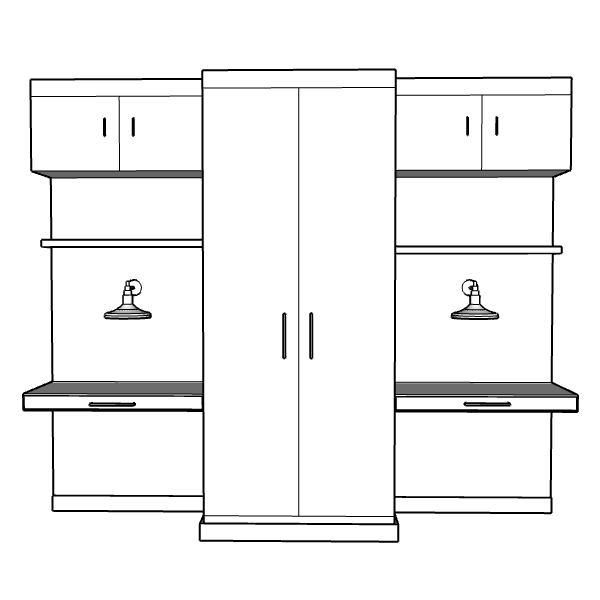
With limited office space, I really wanted to create as much storage as possible with both floor to ceiling cabinets and upper cabinets. We will also be adding two DIY built in desks and built-in shelves.
Cabinet Options for DIY Office Storage Cabinets and DIY Office Built Ins
To create DIY office storage cabinets and DIY office built ins, there are many different ways to do it, but here are the two main options: build the cabinets from scratch or use ready to go cabinetry.
Note, this post contains some affiliate links. For more info see my disclosures here.
Ready to go cabinets
Ready to go cabinetry or pre-built cabinets is typically the fastest and easiest option. You can buy stock cabinets like these which is what we did for the base of our DIY kitchen built-in cabinet and our DIY living room built in cabinets and shelves using stock cabinets.
There are also stock cabinets available as unfinished cabinets.
Or you can use IKEA cabinets which are a more affordable ready to go stock cabinet and work well for customizing.
Another option for ready to go cabinets is to buy the cabinets second hand or used! In fact, that’s what I set out to do with our office built ins to save the most money and I came across the most amazing find!
Brandon and I went on a thrifting adventure and found 5 IKEA PAX cabinets! They were only $50 each, already assembled, and had multiple shelves and baskets in them. They just needed a little fixing up, so we bought the two best ones!
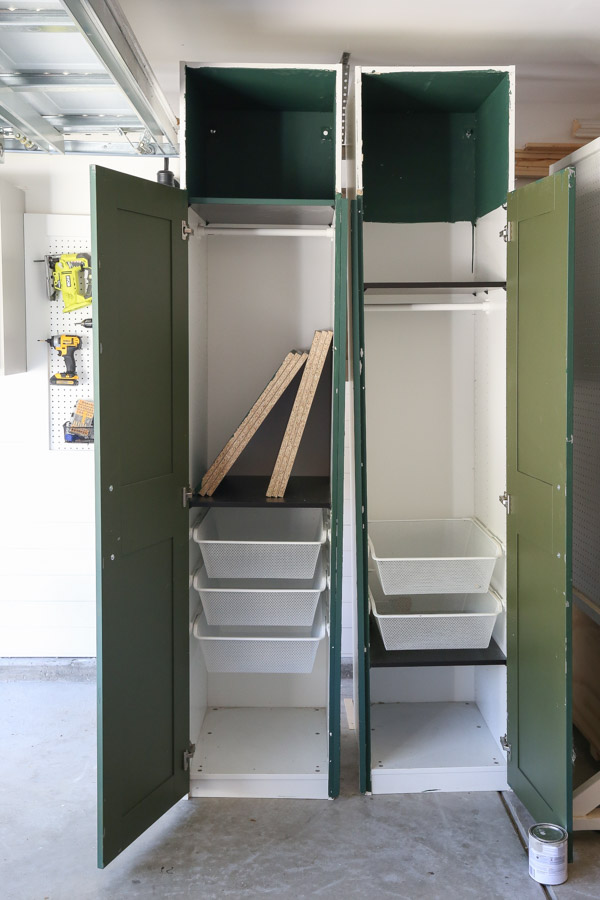
These PAX cabinets are perfect for turning into built-in cabinets (IKEA PAX hack) and for floor to ceiling storage. They also retail for $130 each (not including all of the accessories) so this was a huge savings!
Build DIY storage cabinets from scratch
The other option for DIY cabinets is to build them from scratch. This takes the most time, but you can build custom cabinets exactly how you want them and the exact size you need!
This can be very cost effective too, depending on how many cabinets you need.
I have built several DIY cabinets from scratch, including our DIY garage cabinets, DIY wall cabinets for our laundry room, DIY built in cabinet for our entryway, and a DIY appliance garage cabinet.
I even built a large DIY office storage cabinet bookcase as one of my original building projects when I first got started with DIY!
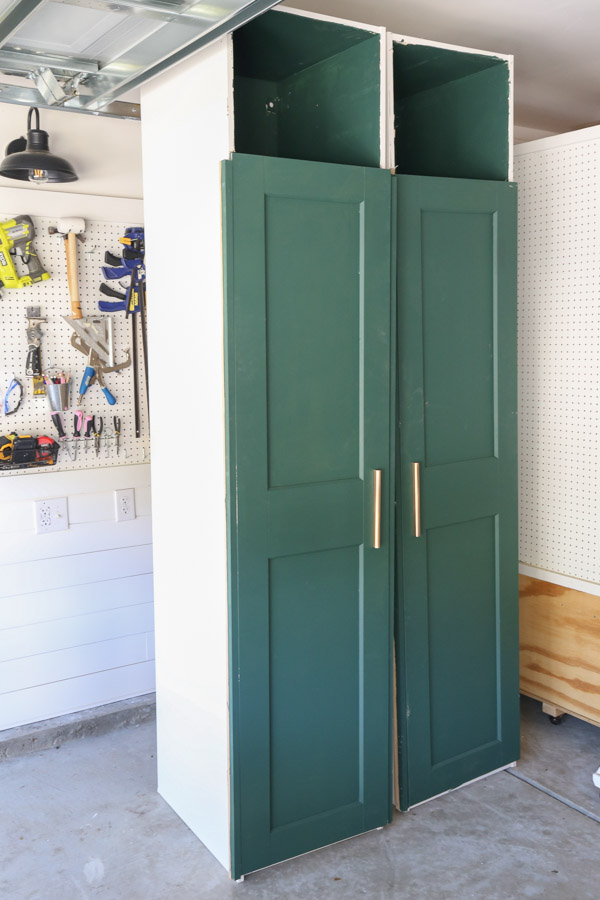
For our DIY office built ins, I built the two DIY wall cabinets on each side of the IKEA PAX hack cabinets, from scratch.
Today, I am going to share step by step how to build custom size wall cabinets for DIY office storage cabinets.
Get the step by step tutorial for the IKEA PAX hack and using IKEA PAX cabinets for DIY office built ins.
Note the tutorial I am sharing below can be used for both DIY built in office cabinets or DIY office storage cabinets that are not built in, but just installed like regular cabinets on the wall! Similar to my DIY garage cabinets.
Wall cabinets vs base cabinets
Note, that the tutorial below is for wall cabinets. However, the same build can be used for base cabinets, except for two differences.
First, you will need to also build a cabinet base to raise your cabinet up for the baseboard or toe kick. I will explain how to do this in my DIY IKEA PAX cabinet hack where I am doing this.
Second, instead of using a full size plywood board for the top piece of your cabinet, you can use smaller strips or boards for the top, since it will be covered by the countertop.
Also, another difference (but optional), with base cabinets, is that you can add a DIY drawer with a drawer box, drawer fronts, and drawer slides too, if you want!
How to Build DIY office storage cabinets
Note: Material quantities needed will vary based on your cabinet dimensions – see step 1!
Materials
- 4ft x 8ft @ 3/4″ thick plywood (we use formaldehyde-free plywood)
- 4ft x 8ft @ 1/4″ thick plywood (optional)
- 1×4 @ 8ft
- 1×2 @ 8ft
- Crown Molding (optional)
- 3″ self tapping screws (or wood screws)
- 1 1/4″ Kreg screws
- 1 1/4″ and 1″ brad nails
- Wood Glue
- Door hinges (I used these overlay hinges)
- Cabinet knobs
- Primer and Paint (or stain)
- Wood filler/spackle
Tools
- Kreg Jig
- Brad nailer
- Miter saw
- Circular Saw or Table saw
- Kreg Concealed Door Hinge Jig
- Drill
- Clamps (48″ clamps and Kreg right angle clamp work great too!)
- Tape Measure
- Stud finder
- Level
*I prefer to use this formaldehyde free plywood from Home Depot that is also pre-sanded for all of my DIY cabinets!
Built-in DIY Office Storage Cabinets Video:
Watch how I created and built our DIY office built in cabinets in my YouTube video! And make sure to check out the final reveal of the office makeover and built in cabinets too!
Subscribe to my YouTube Channel here!
1. Determine the office storage cabinet dimensions and design
The first thing to do is determine the size cabinets you need for your office cabinets. You can either go with a common stock size, like I did with our DIY garage cabinets (which were 30″ wide x 30″ tall x 15″ deep) and our DIY laundry room cabinets (which were 18″ wide x 30″ tall).
Or you can build custom size cabinets for built in cabinets like I did for my built in office cabinets. Measure the wall space your using for your built in to determine your built in dimensions.
I won’t be sharing the measurements for my office cabinets since they are a custom size.
Also, you need to decide what design or style cabinet you want to create. The most common styles are frameless, face frame, and inset with a face frame (like our DIY laundry room cabinets).
Frameless is what the IKEA PAX cabinets are and most stock cabinets come as. Face frame is what I always build and prefer and what I will demonstrate for this tutorial!
Next, calculate the material you will need based on the size and quantity of cabinets that you are building.
2. Make the lumber cuts for the cabinet frame
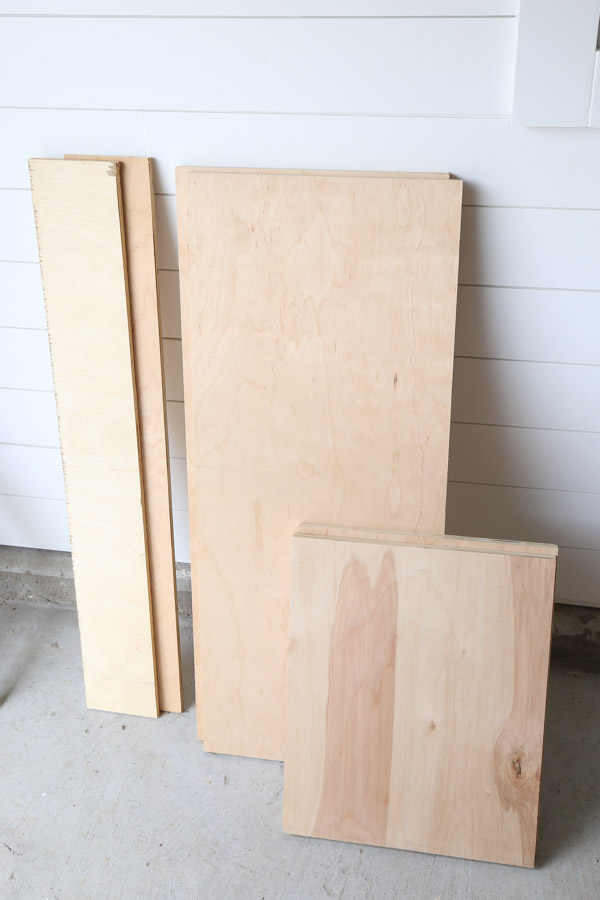
Use a table saw or circular saw and straight edge guide and cut your 3/4″ thick plywood sheet to size for the following parts of the cabinet frame:
- (2) boards for the cabinet sides
- (1) board for the top of the cabinet
- (1) board for the bottom of the cabinet
- (2) Back support boards (these do not need to be full size panels)
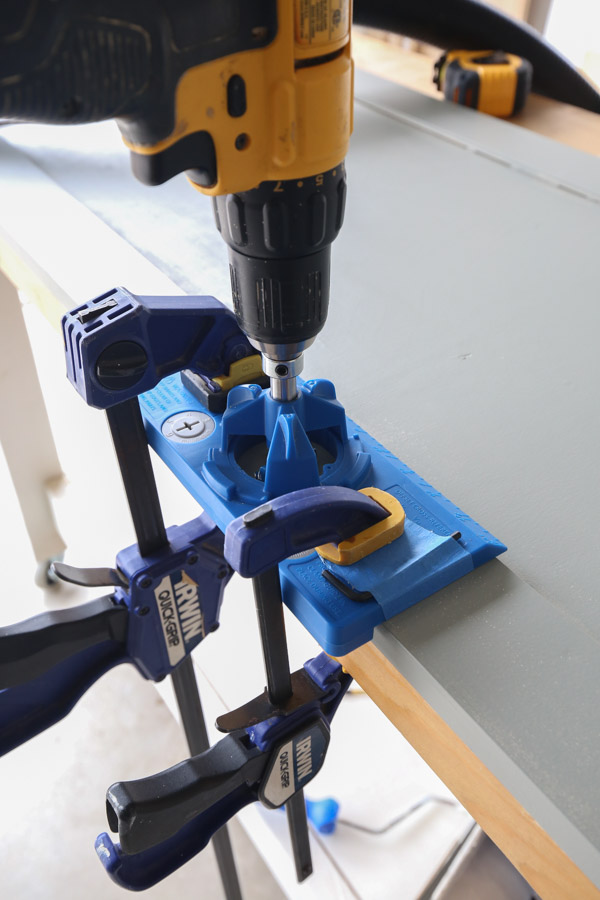
3. Add pocket holes to the plywood
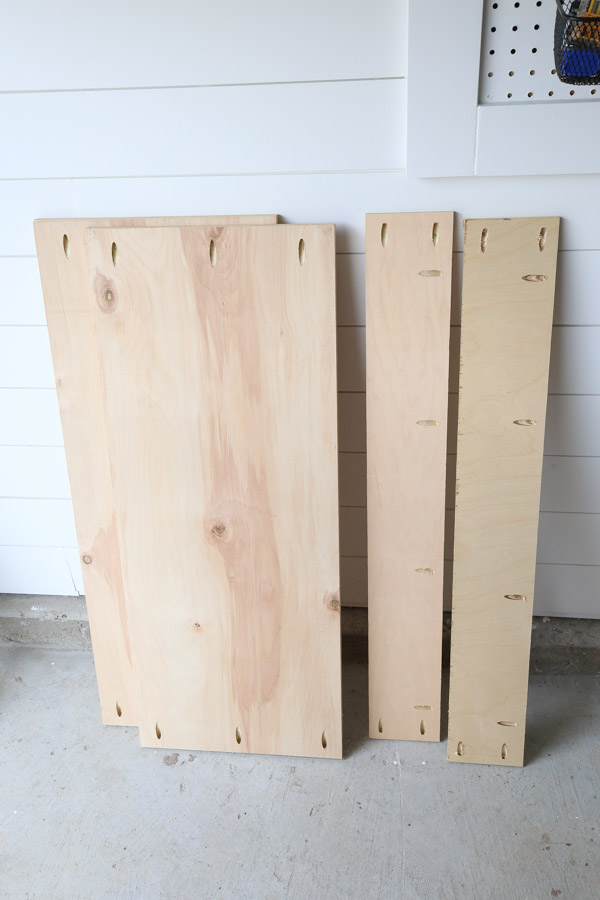
Add pocket holes with a Kreg Jig or pocket hole jig to the plywood for easy assembly of the box frame for the DIY office storage cabinets.
The frame of a cabinet is actually called the carcass, which I never liked. So I’m going to use the term cabinet frame for this tutorial.
Use a Kreg Jig and add pocket holes to the cabinet frame bottom and top and back supports (make sure the Kreg Jig is set for 3/4″ wood).
And add pocket holes on one side and both ends of the two back support boards.
4. Build the frame of the DIY office storage cabinet
Start building the cabinet frame by attaching the top plywood board to the side panels with wood glue and 1 1/4″ Kreg screws or pocket hole screws. You can either do this with one side of the cabinet first, then the second side, or both at the same time.
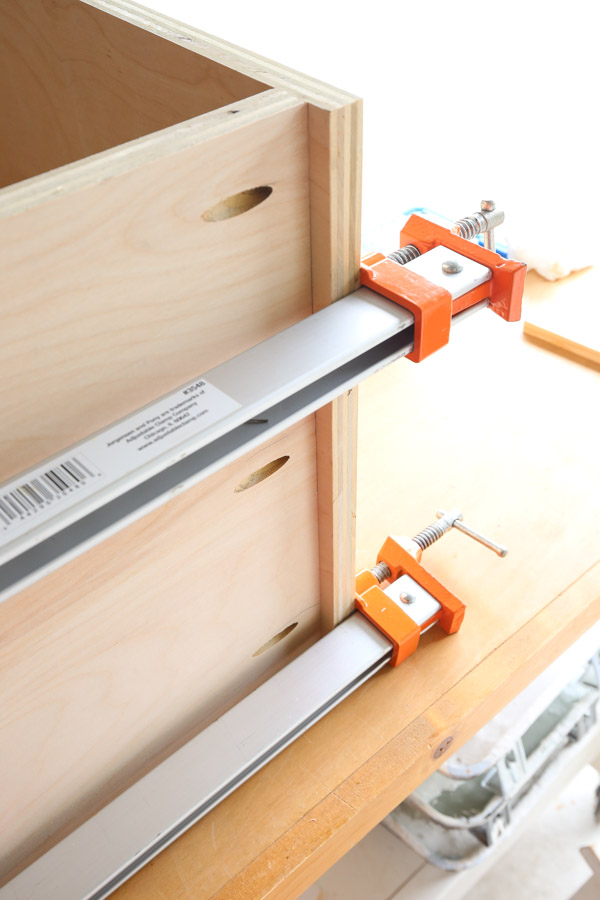
I did both sides at the same time. First, I placed my back support boards in between the two sides (but I didn’t attach them yet).
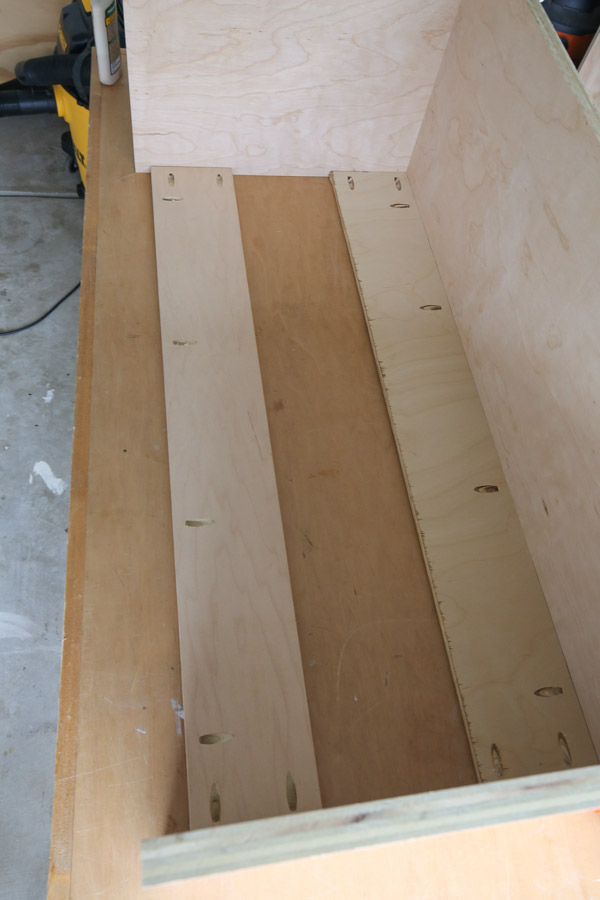
Then, I used my 48″ clamps to hold the sides and top board together while I screwed everything together.
📩 Want to Save This?
Next, Attach the bottom plywood board to the side boards.
Because I am going to be using a face frame AND adding 1/4″ plywood to cover the bottom of my cabinets since the bottoms will be highly visible, I attached the bottom of the board 1/2″ up from the bottom of the side boards so the face frame and bottom shelf will be aligned with each other.
Note: I will also need to make my face frame in step #7 a 1/4″ longer than my cabinet height to cover the front edge of this 1/4″ plywood bottom panel that I am adding in step #8.
Make sure the pocket holes are on the underneath side.
5. Attach the the back support boards to the cabinets
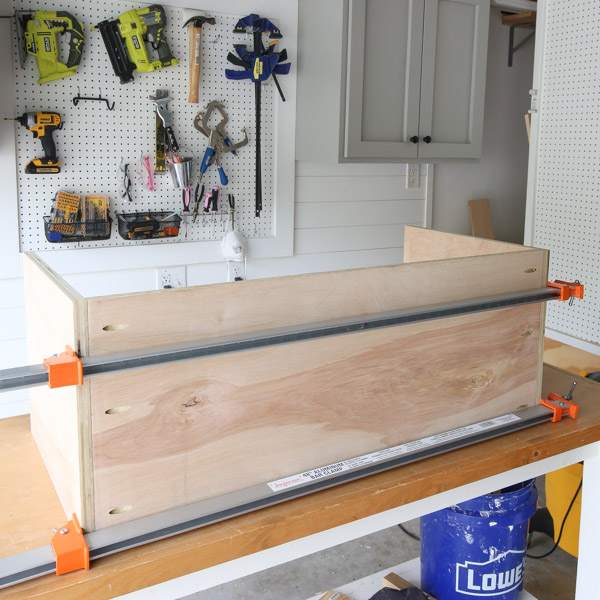
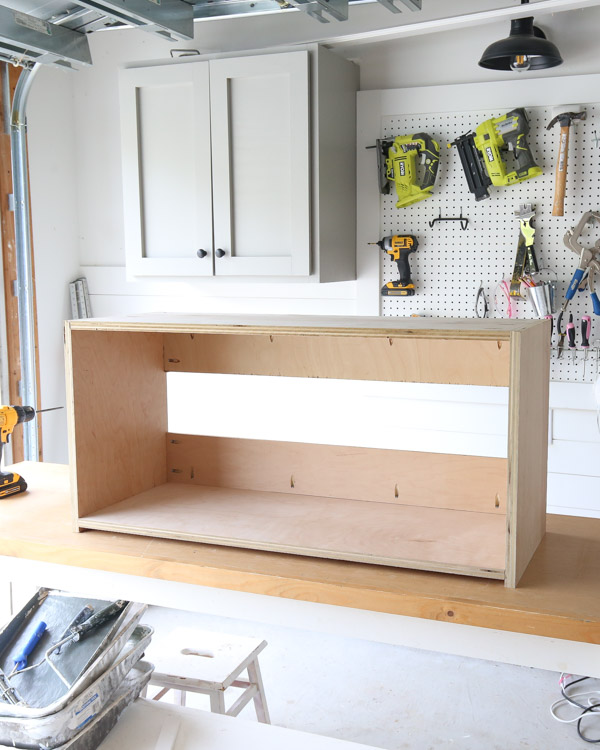
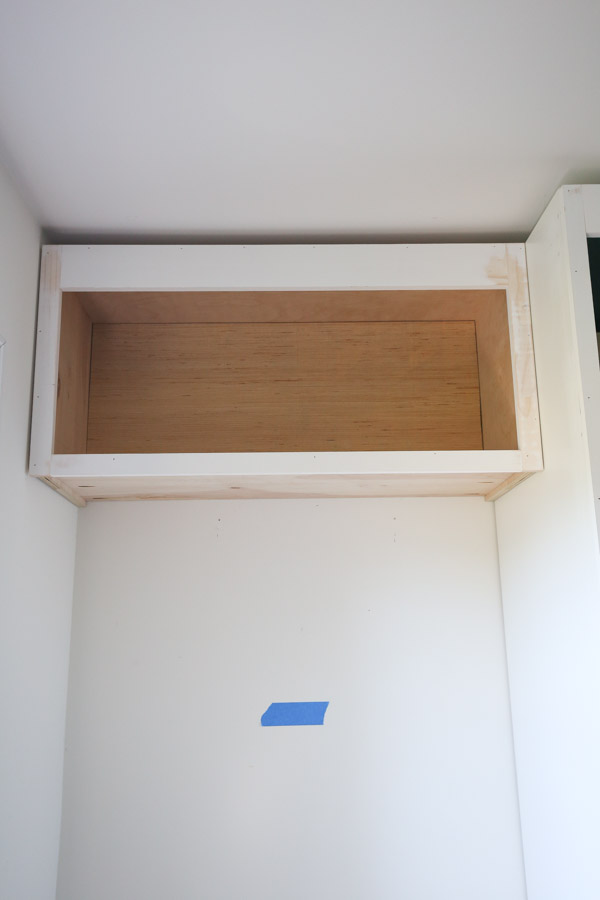
Finally, attach the back support boards to complete the frame of the cabinet. These back boards help hold everything together and will be used for screwing the cabinet into the wall studs.
Here is the cabinet frame assembled:
At this point you can either build and install the face frame next or install the cabinets on the wall.
We chose to install ours on the wall first.
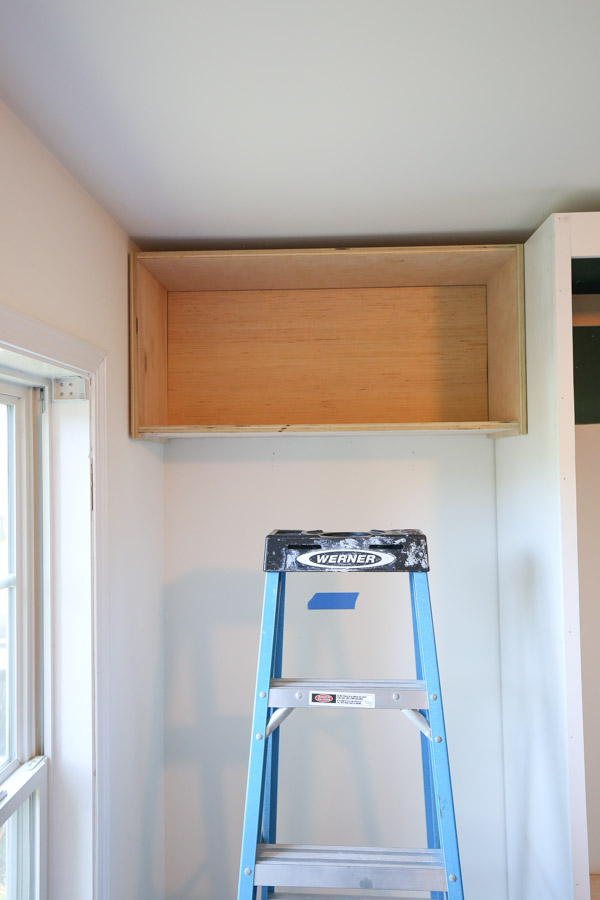
6. Install cabinet to the wall
We used 3″ screws through the back supports into our wall studs, making sure it was level when attaching.
We also put a temporary 2×4 board up to help with this step and keep the cabinet level while we attached it to the wall. You can see this in action in the DIY office built in cabinets video part 2 here!
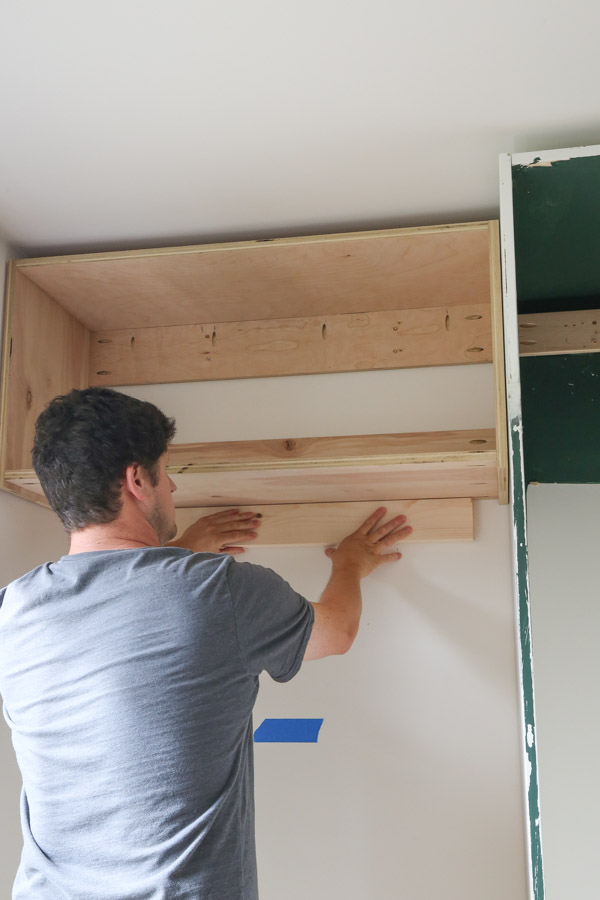
It definitely helps to have two people for this step!
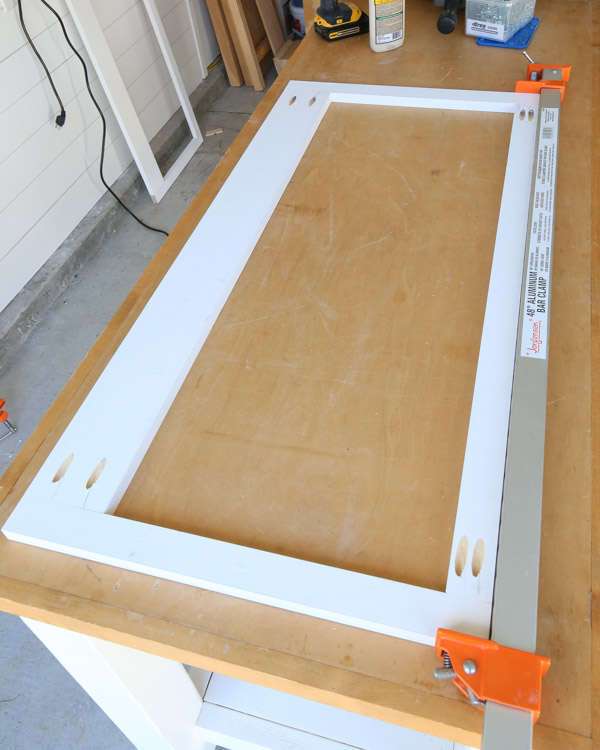
7. Build and attach the face frame of the cabinet
I always add a face frame to my cabinets because it’s such a nice, finishing look! And they are easy to do!
For the face frame, we used a primed 1×4 for the top of the frame and 1x2s for all of the other sides. We used 1×4 on the top so it would work well with our crown molding.
Measure the exact height and width of your cabinet frame to determine your face frame measurements. Note, as explained in step #4, we did make our face frame height a 1/4″ more than our cabinet height in order to hide the 1/4″ plywood panel for the bottom of our cabinet in step #8.
Use a miter saw and make the following cuts for the face frame:
- (2) 1×2 for the cabinet face frame sides
- (1) 1×4 for the cabinet face frame top
- (1) 1×2 for the cabinet face frame bottom
Just like with our laundry room DIY wall cabinets, our kitchen built in cabinet, and our DIY garage cabinets, we built the face frame separately before attaching it to the cabinet frame.
Add pocket holes to the top and bottom face frame boards.
Use wood glue and 1 1/4″ Kreg screws again for attaching the face frame together.
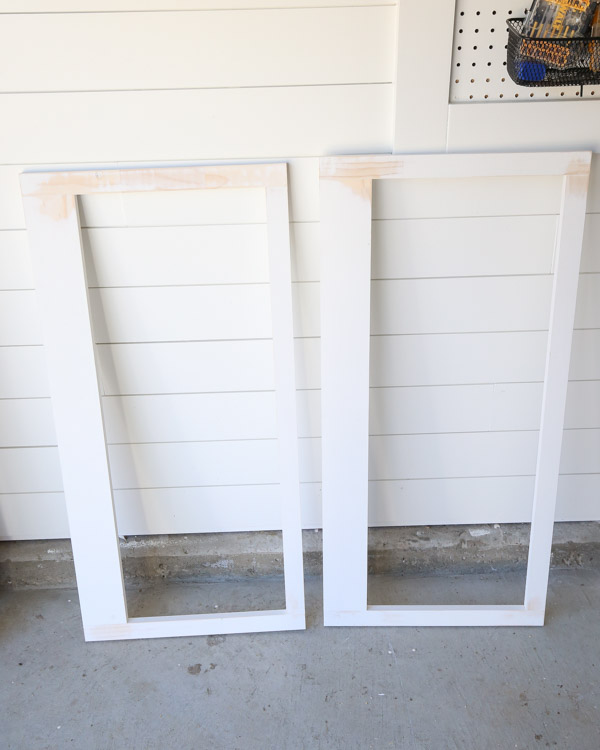
Install the face frame to the cabinet with wood glue and 1 1/4″ brad nails.
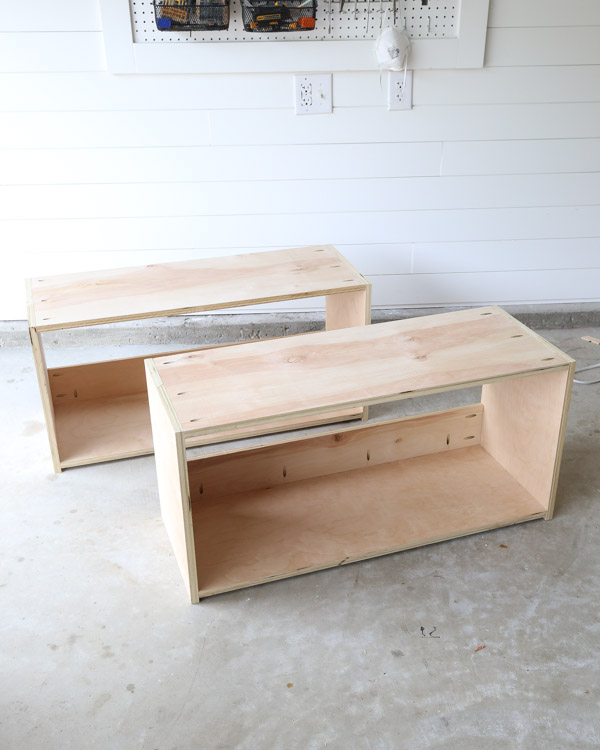
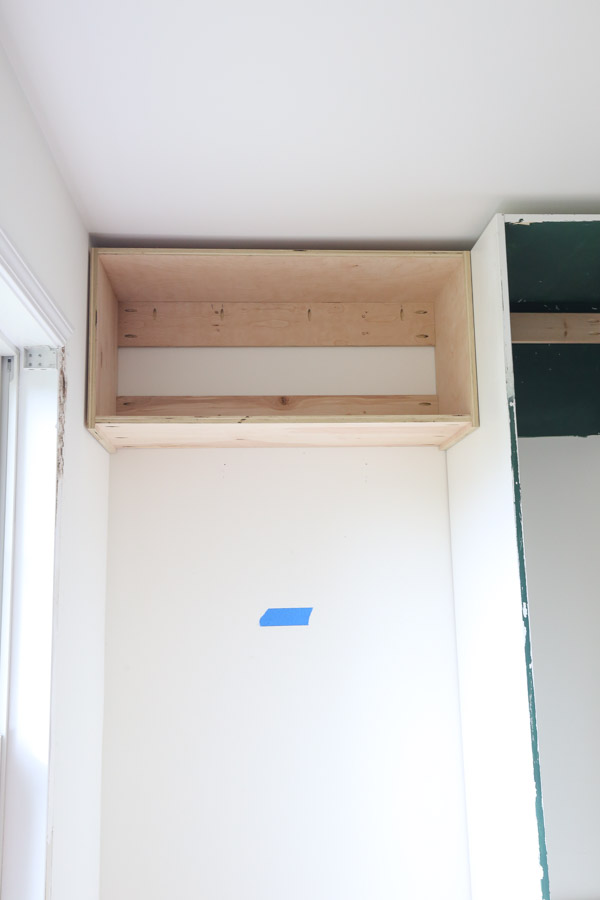
At this point the cabinet frames are all built and installed yay!
8. Attach crown molding, back panel board, and bottom panel board (optional)
It’s time for the finishing touches. These are all optional. These extra finishing items do add an additional cost to these DIY cabinets, but it can really add a custom look and add a lot more character!
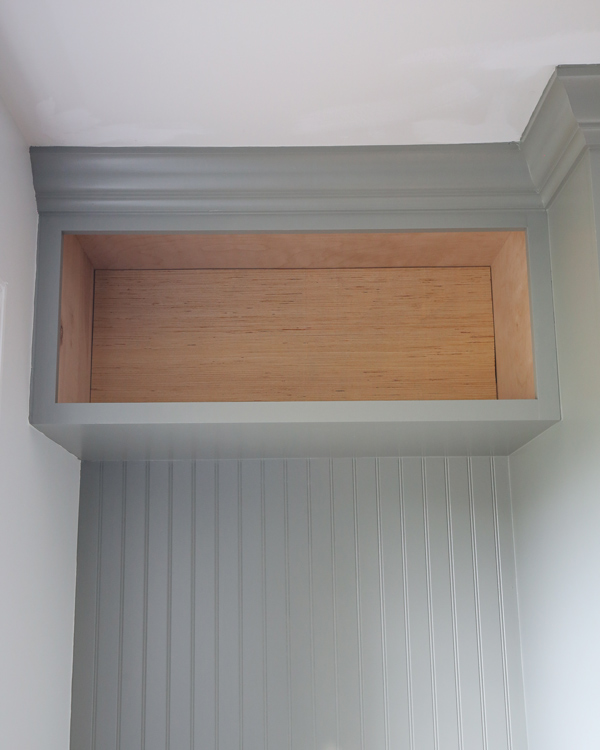
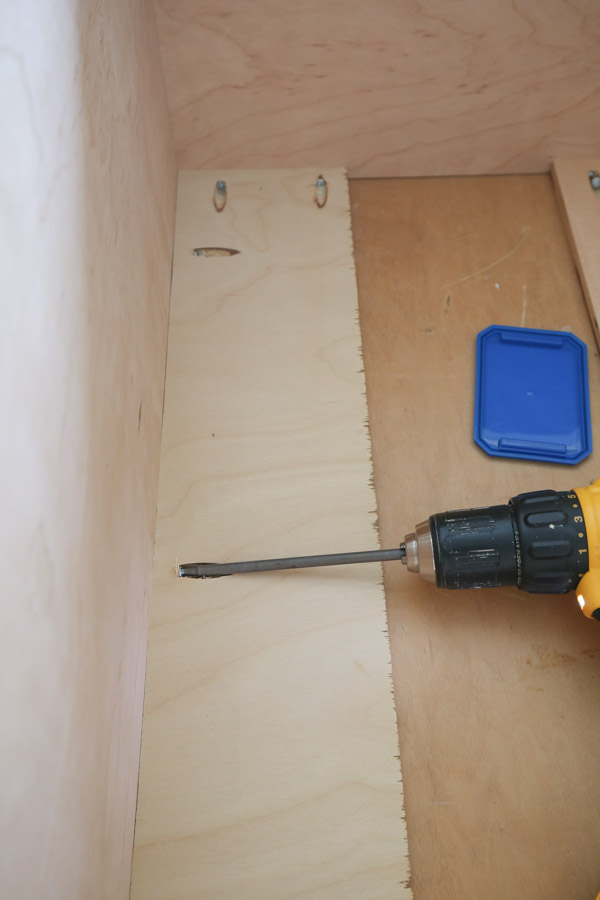
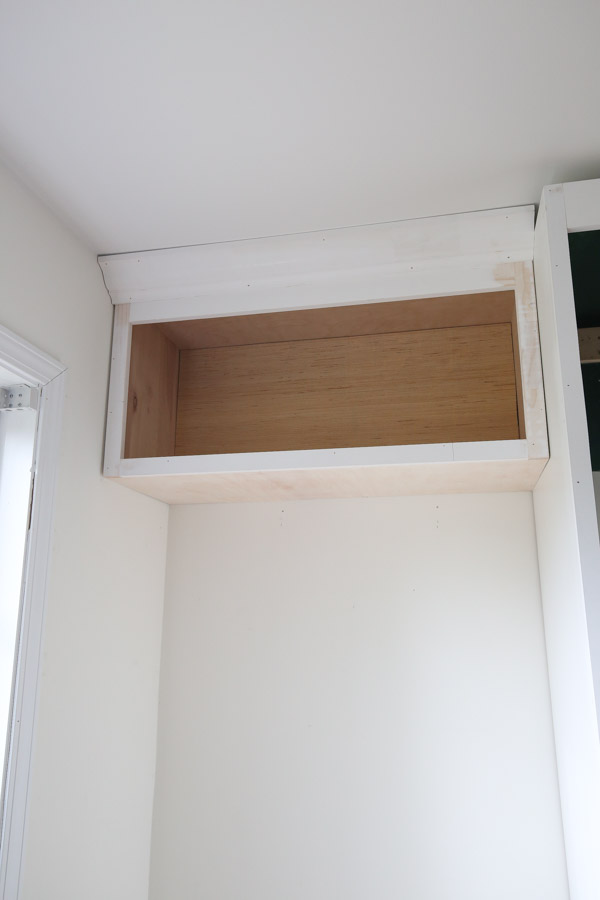
Attach 1/4″ plywood as a backing panel board to the back support boards to cover all of the pocket holes and for a nicer look. I actually installed this before the face frame.
Next, you can also add a bottom panel board if your cabinets are installed higher like ours. We designed our face frame to be long enough to cover the front edge of our 1/4″plywood cover board.
To attach the cover board, we nailed some 1/2″ scrap wood to the bottom of the cabinet as a spacer block.
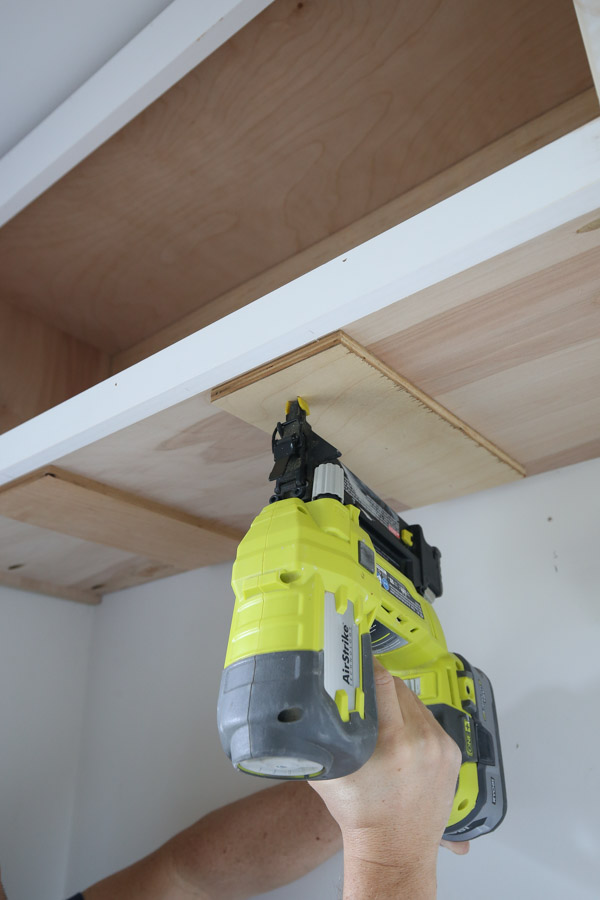
Then we nailed the cover board to these boards and the cabinet frame sides with 1″ brad nails.


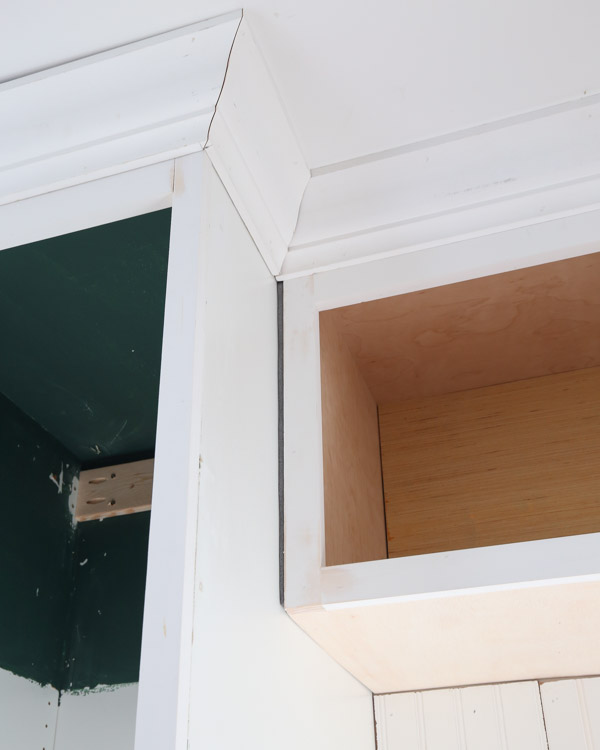
Finally, we finished off the cabinets with crown molding. Check out my DIY wall cabinets tutorial for more details on cutting crown molding.
9. Prime and paint or stain the DIY office storage cabinets
The next steps are to prep for paint by caulking where needed and filling nail holes with spackle or wood filler.
Also, we had to use Backer Rod to fill in a larger gap between the upper cabinet and IKEA cabinet to make caulking easier.
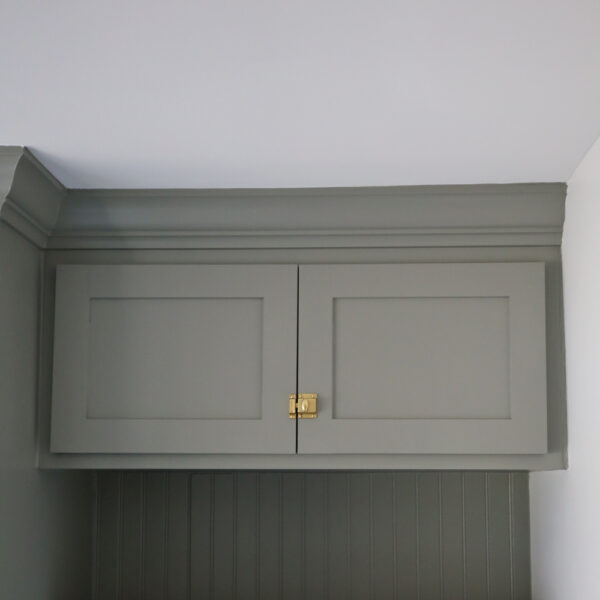
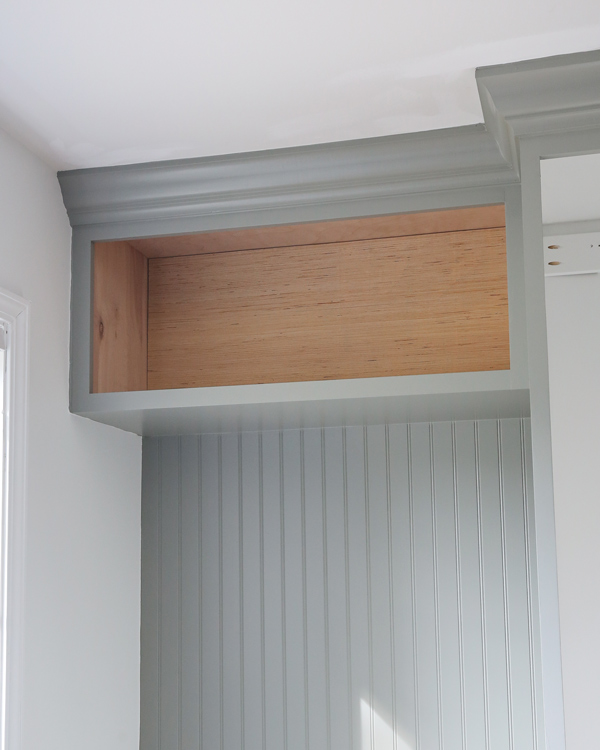
We primed our cabinet first and then painted it with two coats of Cornwall Slate by Sherwin Williams, a beautiful gray green paint color.
We used their Emerald Urethane paint which is more durable and formulated for painting cabinetry and trim.
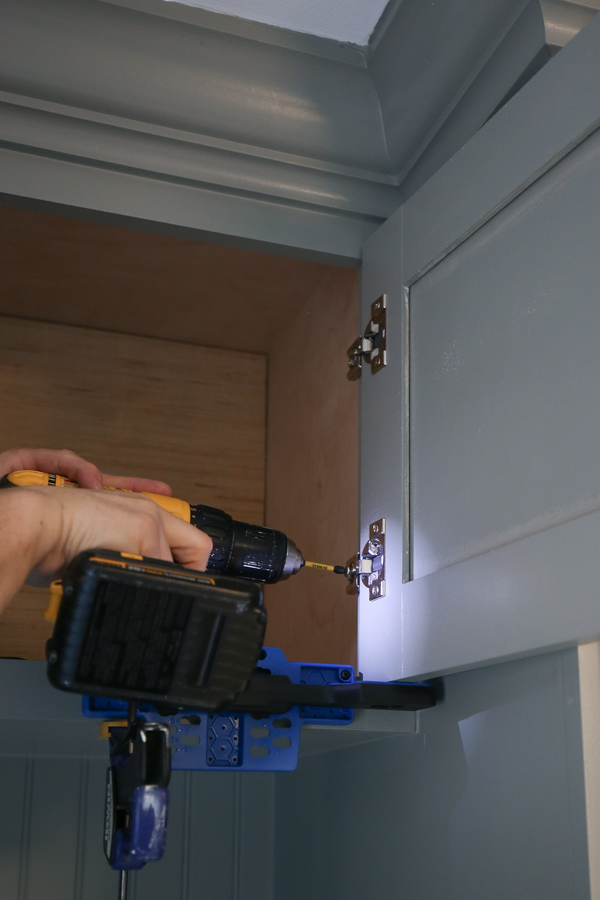
10. Attach the cabinet doors to the DIY built in office cabinets
The final step is to your attach cabinet door! You can either build a DIY cabinet door or order a custom size door like we did for our DIY built in kitchen cabinets.
We built the doors for all of our cabinets using a new cabinet door construction method. And we painted the doors before installing with the best paint for cabinets and trim.
For this project I wanted to challenge myself to make cabinet doors more professionally using a router, router table, and a rail and stile router bit set to create a tongue and groove connection.
Check out my 3 cabinet door construction techniques (beginner to pro) for more details on how we built the doors with this professional method AND for two other easier ways to build cabinet doors!
To install the door, we used the same method as our DIY wall cabinets and our DIY garage cabinets. We used our Kreg Concealed Door Hinge Jig and overlay, concealed, European style hinges.
For this DIY office storage cabinet, I ordered these 3/8″ overlay soft close European hinges.
I can’t wait to fill all of our new built-in DIY office storage cabinets up! I think we are going to have plenty of storage now in our office.
I hope this tutorial on how to plan, create, and build DIY office storage cabinets and DIY office built ins has been helpful!
Make sure to check out the office makeover reveal, DIY built in desks, and IKEA PAX hack too!
Follow along on Instagram and YouTube for sneak peeks and video tutorials of all the DIY projects!