
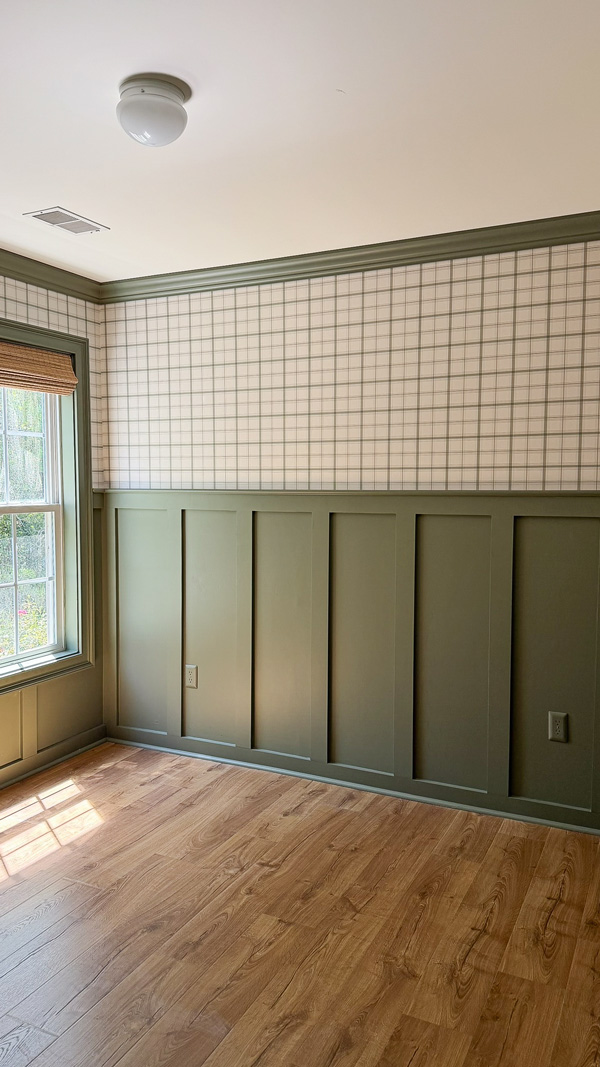
Sharing 5 helpful tips for DIY board and batten on all walls in a room!
When I shared my DIY board and batten accent wall tutorial several years ago, it quickly became on of the most popular wall treatments I ever shared! Board and batten is such a classic and beautiful wall paneling!
I’ve done several board and batten wall treatments over the years, including our first fancy DIY board and batten bathroom and floor to ceiling board and batten.
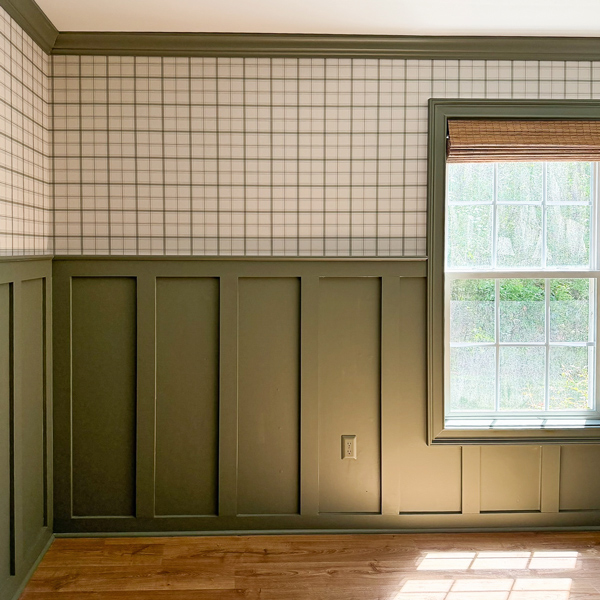
Recently, we installed a full room board and batten in my son’s big boy room and I love how it turned out! Today I am sharing 5 tips for installing board and batten around an entire room!
Note, this post contains some affiliate links. I may earn a commission if you shop those links (at no cost to you). Thank you for supporting my small business. For more info see my disclosures here.
Materials Used:
- 1×4 primed boards
- Rounded chair rail (can also use a 1×2)
- Wallpaper (above board and batten)
5 tips for installing board and batten around an entire room
1. Pick a feature wall first and determine batten spacing
Not all walls will have the exact same spacing between battens (the vertical boards) due to varying sizes and architectural differences, such as door and windows, in addition to wall outlets that you want to avoid.
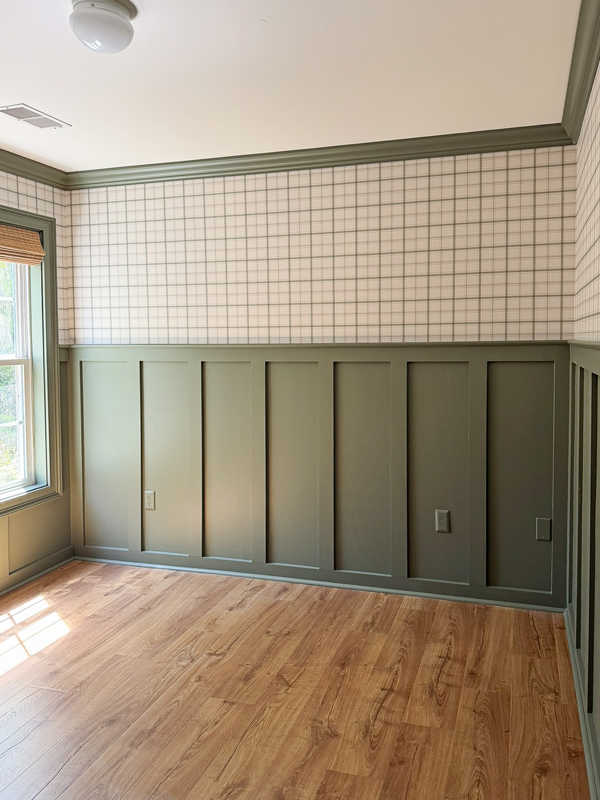
So, whatever wall is the most noticeable or your favorite, make it your feature wall and determine the best spacing for it, ensuring that you are starting with a batten in each corner. I shared how to do this in my DIY board and batten accent wall tutorial.
2. Adjust spacing of battens on each wall as needed
For all the other walls, you want to make the batten spacing similar to your feature wall, but you may need to adjust it by 1/4″ – 1″ or so in space between the battens to make it work with each wall. You really won’t notice the difference visually, as long as it’s not significantly different!
You can lay out your batten boards first before installing to see how it will look on each wall.
3. Start and and end each wall corner with a batten board (except for tight corners)
Board and batten looks best when each open wall corner starts and ends with a batten board. There are some exceptions which I discuss next.
📩 Want to Save This?
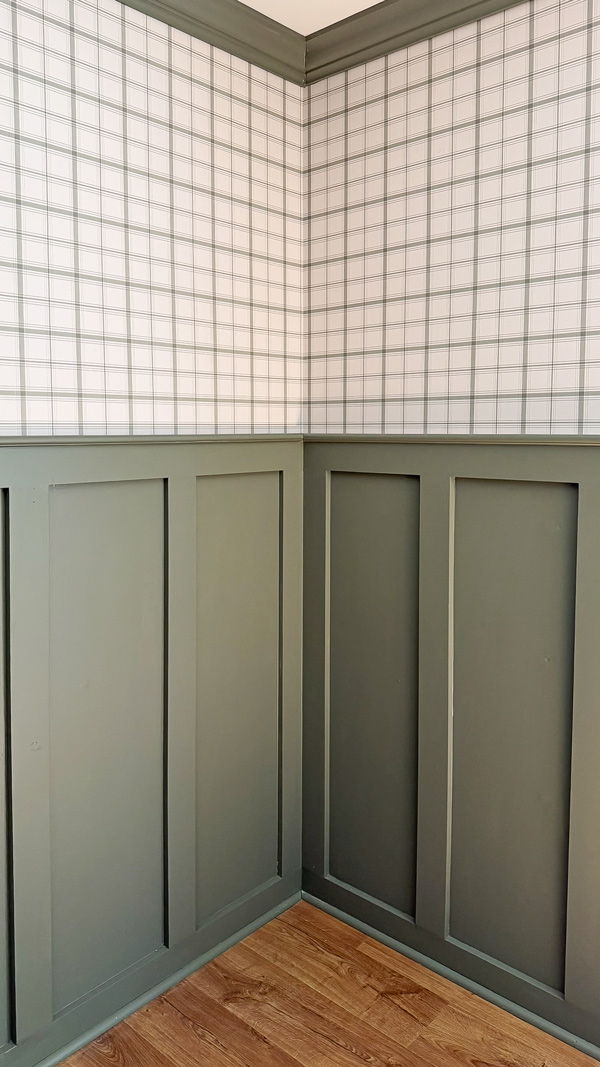
An exception to this tip, would be if you have a corner with a door or window just a few inches away from the corner, then do NOT place a batten board. It won’t fit and will look funny, which leads me to tip #4…
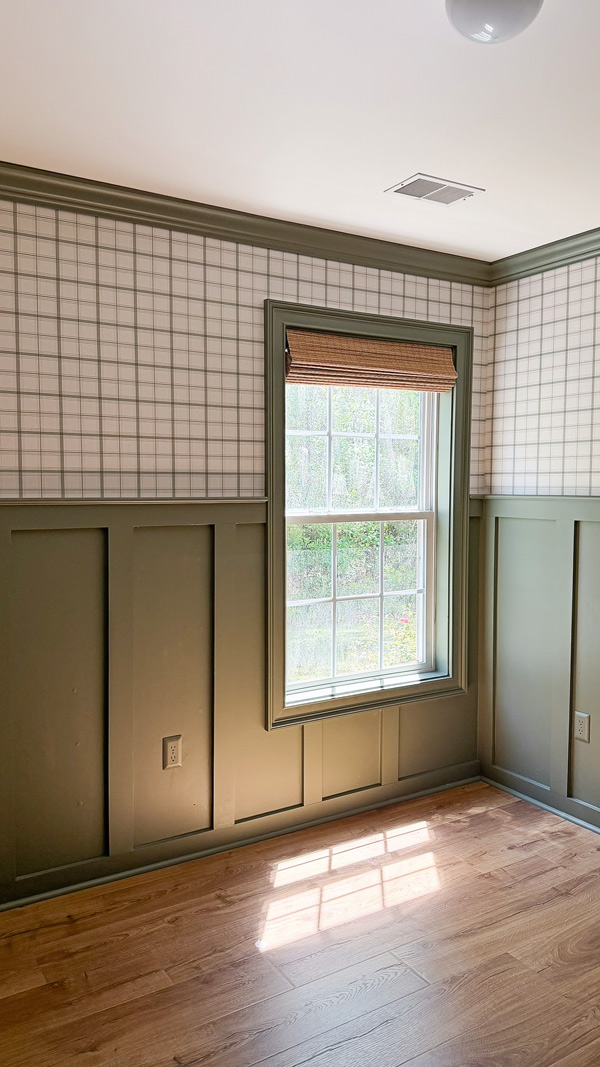
4. Don’t put a batten against window or door casing
Avoid placing a batten next to any other vertical trim, like a window or door casing. It looks funny! Instead, adjust your batten spacing to avoid this, or just skip the batten that would go next to the casing.
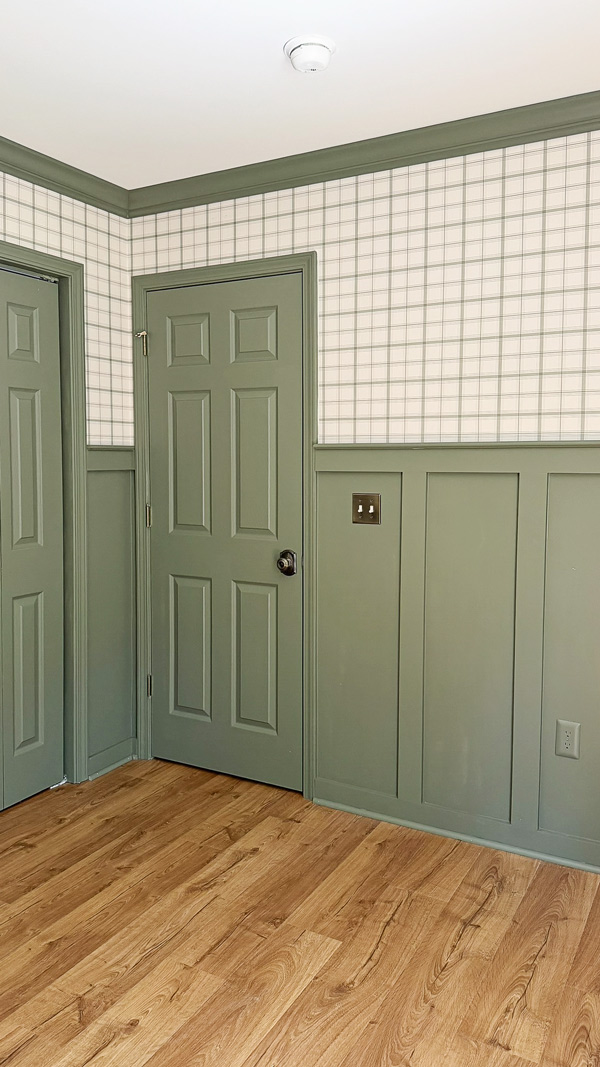
5. Use an end cap on open wall ends and against thinner casing
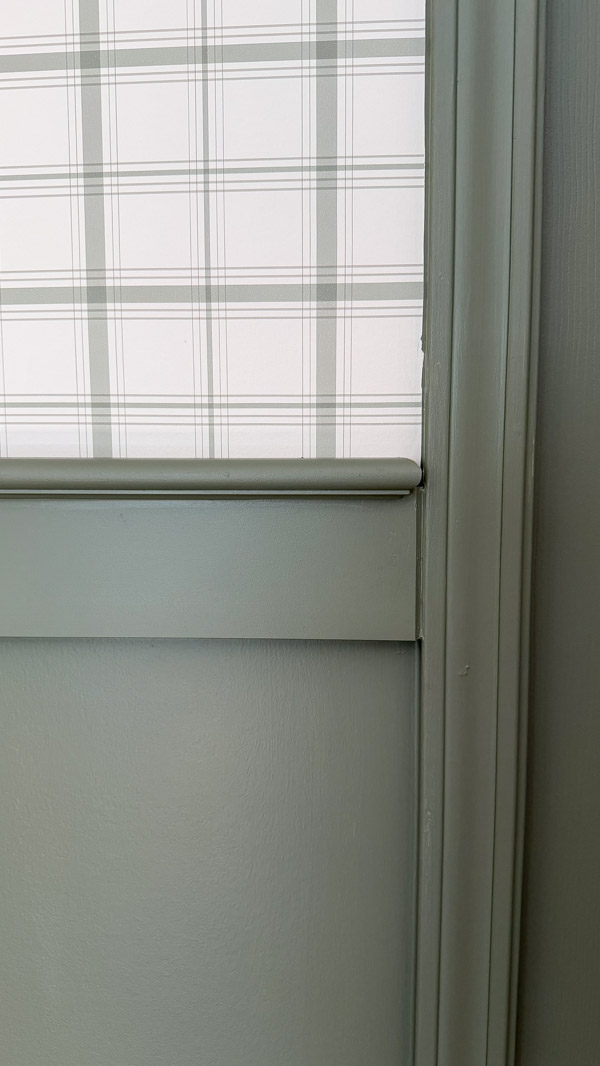
An end cap, also known as a return or mitered return, is a more professional, pretty way to end your molding that ends on a open wall end or where your wall molding is thicker than the molding it goes up against. If you just use a straight cut, it looks more jarring.
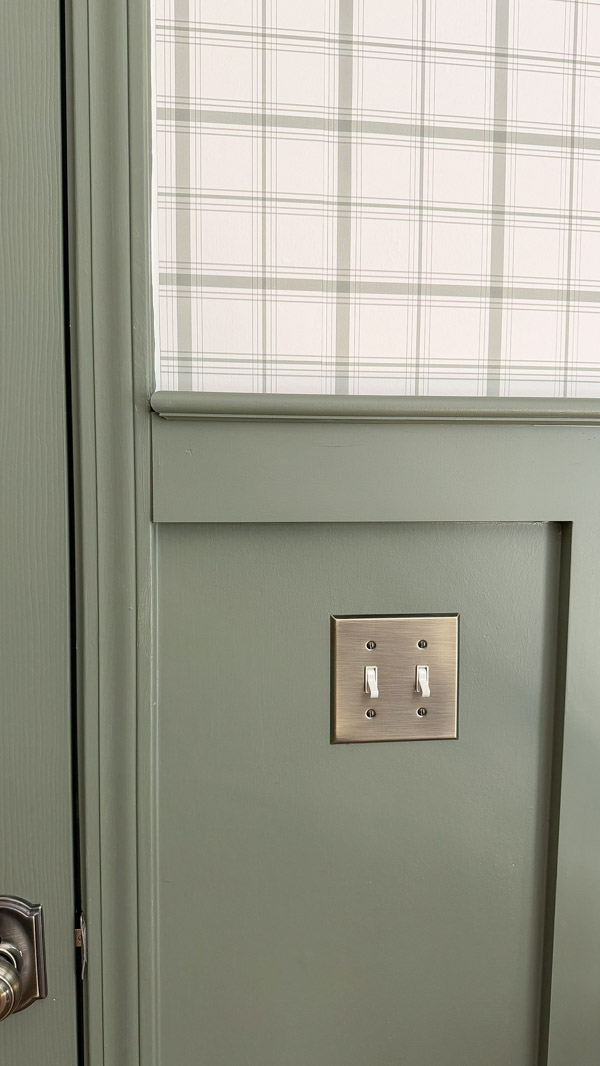
For example, our chair rail was 1.5″ thick so, it needed an end cap against our door casing and window casing which was not as thick.
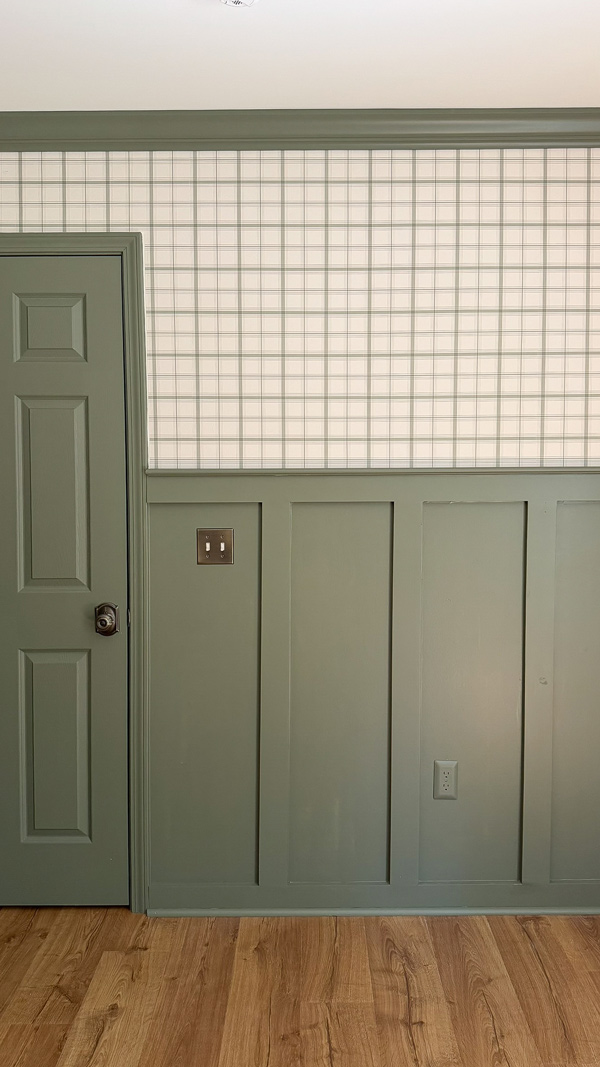
Additionally, our 1×4 horizontal boards were about 1/8″ thicker than our door casing, so we cut these at a slight angle, since they weren’t thick enough for an end return.
And that’s it for my full room DIY board and batten tips! Don’t forget to check out our DIY board and batten accent wall, DIY board and batten bathroom and floor to ceiling board and batten!
Follow along for my latest projects and sneak peaks on Instagram, YouTube, TikTok, and Facebook!