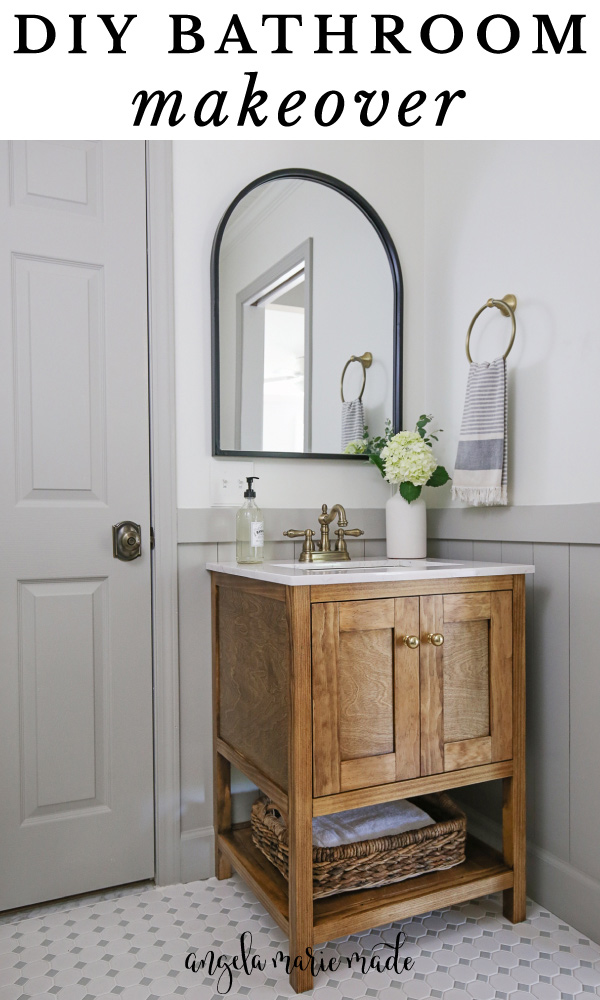
I’m super excited to be sharing our guest bathroom makeover reveal! This is our 5th small bathroom makeover on a budget and using DIY! Crazy, I know!
This is one of the last rooms in our home to get updated and I’m so happy now that its finally complete!
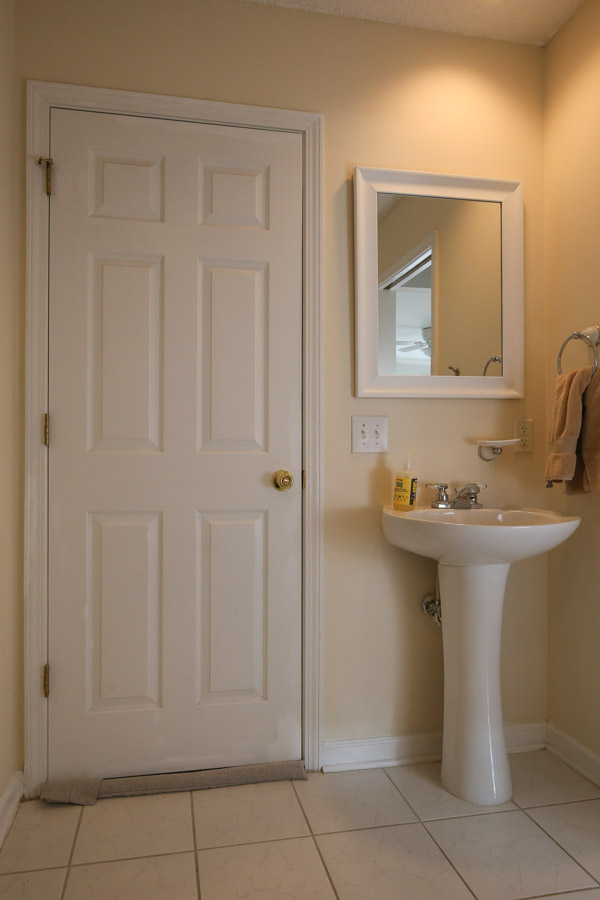
Let’s take a look back at where we started with this bathroom.
BEFORE MAKEOVER:
And now after all of our hard work:
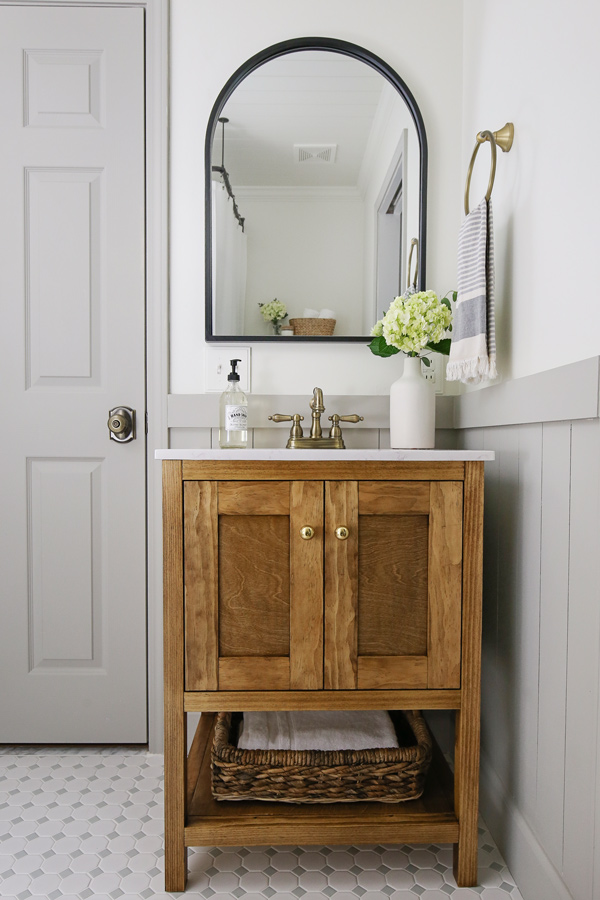
Quite the transformation! Let me share the story of this bathroom makeover!
NOTE: I have a full product and project source list for everything in this bathroom makeover at the bottom of this post!
Bathroom Makeover Video:
You can watch the full transformation story and see all of the details better in my DIY bathroom makeover reveal VIDEO:
Here’s the written/photo version…
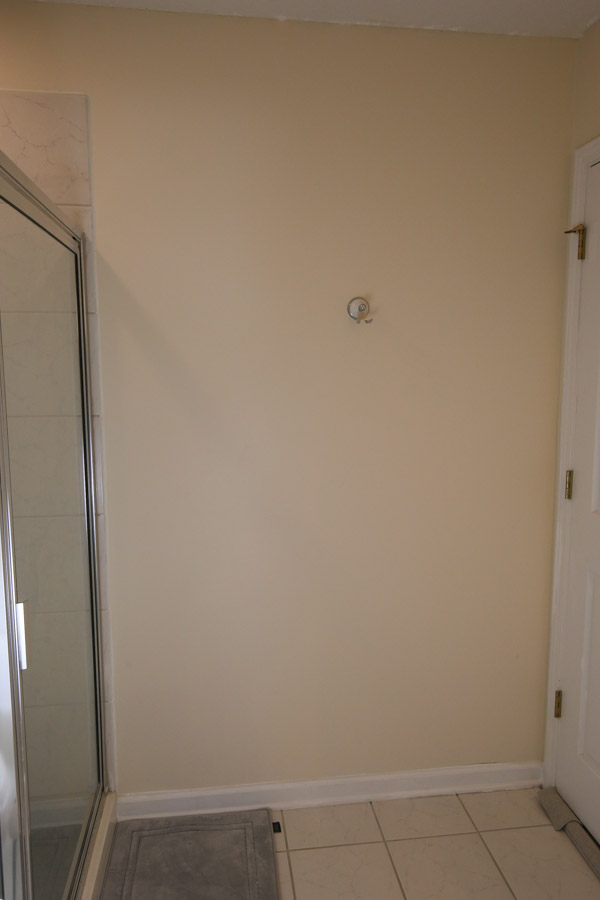
Our guest bathroom was just really bland and outdated with no storage.
I couldn’t stand the old floor tile, dingy paint color, popcorn ceiling and all of the outdated fixtures.
Also the fact that we didn’t have a toilet paper holder on the wall was quite annoying. It was cheap and broke off the wall, and I had to use the stand kind that kept falling over!
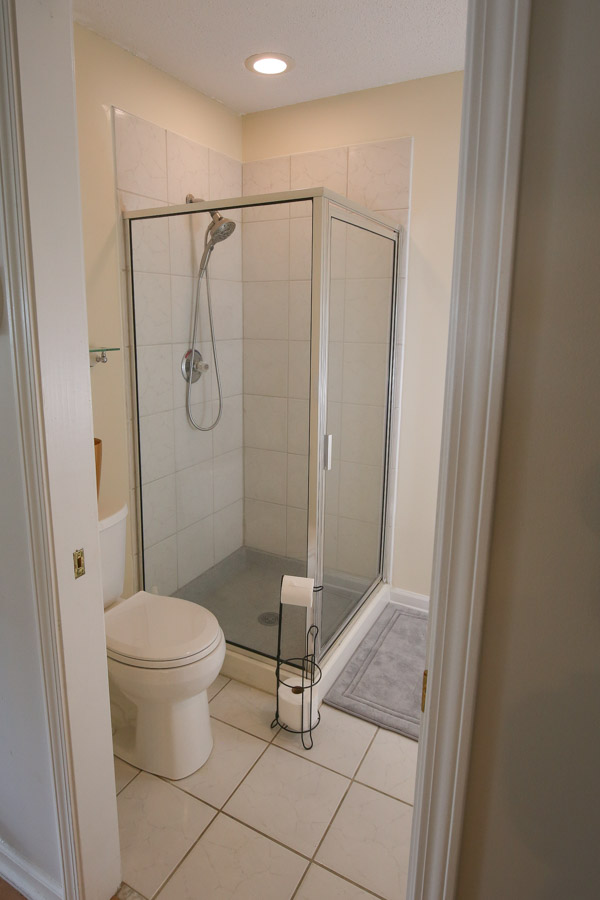
I also really didn’t like how the clear, outdated shower was the focal point of the room and the first thing you saw when you walked into the room.
The Bathroom Makeover Plan
I wanted the bathroom to have a modern, cottage, classic look and I wanted to update pretty much EVERYTHING in the space haha!
We decided to keep our corner shower though to keep the budget lower because replacing a shower is expensive! Although this was definitely the biggest challenge of the space!
Note, this post contains some affiliate links. I may earn a commission if you shop those links (at no cost to you). Thank you for supporting my small business. For more info see my disclosures here.
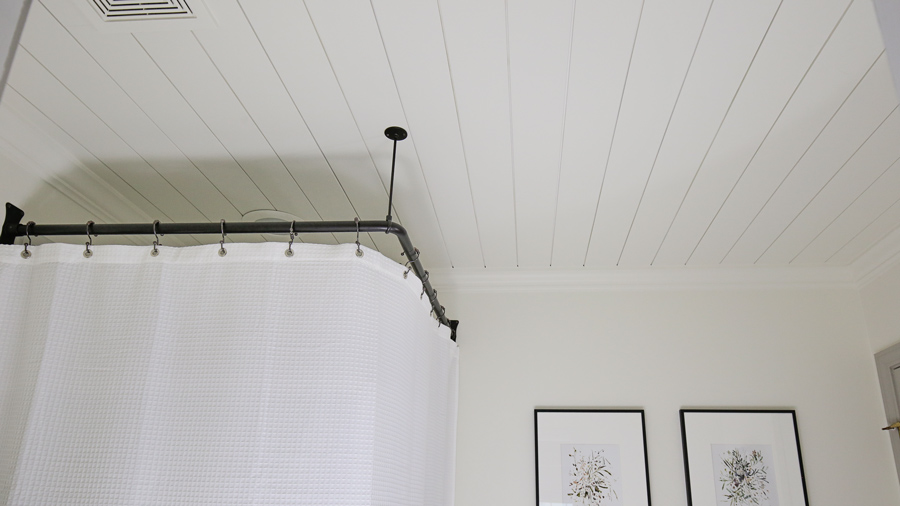
DIY Shiplap Ceiling
The first project we tackled was our ugly popcorn ceiling. We’ve scraped plenty of popcorn ceilings in this house and we just didn’t want to do it again.
BEFORE MAKEOVER:
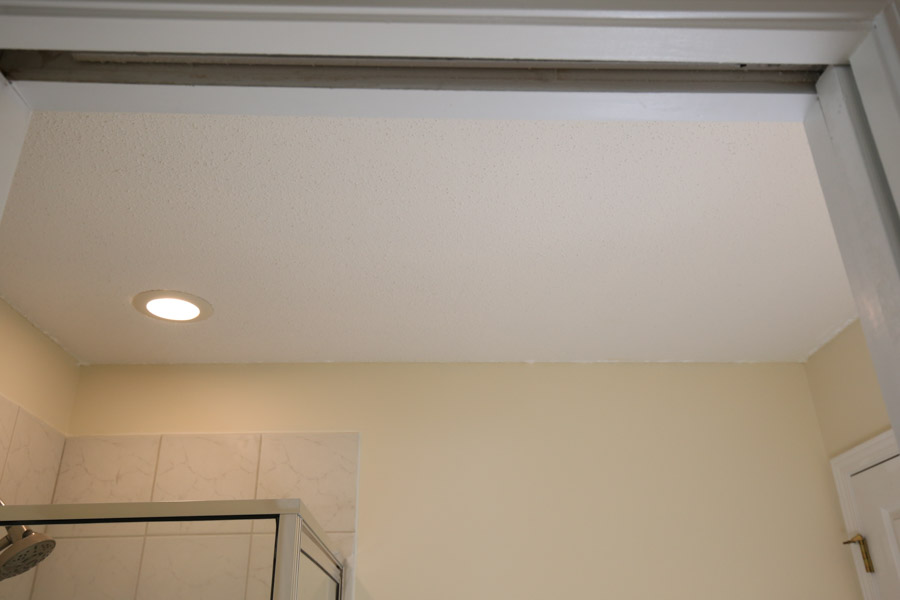
Instead we covered it up with real shiplap! Check out the DIY shiplap ceiling tutorial for all of the how to details! To hide the shiplap board edges and add character to the room, we installed crown molding.
We finished off the shiplap ceiling, crown molding, and top half of the bathroom walls with Alabaster by Sherwin Williams in eggshell.
New Tile Flooring
I had the hardest time trying to figure out what flooring to use for this bathroom. I considered all of my bathroom flooring options and shared a post on 5 different bathroom flooring ideas on a budget.
I really wanted to save time and money by using stylish peel and stick flooring. After receiving some of the peel and stick options I was considering, the quality just wasn’t what I wanted and ultimately I wanted something more durable and longer lasting too.
I decided to go with a budget friendly, mosaic ceramic tile that we would install ourselves. You can see more details on the installation process in the DIY bathroom makeover video!
After installing the new floor tile, Brandon installed our new toilet. I’m super excited to finally have an upgraded, comfort height toilet that looks nice!
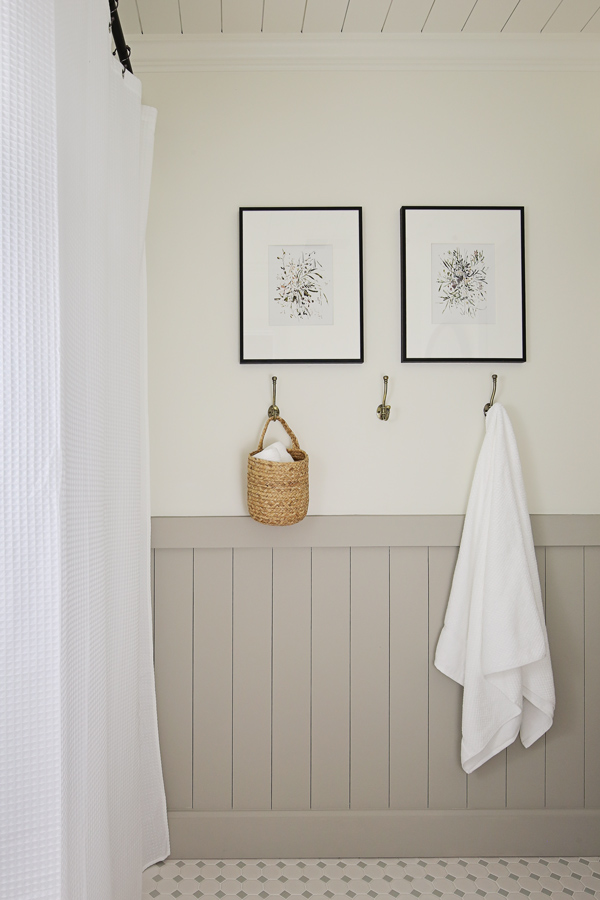
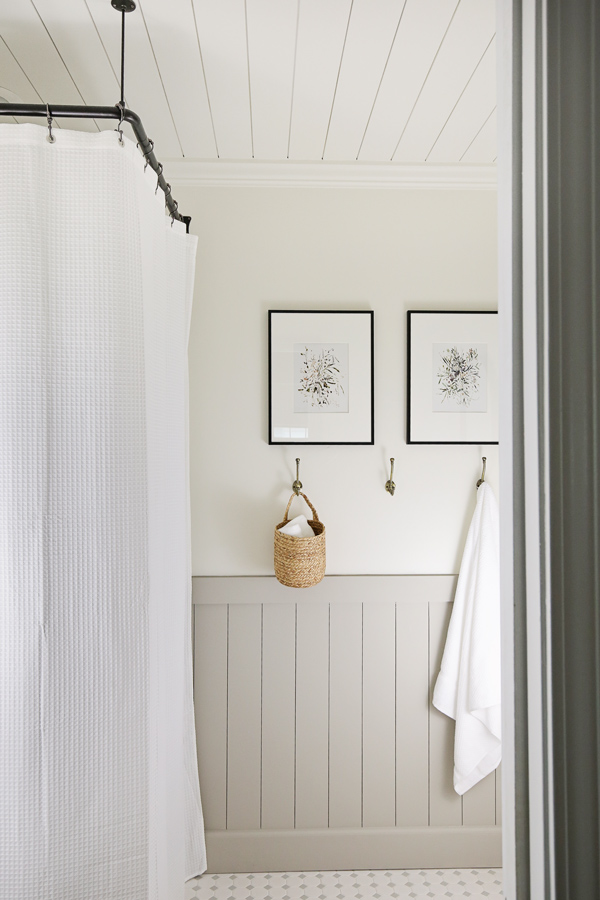
DIY Vertical Shiplap Wainscoting
To add character to the space, we added DIY vertical shiplap half way up the wall, see how to install vertical shiplap walls for the details! We used faux shiplap boards and I love how it turned out, it definitely added that more cottage look!
📩 Want to Save This?
Also, see my how to paint shiplap for more painting shiplap tips.
Also, I originally wanted to do a sage green color on the shiplap but after testing some samples out, the color just didn’t look right in our bathroom that doesn’t get any natural light…for our next house I am determined to have bathrooms with windows lol!
I decided to go with Mindful Gray by Sherwin Williams. I’ve used this color a lot in this house and it just works well with our low light. And I had it on hand, so luckily I didn’t have to buy any new paint for this space!
BEFORE MAKEOVER:
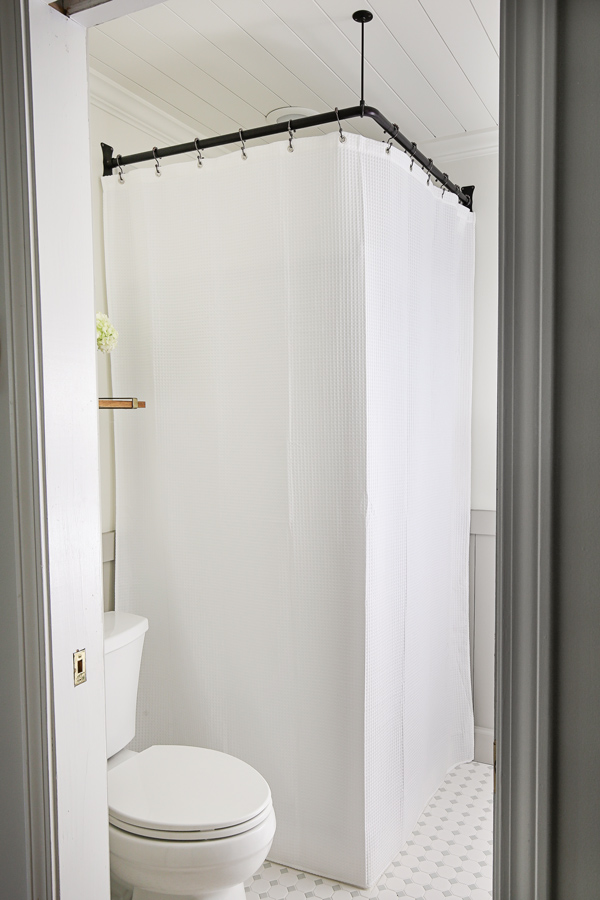
Hiding the Outdated Corner Shower
To hide our outdated corner shower on a budget, I searched high and low online for a 36″ x 36″ corner shower rod. Luckily I discovered this corner shower rod and this extra long white shower curtain. They were both great quality pieces for a low cost!
I loveee how it turned out! It looks great, adds privacy for the shower, and the shower curtain adds a softened look to the room. It cost less than $140 to transform this corner (including the rod, curtain, & shower rod hooks)! Way cheaper than a new shower/tile.
BEFORE MAKEOVER:
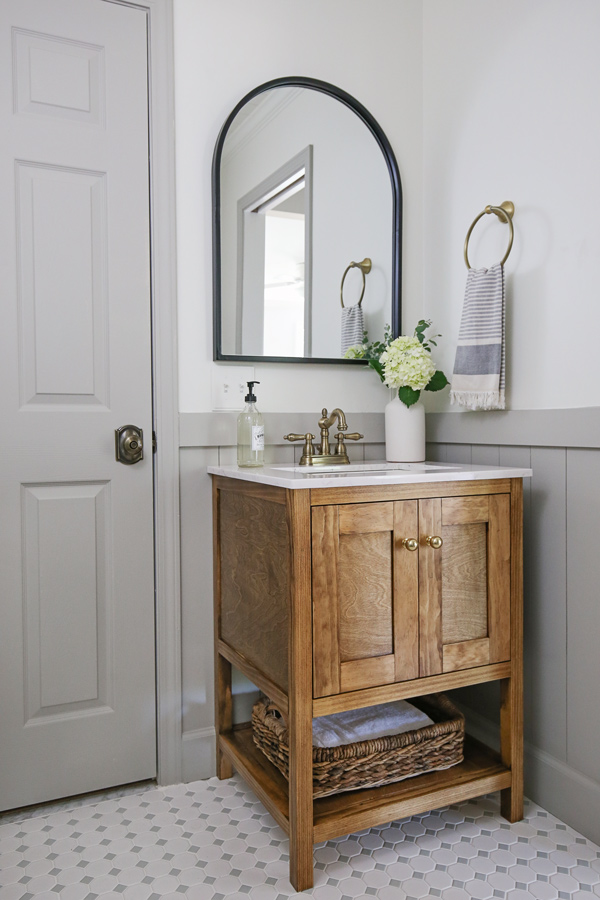
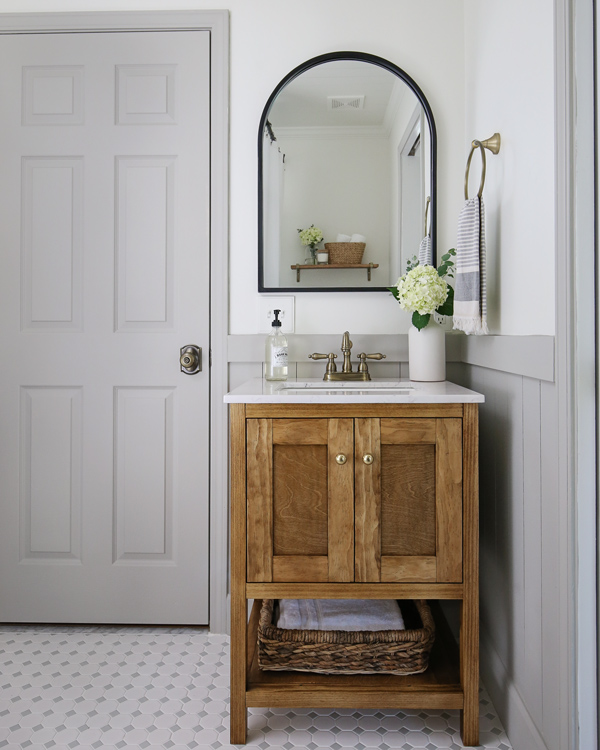
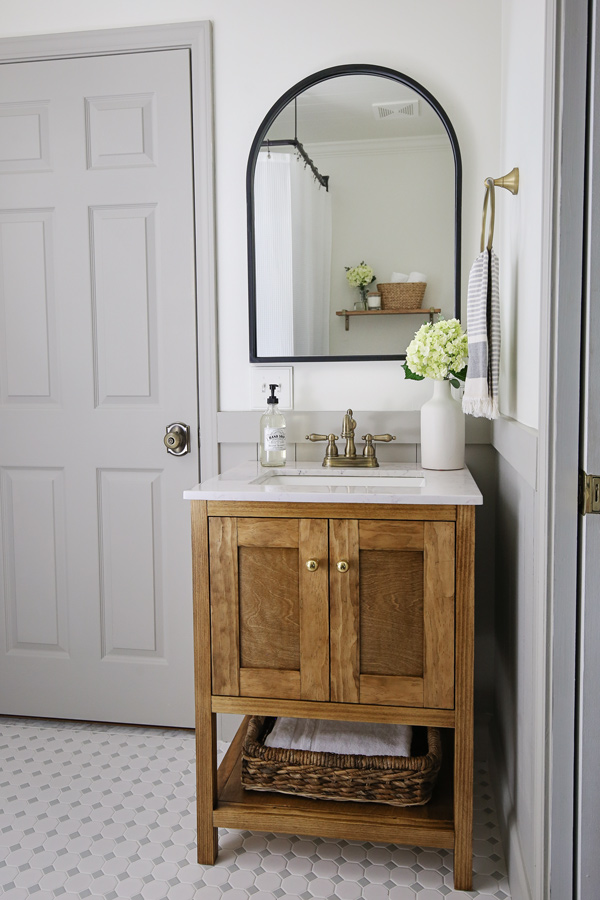
DIY Bathroom Vanity
For this makeover I wanted a beautiful, wood stained vanity. Real wood vanities are expensive so we decided to build one! I designed it to have double doors and the lumber only cost about $100.
I love how it turned out!! Get the build plans and tutorial for the DIY bathroom vanity! We paired it with this faux marble sink and antique brass faucet.
Decor, Hardware, & Details
The decor and fixtures are so much fun because they bring the room all together and really help to define the feel and style of the room.
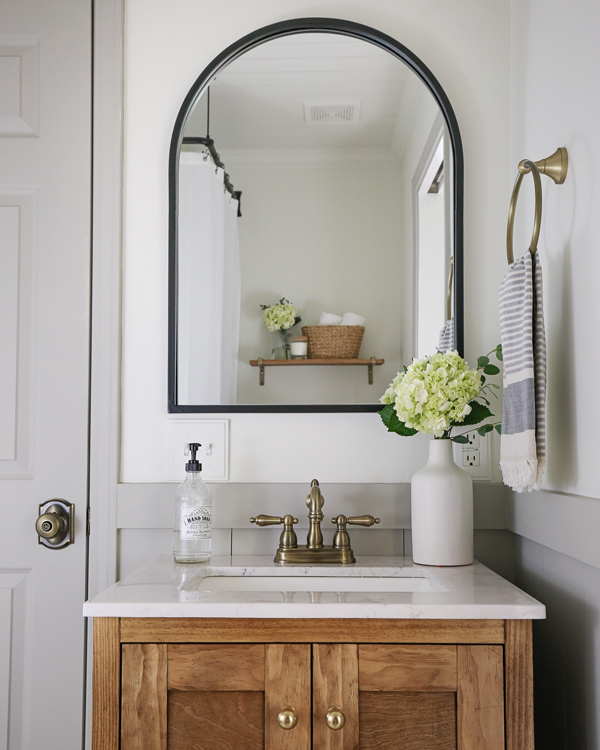
I like to mix metals in bathrooms for a fresh look that’s not all matchy matchy. For this bathroom I used brass as the dominant metal color and mixed in black and oil rubbed bronze with a few items like the mirror, picture frames, and shower rod.
Because our light switches are right over our vanity, I removed the old light switch plates and bought some really cute modern light switch plates. I painted them the same white wall color to blend them better so they won’t be as noticeable.
After installing the brass hardware, our old doorknob color and shape looked terrible next to the new pieces so we replaced that with a cute, new doorknob in the antique brass!
Brandon installed our new arched mirror over the sink. We don’t have any wall lights in this bathroom, just recessed lights, so I wanted to fill the wall space with a beautiful, large mirror.
For the space above our toilet, I found some modern, shelf brackets and attached a scrap 1×8 board to them that I stained the same color as our vanity.
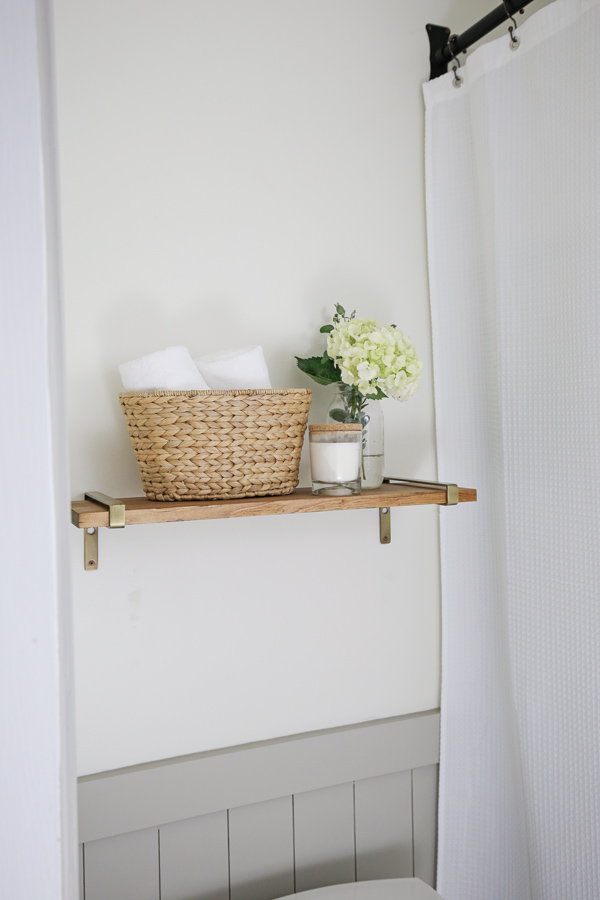
Finally, I finished off the space with some final decor and bathroom essentials, like – framed art, baskets, towels, and flowers!

I love how our DIY bathroom makeover turned out! I didn’t have the clearest vision at the beginning, but I think it all came together, especially with the challenge of doing it all on a budget, the small space, and not having any natural light in the room!
Don’t forget to check out the bathroom makeover video on YouTube to really see the total transformation and how it all flows together!
Let me know what you think in the comments below or on social media!
Follow along for my latest projects and sneak peaks on Instagram, YouTube, TikTok, and Facebook!
DIY Bathroom Makeover Sources & Projects:
- Arched mirror – similar one here!
- White Flower Vase
- Basket under vanity
- Black picture frames – similar here!
- Towel hooks – similar here!
- Flower artwork
- Hanging basket
- Shelf brackets
- Modern light switch plates
- Faux marble sink
- Antique brass faucet
- Mosaic ceramic tile
- Corner shower rod
- Doorknob
- Toilet
- Vanity cabinet knobs
- Toilet paper holder
- Hand towel holder
- Hand Towel – similar here!
- Hand soap dispenser – similar here!
- Extra long white shower curtain
- Shower rod hooks
Projects:
Paint Colors Used:
- Ceiling, crown molding, & upper walls – Alabaster by Sherwin Williams in eggshell
- Vertical shiplap – Mindful Gray by Sherwin Williams in eggshell
Check out my Bathroom category in my Amazon shop for several of the above products used!
Debbie
Wednesday 19th of October 2022
Can you please tell me how high up your wall you put shiplap?
Angela Marie Made
Wednesday 19th of October 2022
We did our vertical shiplap a little bit lower than halfway up the wall at 39 1/2″ high!
Kimberly
Monday 15th of November 2021
I love those floral pictures and wall hooks. Do you remember where both are from?
Angela Marie Made
Wednesday 17th of November 2021
I like your style! I have them linked towards the bottom of the post under the section titled: DIY Bathroom Makeover Sources & Projects. They are linked under towel hooks and flower art.
Heather Threatt
Tuesday 2nd of November 2021
Looks awesome!
What made you decide not to have backsplash on sink ? Do you notice that the wall is withstanding the water?
Angela Marie Made
Thursday 4th of November 2021
Thank you!! With the vanity top that I used and the shiplap, I decided that it would work better without a backsplash. The sink bowl is deep enough and the type of faucet contributes and I think those combined helps a lot with avoiding splashing. The semi-gloss finish and quality of paint also help the wall to withstand water.
Carena Ennis
Saturday 15th of May 2021
This looks fantastic and what great resources you have linked for us.
Angela Marie Made
Sunday 16th of May 2021
Thank you very much!!
Gracie
Saturday 15th of May 2021
WOW! What a fantastic makeover! Love how it all came together. Looking forward to more!
Angela Marie Made
Sunday 16th of May 2021
Thank you so much Gracie!!!