
I've been meaning to post this tutorial for how to transfer letters onto wood for a long time!
Before I ever learned how to use vinyl for transferring my designs onto wood (which I used to make this DIY wood sign), I used a super easy pencil tracing method all the time.
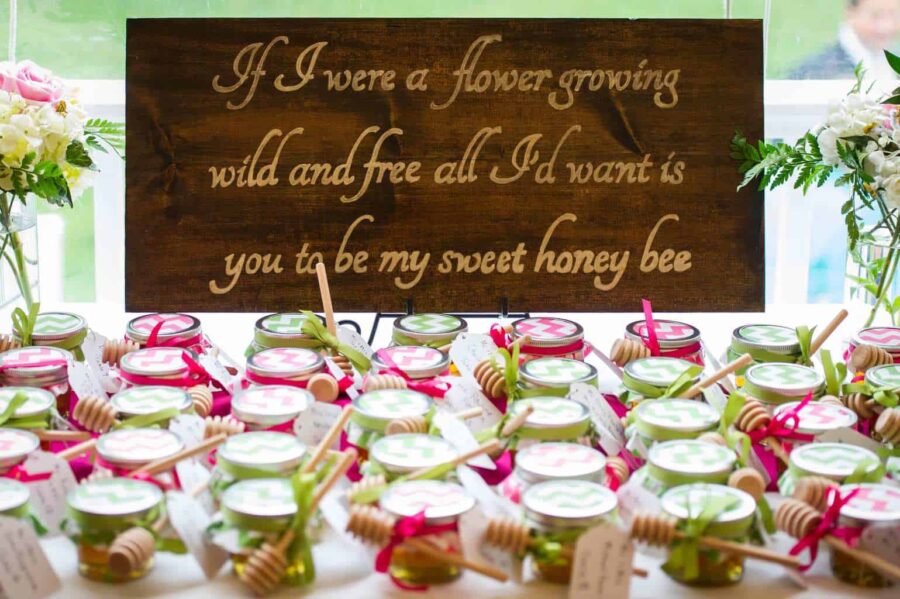
Here is one of my favorite signs from my wedding, our honey favors sign, where I used this easy pencil tracing method for how to transfer letters to wood:
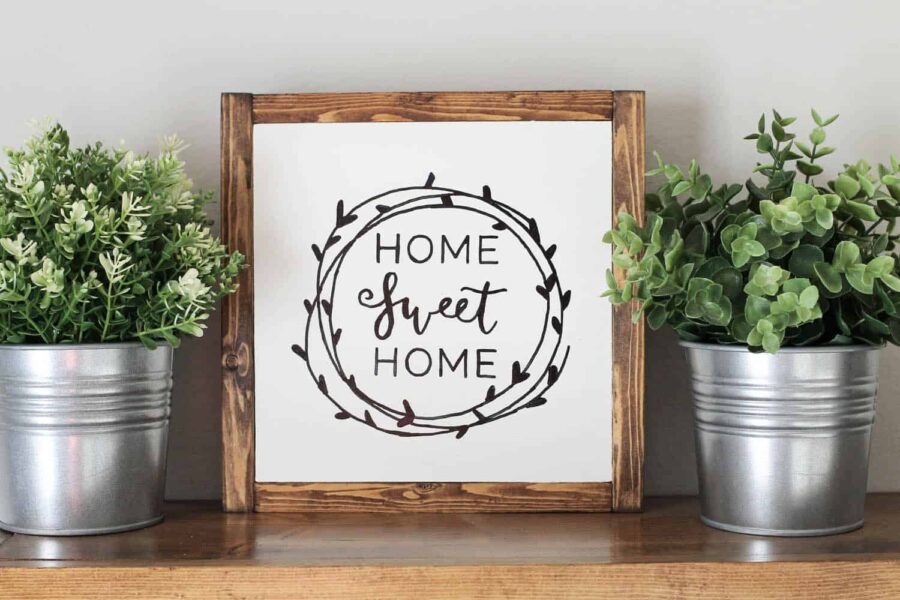
For this tutorial on how to transfer a pattern from paper to wood, I decided I wanted to make a mini, wood framed sign that will eventually be part of a gallery wall I am planning.
*Note: you can see a step by step video tutorial on how to trace onto wood here on my YouTube channel!
Also, if you want to learn how to transfer photos onto wood, see my how to print on wood tutorial!
Note, this post contains some affiliate links. For more information see my disclosures here.

How to Transfer Letters onto Wood with a Pencil:
Supplies Needed:
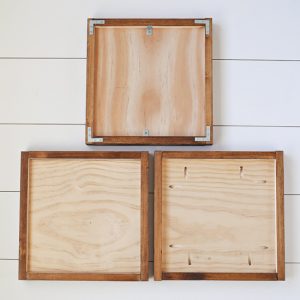
- Blank wood sign or piece of wood - I built a 9"x9" wood sign (using this DIY Sign tutorial with different size cuts*), you can buy similar pre-made, blank wood signs here
- Pencil
- Printed Design
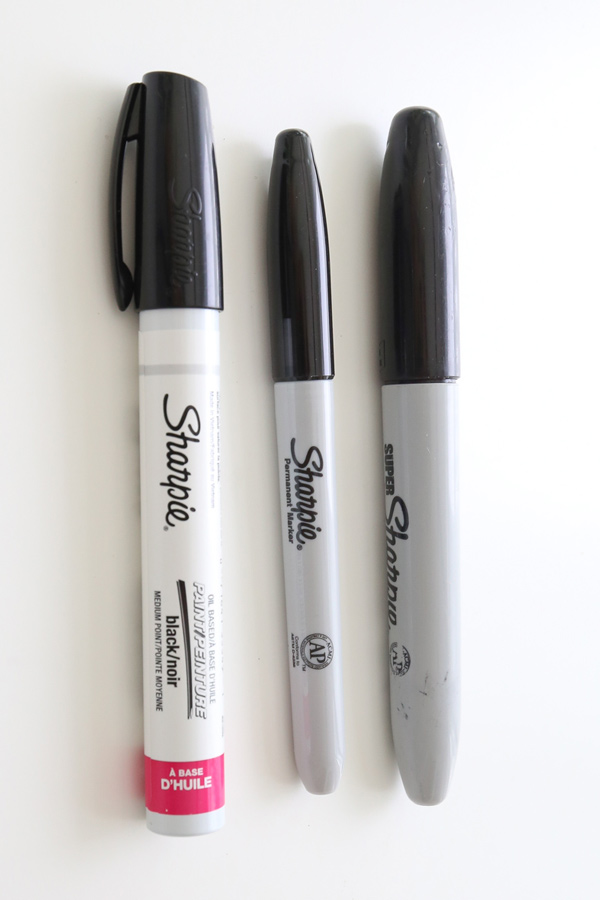
- Paint Marker or Permanent Marker**
- Masking tape
*For more details on DIY wood sign making, check out my post on how to paint wood signs and how to frame wood signs.
**Make sure to use a fine point tip if your design is small like mine or medium/large tip if you have a larger design
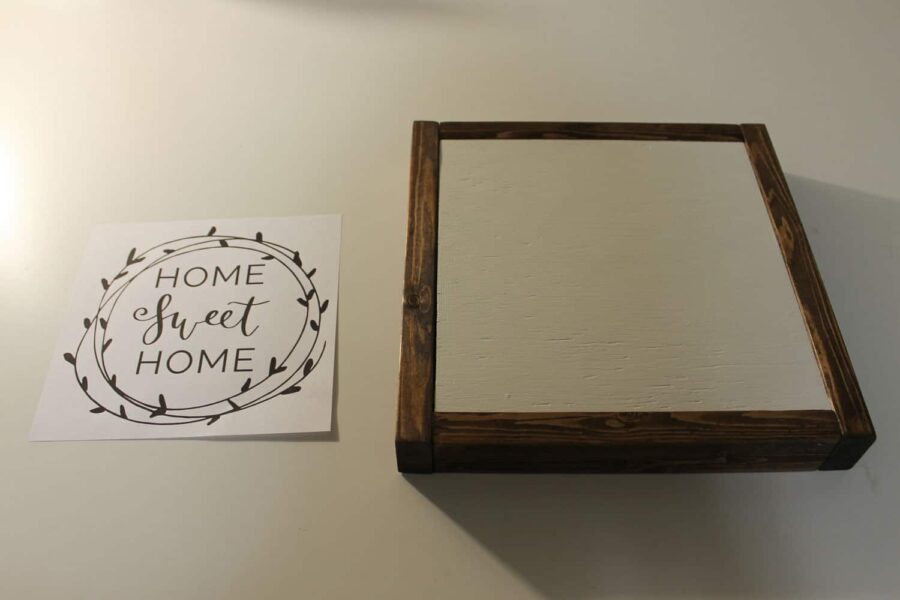
1. Print out the design on paper
Print out your design at the appropriate size needed for your wood. Then, cut the excess white paper off around your design.
I used this 8" x 10" Home Sweet Home printable which is available in the shop and it was a perfect fit after I cut off the excess white paper!
P.S. Sorry for the dark photos, I did this project at night!
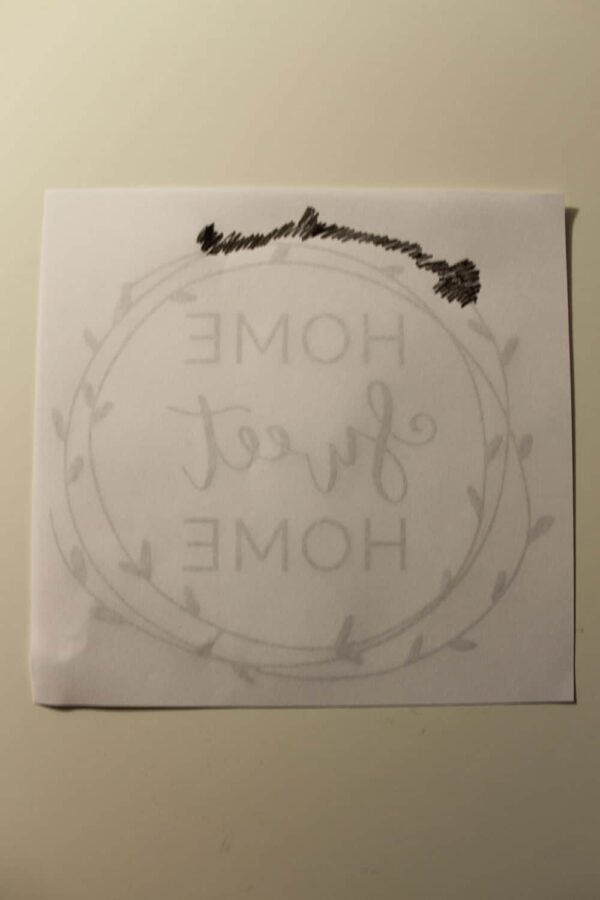
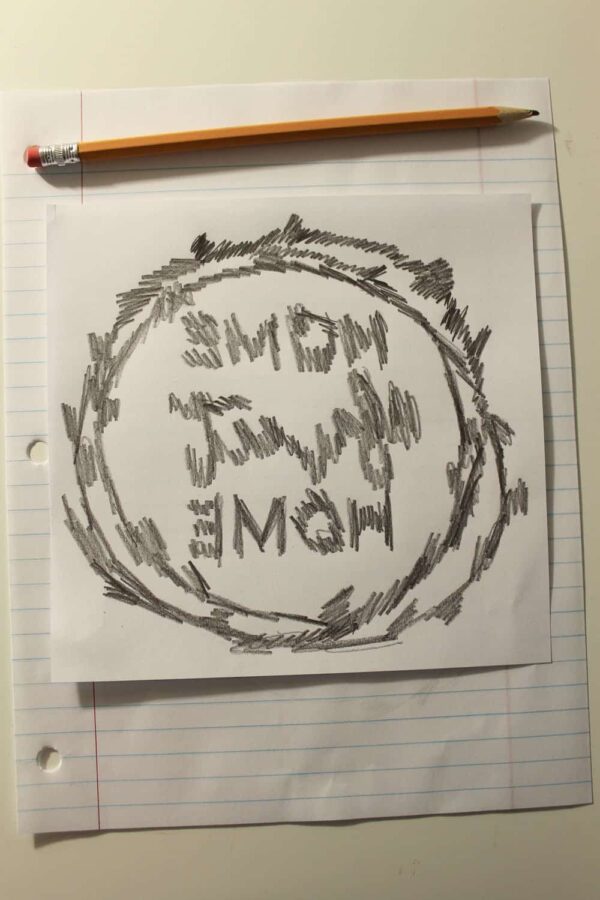
2. Shade over the design showing through the back of the paper with a pencil
Turn your paper over so the printed out design is facing down.
Then, use a regular pencil and heavily shade over the outline of the design showing through the back. Note, if your ink is fresh like mine was, put a scrap piece of paper underneath so no ink transfers onto your work surface.
Also, you can use chalk on the back instead of a pencil if your wood surface is really dark.
3. Trace over the design with the paper on top of wood
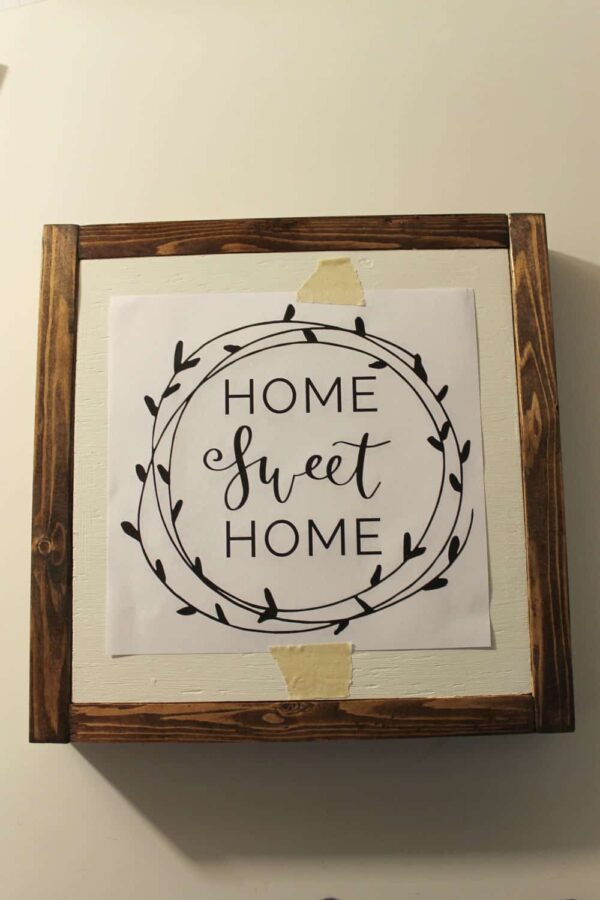
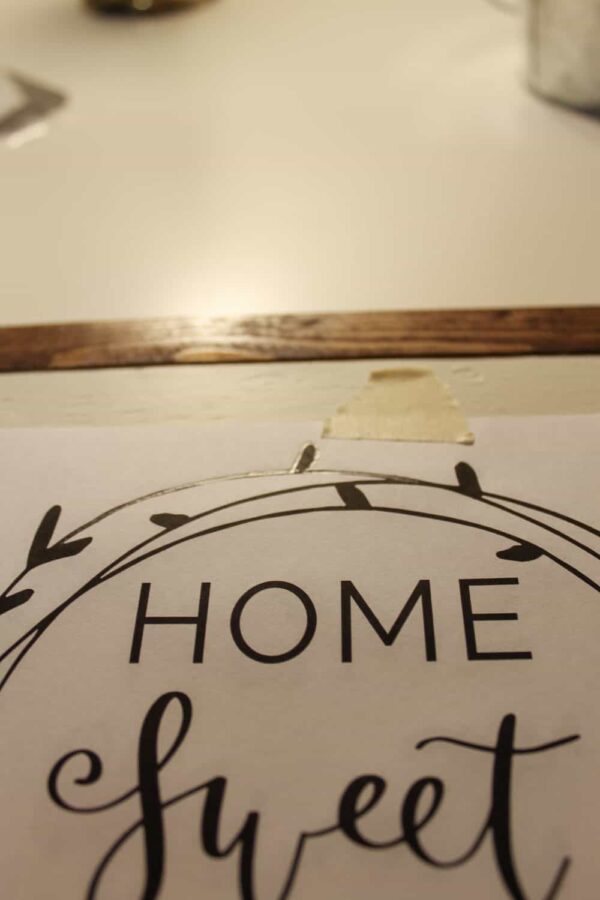
Flip your design back over and secure it into place on top of your wood using masking tape.
Then, start tracing over the design with your pencil, heavily pressing down the pencil as you trace.
4. Remove the paper from the wood to reveal the letters transfer
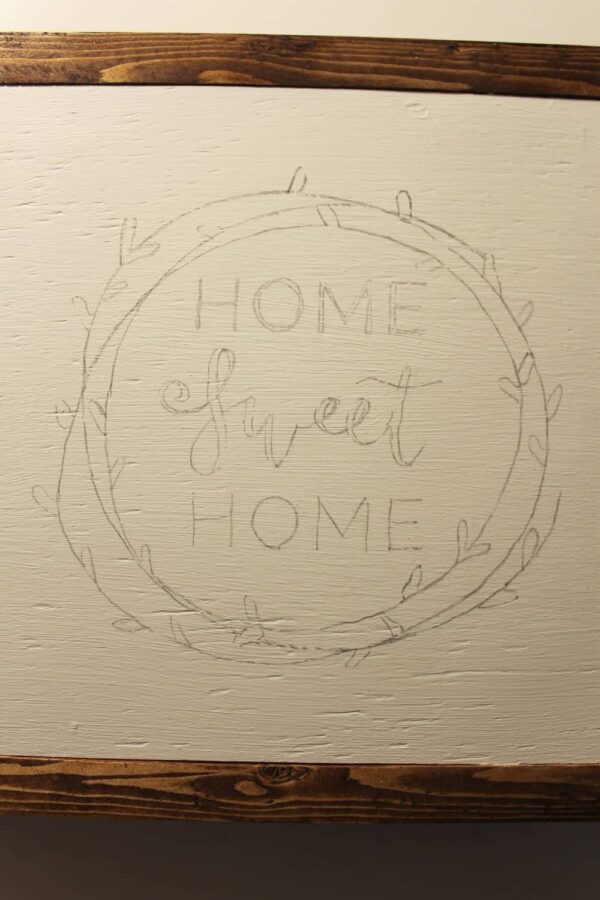
Now the magic part for how to trace onto wood! Remove your paper and the outline of your design has been transferred onto your wood!
5. Complete the letters transfer to wood with a marker or paint marker
Complete the transfer by tracing over the pencil outline with a paint marker, permanent marker, or even a paint brush and paint (although a paint brush may be harder to trace).
I used a black Sharpie fine point marker. If your design is small like mine, make sure to use a fine tip marker, but if it's a larger design, a medium or large tip marker would work better.
📩 Want to Save This?
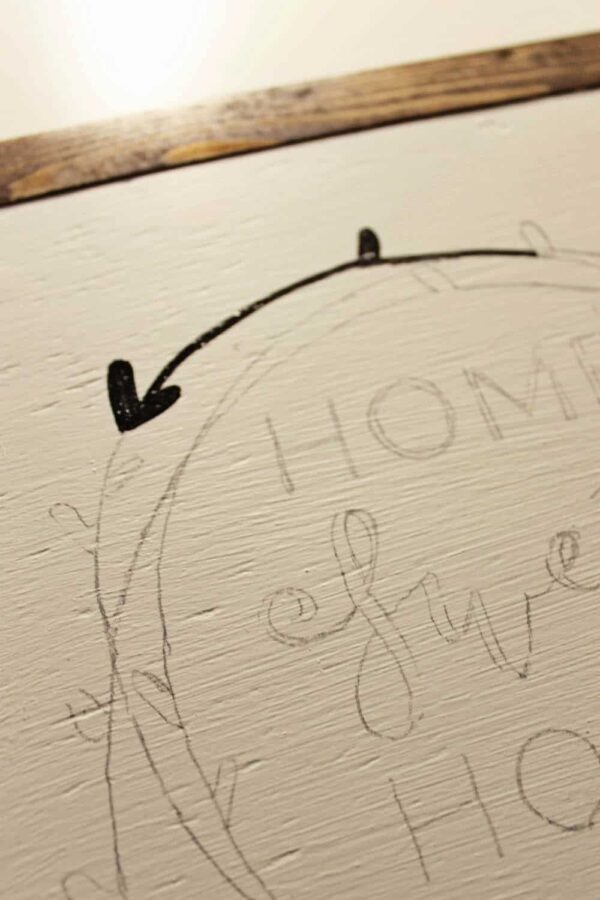
And that's it! A very simple and easy way how to transfer letters onto wood! Here is the final result:
Do you have any good, easy tracing methods you like to use for how to transfer a pattern from paper to wood?! Feel free to share in the comments!
And make sure to check out how to do a photo transfer to wood for transferring your photos and images!
If you use this method to transfer onto wood, please share it with me on social media @angelamariemade or #angelamariemade!
Follow along on Instagram, Facebook and YouTube for my latest projects, fun updates, and sneak peeks!
Want to save this tutorial for later? Pin it here:

How to Transfer Letters to Wood
Easy tutorial on how to transfer a design onto wood. Make DIY wood signs with this simple pencil tracing method!
Tools
Instructions
- Print out your design at the appropriate size needed for your wood. Then, cut the excess white paper off around your design.
- Turn your paper over so the printed out design is facing down. Then, use a regular pencil and heavily shade over the outline of the design showing through the back.
- Flip your design back over and secure it into place on top of your wood using masking tape. Then, start tracing over the design with your pencil, heavily pressing down the pencil as you trace.
- Remove your paper and the outline of your design has been transferred onto your wood.
- Complete the transfer by tracing over the pencil outline with a paint marker, permanent marker, or even a paint brush and paint.
Recommended Products
As an Amazon Associate and member of other affiliate programs, I earn from qualifying purchases.

More From the DIY Wood Sign Series:



The same thing can be accomplished using graphite tracing paper which is super cheap and can be reused dozens of times. Less mess than the pencil although this works very well too.
Thanks for the tip Gigi!
You can also do it by flipping your photo then printing it. The ink from the printer will transfer like this as well. Just lay it down on the wood and color the back side with the pencil instead! It works well!
Thanks for the tip, will have to try it out!
Yes...graphite paper worked best for me... carbon paper, also.
Thanks Jay! I'm gonna have to try that next!
Uh.. yes! Thank you! Graphite paper. HELLO! 😃
Graphite paper is great too!
I painted my graduation cap, it was black, with a multi colored butterfly. I used chalk instead of pencil lead. Worked perfect.
What a cool idea! I'm so glad to hear it worked with chalk on your graduation cap! Good to know it works on more fabric type materials too!
If you were using a piece of wood that was painted with chalk paint would you do the wax or whatever sealant you choose before or after you do the transfer?
That's a great question Marilyn! I would think it'd be best to do the transfer before you do the wax or other sealant. To be sure though, I'd test it out on a scrap piece of wood both ways to see which works best with the actual sealant that I'm using. Hope that helps!
Where did you find the wood frame you traced the design on? I love it!
Thanks Dana! I made it! I made it the same way (but with smaller dimensions) a this larger DIY frame in this post: https://angelamariemade.com/2016/07/diy-wood-sign-with-calligraphy-quote/
What font is that you use?
The calligraphy is my own hand lettering that I digitized
This is very awesome! Thank you!
Thank you Joely!
Where do you get the wood frame?
I actually made it myself with some scrap 1x2 pine wood.
Nice
Thank you Jennifer!
Hi! This is an awesome idea...I've been wanting to make a couple of these wooden signs for my home! I'm just curious why do you have to flip the image over with the image facing down & scribbling over the back of the image if you're just gonna flip it over & trace the actual image? Couldn't you skip that step and just trace the actual image onto the wood? Thank you for sharing!
Thanks Shonda! I flip it over to add the pencil shading so that when the design gets traced onto the wood a small outline (from the pencil shading) will be left on the wood for the design transfer to work best. If that part was skipped and you just traced from the front onto the wood, it wouldn't leave much of an outline on the wood, unless you pressed really hard and it made more of an indentation in the wood...which works too if you don't mind the indentation! I just prefer the pencil shaded outline instead. Hope that helps!!!
Ohhhhh gotcha! I see now 🙂 thanks for replying!
Hi! Great project! I'm a total newbie when it comes to projects like this....did you have to prepare you wood first like sand or but a primer on it before you did anything?
Thanks Liz! For this project, I did sand, prime, and paint my wood first, but it would work on raw wood too!
I did a similar project this weekend. I chalk painted wood and did the pencil technique you used. My problem came when I used a sharpie to fillin my letters. I think the chalk paint dried up the marker or something because the (brand new) marker wouldn't work after one letter. I had to scribble on a blank piece of paper for a bit to get the ink to work again. I think next time I will seal it first.
Thanks for sharing Tera! That is so strange the brand new marker dried up after one letter! I will definitely remember that if I plan on using chalk paint for a similar project.
I tried this once on almost raw wood and my sharpie bled - feathered - on every edge :(. Guess I def need to seal surface?? Or use a paint pen instead. Hate when you finish a project you have to re-do it instead of go hang it up!
Oh no that's a bummer! Yes I agree, I think sealing it or having paint underneath would help prevent that!
This is a great alternative to finding a laser printer and doing a transfer using Acrylic Medium Gel! Thanks for posting!
Thank you Andrea!
I used carbon paper and it worked really good, but thank U for sharing your way of doing things
Thanks for sharing Anna! I'll have to try carbon paper soon too!
I have used iron on transfers on wood and it works well.
thanks Sally! I will have to try them out!
I have a large sideboard that I would like to transfer a vintage winery crate label onto. Any suggestions- enlarge something with photo copier or??
That would work! You could also take a photo of it and then get it printed on a large size print, like a black and white engineering print at Staples. Then, proceed with the transfer method.
Have a question. I've used perm magic marker ( sharpie ) and found as soon as I sprayed a light coat of clear spray it started to bleed and run. Curious to know if a paint pen would do the same?
It may depend if the paint pen is oil based or water based. To know for sure though, I'd try testing it out on a scrap piece of wood first!
Oh my goodness! This is what I've been searching for!! Thank you!!!
You're welcome!
Thank you this was great, loved the follow-up conversations too, we can all add as we try.
Thanks Sue!
Thank you for this tutorial. I was looking for a way to transfer an outline onto wood for carving with a dremel tool and I think this will work out good..
You're welcome Tammy!
I am wanting to transfer a detailed recipe onto wood. Would you recommend this method for that as well or a different method?
Sure this would work especially if the recipe lettering isn't too small. If it's smaller and more intricate, you could do a wax paper transfer.
Easier to print out your design, flip it over, color over the entire page with chalk (for light woods I use a non staining colored chalk), tape the design where you want it, trace with pencil. When you remove the paper it looks similar to what you did with the pencil. Trace over it with your pen, marker, paint, etc. after it dries you can wipe the excess chalk off with a damp towel.
Thanks for the tips!