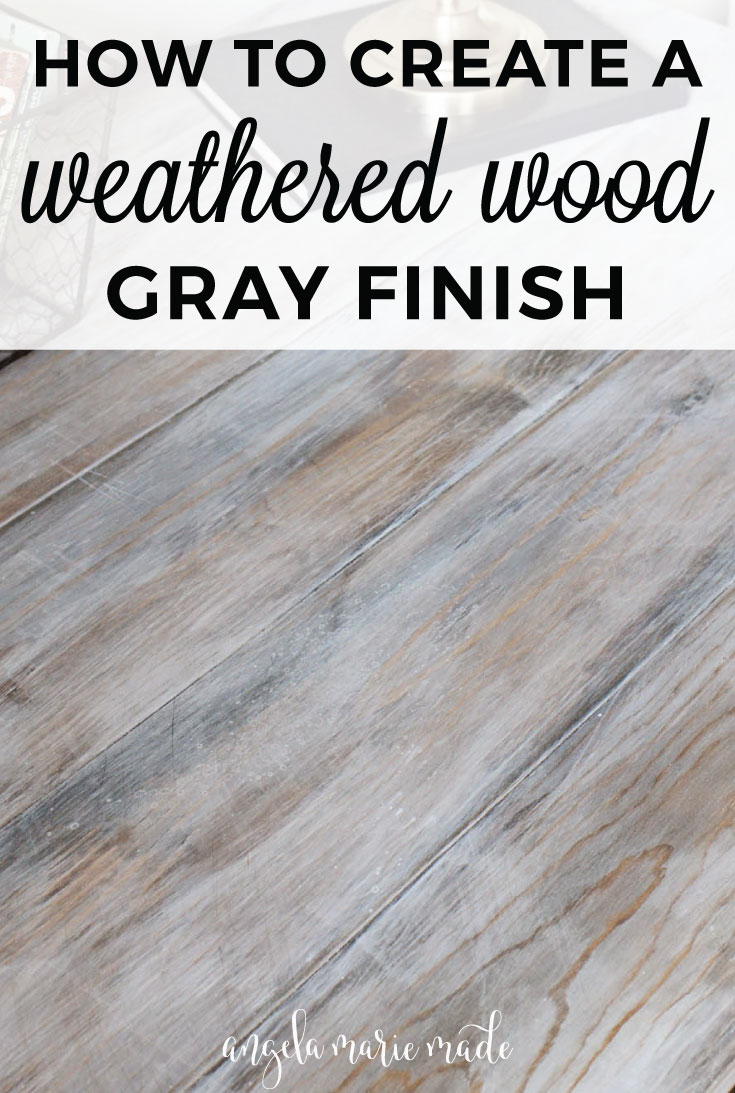
Learn how to easily grey wash wood! This weathered gray stain finish works great for how to make wood look old and gray!
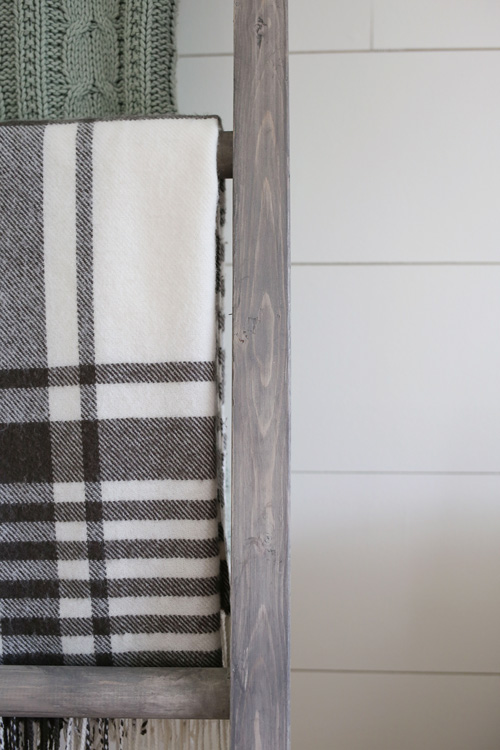
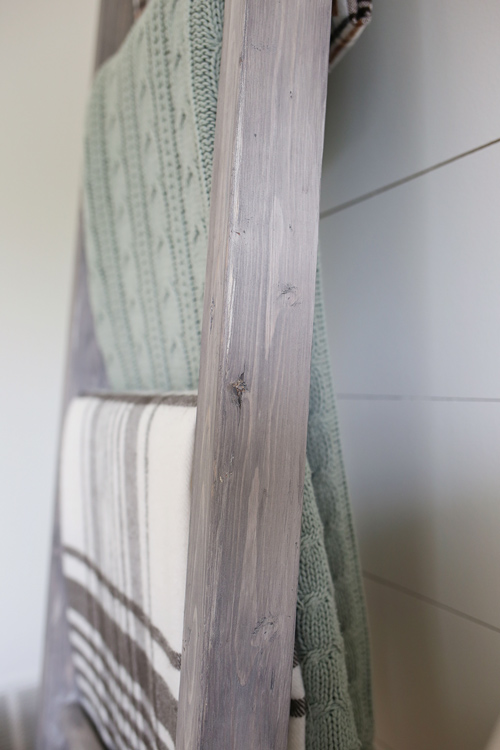
Last week on the blog, I shared a rustic DIY desk that Brandon built and finished. The photos I took didn’t quite show off the gray wash stain finish like I wanted, so I am sharing some close up photos today of the finish as well as how we created a weathered wood gray finish.
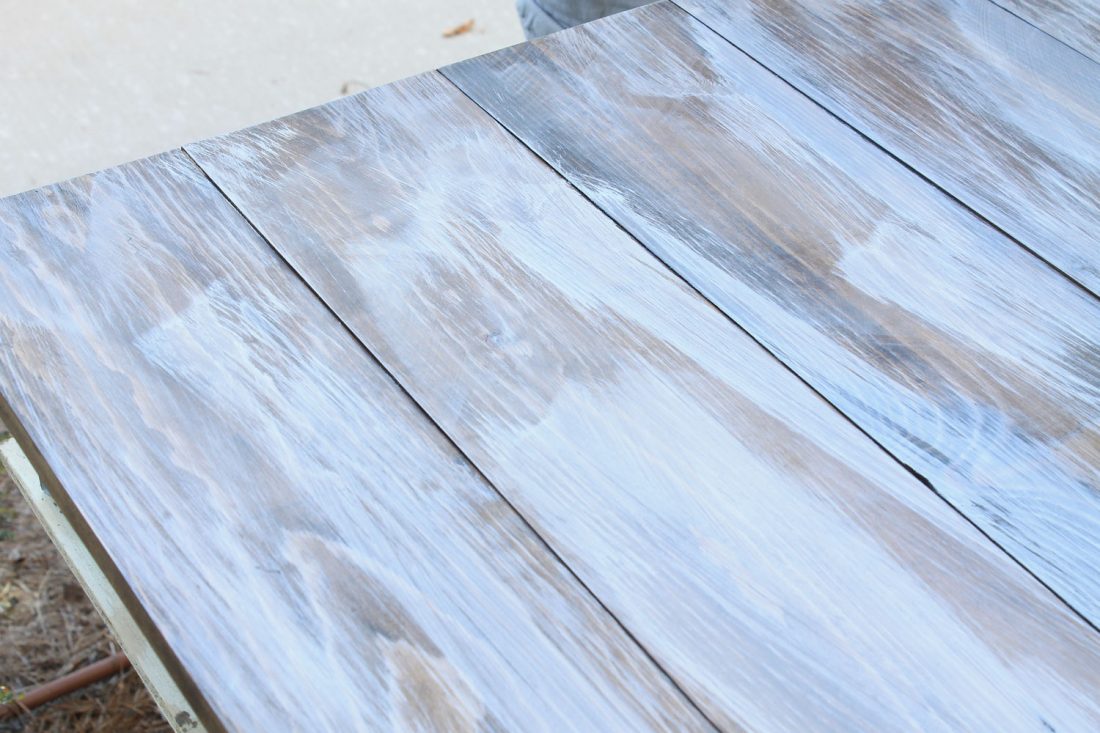
We tested out a few different combinations to get a more gray washed look.
Ultimately, we decided on using a combination of stain and white washed paint (paint mixed with water) to achieve a more weathered gray stain tone. It’s a great, easy way to distress wood with paint!
Note, this post contains some affiliate links. For more info see my disclosures here.
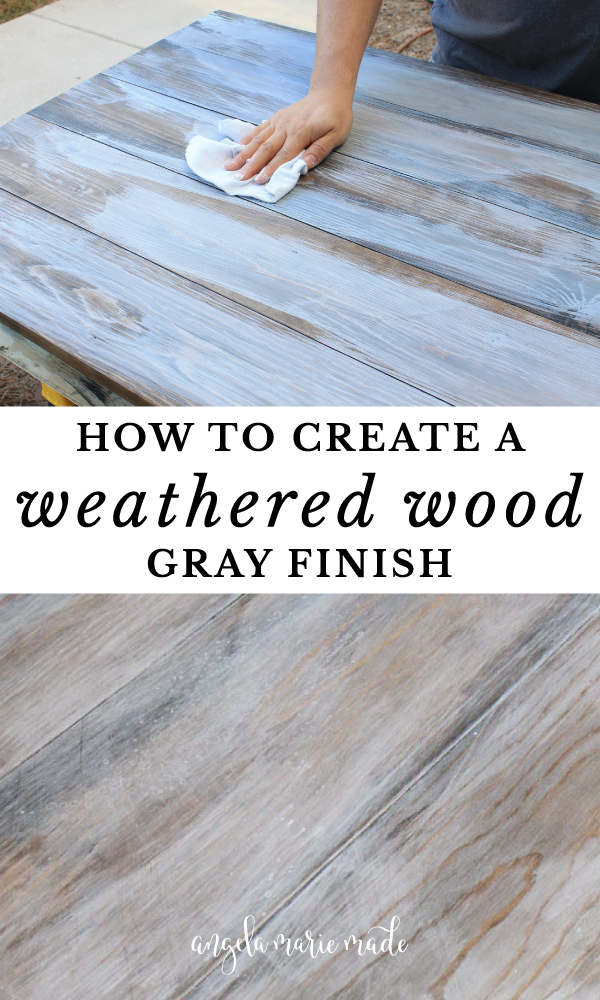
How to Create a Weathered Wood Gray Finish:
Supplies Needed for a DIY Gray Wash Stain:
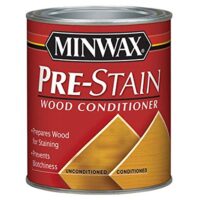
- Pre-Stain Wood Conditioner
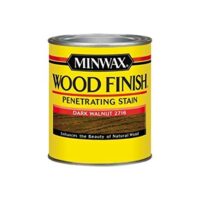
- Dark Walnut Stain (also available here)
- White Paint (we used White Dove by Benjamin Moore in a flat finish)
- A little bit of water
- Staining Rags
- Sandpaper (we used 80 grit) or sanding block
- Paint Brush
*A printable version of this tutorial and step by step video are at the bottom of this post!*
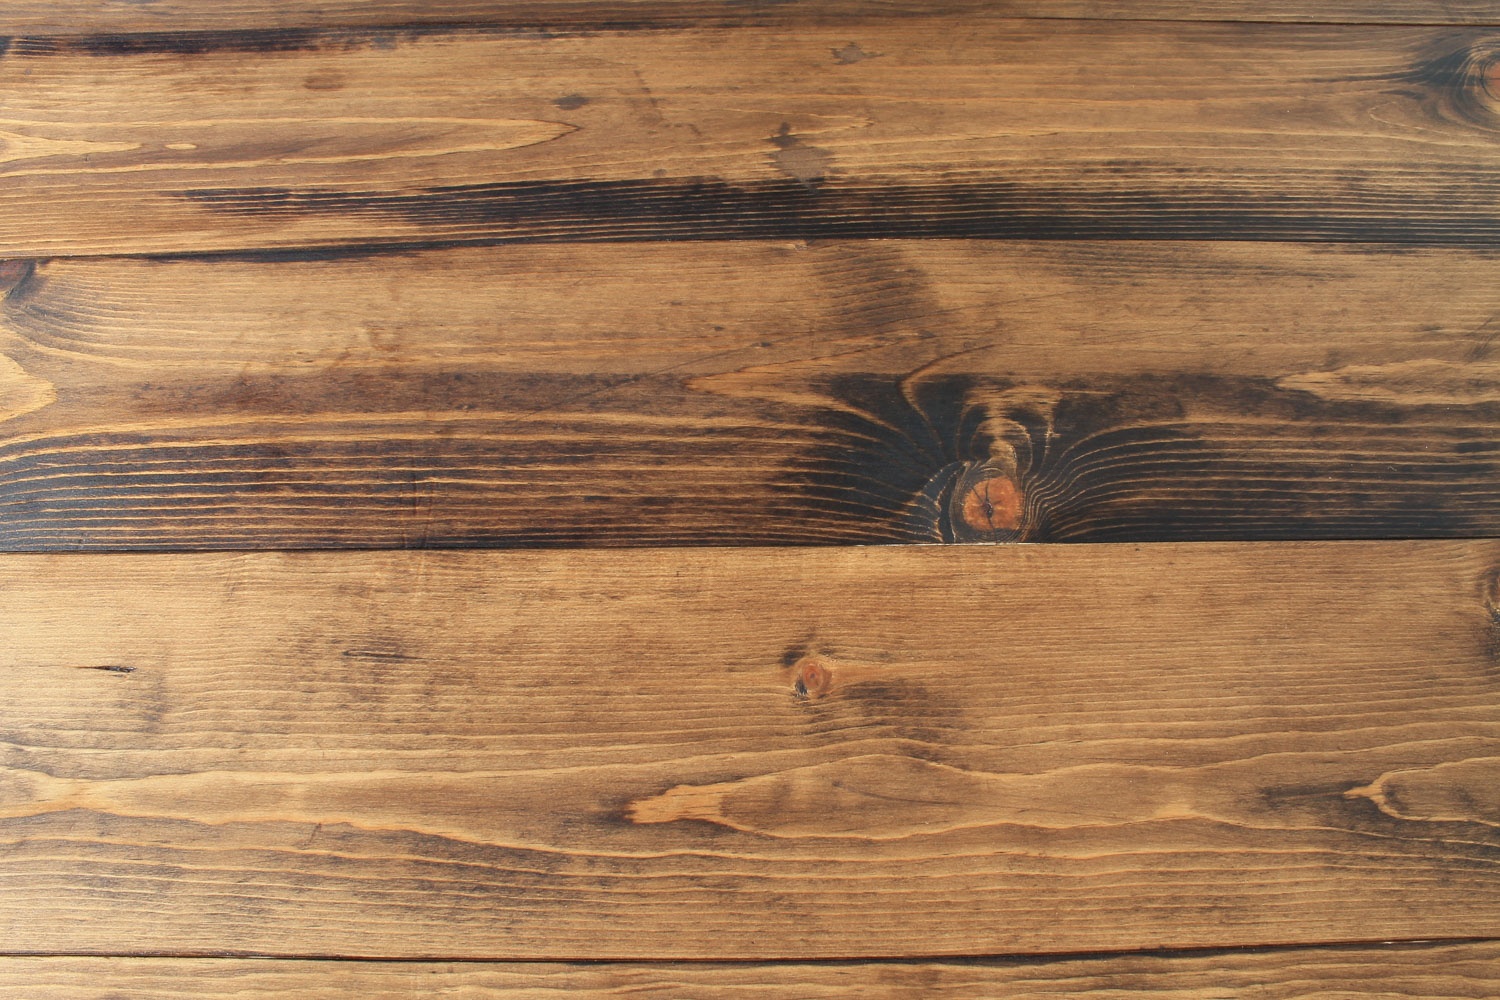
1. Stain your wood
Before staining, make sure your wood is properly prepared for finishing. To learn more about how to prepare your wood surface for a weathered wood finish, as well as other weathered wood finish tutorials and how to protect your weathered wood surface, check out Weathered Wood Recipes!

Then, apply the pre-stain wood conditioner and let dry.
Next, apply one coat of the Dark Walnut stain. Wipe away any excess stain. Allow your stain to fully dry.
See my tutorial on how to stain wood for tips on staining wood!
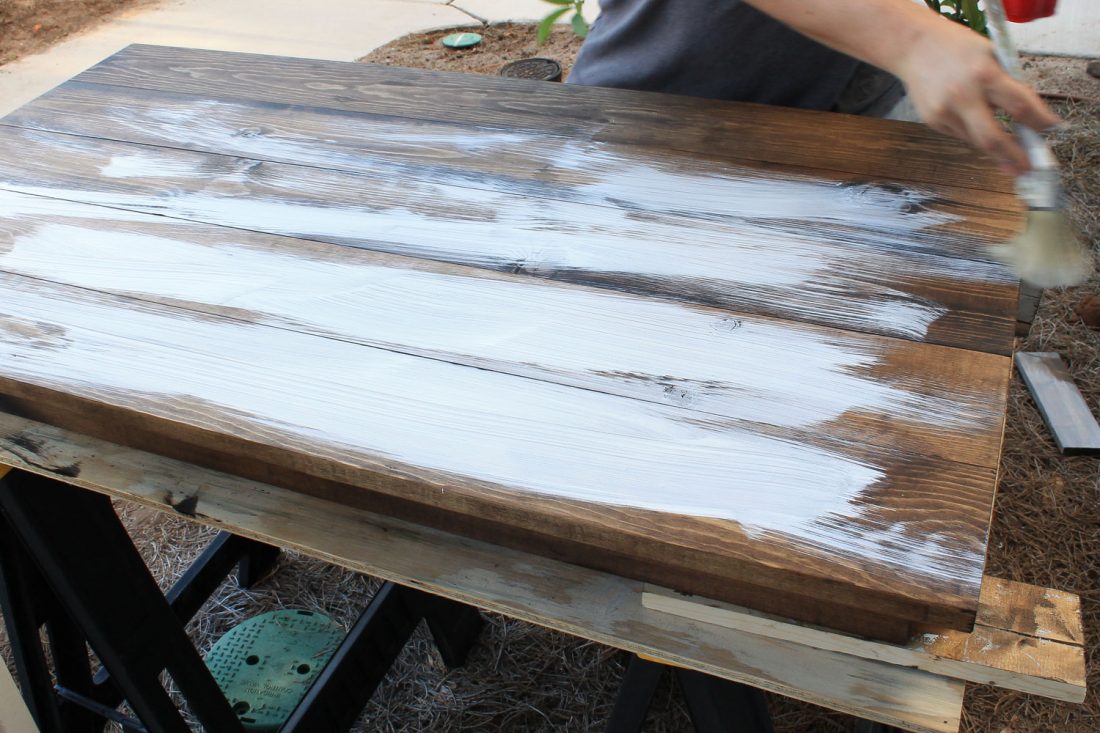
2. Apply a white wash mixture to the wood
To create a whitewash paint mixture, we mixed about 1 part water to 1 part white paint. We ended up making the mixture a bit thicker with paint and less watery to achieve our desired finish.
Next, apply the white wash paint mixture to the wood in long strokes with a paint brush.
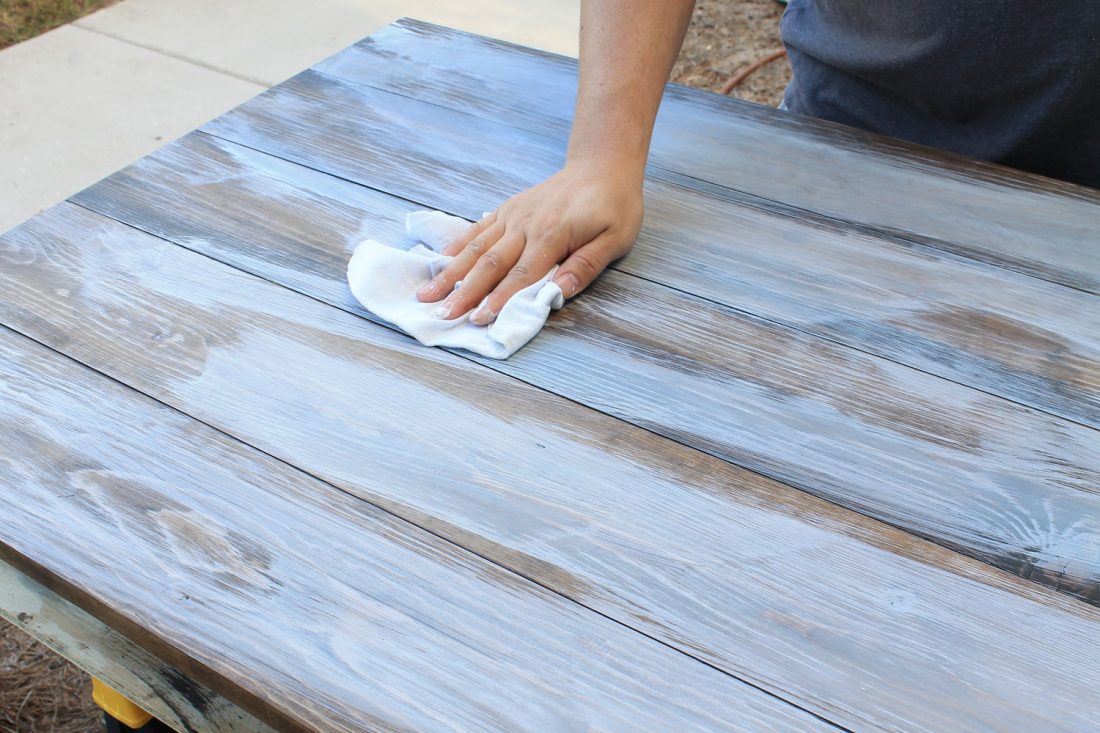
Allow the paint mixture to set for 3-5 seconds, then rub over the white wash paint strokes with a staining rag or lint free rag to smear the paint mixture into the wood. Allow it to fully dry.
See my whitewashing wood tutorial for more details on how to whitewash wood.
3. Distress the wood finish with sandpaper to create a grey wash wood look
Finally, very lightly distress the wood finish with sandpaper until you achieve your desired look!
I prefer to use 80 or 150 grit sandpaper wrapped around a piece if wood and hand sand until I get the look I want. A sanding block may be used too.
And that’s it! Pretty simple! You can also add a top coat of poly or wax if you’d like, we chose not to since we liked the look at this point.
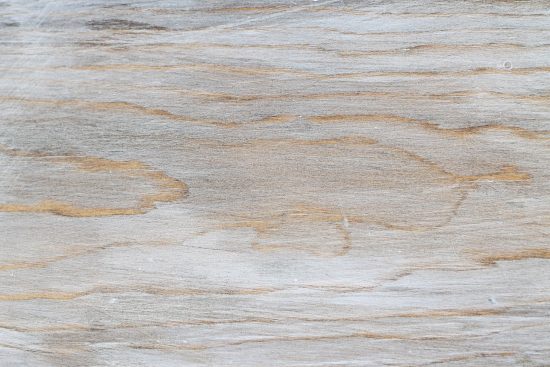
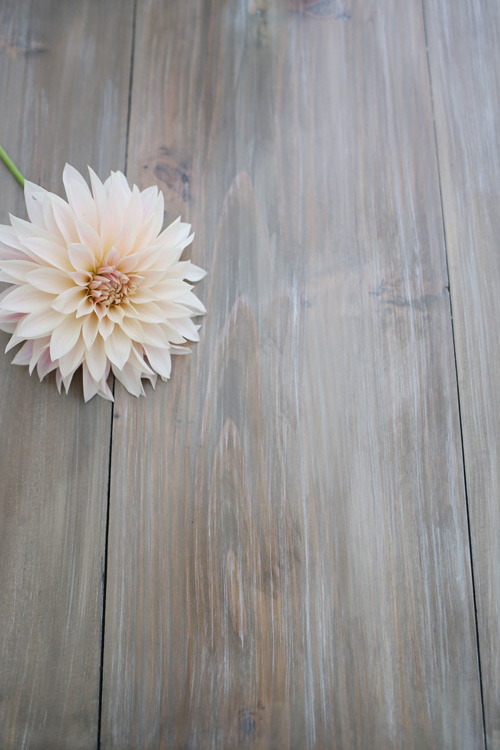
Here is a close up of the wood grain with this rustic, gray, weathered wood finish. I just love how the grain lightly shows through with this grey wash wood stain finish!
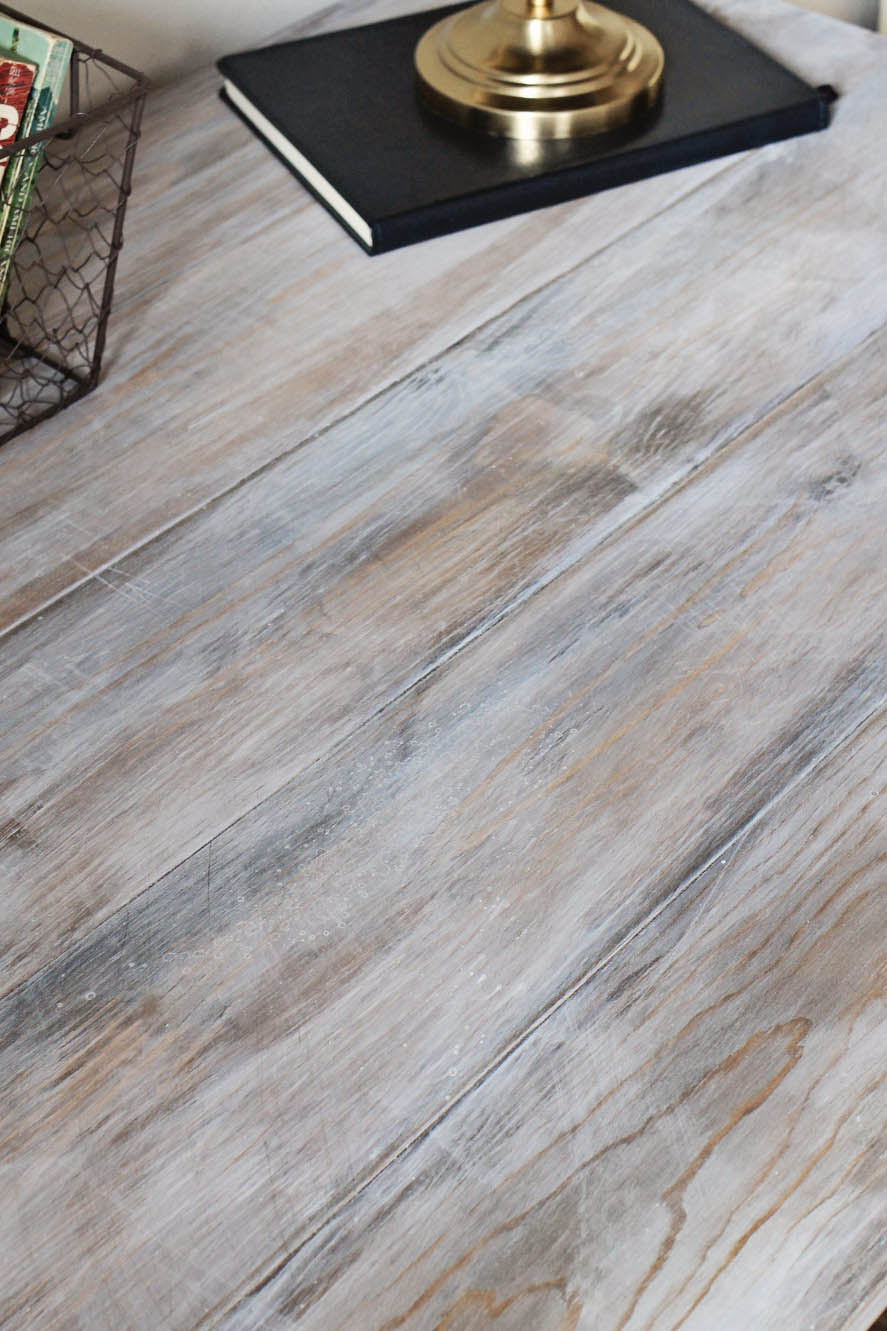
What do you think of our weathered wood, gray finish? I think it definitely gives off a rustic vibe and it’s perfect for how to make wood look old and gray or how to grey wash wood! It’s definitely one of the easiest ways to distress wood with paint!
If you want to see another example of this finish, check out my easy DIY entryway bench which we applied the same finish to as well!
📩 Want to Save This?
Want to save it for later?! Pin it here:
More DIY Weathered Gray Stain Finishes:
If you’re interested in more easy weathered wood finish tutorials with a gray wash stain look, learning how to properly prepare your surface for a weathered wood finish, or learning about top coats and how to protect your finish for the best results, check out Weathered Wood Recipes here!
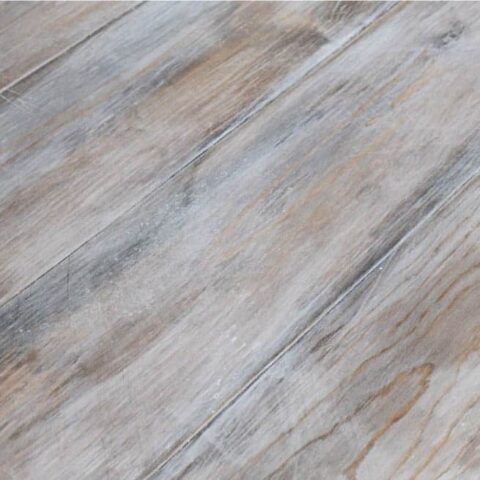
Weathered Wood Recipes includes easy and budget friendly tutorials on how to create weathered wood finishes like this:
And this!
Click here to learn more about Weathered Wood Recipes!
I’d love to see photos of your project using the weathered wood finish in this tutorial! Feel free to share your DIY grey wash wood finish with me on Instagram @angelamariemade, Facebook, or e-mail pictures to [email protected]!
Also, if you’re interested in more wood finish ideas just using stain, be sure to check out my 10 favorite wood stain colors, 5 favorite grey wood stain colors, and 3 white wood stain options.
Be sure to follow along on Instagram, Facebook and Pinterest for my latest projects, fun updates, and sneak peeks!
Subscribe to my YouTube Channel here!
How to Create a Weathered Wood Gray Finish
Easy tutorial on how to create a weathered wood gray finish. Make new wood look like old weathered wood or refinish your furniture with this gray wash look!
Materials
- Pre-Stain Wood Conditioner
- Minwax Dark Walnut Stain
- White Paint (we used White Dove by Benjamin Moore)
- A little bit of water
- Staining Rags
- Sandpaper (we used 80 grit)
Tools
- Paint Brush
Instructions
- Make sure your wood is properly prepared. Then, apply a pre-stain wood conditioner.
- Stain your wood with one coat of Minwax Dark Walnut stain. Wipe away any excess stain. Allow it to fully dry.
- Apply a white wash mixture to the wood, using one about 1 part water to 1 part white paint. Apply the white wash to the wood in long strokes with a paint brush. Allow the paint mixture to set for 3-5 seconds, then rub
over the white wash paint strokes with a staining rag to smear the paint mixture into the wood. Allow it to fully dry. - Lightly distress the wood finish with sandpaper until you achieve your desired look!
Recommended Products
As an Amazon Associate and member of other affiliate programs, I earn from qualifying purchases.

Jill Elaine Young
Tuesday 12th of November 2024
I'm very partial to rustic wood. Do you think I coukd use this method to refinish my worn out hardwood floors?
Angela Marie Made
Thursday 9th of January 2025
If you sealed it properly I don't see why you couldn't use this method to finish wood floors!
Chris M.
Tuesday 5th of November 2024
We did this technique and love it (mostly). However, our piece has more of a blue tint to it rather than gray. Is there a way to fix it so that it is more gray?
Kelly
Thursday 21st of March 2024
I have dresser that is already stained a dark walnut, not much grain shows through or it is a wood with little grain. Can I skip right to the white wash?
Angela Marie Made
Wednesday 3rd of April 2024
Yes I think that you could skip it! So long as the paint is going to adhere to the surface of the dresser properly. You can always test it in a small area that is not visible!
Mel
Tuesday 22nd of August 2023
If the wood is already stained for instance a ceiling fan do I need to do anything before adding the watered down paint?
Diane Brown
Monday 31st of October 2022
I like the weathered Grey Finish you've done I want to try it I have stripped my wood would I still need to use the Pre stain Wood Conditioner I would also like to know what kind of sealer you used on your piece
Angela Marie Made
Tuesday 1st of November 2022
I didn't use any sealant on this piece, but if you want to add a sealant I would recommend using a water-based polyurethane!