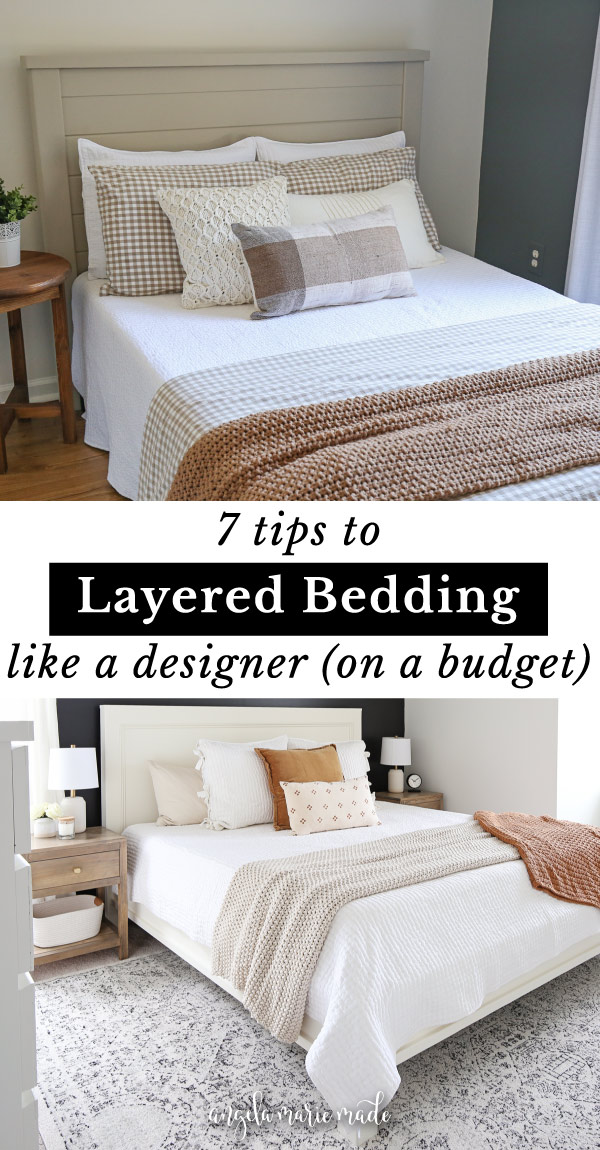
7 tips on how to create a cozy, beautiful and layered bedding look like a designer, but on a budget!
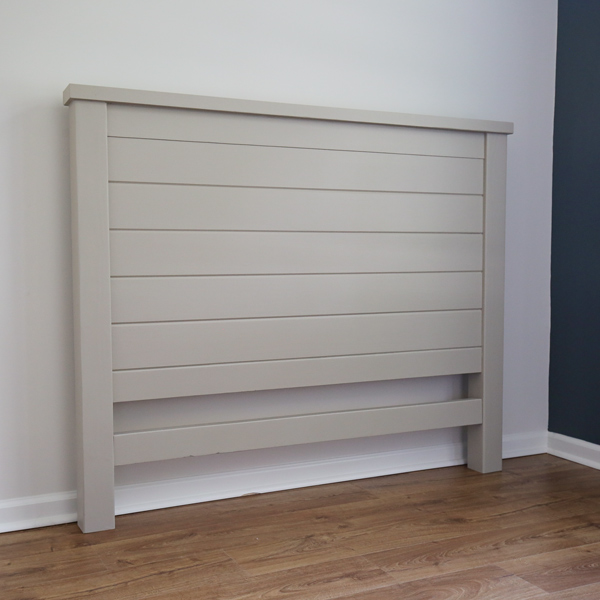
We have been in the process of making over my son’s bedroom. For one of the projects we built a DIY headboard and I have been working on finalizing the bedding to go with it!
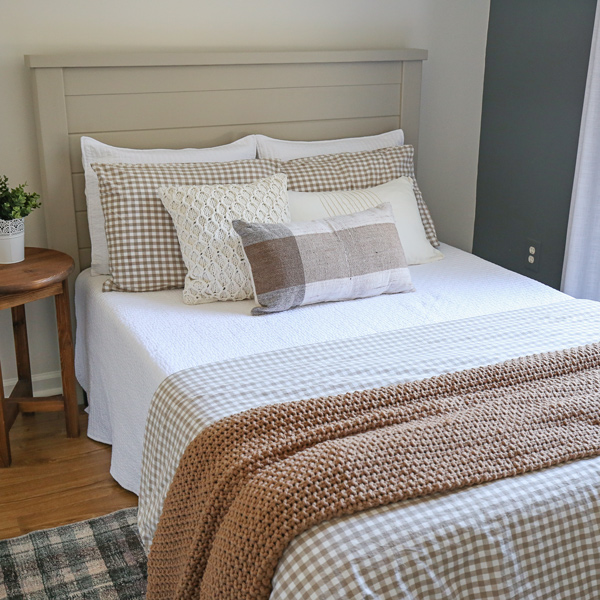
I thought it would be fun to share 7 tips I have found to be helpful when making a beautiful bed with a layered look that helps to really bring a room together, become a focal point of the room, and make a bedroom feel welcoming and cozy.
Because not only do you want it to look beautiful and cozy, but you want it to actually feel cozy too with quality, soft bedding.
I have to admit that a few years ago, I had no idea how to make a bed in this way…
But, when we were working on our master bedroom makeover and made our DIY bed frame, I spent hours on Pinterest and interior designers blogs trying to learn how to make a bed in a beautiful, yet cozy and stylish way, that was also still on a budget. Because a stylish bed and quality bed linens can get expensive fast!
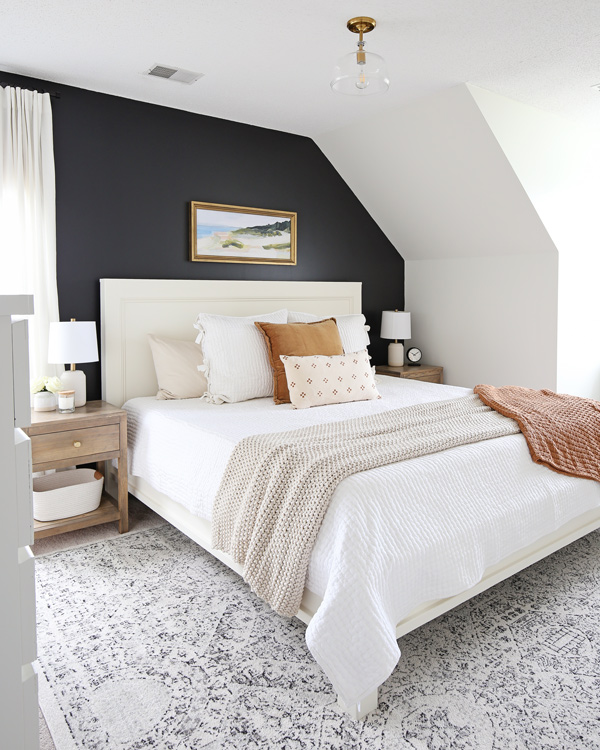
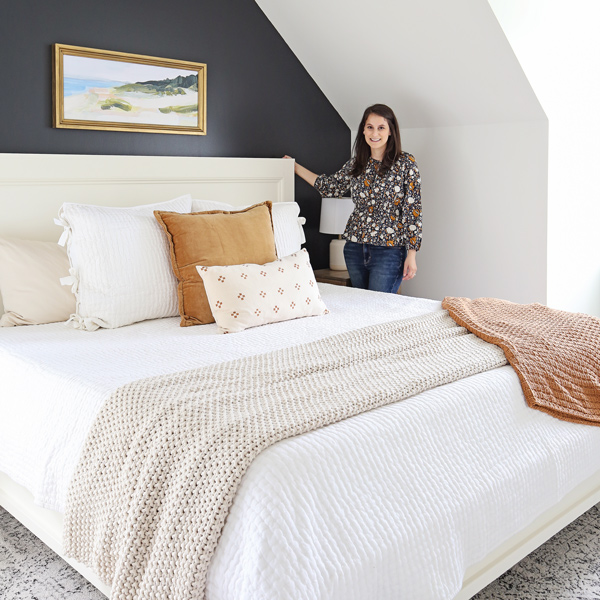
So, today I am going to share layered bedding ideas and my 7 tips using our bed from our master bedroom makeover as well as my son’s current bedroom makeover to help demonstrate these tips in action!
Note, this post contains some affiliate links. I may earn a commission if you shop those links (at no cost to you). Thank you for supporting my small business. For more info see my disclosures here.
Product Sources
For all products mentioned in this post you can shop them here:
7 Tips on How to Layer a Bed:
1. Start the foundation off with a headboard or bed frame
Start with a beautiful, stylish bed frame or headboard rather than just a cheap, metal bed frame (which is what I use to have)!
You can of course buy a bed or headboard. But, I prefer a DIY bed frame or DIY headboard and building it from scratch exactly the way I want it!
Another DIY idea on a budget is to find a bed frame or headboard second hand and give it a makeover, also known as a thrift flip! Or if you have one already, even better, you can give it a makeover if needed!
Both of these ideas will save a lot of money instead of buying new and you can customize them the way you want too!
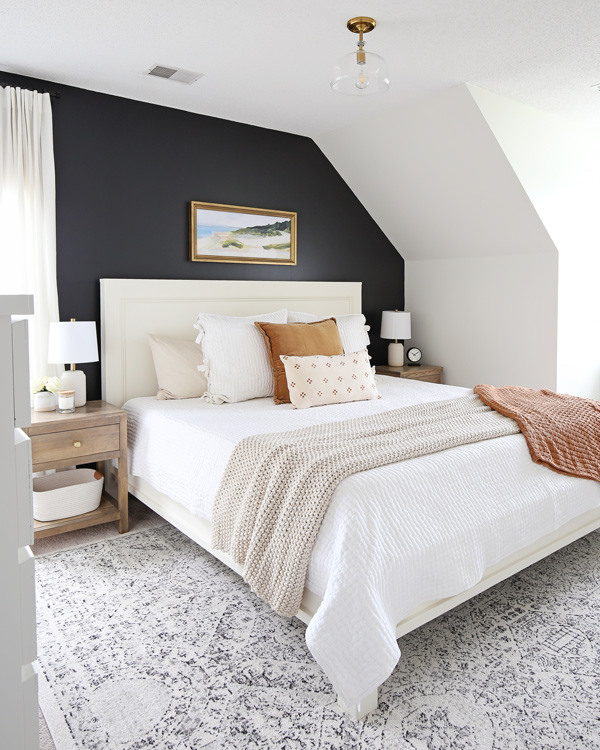
For our master bedroom makeover we made a king size DIY bed frame out of real wood for just $175!

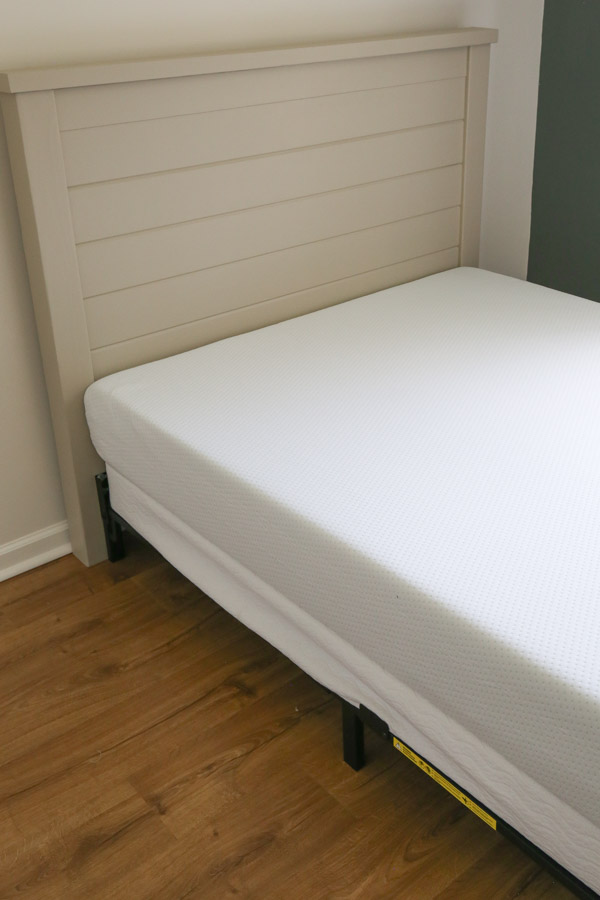
For Jackson’s room, we built a shiplap headboard DIY for just $90 in lumber, an even easier DIY project!
2. Add a comfortable mattress
There are so many kinds of mattresses and you may already have one that is comfortable which is great. If it’s not you can try adding a mattress topper or buying a new mattress.
I’m not going to go into mattresses too much because there are so many and personal preferences vary a lot.
But we had to buy a new full size mattress for Jackson’s room and all new bedding since we had never owned a full size bed before. I did a bit of research and found a super budget friendly mattress with good reviews that arrived in a box with 3 day shipping.
It’s not the same level as our Casper mattress that we have for our master bedroom, but we all find it comfortable and it’s a good value for the price!
We also got the matching box spring that goes with it.
3. Layer a rug under the bed
Now I know a rug isn’t part of the actual bedding, but layering a rug under the bed really helps to bring the room together and make the whole bedding look more visually appealing.
It’s another textile to warm the room up and it also feels great underfoot when you step in and out of bed.
In our previous bedroom, I used a black and white vintage looking rug under our bed which matched our bedding and black accent wall perfectly. I laid it right on top of our carpet and it was the perfect touch!
In Jackson’s room, I found the perfect plaid rug, the colors tie together the headboard and accent wall colors well.
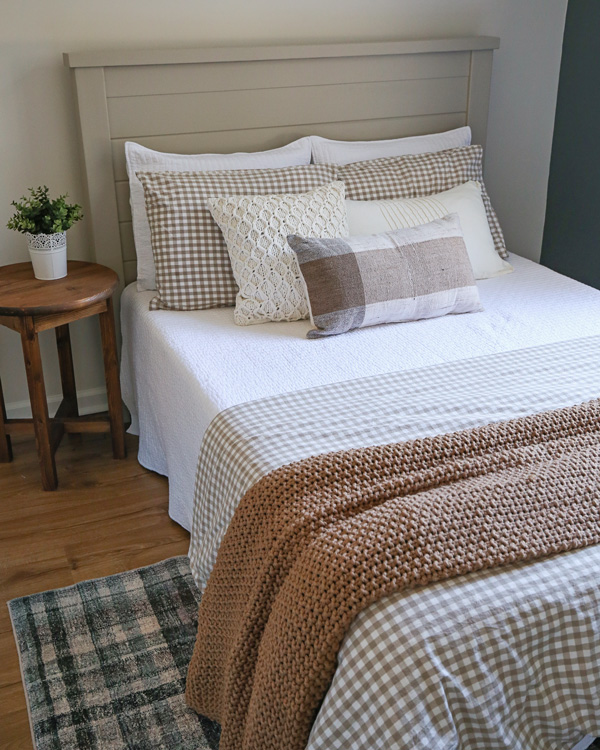
It’s super soft too! Jackson told me he wanted to sleep on it haha!
Also, I bought the rug on Prime Day and was able to get a 5×7 for a great deal. Rugs go on sale all of the time, so make sure to look for the sales!
Also one more tip as far as rug size goes for under a bed. Generally, you want the rug to extend at least a few feet on each side of the bed and at the foot of the bed.
But, you do not need the rug to go all the way up to the headboard, it can stop right before the nightstands.
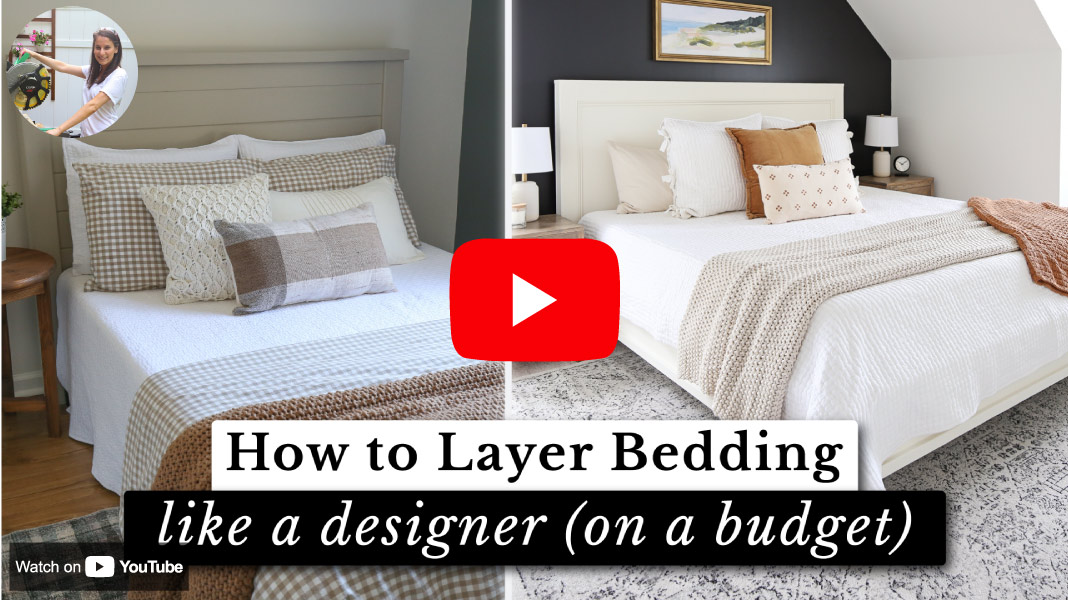
You can see this rug placement in action in my layered bedding tips video, where I show all of these steps!
4. Use neutral sheets if you want to play with fun pillow patterns or change up seasonal decor
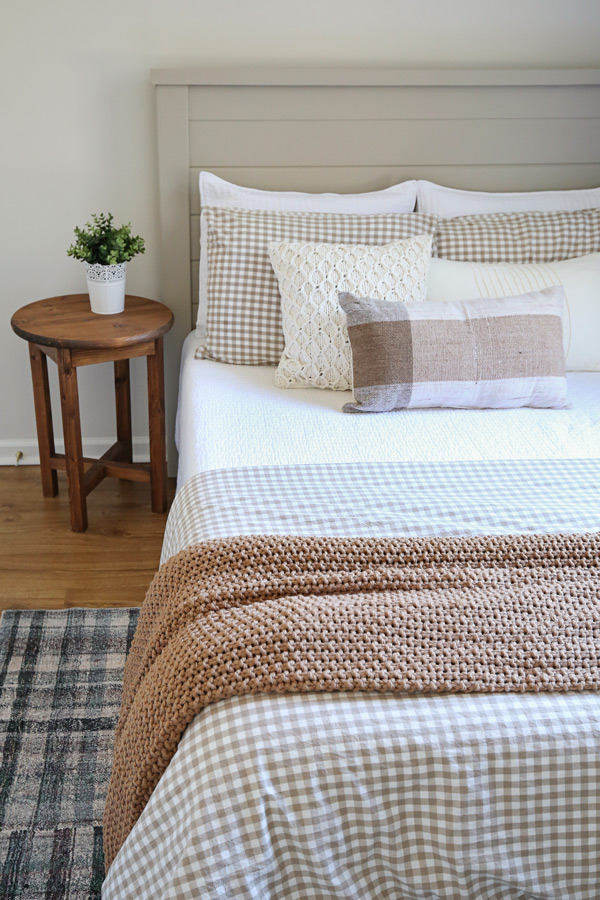
This is personal style preference, but if you only want to buy one pair of high-quality sheets, it helps to go with neutral colors or white color sheets, so you can play around with more fun patterns or colors with pillows and duvet covers.
I found this soft white sheet set for Jackson’s bed that was a great deal and 400 thread count. The higher thread count fitted sheet and top sheet always feels nice to sleep on!
I love using white sheets on our beds, it’s just so crisp and clean looking!
5. Use at least two top layers of bedding
For a layered look, use at least two top layers of bedding. I like to use a quilt or coverlet with some different textures.
I love this pick stitch quilt from pottery barn on our king size bed, it was a Christmas gift, and it’s amazing!
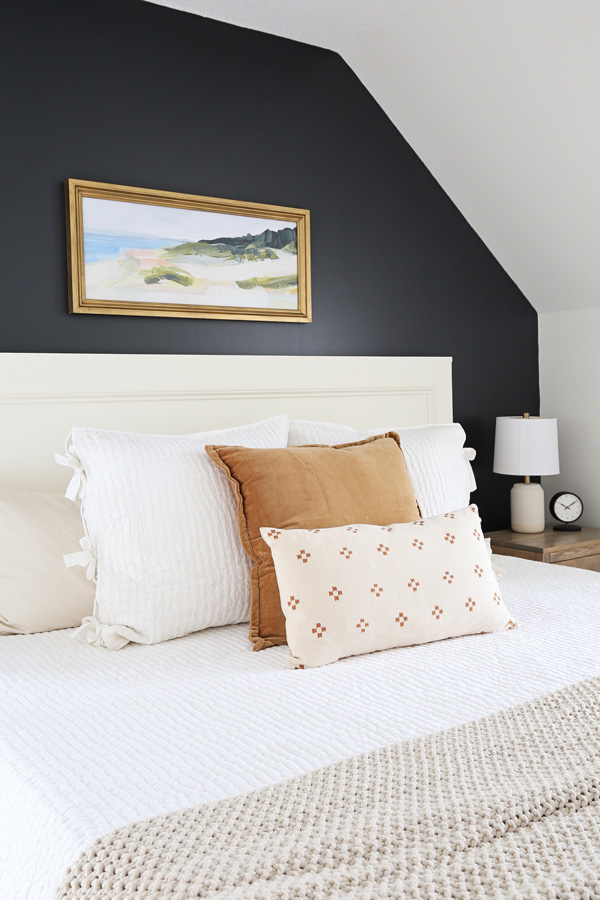
I loved the look so much that I wanted to find a similar looking quilt for Jackson’s bed, but a lot less money. I found this cross stitch quilt for about $100 less than the Pottery Barn one and it’s very comparable in quality! I love the look and quality of it!
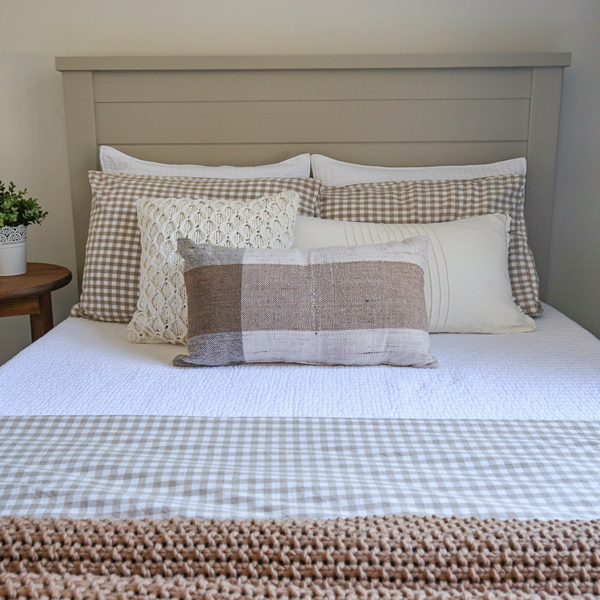
I used this white quilt as a neutral base with all of my other bedding elements, but the texture of it is beautiful and cozy!
For the second layer you can use a blanket or layer on a duvet or both!
For the duvet, fold it down for a more layered, cozy look. See this in action in my layered bedding tips video here!
The duvet is where you can really play around with fun patterns and different colors if you want too. I went for a gingham pattern duvet cover.
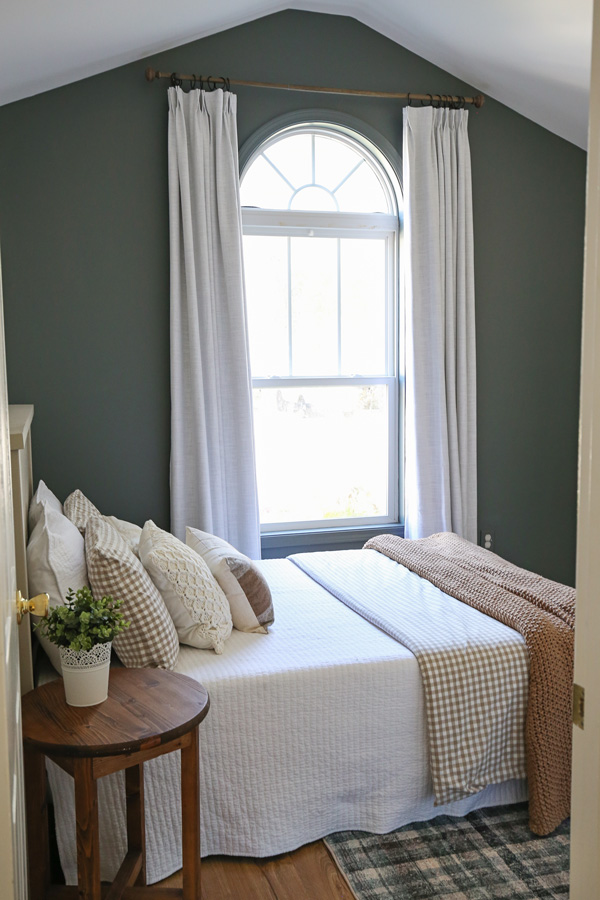
Also, you can use a different type of duvet insert for cooler months vs warmer months.
If you use a blanket, use blankets with texture like a waffle weave or chunky knit blanket. I love the look of this chunky knit blanket on our bed so much that I bought it in a different color for Jackson’s bed!
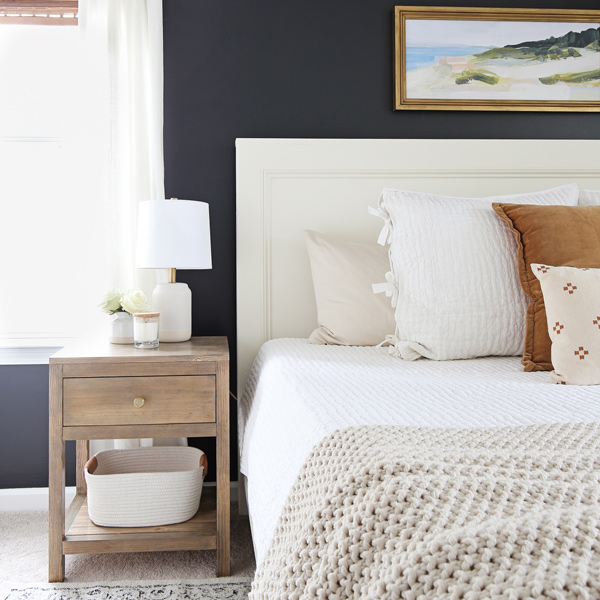
6. Make a statement with the bed pillows
This may be the hardest part of making any cozy and stylish looking bed, but it definitely can add the most visual interest.
Sometimes you can just throw a bunch of pillows and accent pillows together and it works, but for me I always have to test out different options to make sure I love the fabric combinations and this takes me the longest time!
To stay on a budget, use the matching pillow shams and pillow cases that come with your duvet cover and quilt to go with the standard size or king size pillow cases that you have. Place these at the head of the bed.
I like to use my neutral colored shams with texture that match my coverlet or quilt first, then layer my patterned duvet pillow case in front of those.
Next, use square pillows to add another pillow layer. Euro shams (26×26 inches) work well for king and queen size beds. You can keep going with smaller decorative pillows and throw pillows at this point.
Accent pillows are another great way to add a pop of color. Alternatively, you can keep all of the colors a neutral color palette or do all white bedding. Then, add more visual interest by playing around with cozy textures like white linen or natural linen, chunky knits, and more.
No matter what size bed, I love to finish off the pillows with a cute lumbar pillow.

7. Top the bedding off with a throw blanket
For an extra cozy, final touch or to simply change up the look each season, top the bedding off with a throw blanket or a regular size blanket for your bed.
Place the blanket towards the end of the bed or at the foot of your bed for a more layered look rather than spreading it all out.
It’s kind of like the cherry on top! Plus, it adds extra warmth if you need it!
7 Layered Bedding Ideas and Tips Video:
See all of these tips in action and how to layer a bed in my bedding video!
Subscribe to my YouTube Channel here!
I hope this type of post on tips for layered bedding ideas has been helpful for you in creating a cozy bed with a designer look, let me know!
Next week we are starting on our next room makeover and I can’t wait! We also have some fun holiday projects coming up, so make sure to follow along!
Follow along on my new home projects and sneak peaks on Instagram, YouTube, and Pinterest!
