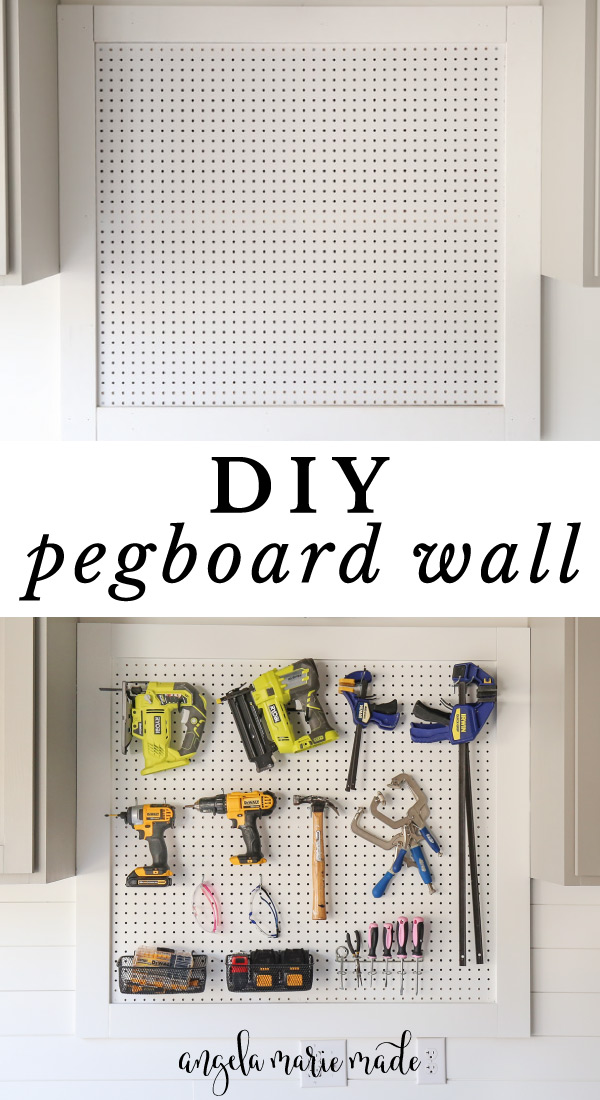
Learn how to build an easy DIY pegboard wall that is perfect for tool organization, craft supplies, kitchen items, offices, and more!
A DIY pegboard wall organizer was the perfect solution for organizing and displaying my most commonly used tools in our garage between our DIY garage cabinets.
I wanted to take this pegboard project up a notch and make a pretty pegboard wall by framing it out with trim too. The whole project is a super quick and easy DIY project! Just like our DIY wood garage shelves!
We are using this pegboard wall in our garage for organization and as an accent wall. But it would be a great idea and perfect addition for a craft room, home office, workshop, kitchen, closet, pantry, laundry room, or any place you need some extra wall organization!
Note, if you are interested in a mobile pegboard stand, check out my freestanding pegboard stand DIY!
Type of Wood Used for the Pegboard Wall
This tutorial uses ready to go pegboard panel that’s great for an oversized pegboard project. No drill guide, forstner bit, pocket holes, or fancy tools are needed either.
I also used a mix of premium pre-primed boards, common boards, and furring strips to save money where possible and just used the premium boards on the front trim (the visible part).
The rough edges of the furring boards will be covered by the pegboard.
DIY Pegboard Wall Dimensions
The final size of this pegboard wall is 48″ wide x 43″ tall but it can easily be adjusted if needed to the custom size you need for your wall!
Note, this post contains some affiliate links. For more info see my disclosures here.
How to Build a DIY Pegboard Wall
Materials
- (1) 1×4 @ 8ft
- (2) 1×4 @ 8ft pre-primed boards (or you can use standard common boards)*
- (2) 1×2 @ 8ft furring strip boards
- (1) 1×2 @ 8ft
- (1) 4ft x 8ft pegboard panel
- 1″ wood screws
- 2 1/2″ self tapping screws or wood screws
- 1 1/4″ brad nails
- Paint
- Light spackle or wood filler
- Paintable caulk (optional)
- Pegboard hooks and tool holders
Tools
- Miter Saw
- Drill
- Brad nailer
- Tape Measure
- Stud finder
- Level
- Table saw or circular saw (optional)
*I used pre-primed premium boards for the trim of my pegboard, but you can use standard, common 1×4 boards to save money or if you are staining the boards.
Pegboard Wall DIY Video
Subscribe to my YouTube Channel here!
Watch the DIY pegboard wall VIDEO tutorial here!
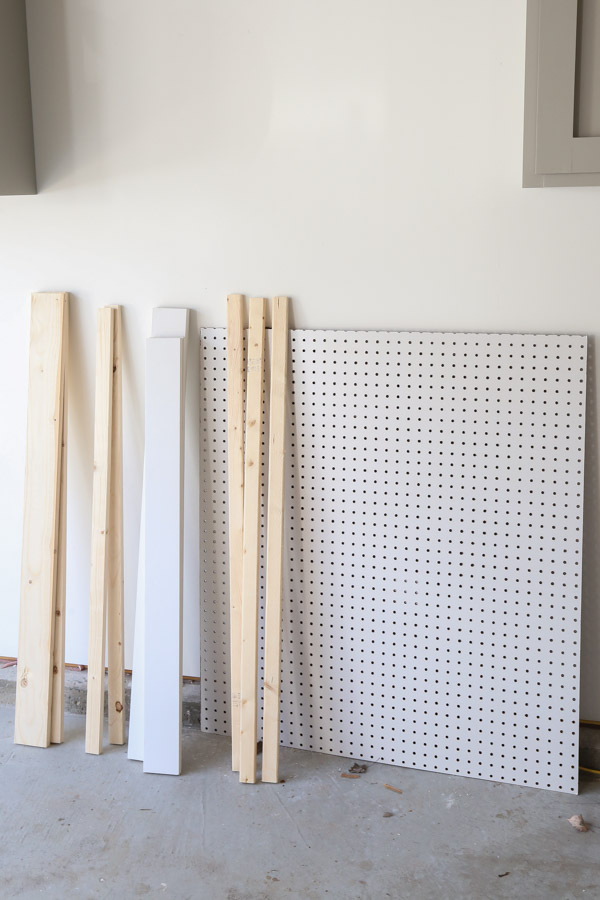
1. Make the lumber cuts for the DIY pegboard wall
To keep things easy (and for easy transporting), have the pegboard cut to size at the home improvement store. Or you can use a table saw or circular saw and straight edge guide to make the cut yourself if you prefer.
Here is the cut size for the pegboard:
- 41″ x 36″
Use a miter saw and make the following cuts from the 1×4 premium boards:
- (2) 1×4 @ 41″ (for pegboard top & bottom trim)
- (2) 1×4 @ 43″ (for pegboard side trim)
Make the following cuts from the other 1×4 board:
- (2) 1×4 @ 45″ (for pegboard top & bottom back frame)
Make the following cuts from the 1×2 board:
- (2) 1×2 @ 43″ (for pegboard side trim)
Make the following cuts from the 1×2 furring boards:
- (3) 1×2 @ 45″ (for top, middle, and bottom of back frame)
Pegboard Size Tip:
If the home improvement store does make the pegboard cut for you, double check the final, actual cut measurements in case there are any slight variations and adjust the above board cuts for those variations.
The pegboard should be a perfect fit in the wall frame as shown in step #4. Otherwise your pegboard will have to be trimmed down to fit. This happened to us as shown in the pegboard video here!
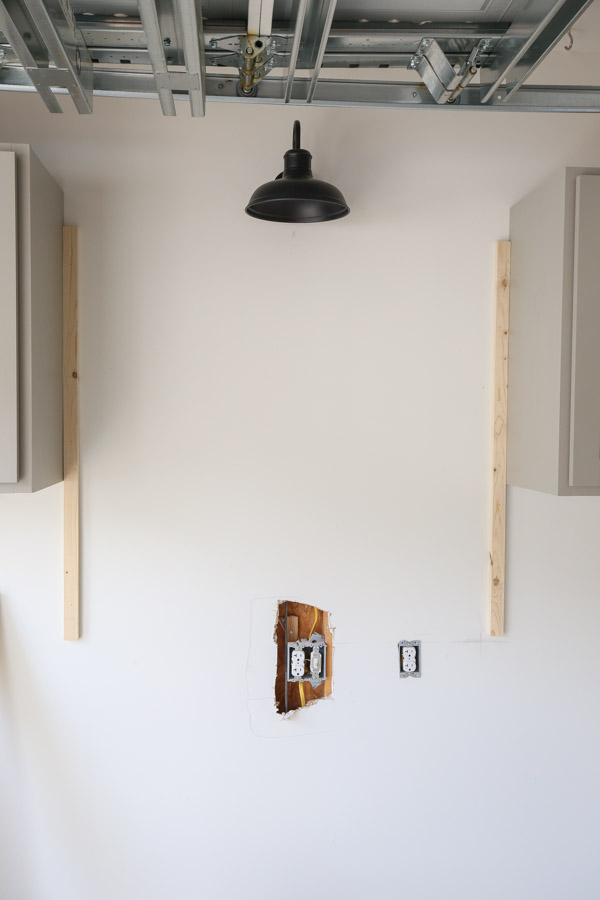
2. Build the back frame of the pegboard wall
First, mark the wall studs with a stud finder in the wall space area the pegboard is being installed.
Then, mark with a level where the top of the pegboard frame will be. Install the two vertical 1×2 @ 43″ boards at these marks on each side.
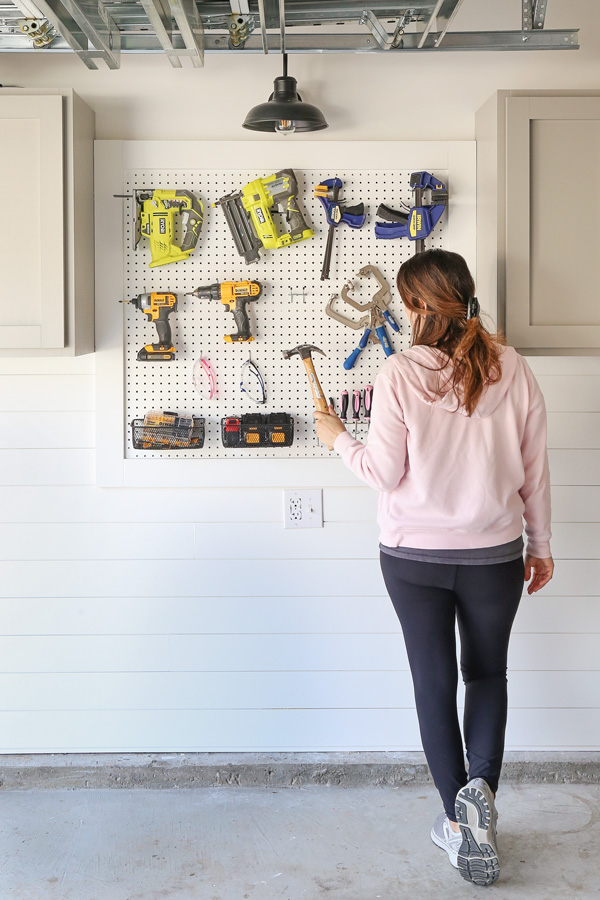
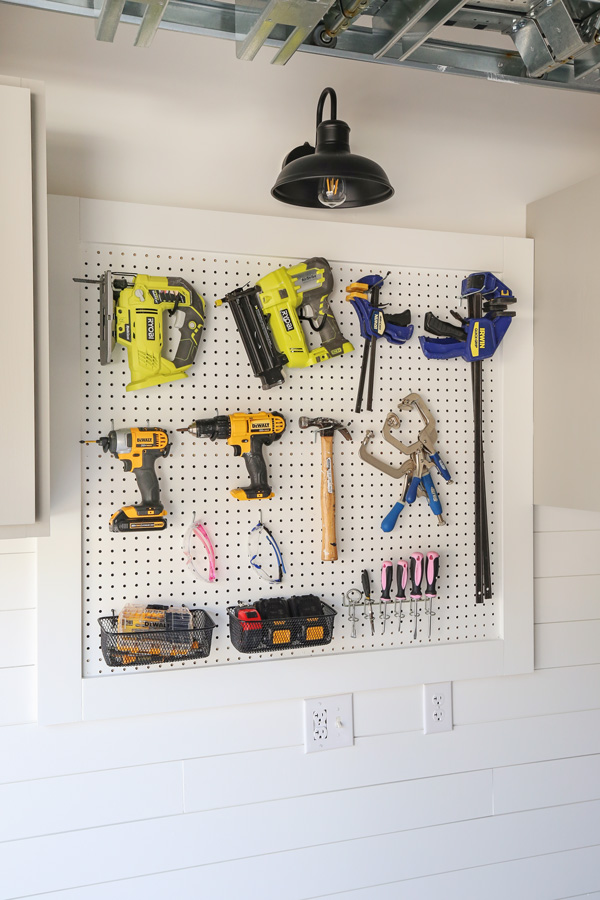
We are installing this pegboard wall just above eye level, right under our wall light.
I just used a brad nailer to install these boards to the drywall. They won’t be supporting any weight, they are just being used to hide any gaps on the sides of the frame. And they will have boards on top of them that will be secured to boards into the wall studs.
📩 Want to Save This?
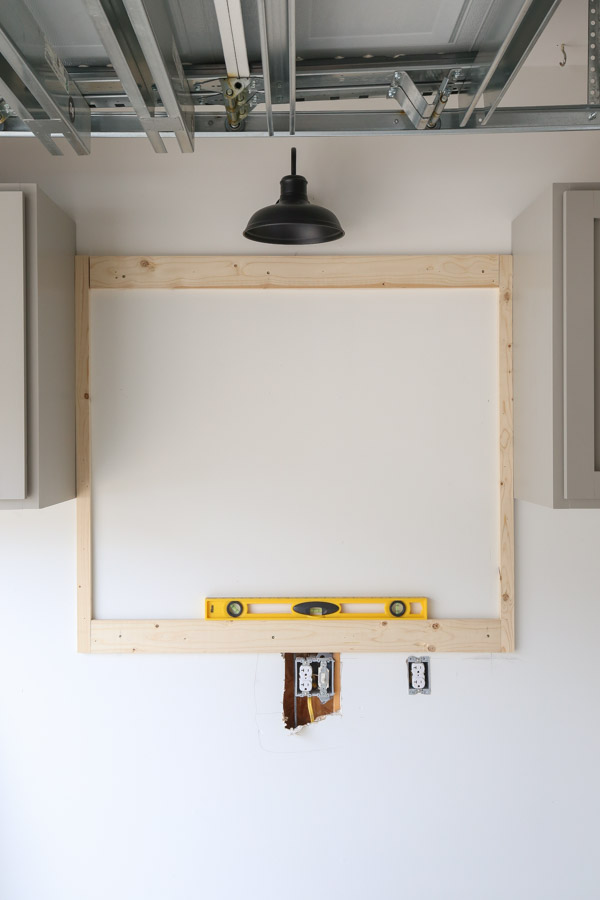
Next, install the top and bottom 1×4 @ 45″ boards first with a brad nailer to just hold them in place. Make sure they are level.
Then, screw them into the wall studs with 2 ½” wood screws.
Install the three 1×2 @ 45″ furring boards into the wall studs up against the top and bottom 1×4 boards, as well as in the middle as shown in the photo below.
This will make more sense later on but basically these 1×2 furring boards will be the support boards for the actual pegboard, while the other boards are the backing for the pretty 1×4 frame.
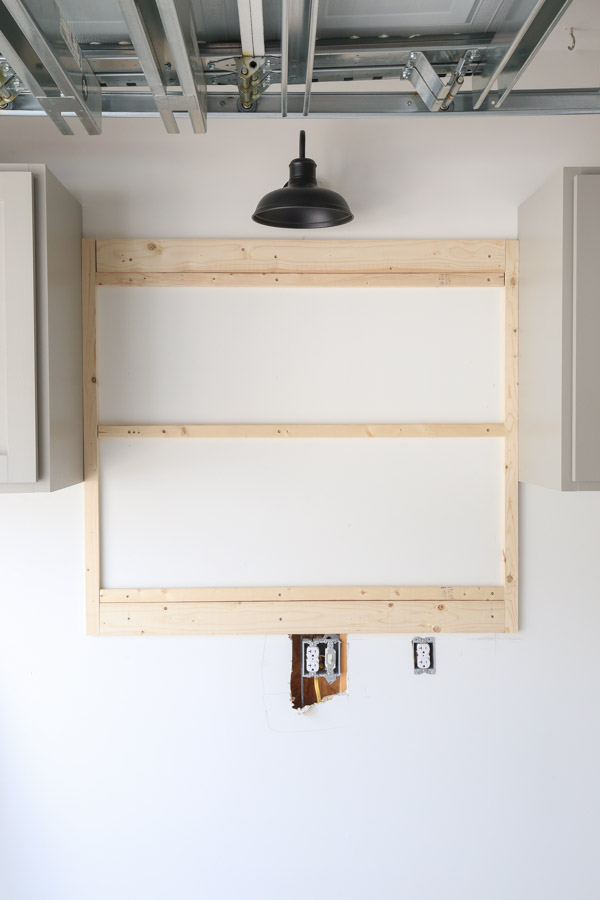
We have to leave a little bit of space behind the pegboard for hanging peg hooks, so that is why the first step is to build a back frame.
3. Install the pegboard wall trim to frame the pegboard
Attach the two side 1×4 @ 43″ pre-primed trim boards to the sides of the back frame with 1 1/4″ brad nails and a nail gun.
For the vertical boards, I made sure that some of the nails went into the boards that are attached to the wall studs.
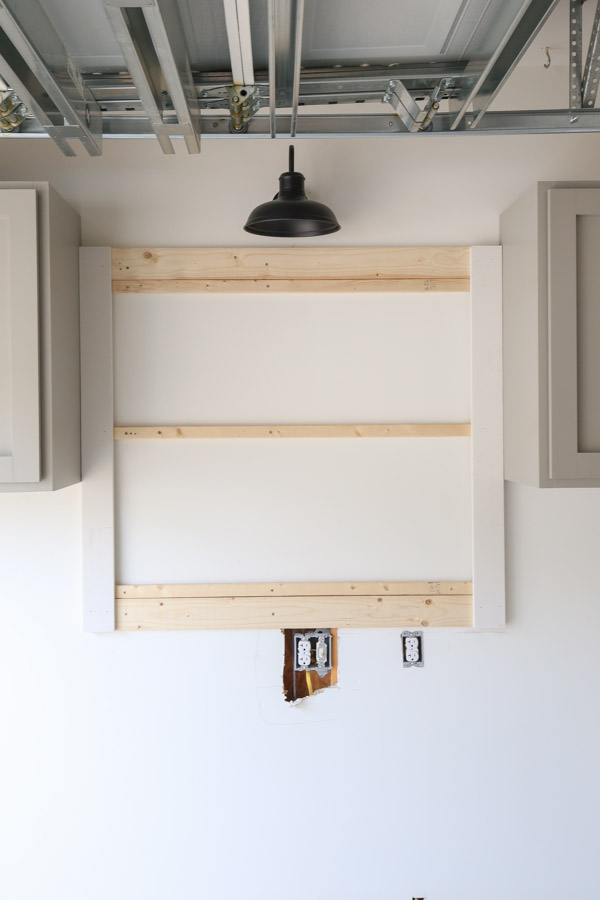
Next, install the top and bottom 1×4 @ 41″ pre-primed trim boards with 1 1/4″ brad nails.

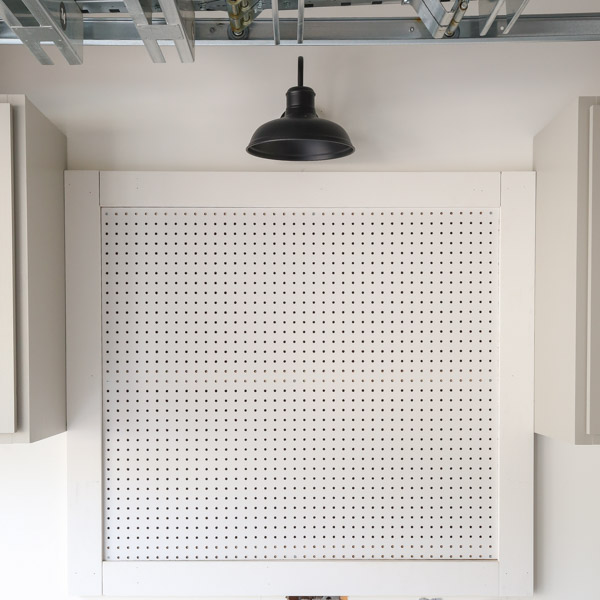
4. Install the pegboard
Install the pegboard on top of the 1×2 furring boards with 1″ nails through the peg holes. I used three nails along the top, middle, and bottom of the pegboard, just like I did on our free standing pegboard wall DIY.
See all of this in action in the DIY pegboard wall video!

5. Paint the DIY pegboard wall
Prep the pegboard and frame for paint. Fill the nail holes with light spackle or wood filler, let dry, and lightly sand smooth. Also, caulk the edges for a cleaner final look.
I painted the DIY pegboard wall the same as our wall color which is Pure white by Sherwin Williams. This is one of my favorite garage paint colors! It also looks great with the grey color of our DIY garage cabinets and the black color on our DIY wood garage shelves!
Tip: Wait a few days for the paint to cure before hanging the peg hooks and supplies on the pegboard to avoid scuffing up your fresh paint job!
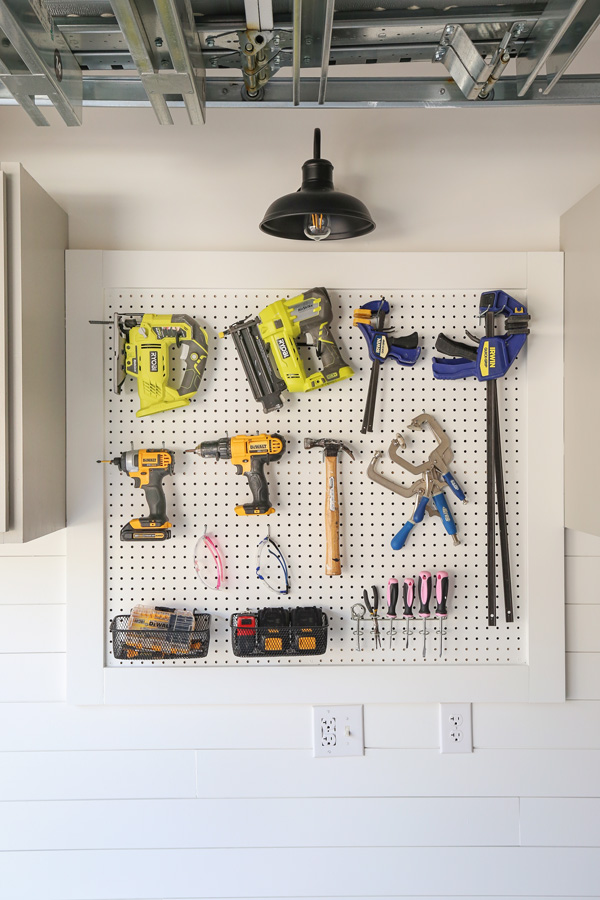
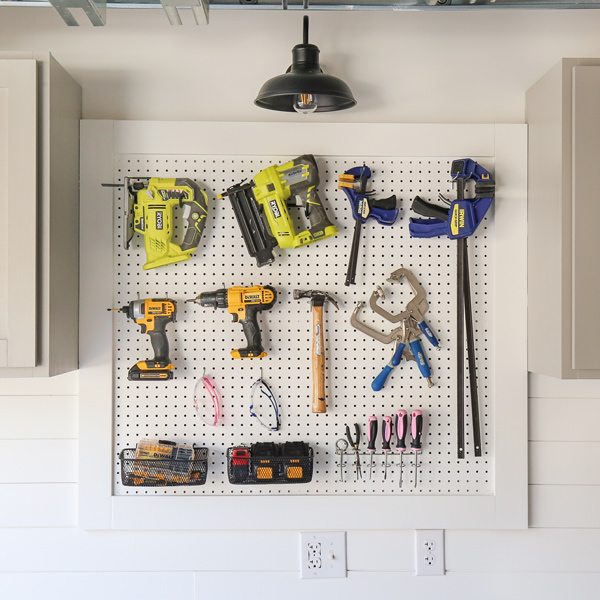
6. Add pegboard hooks and pegboard holders
Time for the fun part of this DIY pegboard organizer! Add pegboard hooks and pegboard holders to the DIY pegboard wall organizer to help organize your items!
I used these pegboard hooks and tool holders (also here) to complete our DIY pegboard tool organizer! These are the same peg hooks I used for our mobile DIY pegboard stand.
Our new DIY pegboard wall is not only super cute but adds much needed function!
Frequently Asked Questions
How do you make a peg board wall?
Here is a quick overview how to make a pegboard wall:
- Make the lumber cuts for the DIY pegboard wall
- Build the back frame of pegboard wall and secure to the wall studs
- Install the pegboard trim to frame the pegboard out
- Install the pegboard to the back frame
- Paint the DIY pegboard wall if desired
Again you can get the complete tutorial above!
Do you need a gap behind pegboard?
Yes, you need a small gap about 3/4″ to 1″ behind a pegboard to allow room for hanging peg hooks from the pegboard.
Is it cheaper to make your own pegboard?
It depends on the material you use, but it is not significantly cheaper to make your own pegboard. A ready to go 4ft x 8ft pegboard panel currently costs $30 at Home Depot. If you used plywood to make your own you aren’t going to save much money and the time spent drilling lots of holes is not usually worth it to save a few dollars.
***
For more pegboard ideas, check out my mobile DIY pegboard stand that I built for our small workshop makeover! And for more garage storage ideas, check out our DIY wood garage shelves and DIY garage cabinets!
The next step for our garage makeover will be adding more storage and shelving! Follow along for my latest DIY projects and sneak peaks on Instagram, YouTube, and Pinterest!
Kim
Saturday 28th of January 2023
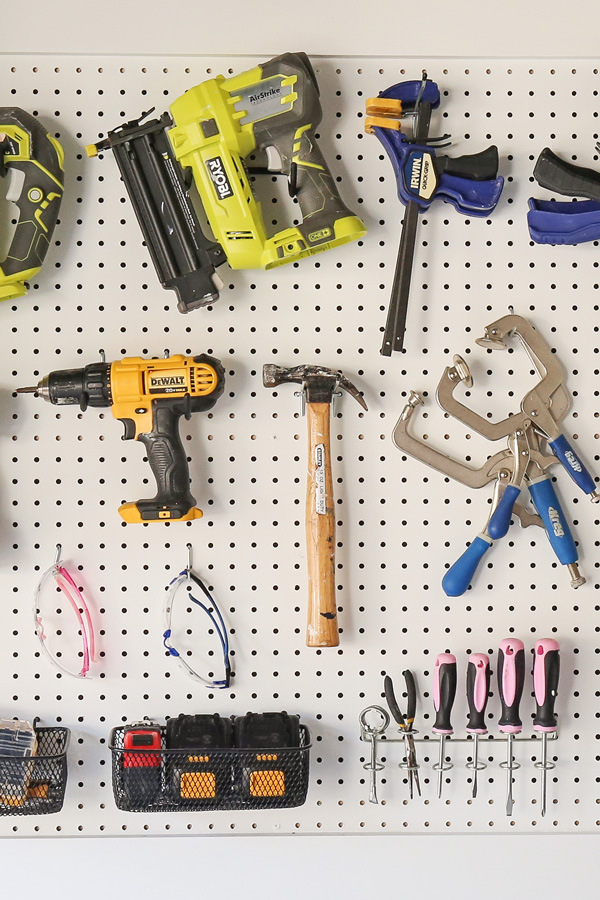
Hey, I love the little baskets holding the batteries - where did you get those? I actually have the pegboard and furring strips to do just exactly what you show here! DH was going to do it before he passed, so I’m going to do it myself! Looks fantastic and SO useful. Great job!
Angela Marie Made
Thursday 2nd of February 2023
I got them from Home Depot! Here is the link: https://rstyle.me/+3RF5JKtInTMBhQsBO7ZYtw