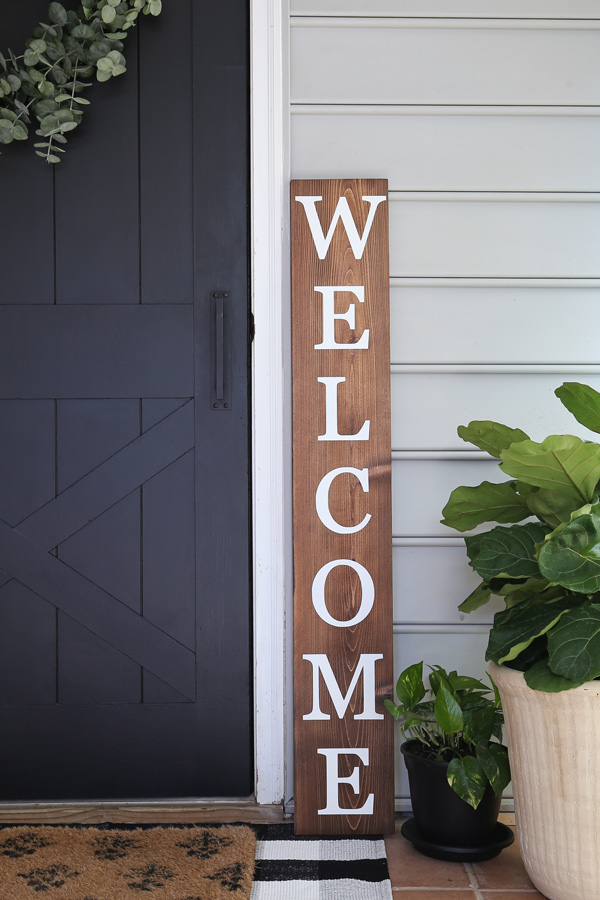
Today I’m going to show you how to make a DIY welcome sign! And I have a FREE welcome printable file available too so you can make the same sign!
I used my Silhouette Cameo to make a vinyl stencil to make this wood sign. See my DIY wood sign post for how to make a vinyl stencil with a Cricut.
Or If you don’t have a cutting machine, the pencil transfer method for sign making works great too for an easy design transfer onto wood.
This is our Day 6 project for the 10 Days of DIY Challenge & Giveaway going on right now, don’t forget to enter the giveaway here!
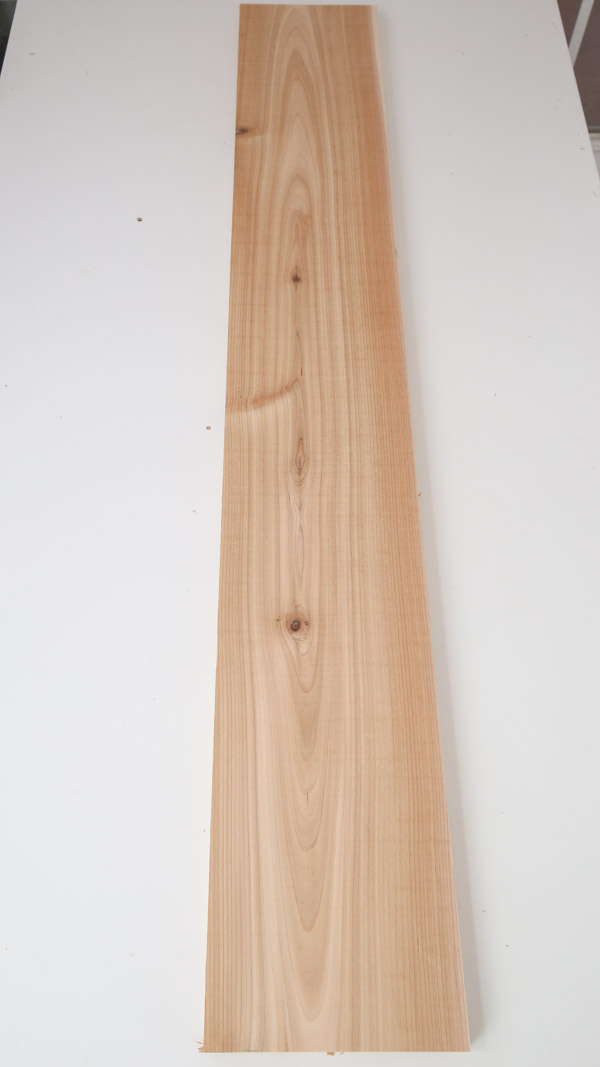
Because this sign is going to be outdoors, I recommend using cedar wood. Although it costs a little bit more compared to pine wood, it’s a naturally weather resistant wood and will last several more years than pine. Also, for that reason you don’t have to add a sealant to it like polyurethane which is one less step!
Note, this post contains some affiliate links. I may earn a commission if you shop those links (at no cost to you). Thank you for supporting my small business. For more info see my disclosures here.
Get the free printable files (JPG file, SVG file, and Silhouette Studio file) of the WELCOME design in the free printable library, which you can get access to by clicking the pink button below if you aren’t already subscribed!

How to Make a DIY Welcome Sign:
Materials:
- “Welcome” Printable file (free printable available here)
- (1) 1 x 8 @ 8ft (I used cedar wood as explained above)
- Pre-stain wood conditioner
- Wood Stain (I used this stain)
- Stain rags
- Silhouette Cameo, Cricut, or other cutting machine
- White outdoor spray paint
- Vinyl (I used Oracal 631 vinyl)
- Vinyl weeding tool
- Transfer tape (I use Oratape HT55)
- Vinyl Application Squeegee
- Masking tape or Painter’s tape
- Craft razor blade cutter
Tools:
- Miter Saw (or have your home improvement store make the cuts)
Video Tutorial:
Subscribe to my YouTube Channel here!
1. Cut wood to size for DIY welcome sign
Use a miter saw and cut your 1×8 to the following size (or have your local home improvement store make the cuts for you):
- (1) 1×8 @ 4 ft
2. Stain wood sign frame
Before staining, make sure your wood is sanded really well, it helps not just with the staining process but with the design transfer process as well for the DIY welcome sign! See my beginner’s guide to sanding for how to sand wood.
Stain the 1×8 board. I used a pre-stain wood conditioner first and then two coats of this stain color. For tips on how to stain wood for a beautiful finish, check out my tutorial on how to stain wood.
Let the stain dry for 24 hours before moving on to the next step.
3. Make the welcome sign vinyl decal
To apply the WELCOME design that’s available in the free printable library, I used my Silhouette Cameo to create a wood sign vinyl stencil of the design.
As explained above, a Cricut may be used as well, you will just need to cut the WELCOME design in two sections. See how to do this in my how to make a DIY wood sign tutorial.
Or you can use the Cricut Explore 3 that can cut up to 12 ft long with no cutting mat! See my how to make a large wood sign with Cricut tutorial with the Cricut Explore 3.
And if you don’t have a cutting machine, you can use the pencil tracing method, which is really easy!
Make sure to watch my DIY welcome sign video for a detailed overview of the full vinyl stencil creation process!
A. Cut the vinyl decal
Open the free Silhouette Studio file (after downloading from the free printable library) and it’s ready to send to your machine to cut!
I cut about 47″ of vinyl from my vinyl roll and loaded into the Silhouette machine, then I pressed “send” in Silhouette Studio to cut my vinyl decal.
B. Weed the vinyl decal
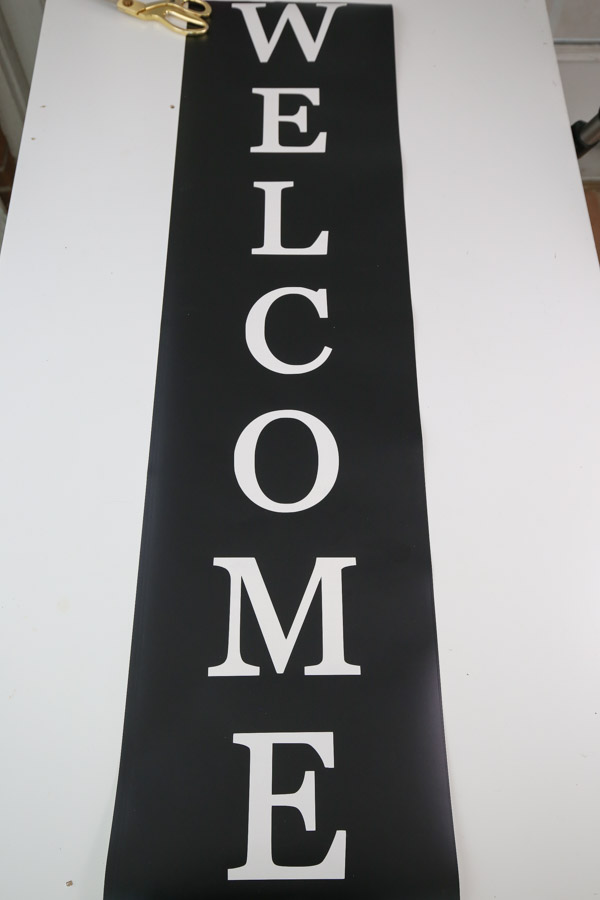
Weed your decal and use a vinyl weeding tool to help. Because we are using the vinyl to create a stencil, we want to weed (remove) the lettering that we are transferring to our stained wood sign. This results in a vinyl stencil!
C. Apply transfer tape to welcome sign vinyl stencil
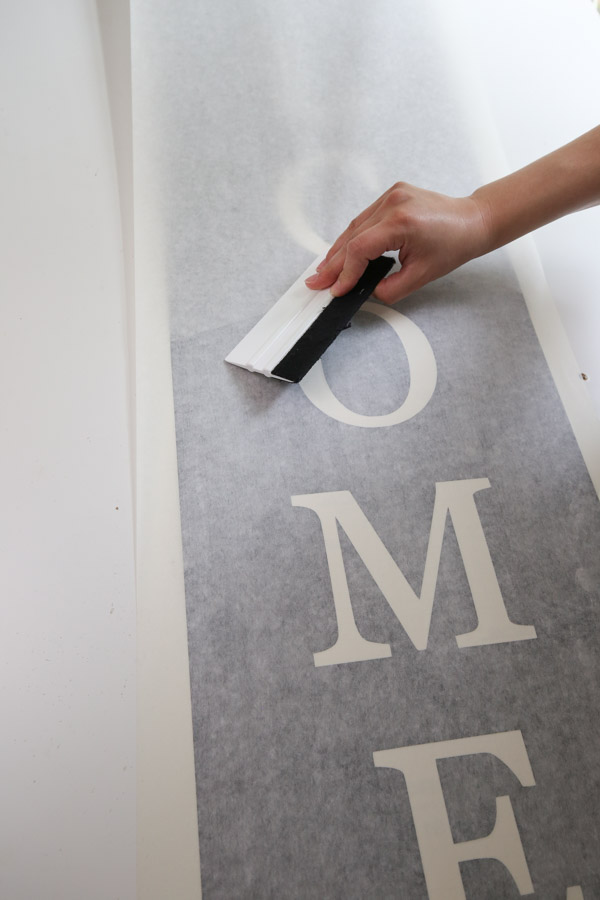
After weeding, apply transfer tape to the decal. I used my transfer tape roller which is makes this step easier, especially with this almost 4ft vinyl stencil! Again check out the welcome sign video to see this in action!
I used masking tape to tape down my welcome stencil and then my vinyl squeegee to smooth out the transfer tape over the vinyl stencil.
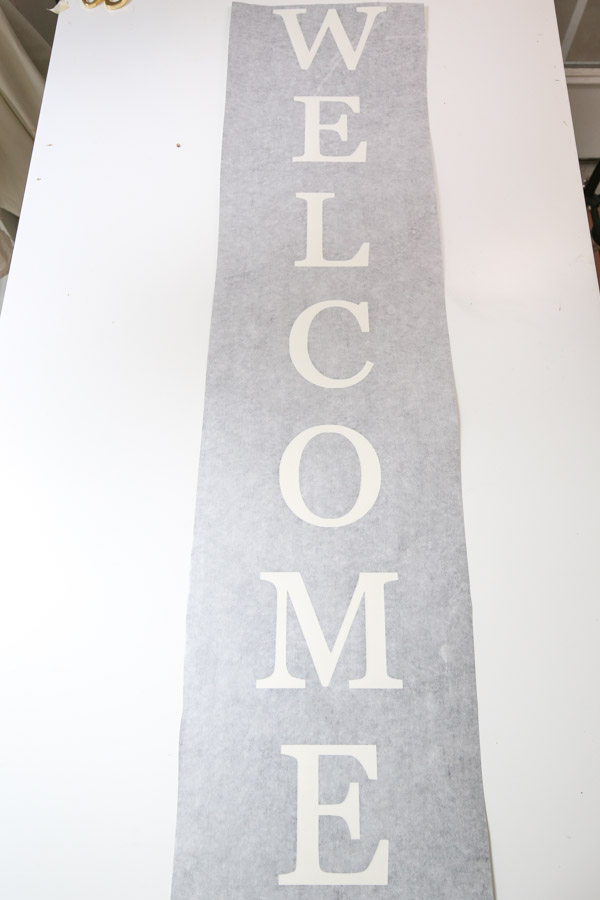
Cut the excess transfer tape off so the vinyl stencil fits on your sign.
D. Apply welcome sign vinyl stencil to the stained wood sign
Center the welcome stencil on the design and tape in place in the middle with masking tape.
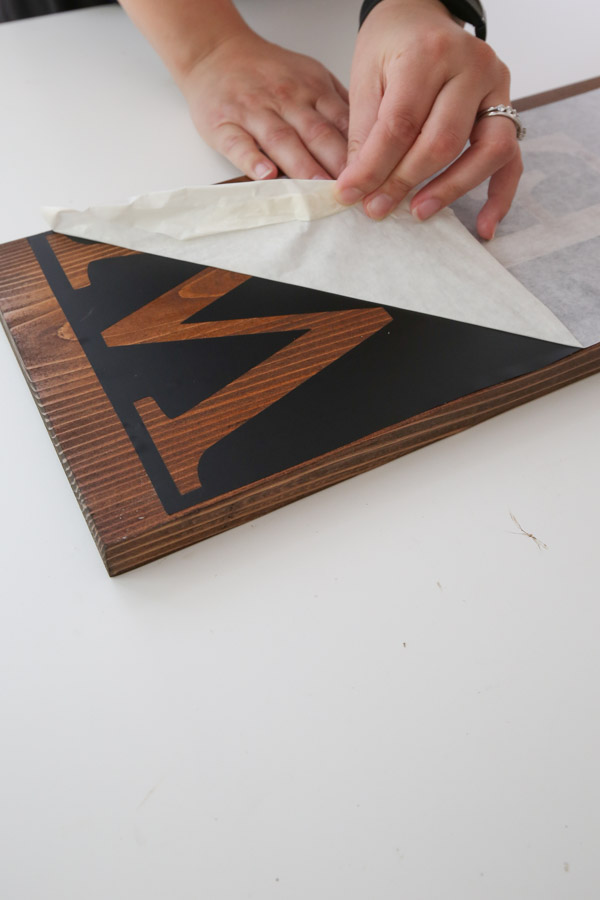
To apply the vinyl stencil to the sign, start at one corner and slowly peel off the white backing paper from the transfer tape that has the vinyl stuck to it.
Cut with scissors part of the loose white backing paper. Then, secure the vinyl stencil to the wood sign by smoothing down the cut side with a squeegee and remove the rest of the white backing paper.

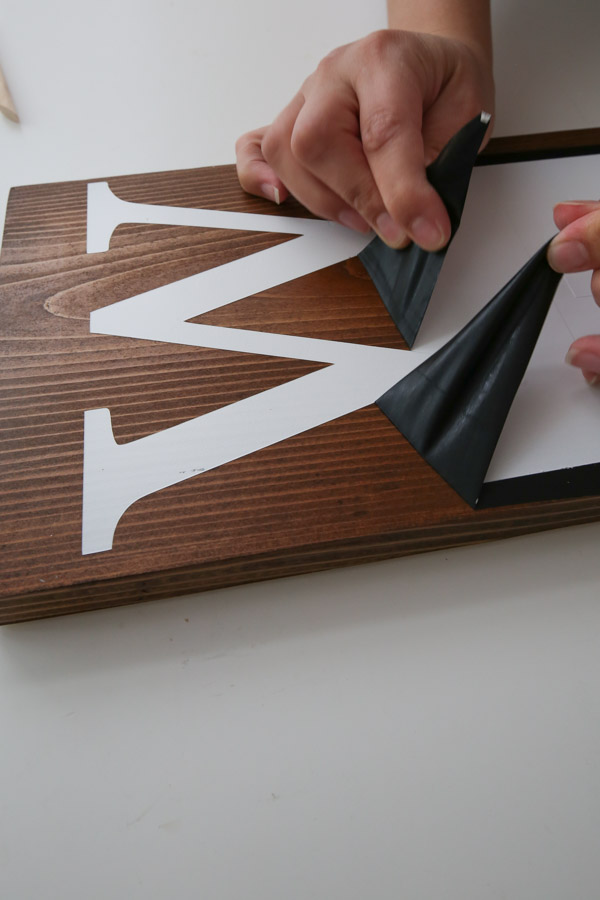
Once the vinyl is adhered to the sign, slowly peel off the transfer tape at a 45 degree angle.
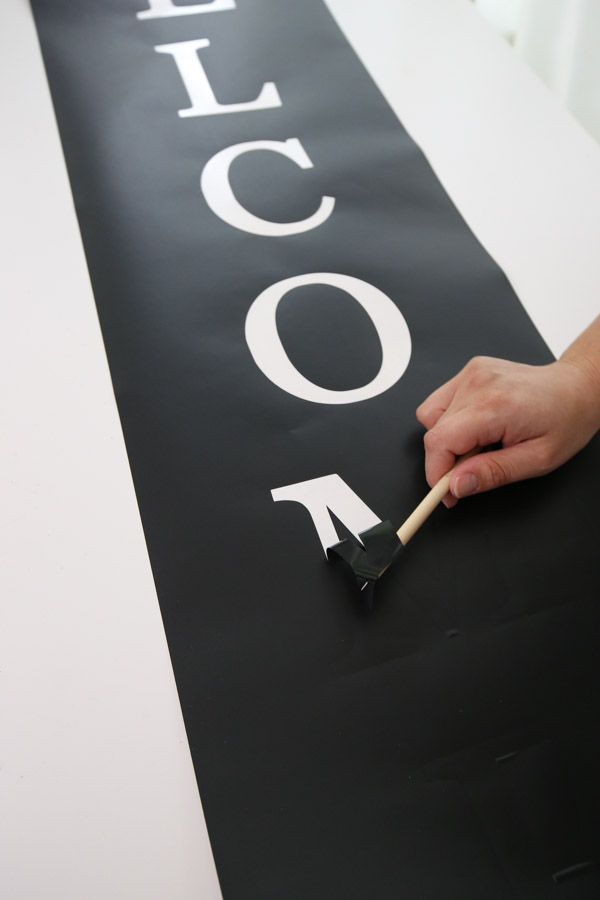
4. Apply spray paint over the vinyl stencil to transfer the design to the DIY welcome sign
Tape the exposed edges of the sign with painter’s tape to protect the non-covered parts of the sign.
Then, apply multiple, light coats of white outdoor spray paint over the stencil. This is key to avoiding bleed through of the spray paint.
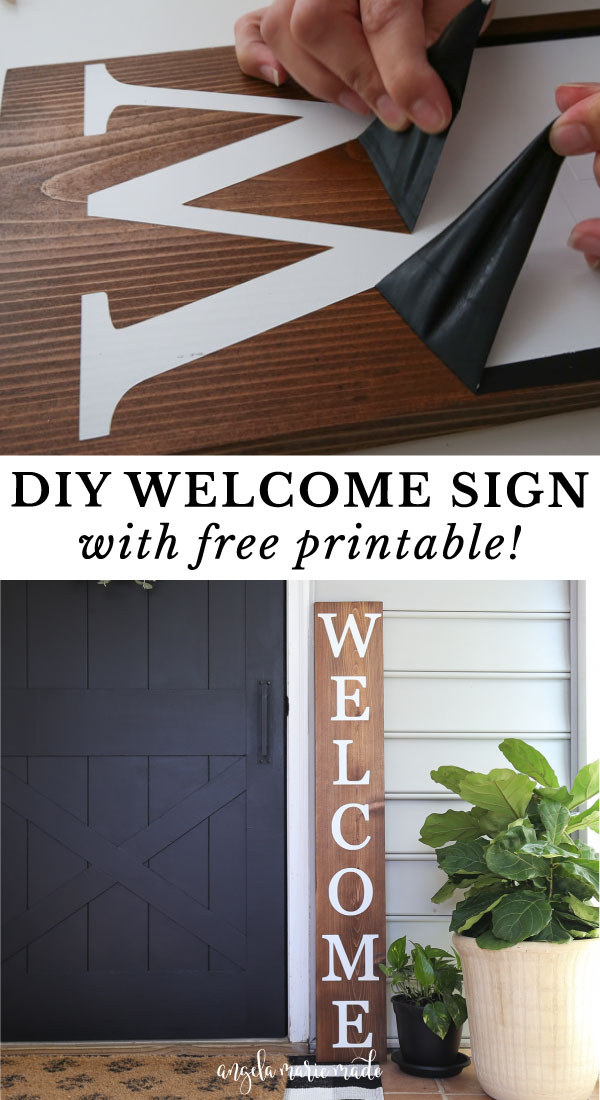
After the spray paint dries, remove the vinyl stencil and painter’s tape. **It’s important to not leave the vinyl on the sign too long, so it’s best to remove it as soon as the spray paint is dry!
Use the vinyl weeding tool to remove the floating parts of the letters.
Because cedar is a softer wood, the vinyl may peel up the wood a tiny bit (you can see this happen in my welcome sign video). Take the vinyl off slowly to avoid this on the DIY wood welcome sign, but if it does happen just touch it up with a little stain.
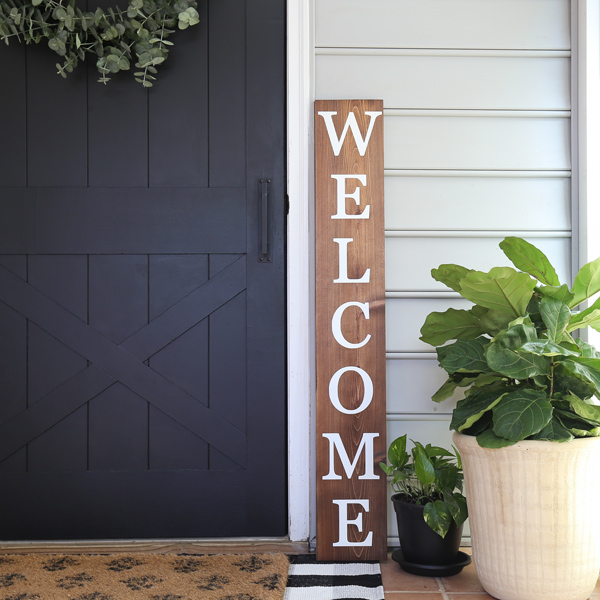
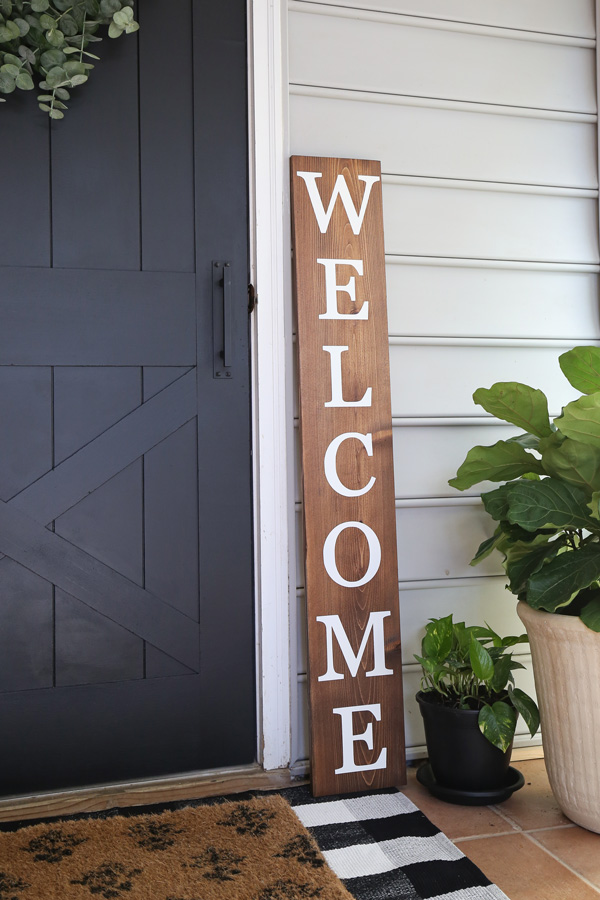
Our DIY welcome sign looks super cute next to our DIY faux barn door! And it’s such a simple and fun project!
Feel free to ask any questions below in the comments as well about this DIY wood welcome sign!
Don’t forget to enter our holiday giveaway and check out all of the other fun projects in our 10 Days of DIY Challenge & Giveaway!
Follow along for my latest projects and sneak peaks on Instagram, YouTube, Pinterest, and Facebook!
monika
Wednesday 14th of September 2022
Whats the best way to prevent the paint from bleeding ?
Angela Marie Made
Thursday 15th of September 2022
Make sure to apply multiple, light coats of the white outdoor spray paint over the stencil. This is key to avoiding bleed through of the spray paint! It’s also important to not leave the vinyl on the sign too long, so it’s best to remove it as soon as the spray paint is dry!
Angela M Rodgers
Wednesday 9th of December 2020
I'm probably doing something wrong but how do I print the "WELCOME" if I am using a printer that only prints 8x10 paper?
Angela Marie Made
Saturday 12th of December 2020
The easiest way would be to have it printed as a 48" engineering print (they cost around $5-$10) at Fedex Office or Staples. Then you can just use the pencil transfer method. I have an overview of this process in this post here: https://angelamariemade.com/diy-wood-sign-with-calligraphy-quote/ Otherwise you could use a free online photo editor and crop the jpg into sections that would fit a standard piece of paper, but then you have to line it up on the sign. So the large engineering print would be the easiest/quickest way.