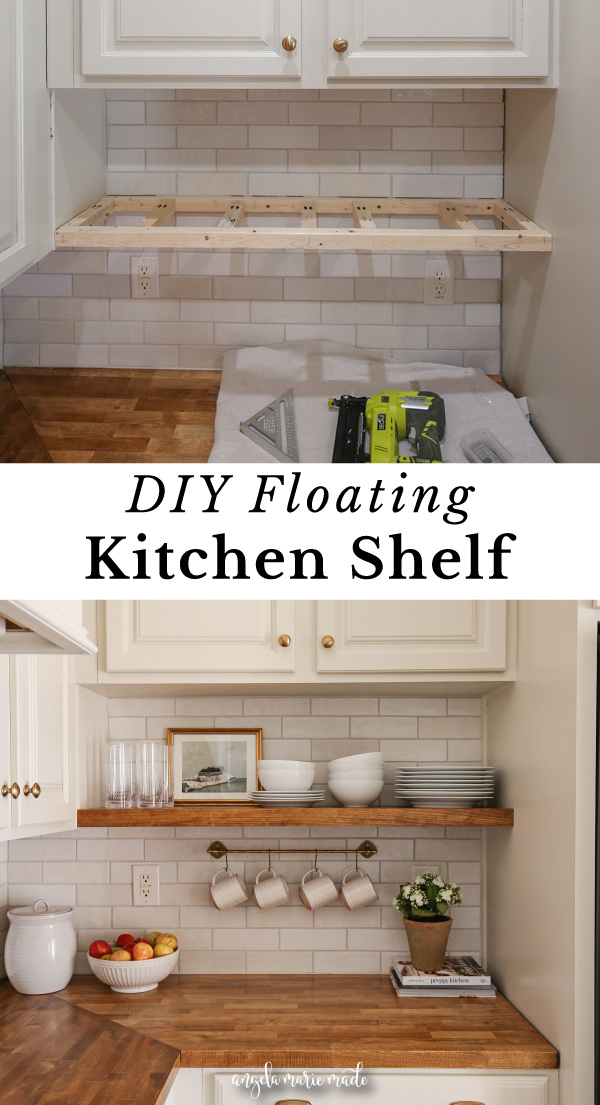
Learn how to build and install DIY floating kitchen shelves!
As part of our kitchen renovation, a floating shelf was a must! I loved our DIY kitchen floating shelves in our previous kitchen makeover so much and I wanted to add them to our current kitchen.
Today I am sharing how we built our floating kitchen shelf. This shelf tutorial is a very similar process to our thin floating shelf from our laundry room closet makeover. Keep in mind though there are many different ways to build wall shelves!
Also, I am sharing how we added our shelf under our kitchen cabinets.
But, you don’t have to do that, you can install the kitchen floating shelves with nothing on either side like our previous kitchen floating shelves. Or you can install them next to just one cabinet or between two cabinets like our thin floating shelf.
However, it’s important to note that the more cabinets the wood shelves are attached too, the stronger and sturdier the support is and they can hold more weight.
How to add shelves under kitchen cabinets
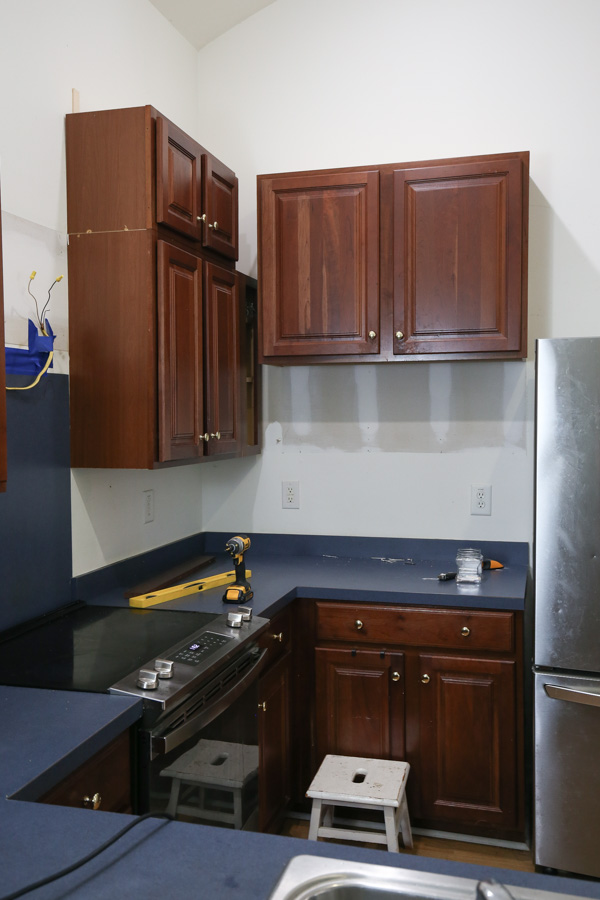
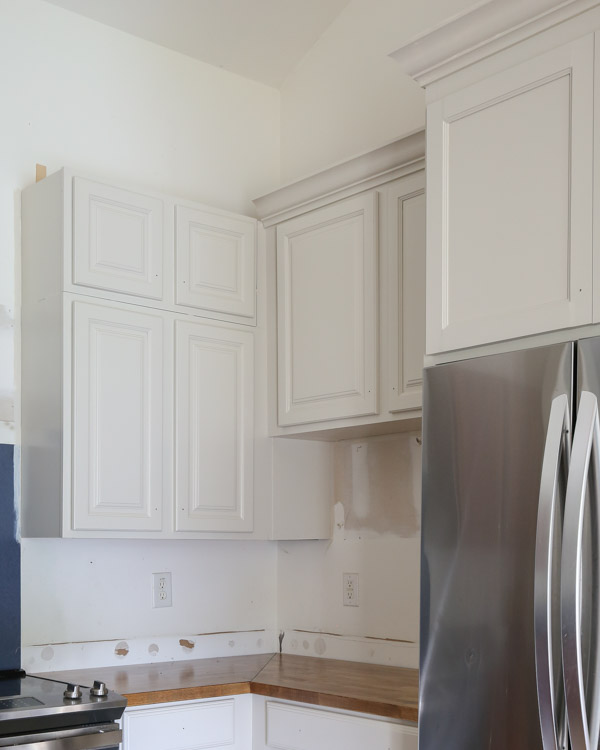
We didn’t have a good spot for a kitchen shelf initially, but after getting a little creative and doing stacked cabinets for our upper cabinets, we made the perfect spot for the shelf and gained more kitchen storage space in the process!
Here is how to add shelves under kitchen cabinets and how we initially moved our cabinets around:
Then, we closed in the gaps with filler boards:
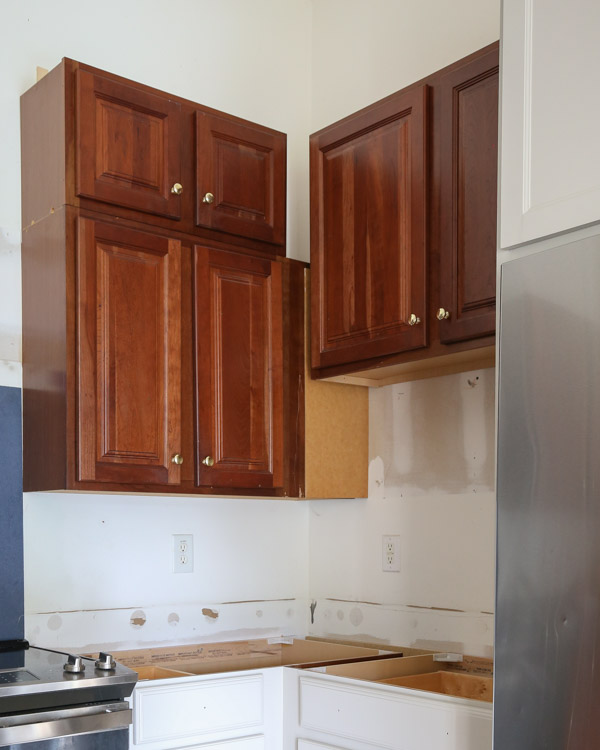
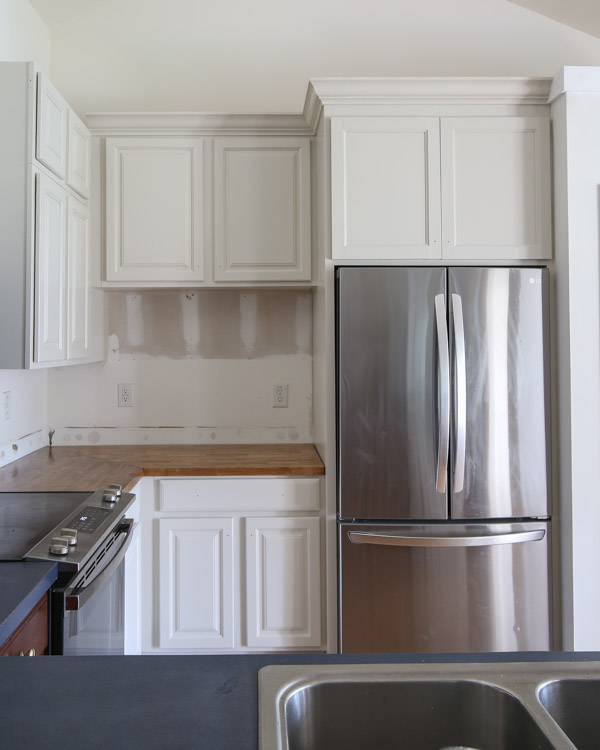
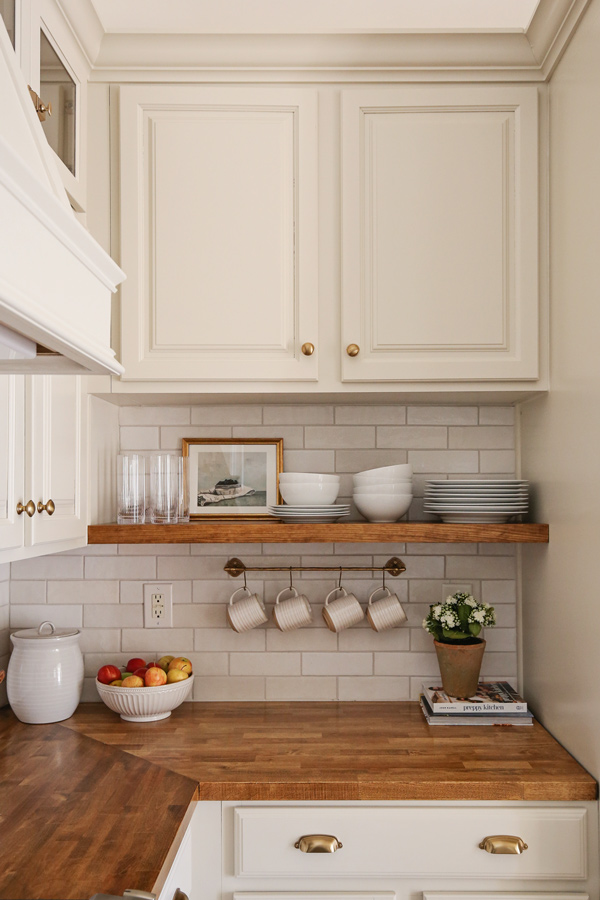
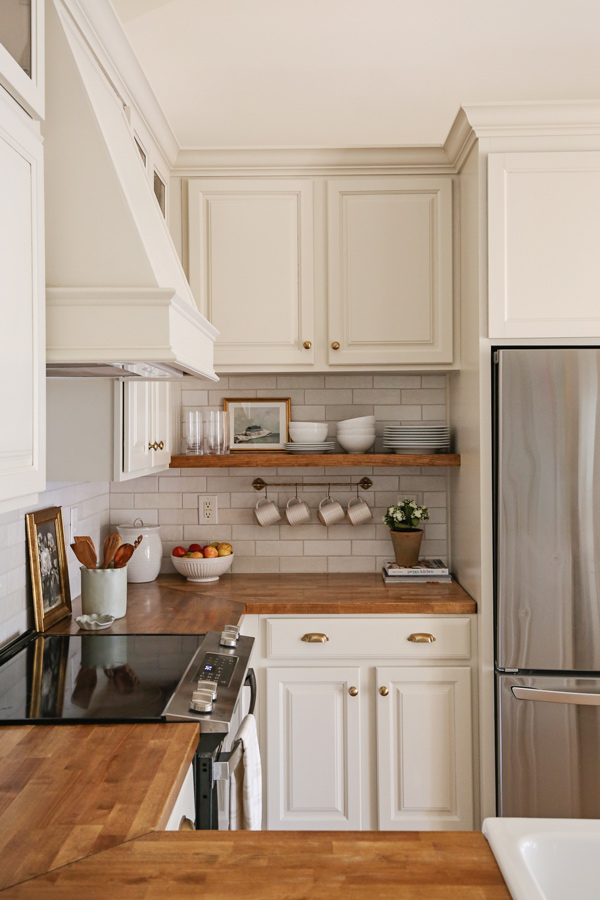
And here is the result!
Shelf dimensions
My shelf is a custom size to fit my space. The final dimension measures 44 1/2″ long x 10 3/4″ deep x 2″ thick. Make sure to determine your cut measurements based on your shelf size needed as my measurements below are based on my shelf size!
Type of wood
I used birch plywood and pine trim for my shelf since they are easy to source and a popular choice. However, you can use other species, like white oak for an additional cost. Oak and walnut are beautiful choices!
Note, this post contains some affiliate links. I may earn a commission if you shop those links (at no cost to you). Thank you for supporting my small business. For more info see my disclosures here.
DIY floating kitchen shelves
*Note: Determine measurements and material quantities based on the shelf size you need and if you need multiple shelves!*
Materials
- (2) 2×2 @ 8ft – furring board
- (1) 1/4″ thick lattice trim @ 8ft
- (1) 2ft x 4ft @ 1/4″ thick birch plywood (get high quality)
- 2″ and 3″ self tapping screws (or wood screws)
- 1″ and 1 1/4″ brad nails
- 2 1/2″ Kreg screws
- Wood Glue
- Stainable wood filler
- Stain (I used this stain color)
- Polyurethane (I used this poly)
Tools
- Brad nailer
- Miter saw
- Table saw or circular saw
- Level
- Kreg Jig
1. Determine kitchen shelf measurements and cut lumber to size for the frame
The first step is to determine the measurements for your shelf and cut the 2×2 to size for the shelf frame support using a miter saw.
My Cut List:
- (2) 2×2 @ 44 1/2″ (shelf frame supports – front/back)
- (3) 2×2 @ 7 1/2″ (shelf frame support – sides/middle)
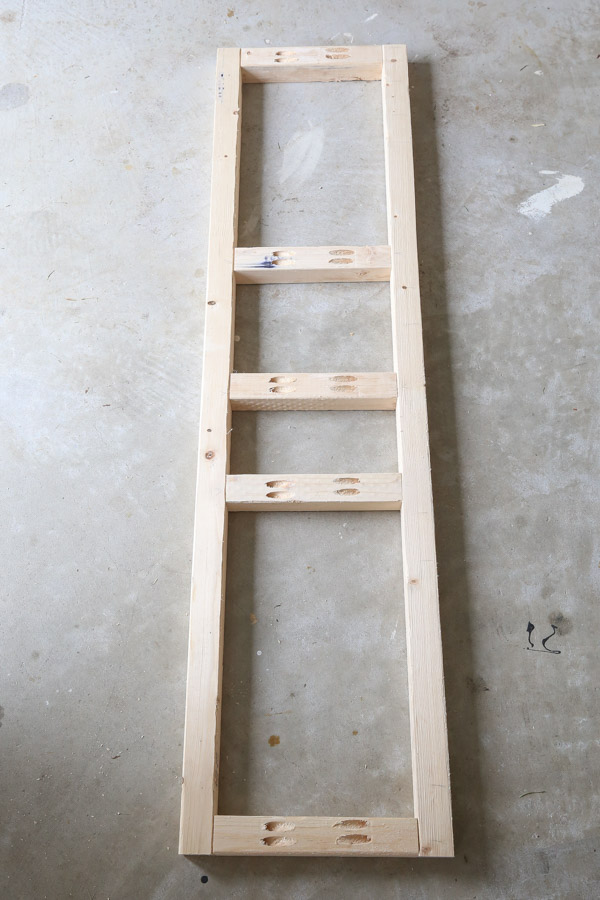
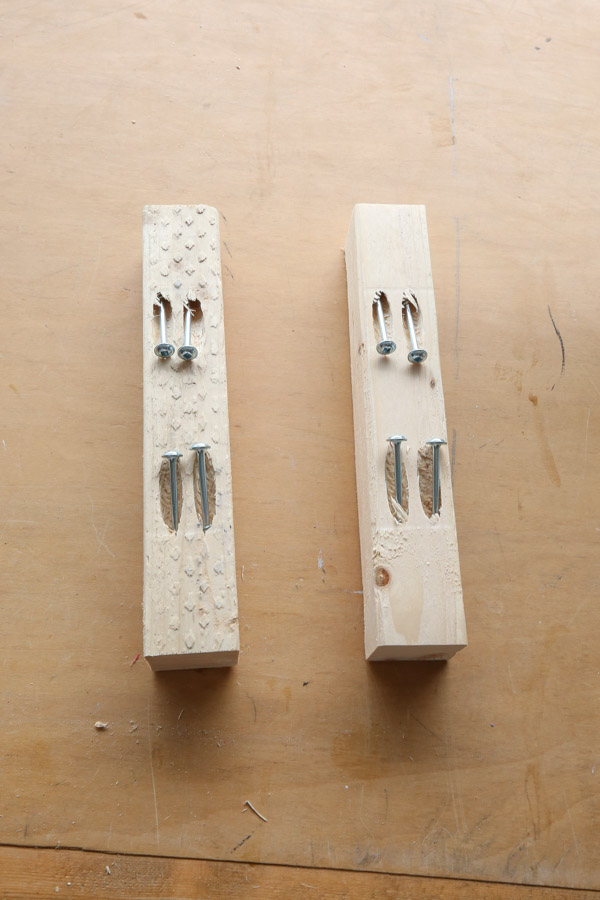
2. Build the floating shelf frame support
Build the floating shelf frame support for the DIY floating kitchen shelves using the 2x2s.
This is a similar process as our DIY thin floating shelf, we are just using different wood since the shelf thickness is different.
Build the frame with the shorter 2x2s on the sides and spaced out in the middle.
Attach everything together using pocket holes from your Kreg Jig and 2 1/2″ Kreg screws.
Note, we left two supports off at this point so we could easily get a drill in between the shelf frame to attach it to our wall studs.
📩 Want to Save This?
***Make sure to not place a support board where your wall studs are located as you will need this area open for attaching to the wall.***
By building a support frame like this rather than using shelf brackets, you can have a stronger and larger floating shelf!
This method also allows for more shelf depth and a strong support system, especially when you are attached to multiple wall studs and cabinets.
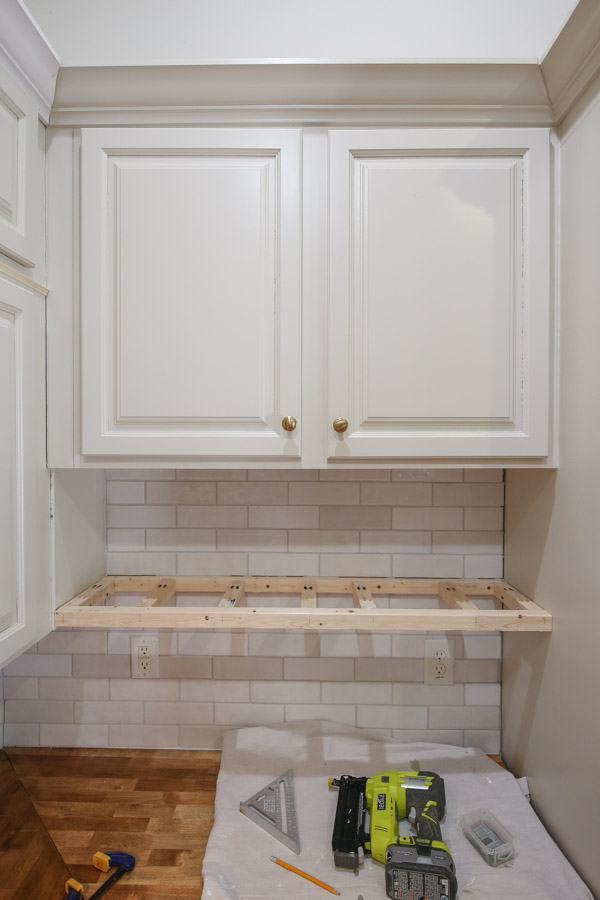
3. Install the shelf frame support to the wall
Use a stud finder to determine the wall stud locations. Note, the more wall studs you can secure the frame too, the sturdier your support will be.
Then, install the shelf frame support to the wall studs with 3″ screws making sure that it is level.
Also, we screwed the shelf supports into our kitchen cabinets on each side (with 2″ wood screws) to make the shelf extra sturdy.
After the frame install on the wall, we added our last two middle shelf support boards in place.
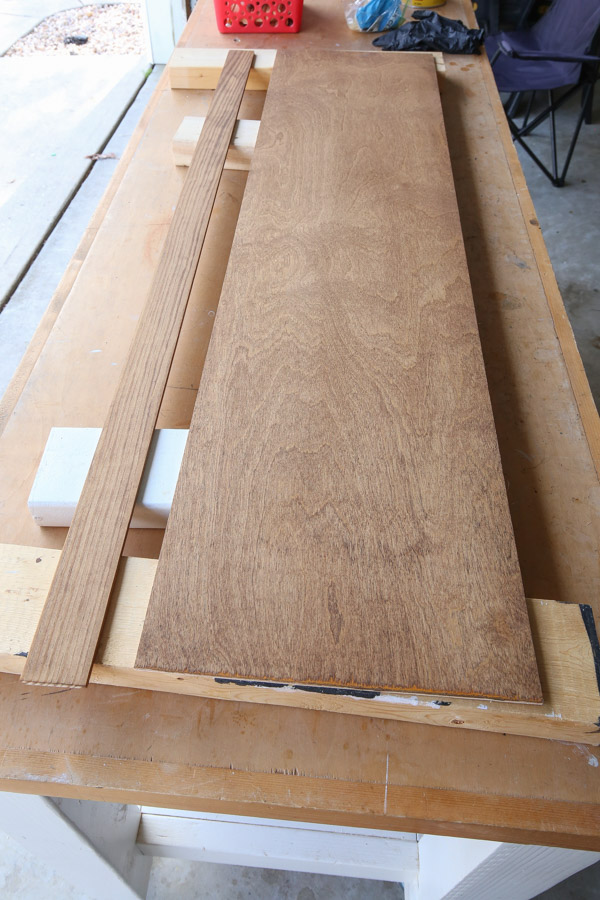
4. Measure and cut the shelves and front trim to size
Use a miter saw and table saw for cutting the plywood/trim.
Measure the size needed for the bottom and top shelf boards.
Then cut the plywood to size based on the exact measurements needed:
- (2) 1/4″ thick plywood boards for top and bottom of shelf
Next, cut the lattice board to size for the front trim. The front trim should be about 2″ tall x the length of the shelf. Just make sure to measure the exact height for the trim since it may vary slightly.
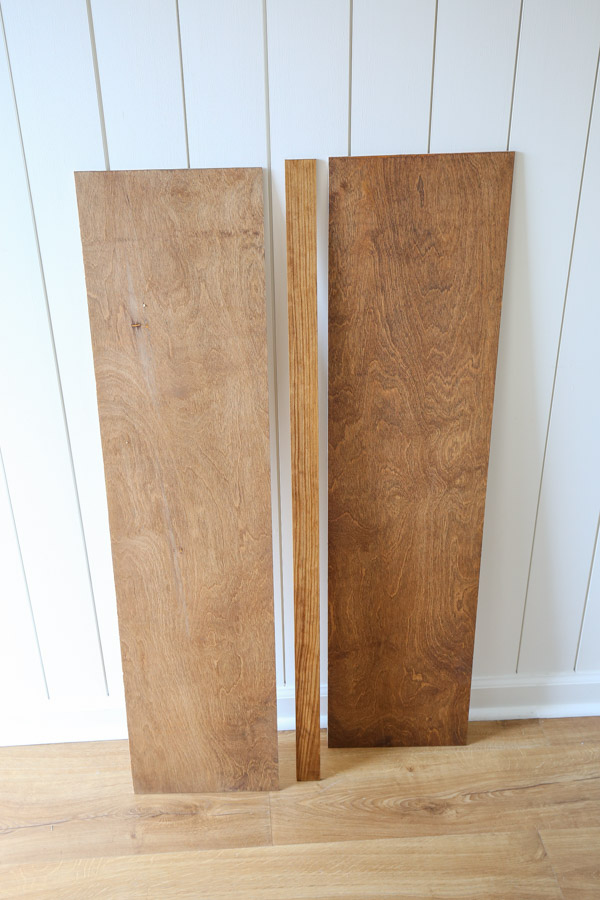
5. Stain and seal the DIY floating kitchen shelves
At this point it’s easiest to stain and add a top coat (we used polyurethane) to the plywood and trim for the DIY floating kitchen shelves before installing them.
We just did one coat of stain on the bottom board for the underside of the floating shelf.
6. Attach the floating shelf wood
Attach the plywood and front trim to the frame with 1″ nails and a brad nailer.
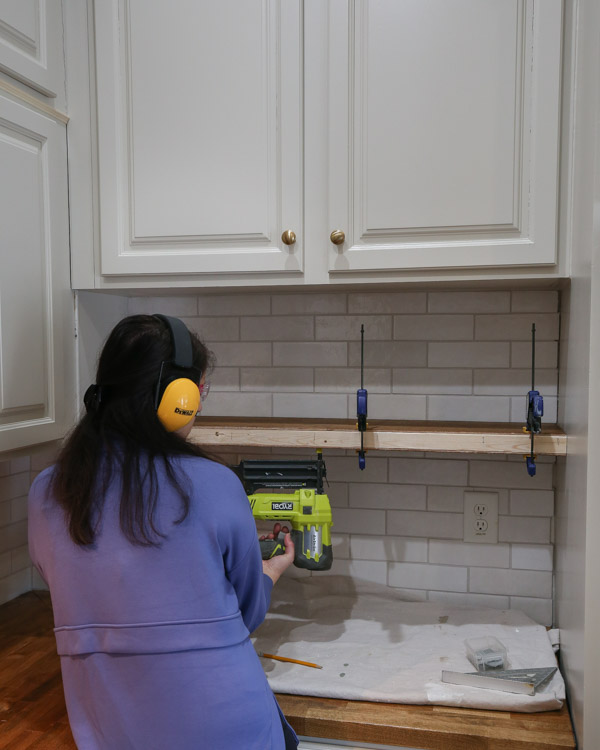
For the front trim you can use some wood glue too. We also held it in place with some painter’s tape and nailed just a few brad nails through the tape.
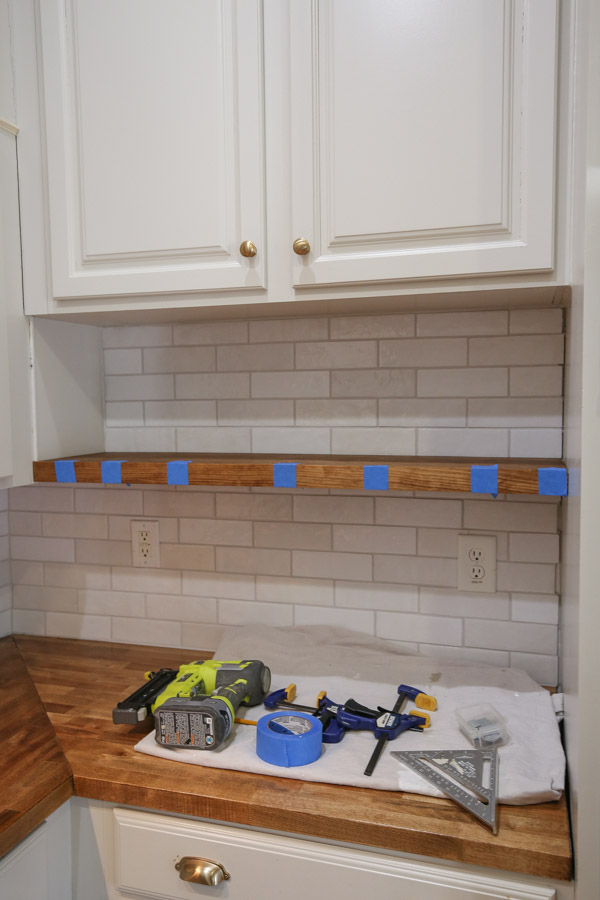
Then, we filled the holes BEFORE taking the tape off to help reduce any signs of wood filler on the front!
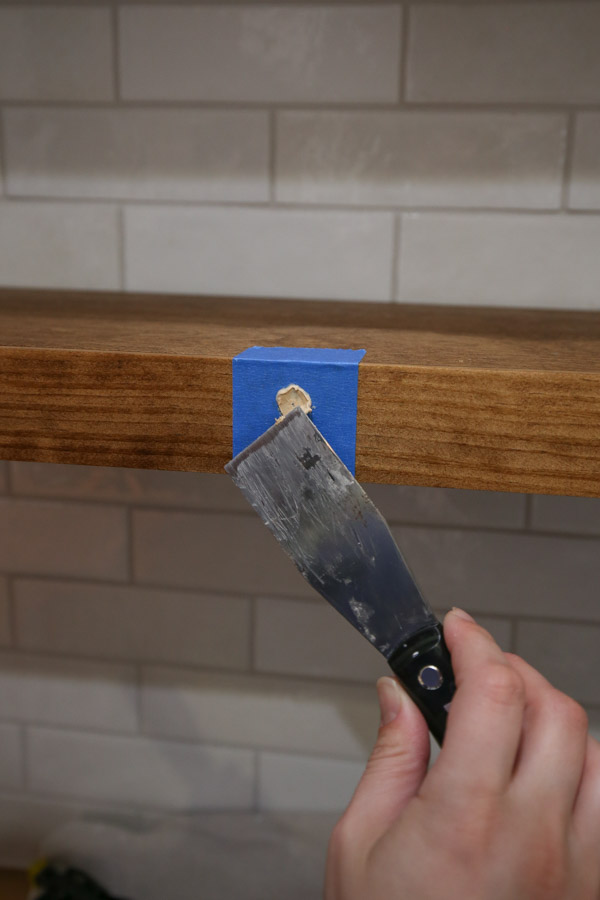
The very last step is to touch up any visible nail holes with stainable wood filler, hand sanding, and a little bit of stain for the perfect finishing touches.
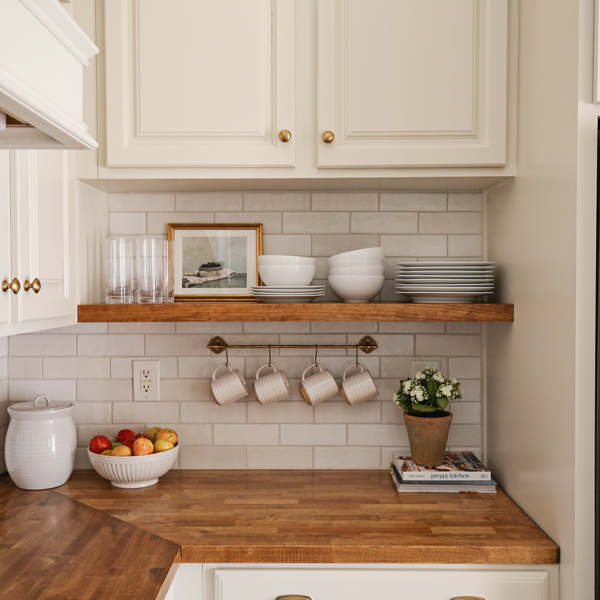
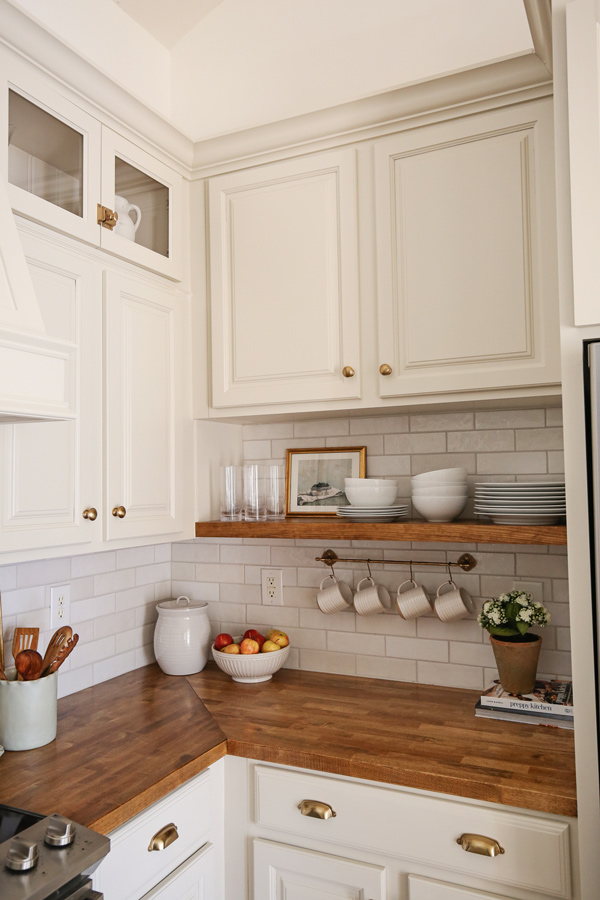
Open shelving and DIY floating kitchen shelves are great and I’m so happy we added this one to our newly renovated kitchen! It’s a DIY project that really adds beauty and function.
Follow along for my latest projects and sneak peaks on Instagram, YouTube, TikTok, and Facebook!