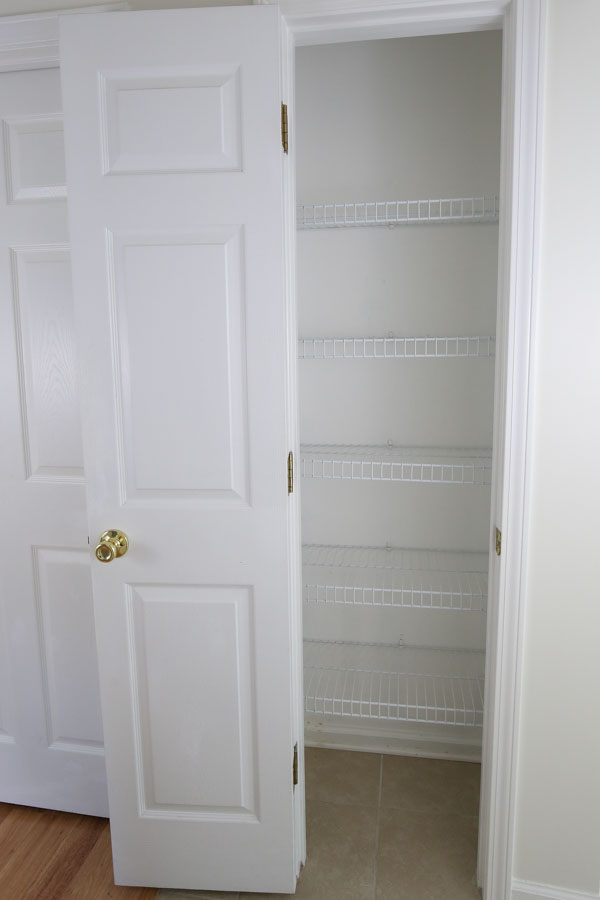
Our pantry closet had ugly wire shelving that I really didn’t like so I decided to make DIY pantry shelves with wood to make the shelves more functional and pretty!
Every closet in our house has wire shelving and I can’t stand the look of them or how things easily fall through the wire gaps or how smaller items fall over on them.
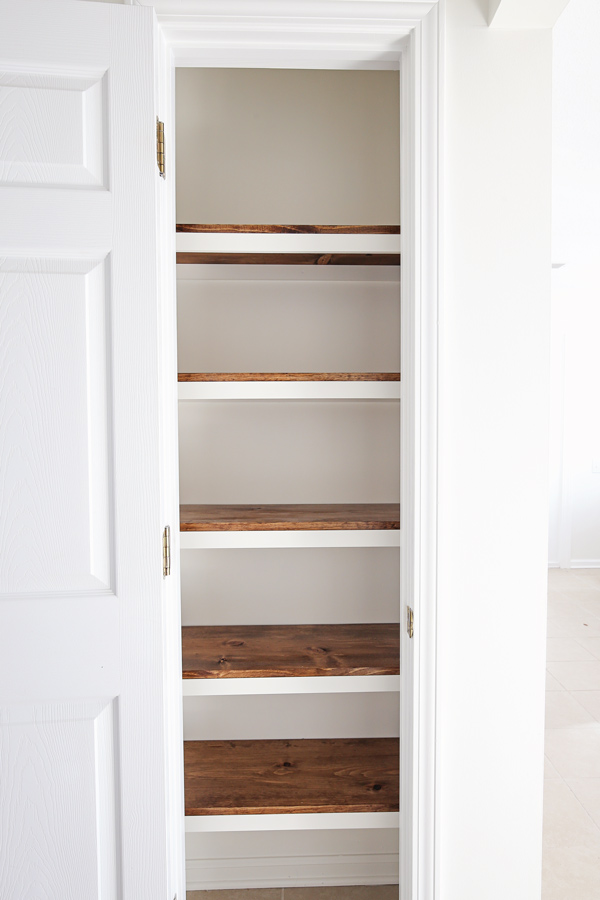
In our small master bathroom renovation, I replaced the wire shelving with custom DIY built in shelves and a cabinet. For our pantry though, I wanted to keep the shelving more simple with some stained DIY wood pantry shelves with simple white trim.

Note, I also have a second, larger pantry closet that I added DIY CORNER pantry shelves to! See how to build corner pantry shelves here!
Further, our pantry was in desperate need of a pantry makeover and organization. Here is an embarrassing BEFORE photo of our messy, unorganized pantry:
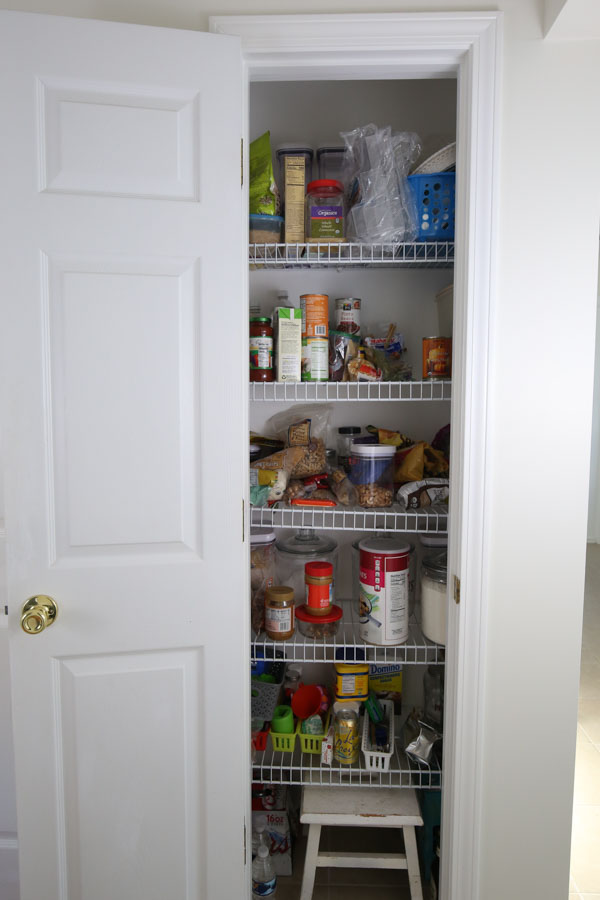
How could I not makeover this closet haha?!
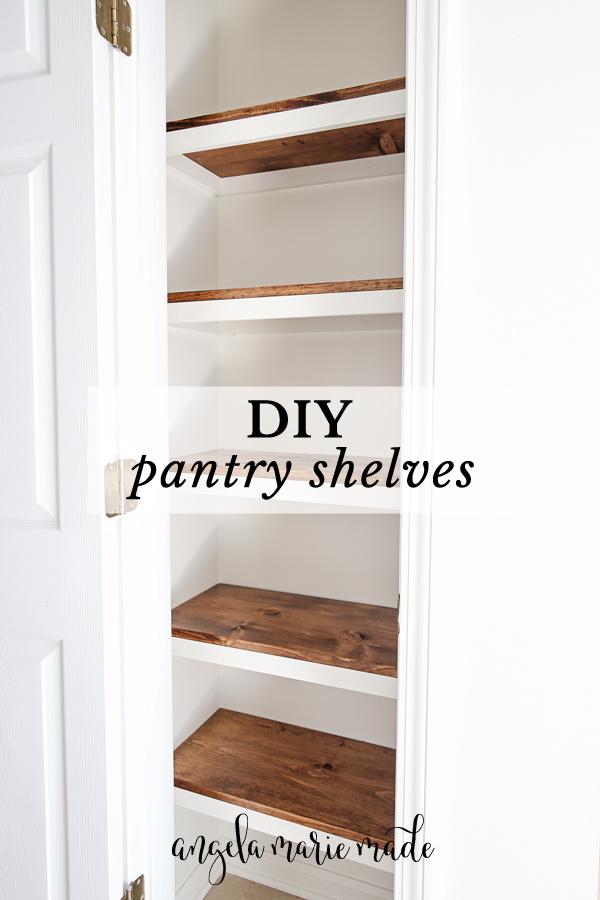
Below I’m sharing how to build pantry shelves along with a how-to video!. I built five 29″ shelves, but keep in mind the measurements and supplies you need will be custom to your space. So, adjust accordingly! I’ll share the measurements for my shelves so you can see how I cut everything for a reference.
Also, this is a very affordable project, these 5 wood shelves cost just under $50 to make!
Note, this post contains some affiliate links. For more info see my disclosures here.
How to build DIY pantry shelves:
Materials Needed:
- (2) 1×12 @ 8ft
- (5) 1×2 @ 8ft (I used these pre-primed MDF boards – similar here – to save time and $)
- 1 1/4″ brad nails
- 2″ screws
- Wood stain (I used this color)
- Polyurethane (optional)
- Paint (I used Alabaster by Sherwin Williams)
Tools Needed:
- Miter saw
- Drill
- Brad nailer
- Clamp
- Tape Measure
- Stud finder
- Level
- Mini level (optional)
***Note: Adjust materials and cuts for your custom pantry size! These quantities and measurements are based on five 29″ wood shelves. Also, 1x12s are 11 1/4″ wide so that will be the depth of the shelves.
Video tutorial:
Subscribe to my YouTube Channel here!
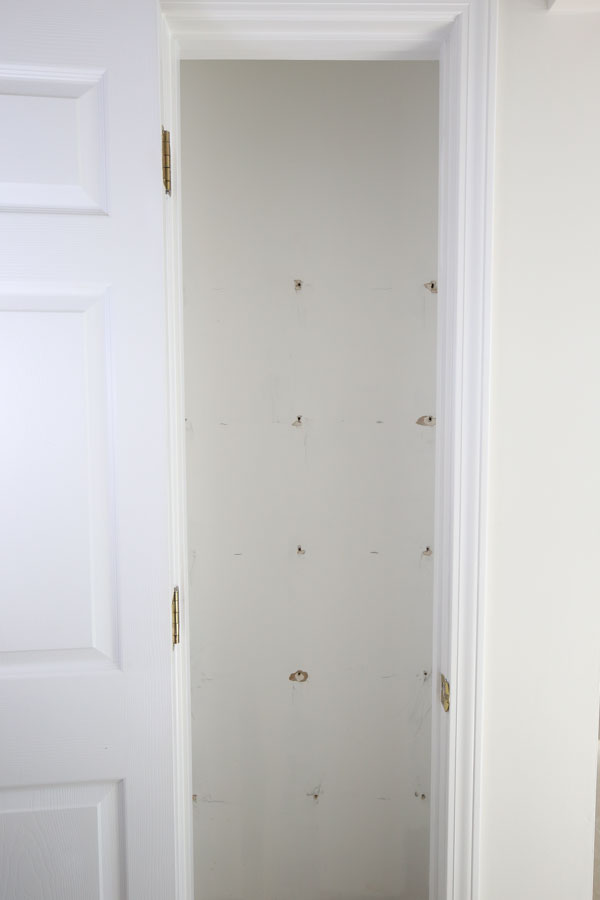
1. Clear pantry out and remove wire shelves
Begin by clearing all items of your pantry out and then removing the wire shelves or any other type of shelving that you have in your pantry.
Our wire shelves were hung with huge anchors, so we had to pry them out with a pry bar. This left large holes which we had to fill with spackle and sand on the sides.
But, since I was putting the new wood shelves in the same spot as the old ones, I knew the holes on the back wall would be covered so I didn’t bother filling those holes. I just sanded them some so my new shelf supports would sit flat against the wall.
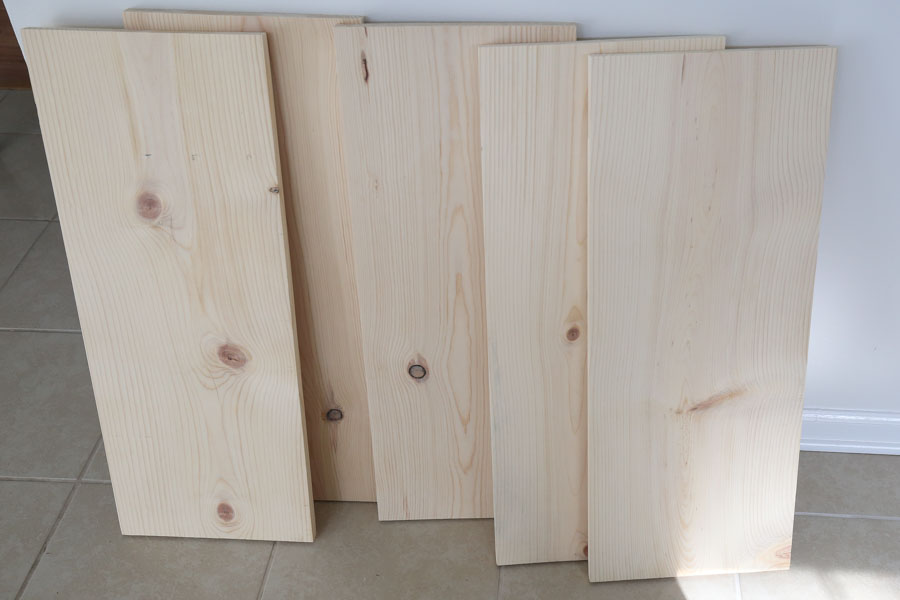
2. Cut DIY wood pantry shelves to size and stain
Measure the width of your pantry wall, mine was just about 29″. Cut your DIY pantry shelves to this width from the 1×12 boards with a miter saw or circular saw. Or have your home improvement store make the cuts for you! Make sure to sand the wood boards well too!
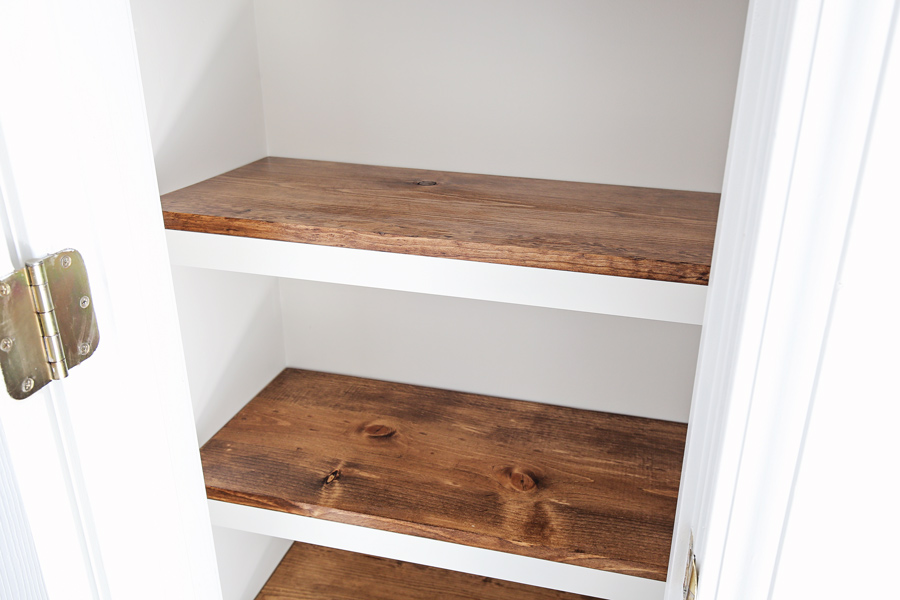
Then, go ahead and stain your DIY wood pantry shelves, I used this stain color, it’s one of my favorite stain colors! For tips on staining, check out my how to stain wood tutorial. After letting the boards fully dry, I added 2 coats of polyurethane for extra protection in case any pantry items leak.
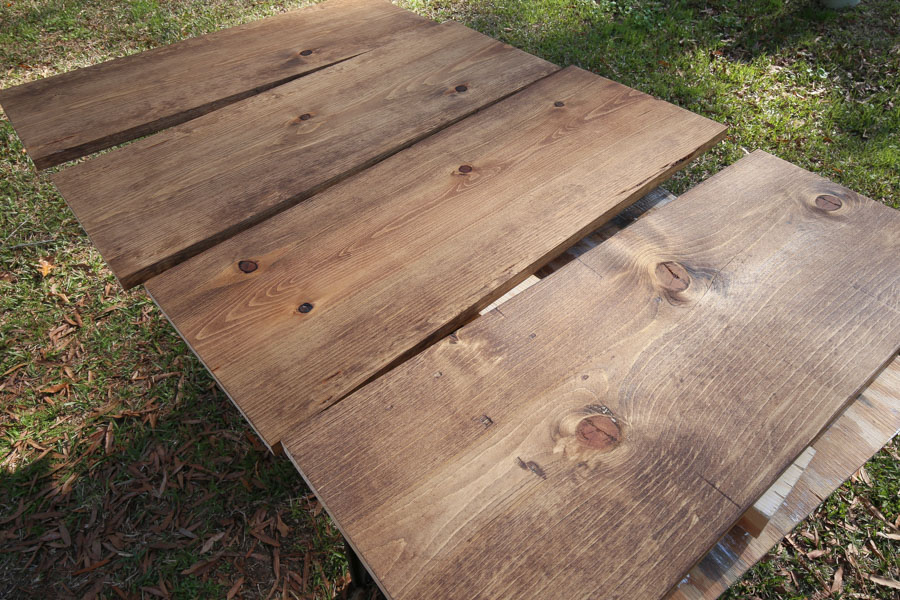
While the boards are drying, move onto the next step…
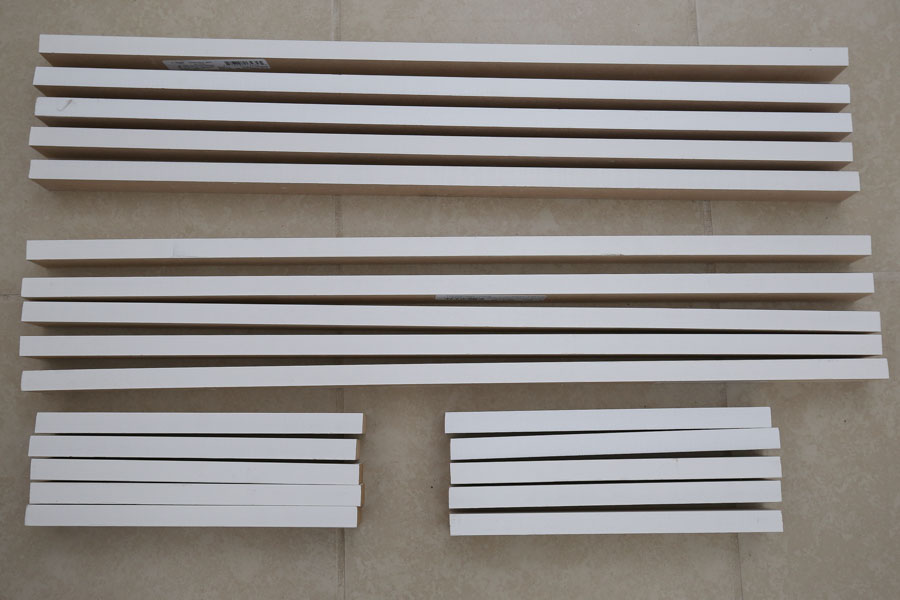
3. Cut the 1×2 pantry shelf supports to size
Cut the back pantry shelf supports (from the 1x2s) to the same size as your wood pantry shelves. I cut five 1x2s at 29″ for my back supports. Then, I cut five more (so total of ten) for the front trim pieces that will go under the shelves in the front.
Next, cut the 1×2 side supports. Because a 1×12 board is 11 1/4″ wide and the back support is going against the wall first and a front trim piece will go under the shelf, your side supports should be cut to 9 3/4″ long (11 1/4″ – 3/4″ – 3/4″ = 9 3/4″). Since I had 5 shelves, I cut ten side supports at 9 3/4″ long.
📩 Want to Save This?
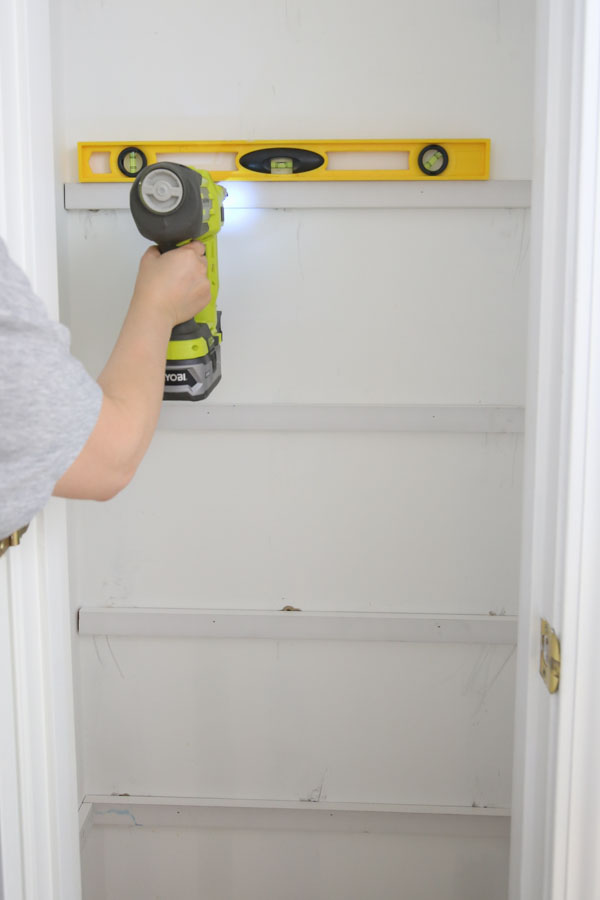
4. Attach supports to wall for DIY pantry shelves
Use a a pencil and mark where you want your pantry shelves to be hung on the wall. I kept the same location as my old shelves and allowed for 11″ between the top and bottom of each shelf.
Attach your back wall shelf supports to the wall first using a level to ensure they are level. I first attached my boards with a brad nailer to hold them in place since I was installing them by myself.
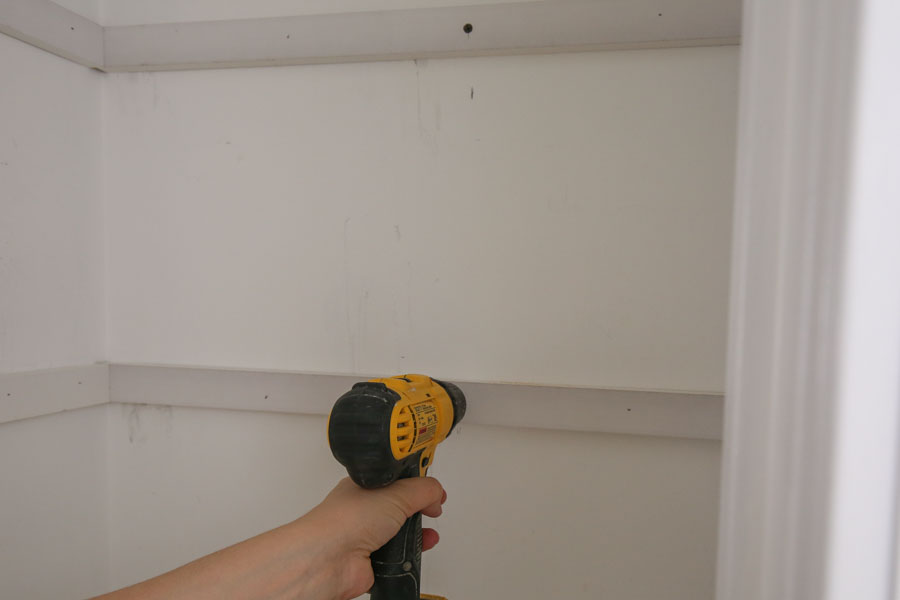
Then, I used a stud finder to locate the wall studs and drilled a screw through the supports into the wall stud to make them extra secure.
I used this same method for our DIY corner pantry shelves too, it works great!
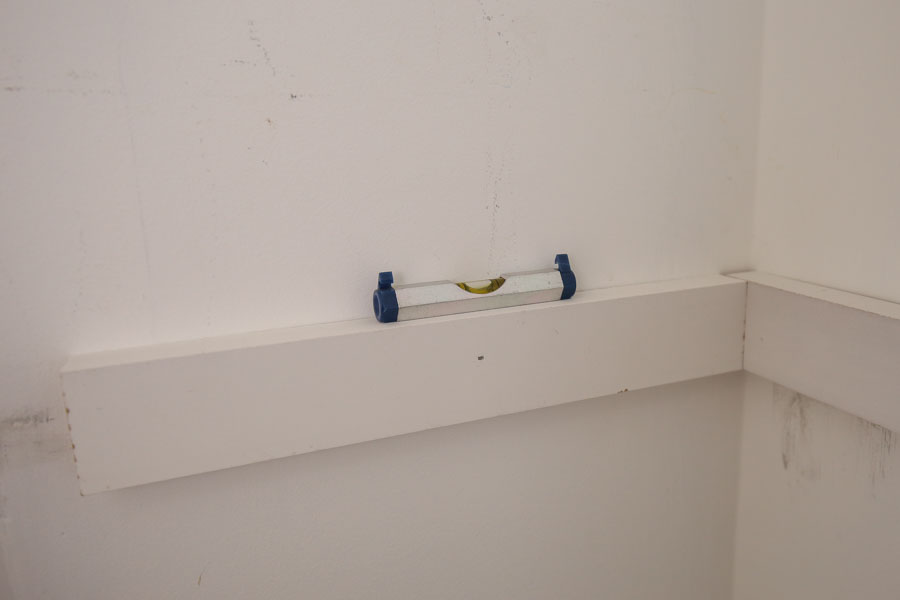
Repeat the above steps for the side support boards. For these boards I had to use my mini level to fit. Also, if you don’t have a wall stud on one of the walls, you can use wall anchors.
5. Fill holes and paint pantry supports and wall
Fill any nail holes and screw holes with spackle. Although these holes won’t really show, I still filled the ones at eye level. Then, I painted the whole closet in Alabaster by Sherwin Williams (eggshell finish).
Also, at this point I painted my five 1×2 front trim boards too. Allow the paint to fully dry.
6. Attach DIY pantry shelves to support boards and add front trim boards
Start from the bottom and place your DIY wood pantry shelves on top of the supports. After placing each shelf down, use a clamp to hold the 1×2 front trim board underneath of the stained shelf and secure it in place with a brad nailer and 1 1/4″ brad nails.
Lastly, secure the stained shelf boards in place with brad nails through the top edges of them into the support braces. Continue this process for each board.


That’s it! I think it looks way better than wire shelves and I can’t wait to organize our pantry items on our new DIY pantry shelves!
Here is a before and after comparison:
I hope this tutorial on how to build pantry shelves has been helpful!! Check out my final small pantry organization makeover and my DIY Pantry labels too!
And if you’re interested in corner pantry shelving, don’t forget to check out our DIY corner closet shelves!
Follow along for my latest projects and sneak peaks on Instagram and YouTube!
TikiJack
Monday 27th of January 2025
I thought since I've stumbled on this DIY project five years later to ask if there have been any modifications you've done or wish you had done since then?
For example, I'm thinking of an undershelf drawer system under one shelf where I can store ziploc bags, parchment paper, aluminum foil, etc. I'll just have to insure the drawer is slightly more narrow than the door opening it'll be line up on.
Thanks for sharing. Looks great!
Angela Marie Made
Monday 3rd of February 2025
That sounds amazing! I haven't made any adjustments, this is still how I build my wood shelves!
Marquise
Friday 21st of June 2024
Great job Angela. Just curious why did you use 2x2s instead of 1x2s? once connected to the stud doesn't it provide the same support?
Cames
Sunday 6th of August 2023
P.S. your blog is dangerous because I want to try literally all the things!!!!
Cames
Sunday 6th of August 2023
I found your page on TikTok searching for pantry makeovers! Anyway, I barely know how to use my drill. Do you still think this is possible for someone like me to try? We just moved into a new build and aaaaaall the shelving in the home is wired shelves. Definitely not a fan!! I feel like I want to try this but also wondering if I should just hire someone so I don’t mess something up. 😂
Angela Marie Made
Tuesday 8th of August 2023
When I first started out, I didn't know how to use a drill at all! You can definitely accomplish this, the pantry shelves are a great project for beginners! If it's something you think you would enjoy doing, I would give it a shot instead of hiring out!
Diane
Wednesday 15th of March 2023
You inspired me to replace our metal shelves with wood. Thank you for the easy to follow tutorial. Also, purchased a brad nailer for the project and it will come in handy when we replace our flooring!
Angela Marie Made
Wednesday 15th of March 2023
So happy that you were inspired!! It's going to look amazing!