When it comes to staining wood, there are several different ways to apply it. After staining lots of different wood projects, I want to share what I think is the best way to apply stain and why, as well as what to avoid!
First, if you need a step by step tutorial on how to stain wood, check out my easy, how to stain wood tutorial. And before getting started with any staining wood project, always make sure to sand the wood first, it makes a huge difference in the quality of the final wood stain finish.
Also, if you are staining birch plywood, check out my tips on the best way how to stain birch plywood!
Note, this post contains some affiliate links. I may earn a commission if you shop those links (at no cost to you). Thank you for supporting my small business. For more info see my disclosures here.
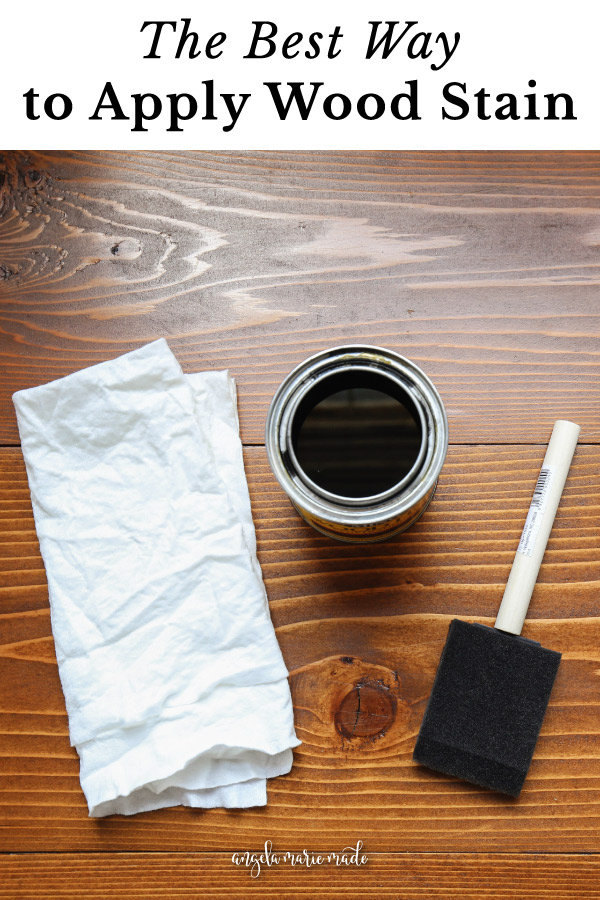
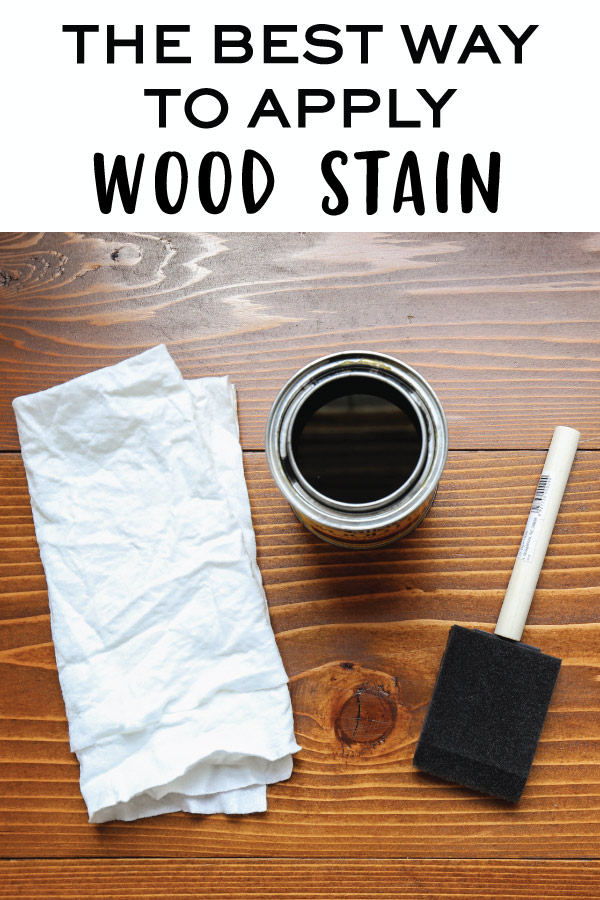
Best Way to Apply Stain:
Use a Lint Free Rag
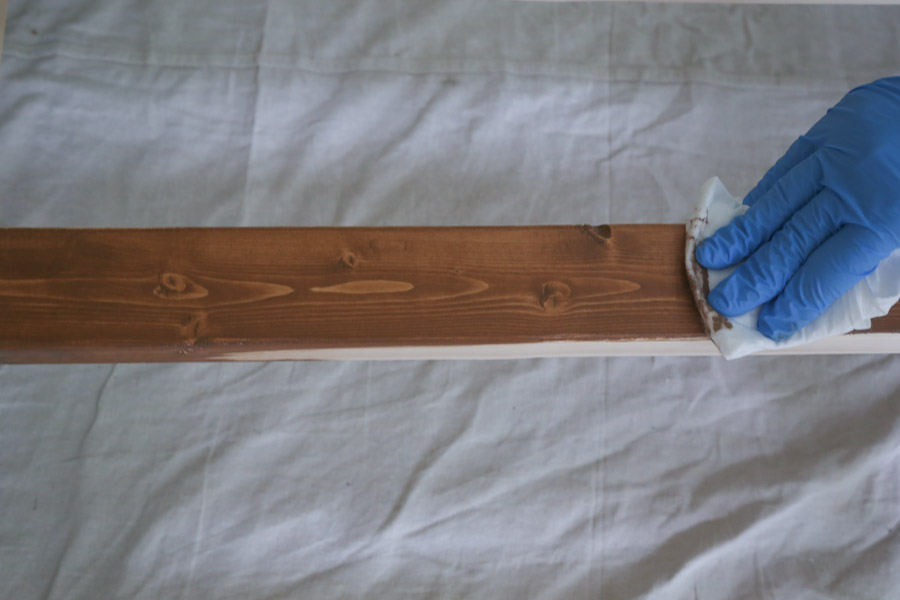
The best way to apply stain is with a lint free rag and wiping it into the grain of the wood. Using a lint free rag is the best way to apply wood stain because it is great for controlling the amount of stain that is applied and for removing any excess stain.
Also, the rag leaves a beautiful, even, and brush stroke free finish. It also can easily be thrown out once finished.


Make sure to use a higher quality, lint free rag because otherwise you may end up with little fuzzies on your project surface and they are annoying to remove with wet stain.
Lint free rags can be found online and at the home improvement store. Or you can cut up an old t-shirt or clean rag (use fabric cutting scissors).
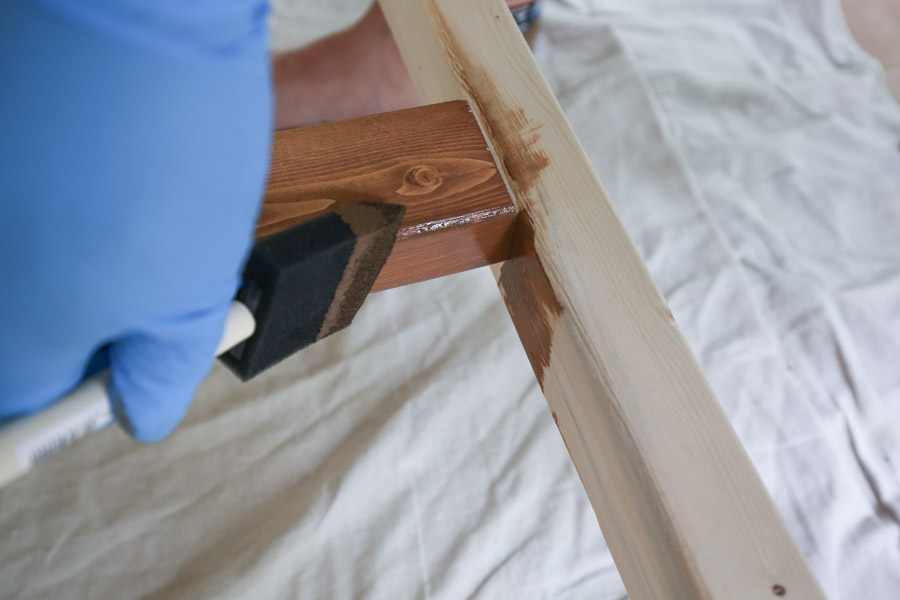
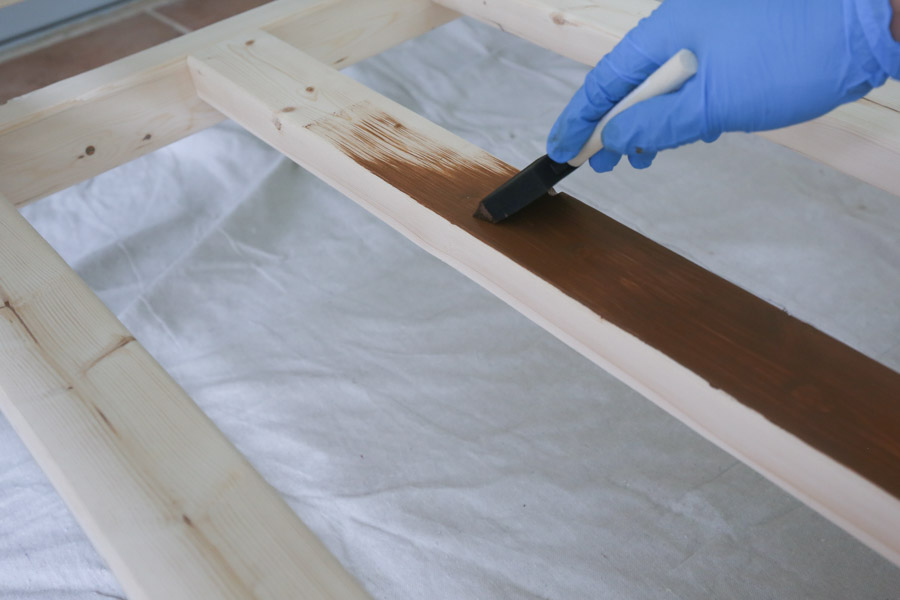
Also, make sure to wear rubber gloves or some kind of chemical resistant, disposable gloves (such as nitrile gloves), to protect your hands while applying the stain.
Use the rag or foam brush to apply the stain in the direction of the grain of the wood which is typically side to side from end to end. If you look at the lines on the wood to see which way they point, that is going with the grain.
After applying the first coat of stain and letting it dry, apply a second coat of stain if you want a darker color or enhance the color more.
Again, for more details on the full staining process, check out how to stain wood. And see my how to stain wood video to see it all in action!
And if you are staining birch plwyood, see my how to stain birch plywood tutorial for specific steps about staining birch!
Use a Foam Brush for Corners and Large Projects
For corners, nooks, crevices, or any other hard to reach spots, use a foam brush to apply the stain first.
Then, wipe off the excess with a lint free rag. Foam brushes are great for nooks and crannies because of their angled tips. Once finished, you can easily throw them out as well.

These foam brushes are the best value I’ve found as far as good quality and a low price! I’ve used them for both stain and polyurethane application.
I prefer foam brushes and rags over staining pads because of the low price and ease of use.
Another great use for the foam brushes is to use them when staining a large project like table tops or a dining table. Because they hold more stain than a rag, you can apply the stain over a large surface (in the direction of the wood grain), then wipe off the excess stain with your lint free rag.
When I stained over 20 DIY farm tables, this is the method that I used for most of them for a quicker application.
Avoid Using a Brush or Roller when Staining Wood
When you apply wood stain, avoid using a brush. Although they can be used, I avoid them because they can leave brush strokes in the wood grain finish, which makes the finish looks unnatural.
📩 Want to Save This?
Also, when using a brush and oil based stain, one of the most common types of stain, the brush needs to be cleaned out with mineral spirits, which is a very messy process.
I did this once and won’t do it again. Then, the mineral spirits have to be properly disposed of at your local hazardous waste collection site. Another drawback of using a brush.
Lastly, avoid using a roller for stain application as well because it will apply unevenly and not go into the grain of the wood well.
Further, with a roller you’d have to pour the stain into a paint tray and it’s best not to pour stain out of the can. Stain is not as thick as paint and it would be very drippy and messy, making application much more difficult.
Also, do not use a damp cloth to apply oil based stain, the oil will not penetrate into the rag and will not apply correctly.
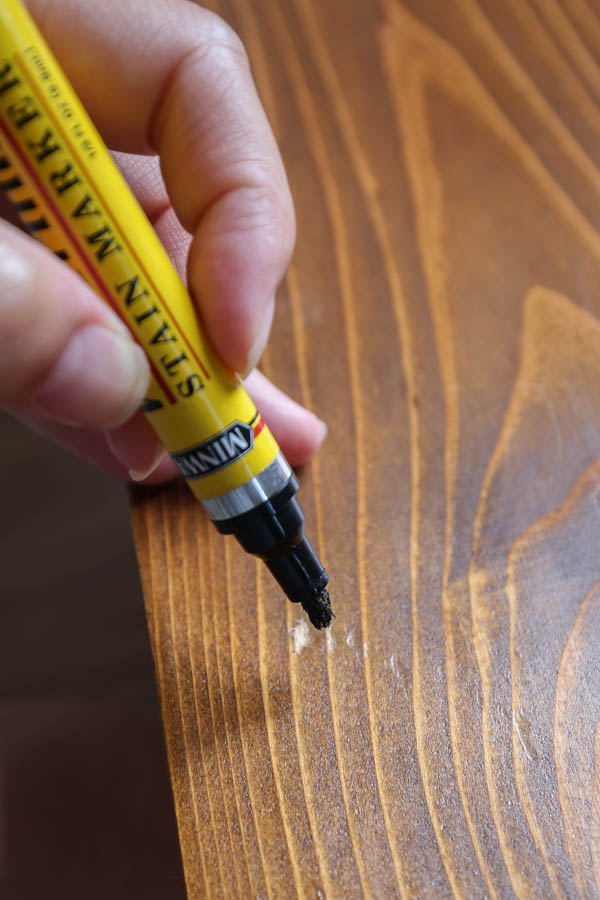
Use a Stain Marker for Small Touch Ups
If you just have a small scratch or spot that needs stain or a touch up, it’s best to apply the stain with a stain marker.
Stain markers are super handy as you can quickly touch spots up. I still like to wipe over the stain quickly with a rag even after using a stain marker, just to make sure it blends right in and no heavy spots remain.
Well that’s it for the best way to apply stain and what to avoid when applying wood stain!
If you need help with choosing a stain color for your wood, check out 10 favorite wood stain colors and 5 grey wood stain options and white wood stain options!
Finally, don’t forget to check out my how to stain birch plywood tutorial for specific steps about staining birch!
One of the best things about staining wood, is that stain is very forgiving and easy to work with, so you will get the hang of applying it like a pro in no time! Just remember to always wipe the excess away with a lint free rag for the best, natural looking finish!
Follow along for my latest projects and sneak peaks on Instagram, YouTube, and Pinterest!
Frequently Asked Questions
Is the best way to apply stain with a brush or a rag?
In my experience, for best results apply stain with a lint-free rag or clean rag for the majority of the wood surface and a foam brush for any corners.
A brush can leave brush marks, so that is why a rag is preferred.
Is it better to use oil-based stain or water-based stains?
In general, oil-based wood stains are better for durability, and penetration into the wood. There may be applications for water based stain is better for a specific need.
Water based stains are low VOC, do not contain as harsh of chemicals and are easier to clean up. They also take much less time to dry. However, they are harder to apply due to the quick dry time.
The type of stain that you use will ultimately come down to your personal preference and the specific project you are working on.
Should I use pre-stain wood conditioner?
Yes, I apply pre-stain conditioner to all of my wood stain projects. When it is applied to unfinished wood that has been sanded and cleaned with tack cloth properly, it helps to avoid blotchiness in the finished stained wood product and bring out the natural color of the stain more.
Do I need to apply a top coat?
Once you stain a project and let it cure and dry, it is a good time to decide if you would like to apply a top coat. A top coat can help protect your surface of the wood and also give it a beautiful, finish, enhancing the grain of the wood.
See more detailed information on how to apply polyurethane to wood.
What type of wood should I stain?
An important thing to know before staining wood is what type of wood you are working with. The same stain will come out different on different species of wood.
It is best to always test out your desired finish on a piece of scrap wood or inconspicuous spot of your DIY projects.
That being said, I think pine is one of the most popular species to stain because it is easier to access and more affordable.
Linda
Saturday 3rd of July 2021
We started the staining project with the front porch railing, now we are moving on to the deck. What’s the best method to split the stain without breaking my back. Wiping with a rag will require a lot of bending, I’d there any other way?
Angela Marie Made
Tuesday 6th of July 2021
Because you are doing a large space like a deck, I would recommend using a paint roller and a brush for hard to reach spaces.
gail fairhurst
Monday 3rd of May 2021
once you have stained the table can you clear varnish for a stronger surface finish
Christine Norris
Saturday 16th of May 2020
Hi Angela! I’m about to do my first staining project and I’m wondering if it’s best to assemble the table first or assemble after it is stained? It is a sofa table.
Thank you!
Angela Marie Made
Monday 18th of May 2020
I prefer to stain last after assembling. Sometimes you need to do some extra sanding at the end if boards don't line up perfectly or after cuts are made.
Stephanie
Sunday 19th of April 2020
I made a HUGE mistake. PLEASE HELP. First time staining I used a spray gun thought that would be an easy 1,2,3. Then here’s where the mistake happened. I NEVER WIPED IT DOWN. so now it’s dry and totally wrong, and I would like to know if this can be fixed in anyway. I used PADRE BROWN from BEHR. I don’t mind to go darker now I just want to know if I can maybe possibly sand it down and go over with something darker and make a blend of colors . Need advice and technical help.
Angela Marie Made
Monday 20th of April 2020
I would sand it down to the bare wood to remove all the stain and then start over to do it the correct way.
Liv
Sunday 8th of September 2019
Hi. I’m in the middle of my first staining project - a big round kitchen table! Maybe a bit ambitious. I’ve done a layer of General Finishes gray gel stain but it looks too blue, & I think I want a more rustic finish to go with black chairs. My question is - can I go over the gray stain with one of the dark browns you’re suggesting? Will that look confused? Thanks!
Angela Marie Made
Monday 9th of September 2019
Yes you can! I would test it out underneath the table first (if the wood is the same there). So, apply the same general finishes stain first in the test spot, allow it to dry, and then the brown stain on top of that to see how it will look and to make sure you like the look before applying to the top!